简单配置,绝对可用
1、远程服务器配置
1.1、安装xdebug
1.1.1、下载
[root@localhost ~]# wget https://xdebug.org/files/xdebug-2.9.7.tgz
1.1.2、解压
[root@localhost ~]# tar zxvf xdebug-2.9.7.tgz
1.1.3、安装
[root@localhost ~]# cd xdebug-2.9.7/
[root@localhost xdebug-2.9.7]# /usr/local/webserver/php/bin/phpize
[root@localhost xdebug-2.9.7]# ./configure --with-php-config=/usr/local/webserver/php/bin/php-config
[root@localhost xdebug-2.9.7]# make && make install
1.2、配置php.ini
[root@localhost ~]# vim /usr/local/webserver/php/etc/php.ini
- 文件未尾加上如下代码
[XDebug]
zend_extension = /usr/local/webserver/php/lib/php/extensions/no-debug-zts-20180731/xdebug.so

;允许远程 可以为 On 或者 1 都表示启用 , Off 和 0 表示关闭关闭
xdebug.remote_enable=1

;远程主机的 IP 这里我们填写,固定的 127.0.0.1
xdebug.remote_host = 192.168.31.232

;调试连接端口 请记住这个端口,后续会用到。此配置项默认值为 9000 ,但是通常 9000 端口被 fpm 占据 ,故更换端口。
;另外,请在你服务器的控制面板和服务器防火墙中开放这个端口的进出站。
;如果你是宝塔面板用户 请放行此端口。
xdebug.remote_port = 9079

;接下来的值都是可选的,但是我推荐你使用
;连接 IDE 的 Key,请记住他,可以自己自定义,主要用来过滤请求。
xdebug.idekey=PHPSTORM

;是否开启远程调试自动启动
xdebug.remote_autostart=1
1.3、设置环境变量
[root@localhost ~]#vi /etc/profile
- 文件未尾加上如下代码:
export XDEBUG_CONFIG="idekey=PHPSTORM"
export PHP_IDE_CONFIG="serverName=temp.topjz.com"
2、Phpstorm IDE配置
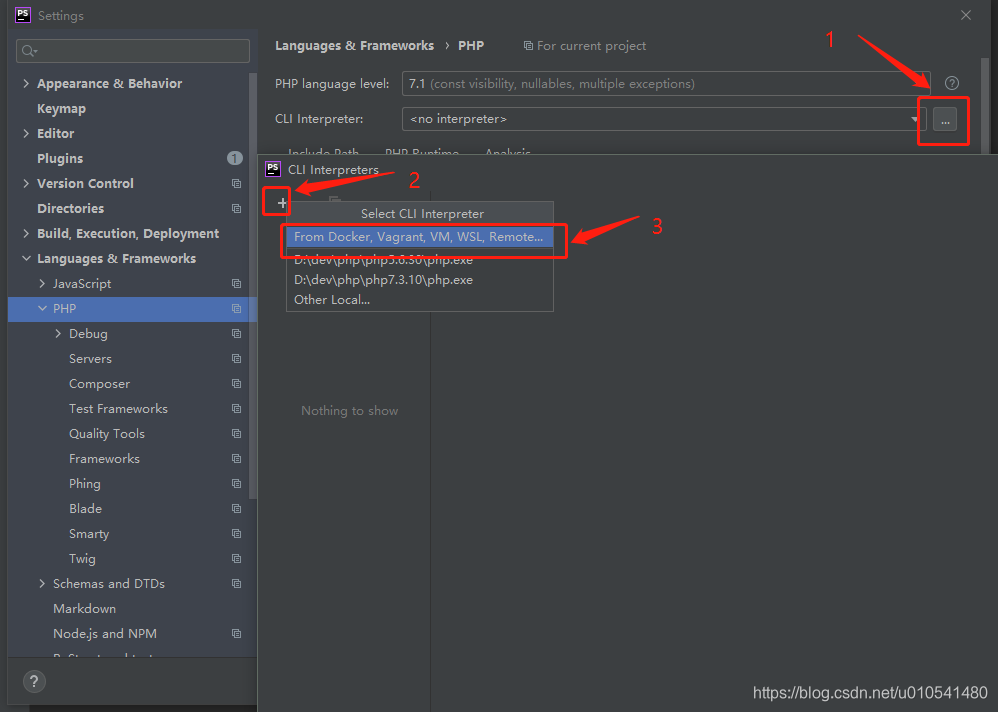
2.1、File->Settings->Languages & Frameworks > PHP
2.1.1、配置CLI Interpreters


2.1.2、代码映射

2.2、File->Settings->Languages & Frameworks > PHP > Debug

注:这里的Debug Port和远程服务器中配置的一致
2.3、File->Settings->Languages & Frameworks > PHP > Server

2.4、Add Run/Debug Configuration


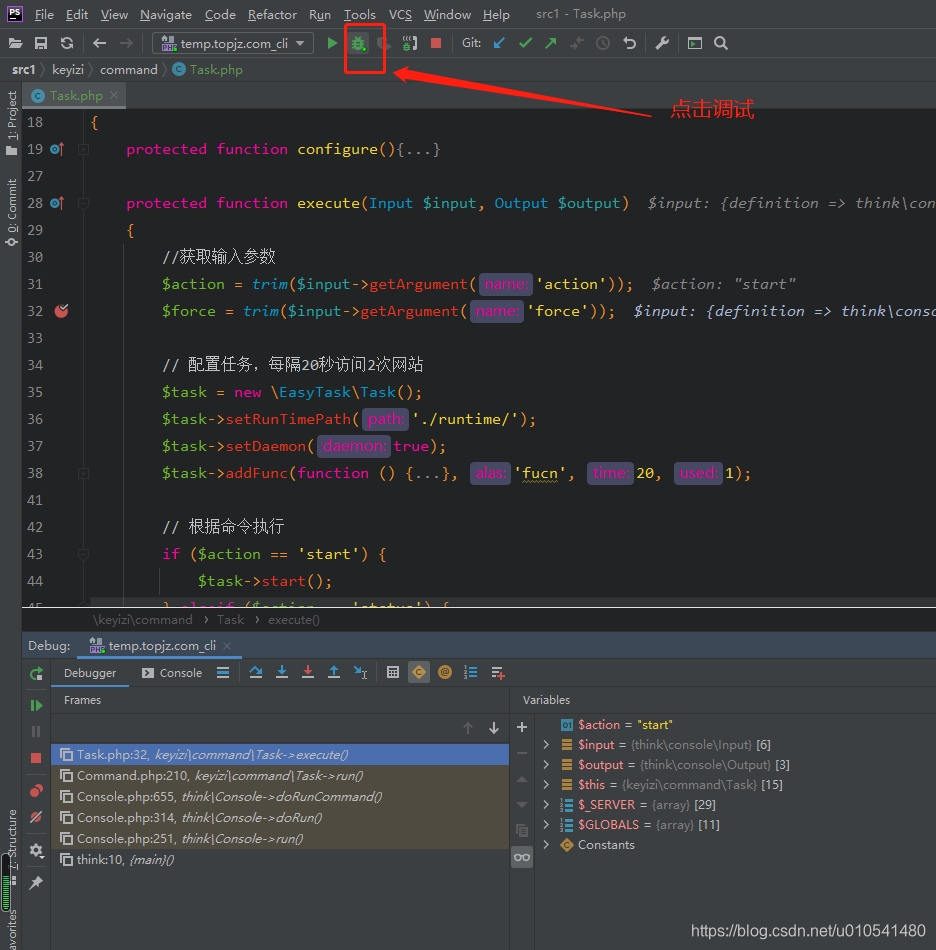
3、调试


调试成功,欢迎转载