1.安装apache
sudo apt-get install apache2
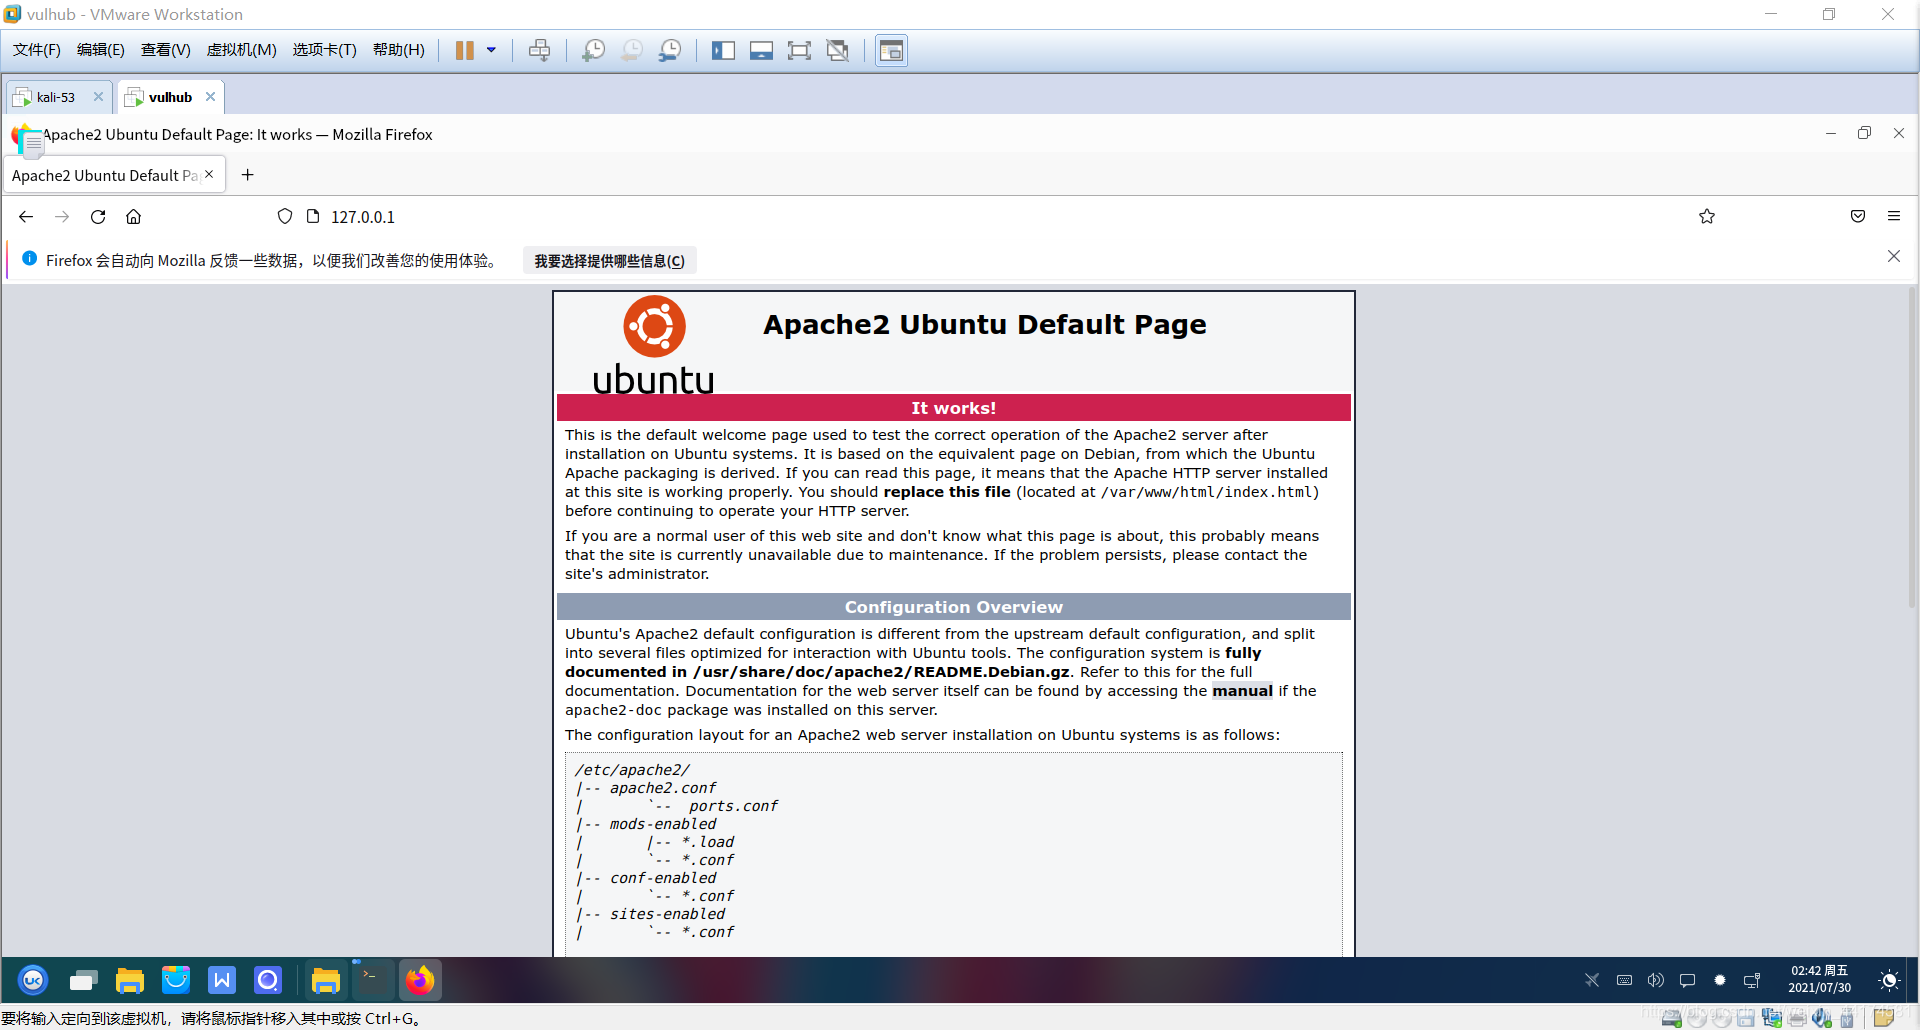
安装好之后测试一下,如果你在本地安装的apache那么直接在浏览器上访问:localhost或者127.0.0.1即可。如果是在服务器上安装的,输入服务器的ip地址。然后浏览器出现以下画面则apache2正常工作了,apache默认网站的文件根目录在/var/www下面
2.安装mysql
sudo apt-get install mysql-server mysql-client
3.安装php
sudo apt-get install apache2 php-mysql libapache2-mod-php mysql-server
自动选择你的Linux版本适配的php版本,记下你的php版本,我的是php7.4
libapache2-mod-php是为了让apache2支持php模块

安装完后重启apache
sudo service apche2 restart
或者
sudo /etc/init.d/apache2 restart
4.数据库获得php的支持
注意:
这里将用到刚才记下的php版本号,我的是php7.4,改成你的版本号即可
sudo apt-cache search php7.4
5.安装phpMyAdmin
phpmyadmin可用来管理你的数据库
sudo apt-get install phpmyadmin
出现以下界面按回车
输入你要设定的密码并确认密码

然后找到apache2.conf并用vim打开
sudo vim /etc/apache2/apache2.conf
在最后面加入以下语句,注意不要注释了
Include /etc/phpmyadmin/apache.conf
重启apache服务
/etc/init.d/apache2 restart
在网页中输入网址即可打开phpmyadmin,账号为phpmyadmin,密码为刚刚你设的密码
127.0.0.1/phpmyadmin

