简介
LAMP是指linux+apache+mysql+php组成的一个运行动态网站或服务器的只软件组合缩写。
安装步骤
1.关闭防火墙和selinux
[root@localhost ~]# iptables -F
[root@localhost ~]# systemctl stop firewalld
[root@localhost ~]# systemctl disable firewalld
[root@localhost ~]# setenforce 0
[root@localhost ~]# cat /etc/selinux/config

# This file controls the state of SELinux on the system.
# SELINUX= can take one of these three values:
#     enforcing - SELinux security policy is enforced.
#     permissive - SELinux prints warnings instead of enforcing.
#     disabled - No SELinux policy is loaded.
#SELINUX=enforcing
SELINUX=disabled #注意,这里是disabled
# SELINUXTYPE= can take one of three values:
#     targeted - Targeted processes are protected,
#     minimum - Modification of targeted policy. Only selected processes are protected.
#     mls - Multi Level Security protection.
SELINUXTYPE=targeted
2.配置yum源和epel源
[root@localhost ~]# cd /etc/yum.repos.d/
[root@localhost yum.repos.d]# mv CentOS-Base.repo CentOS-Base.repo.bak
[root@localhost yum.repos.d]# wget -O CentOS-Base.repo http://mirrors.aliyun.com/repo/Centos-7.repo
root@localhost yum.repos.d]# yum clean all
[root@localhost yum.repos.d]# yum makecache
[root@localhost yum.repos.d]# wget -O epel.repo http://mirrors.aliyun.com/repo/epel-7.repo
[root@localhost yum.repos.d]# yum clean all
[root@localhost yum.repos.d]# yum makecache
3.安装apache、mariadb、php以及所需的库
[root@localhost yum.repos.d]# yum install -y httpd
已加载插件:fastestmirror, langpacks
Loading mirror speeds from cached hostfile
 * base: mirrors.aliyun.com
 * extras: mirrors.aliyun.com
 * updates: mirrors.aliyun.com
软件包 httpd-2.4.6-97.el7.centos.x86_64 已安装并且是最新版本
无须任何处理
[root@localhost yum.repos.d]# yum -y install php php-mysql mariadb mariadb-server mysql-devel
[root@localhost yum.repos.d]# yum install -y php-gd libjpeg* php-imap php-ldap php-odbc php-pear php-xml php-xmlrpc php-mbstring php-mcrypt php-bcmath php-mhash libmcrypt
4.修改配置文件
[root@localhost yum.repos.d]# cat /etc/httpd/conf/httpd.conf
ServerName www.example.com:80  #95行
#
<IfModule dir_module>
    DirectoryIndex index.php index.html  #164行
</IfModule>
5.ok,现在各服务已经部署完成,现在进入测试阶段
apache重启完后打开浏览器输入本机ip显示php version。。。。。。即可
[root@localhost yum.repos.d]# cat /var/www/html/index.php
<?php
    phpinfo();
?>
[root@localhost yum.repos.d]# systemctl restart httpd
6.启动mariadb,登录mysql并删除空账号,添加管理账号和密码
命令:1)delete from mysql.user where user=’’;
2)update mysql.user set password=password(‘12345’) where user=‘root’;
3)grant all on . to ‘root’@’%’ identified by ‘12345’;
4)flush privileges;
5)quit
[root@localhost yum.repos.d]# systemctl start mariadb.service
[root@localhost yum.repos.d]# mysql
7.重启mariadb
systemctl restart mariadb.service
8.修改index.php测试页面,浏览器输入ip测试连接
[root@localhost yum.repos.d]# cat /var/www/html/index.php
<?php
	$link=mysqli_connect('127.0.0.1','root','12345');
	if($link)
		echo "^_^ ok,nice ^_^";
	else
		echo "T_T not ok,ohmygod T_T";
?>
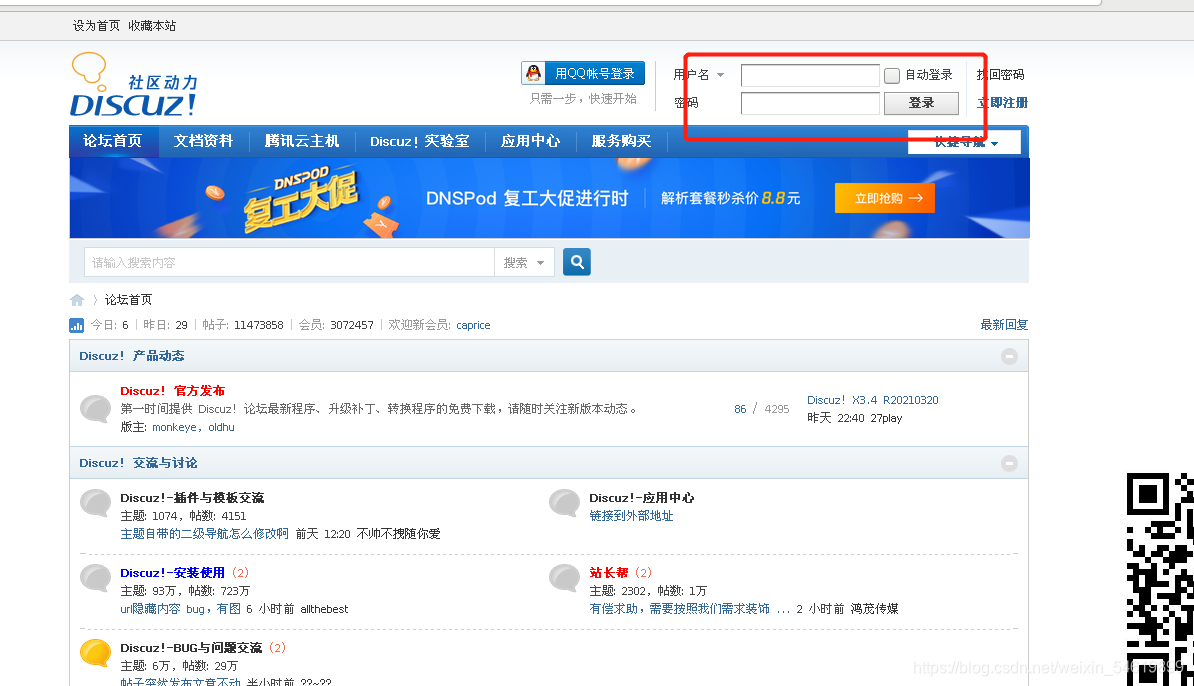
9.部署discuze
discuze是一套通用的社区论坛软件系统,用户可以在不需要任何编程的基础上,通过简单的设置和安装,在互联网上搭建起具备完善功能、很强负载能力和可高度定制的论坛服务。Discuz! 的基础架构采用世界上最流行的web编程组合PHP+MySQL实现,是一个经过完善设计,适用于各种服务器环境的高效论坛系统解决方案。
9.1.到discuze官方论坛下载UTF包,将文件中的upload/复制到/var/www/html/目录下,重命名为discuz,修改目录权限。
[root@localhost ~]# cp -r Discuz_X2.5_PHP7.0_SC_UTF8/upload /var/www/html
[root@localhost ~]# mv /var/www/html/upload /var/www/html/discuz
[root@localhost ~]# chmod -R 777 /var/www/html/discuz
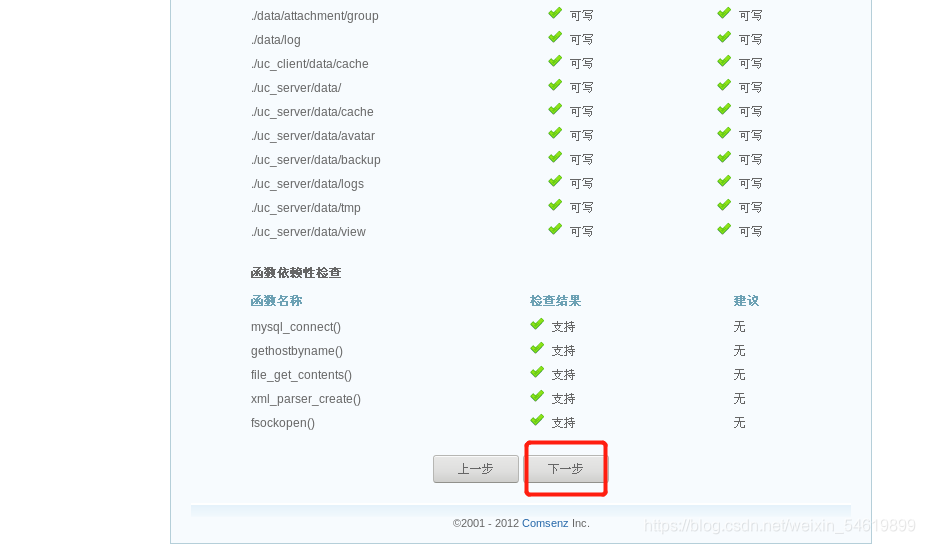
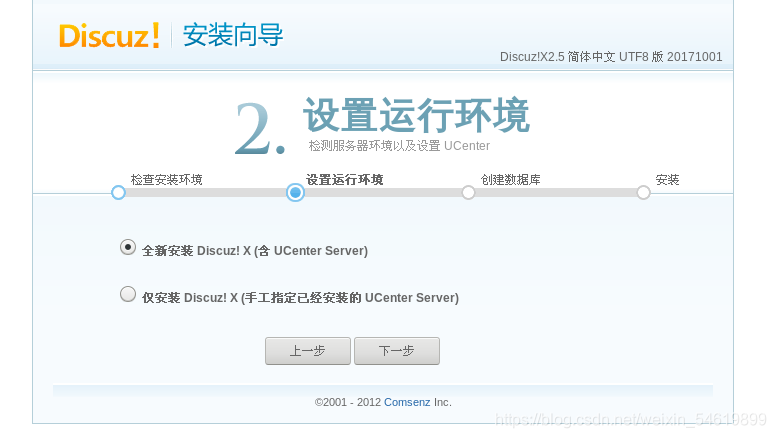
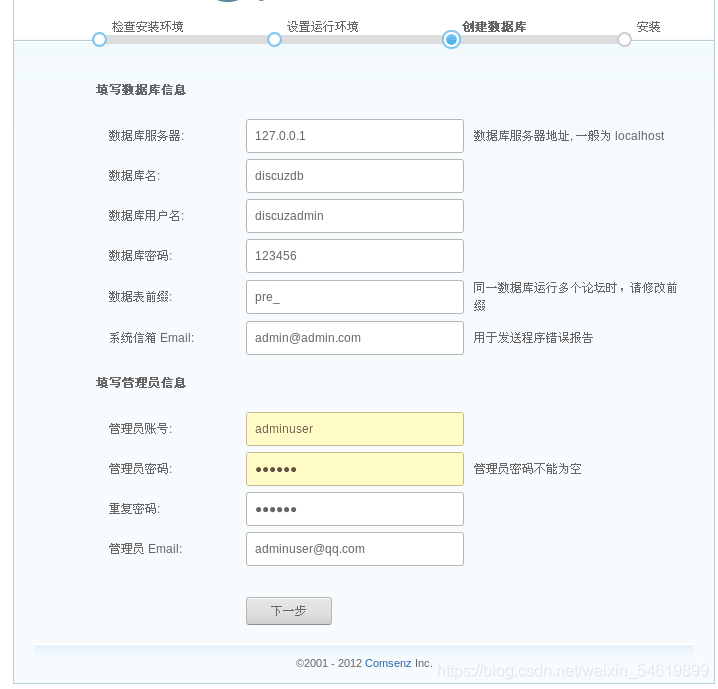
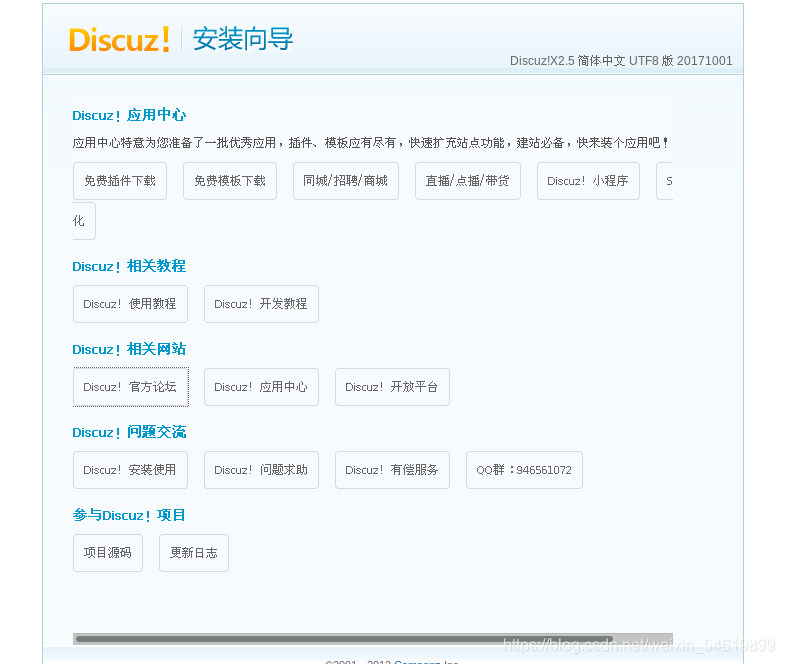
10.discuze部署步骤
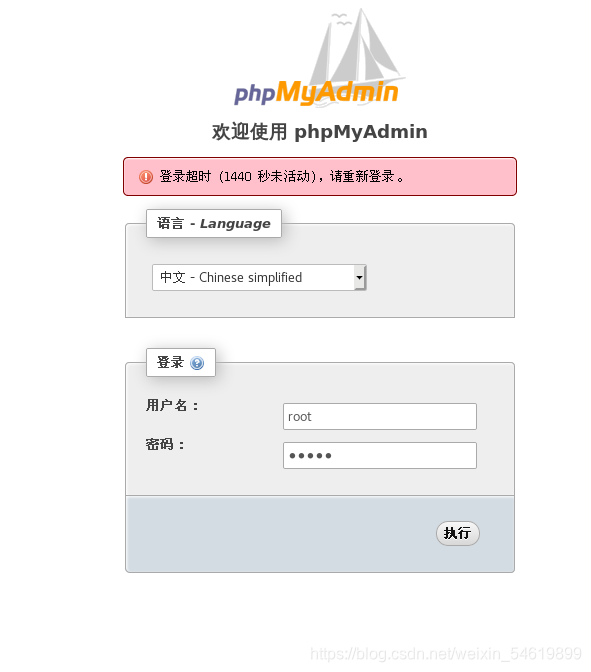
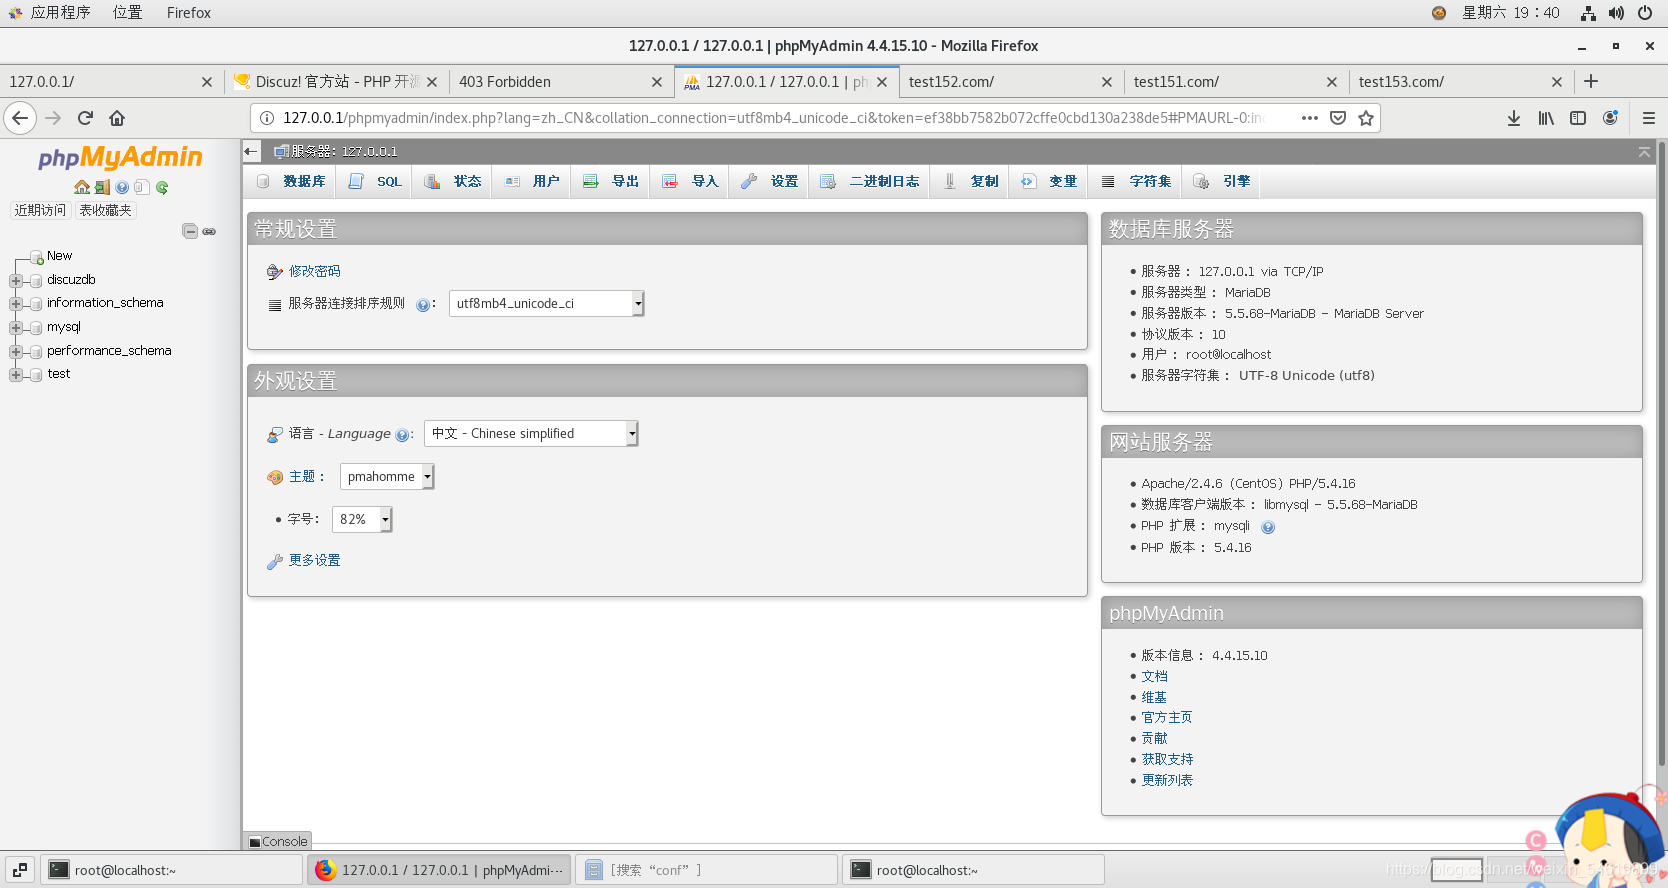
11.安装phpmyadmin
这里需要修改两处Require ,还有下一个配置需要修改一个ip和root和密码
[root@localhost ~]# yum install phpmyadmin
[root@localhost ~]# cat /etc/httpd/conf.d/phpMyAdmin.conf
# phpMyAdmin - Web based MySQL browser written in php
   <IfModule mod_authz_core.c>
     # Apache 2.4
     <RequireAny>
       Require ip 127.0.0.1  #修改处
       Require ip ::1
     </RequireAny>
   </IfModule>

</Directory>

<Directory /usr/share/phpMyAdmin/setup/>
   <IfModule mod_authz_core.c>
     # Apache 2.4
     <RequireAny>
       Require ip 127.0.0.1  #修改处
       Require ip ::1
     </RequireAny>
   </IfModule>
   [root@localhost ~]# cat /etc/phpMyAdmin/config.inc.php
<?php

$cfg['Servers'][$i]['host']   #修改后的ip       = '127.0.0.1'; // MySQL hostname or IP address
         // MySQL port
$cfg['Servers'][$i]['compress']      = FALSE;       // Use compressed protocol for the MySQL connection
                                                    // (requires PHP >= 4.3.0)
$cfg['Servers'][$i]['controluser']   = 'root';     #修改处     // MySQL control user settings
                                                    // (this user must have read-only
$cfg['Servers'][$i]['controlpass']   = '123456';   #修改处       // access to the "mysql/user"
                                                    // and
完成后准备测试
总结:有很多的执行过程被我省略了,只写了命令