ǰ��:һֱ��ѧswoole,����ÿ�ζ��������ִ�,�����������,�������Ƶ����ѧϰ�ü���,��¼ѧϰ����,�������ֱ���ڷ�������swoole����,windowsϵͳҲ��֪���ɲ�����,�����������������ָ���������
��װ
-
���ذ�װ��
����ٷ��ĵ�
https://wiki.swoole.com/#/environment
���õ���������swooleԴ��:(�����ص���4.7.1�汾)
https://gitee.com/swoole/swoole/tags -
��Դ���ļ����÷�����
-
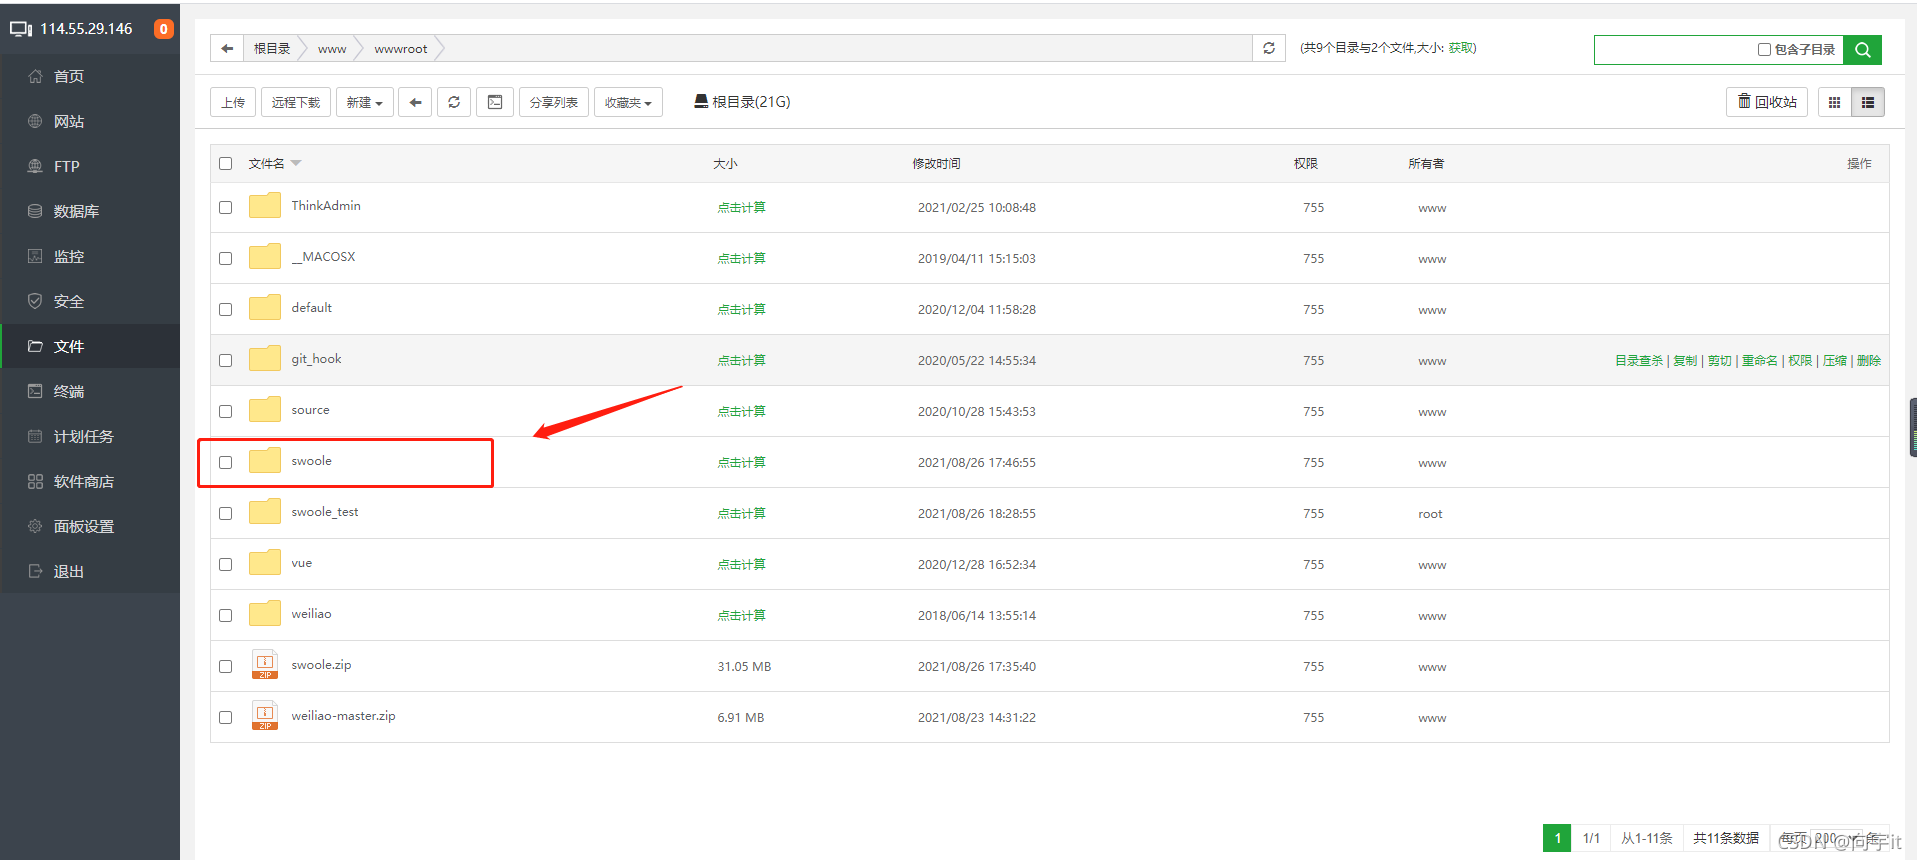
���ӷ�����,�����swooleĿ¼

-
��Դ����밲װ
-
��������
phpize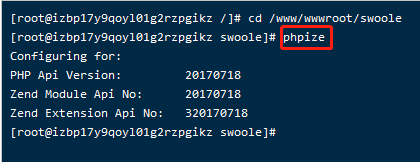
-
����php�������ļ�·��
find / -name php-config
-
�����������ָ��(�Cwith-php-config���������ǰ���ȡ��php�����ļ�·��,Ҫ��php=7.2 ����߰汾,�������õ���php7.2)
./configure --enable-openssl --enable-http2 --with-php-config=/www/server/php/72/bin/php-config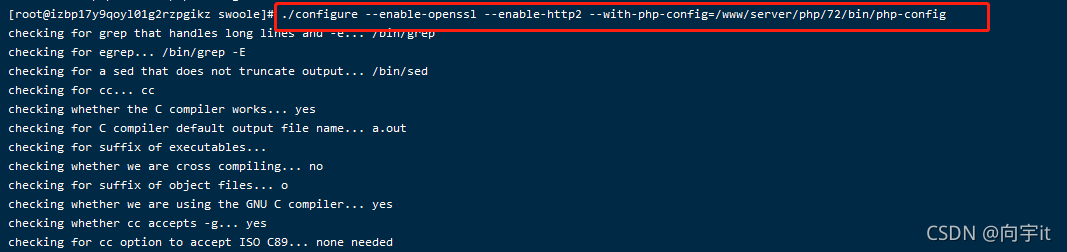
-
�����ִ������(����ʱ����ܱȽϳ�)
make && sudo make install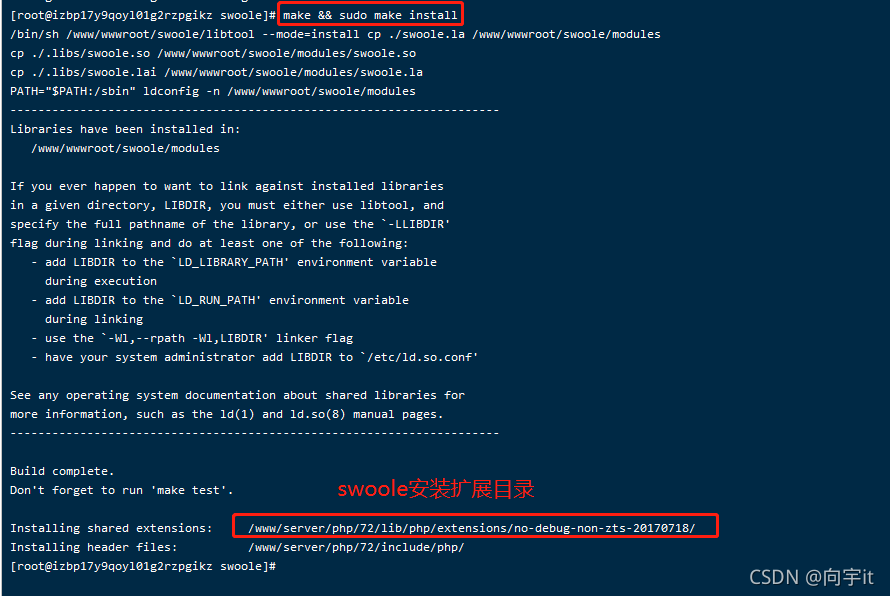
-
�鿴php��չ,swoole�Ƿ��а�װ
php -m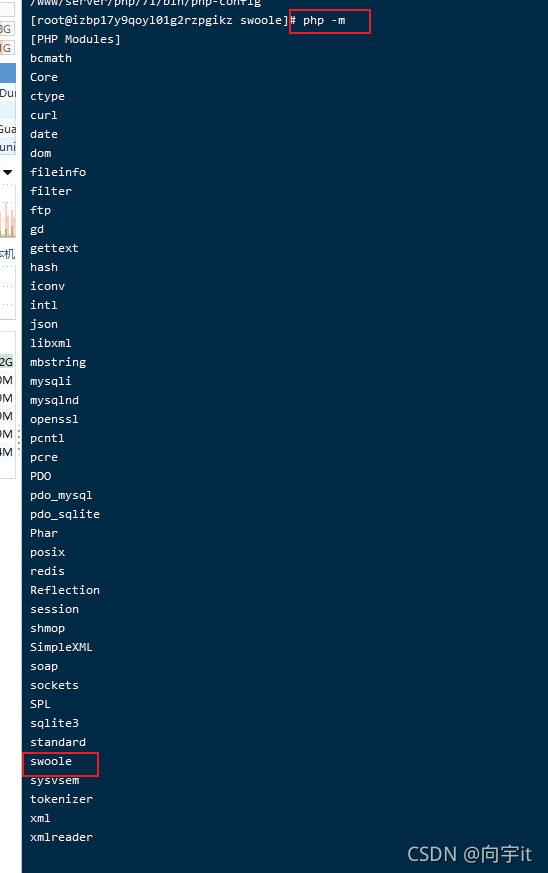
-
���� swoole �� php.ini��
extension=swoole.so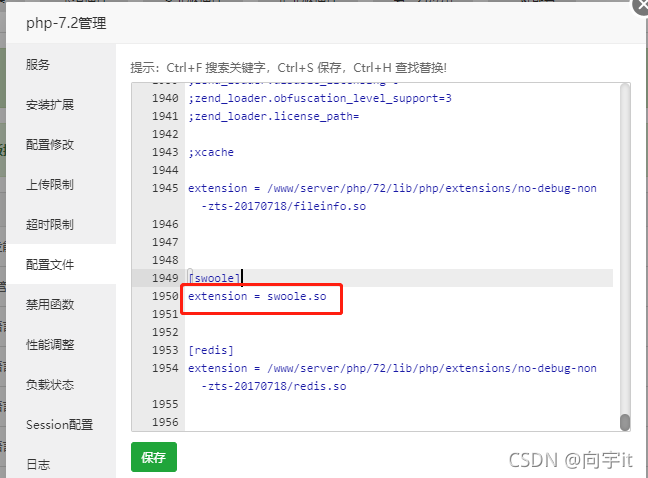
TCP ��������ʹ��
-
��swoole_test/TCP.phpд����˴���
<?php class TCP{ private $server = null; public function __construct(){ //����Server����,���� 127.0.0.1:9501 �˿� $this->server = new Swoole\Server('127.0.0.1', 9501); $this->server->set([ 'worker_num' => 4, // worker process num 'max_request' => 50, ]); //�������ӽ����¼� $this->server->on('Connect', [$this, "onConnect"]); //�������ݽ����¼� $this->server->on('Receive', [$this, "onReceive"]); //�������ӹر��¼� $this->server->on('Close', [$this, "onClose"]); //���������� $this->server->start(); } public function onConnect($server, $fd){ echo "�ͻ���id:{$fd}.\n"; } public function onReceive($server, $fd, $reactor_id, $data){ $server->send($fd, "��������: {$data}"); } public function onClose($server, $fd){ echo "�ͻ���id: {$fd}�ر�.\n"; } } new TCP(); -
��swoole_test/client/TCP.phpд�ͻ��˴���
<?php $scheduler = new Swoole\Coroutine\Scheduler; $scheduler->add(function () { $client = new Swoole\Coroutine\Client(SWOOLE_SOCK_TCP); if (!$client->connect('127.0.0.1', 9501, 0.5)) { echo "connect failed. Error: {$client->errCode}\n"; } fwrite(STDOUT, "������:"); $res = fgets(STDIN); $client->send($res); echo $client->recv(); $client->close(); }); $scheduler->start(); -
��������˳�����

-
�½����ڿ����ͻ���

-
��������
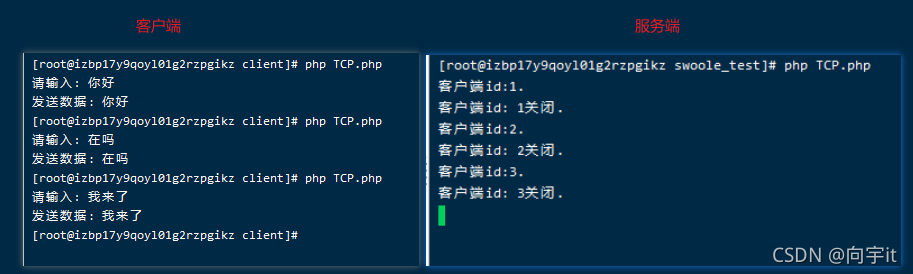
-
�������ӿ��Կ�����һƪ����
https://blog.csdn.net/qq_36303853/article/details/119955880
