php腾讯云短信接口调用
1.准备工作
以腾讯云短信为例
1.创建短信签名及短信模板,等待审核通过
https://console.cloud.tencent.com/smsv2/csms-sign

2.获取 SecretId及SecretKey ,SDK AppID
2-1图

2-2图


2.代码处理
文档详情 https://cloud.tencent.com/document/sdk/PHP
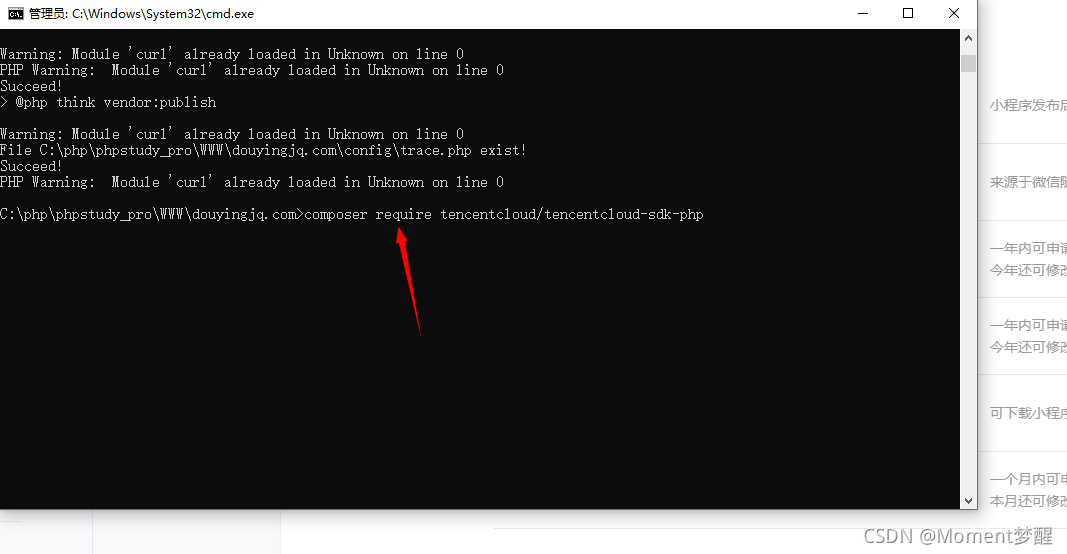
2-1 配置添加依赖文件

composer执行命令

###2-2 SDK代码演示
文档
https://console.cloud.tencent.com/api/explorer?Product=sms&Version=2021-01-11&Action=SendSms&SignVersion=

<?php
require_once '../vendor/autoload.php';//短信接口调用文件
use TencentCloud\Common\Credential;
use TencentCloud\Common\Profile\ClientProfile;
use TencentCloud\Common\Profile\HttpProfile;
use TencentCloud\Common\Exception\TencentCloudSDKException;
use TencentCloud\Sms\V20210111\SmsClient;
use TencentCloud\Sms\V20210111\Models\SendSmsRequest;
function duanx(){
    // dd($phone,$templateid,$random,$time);
    try {
        $cred = new Credential("SecretId", "SecretKey");
        $httpProfile = new HttpProfile();
        $httpProfile->setEndpoint("sms.tencentcloudapi.com");

        $clientProfile = new ClientProfile();
        $clientProfile->setHttpProfile($httpProfile);
        $client = new SmsClient($cred, "ap-beijing", $clientProfile);

        $req = new SendSmsRequest();

        $params = array(
            "PhoneNumberSet" => array( "+8617685455166"),
            "SmsSdkAppId" => "SDK AppID",
            "SignName" => "签名",
            "TemplateId" => "短信模板id",
            "TemplateParamSet" => array( "1" , "2" )
        );
        $req->fromJsonString(json_encode($params));

        $resp = $client->SendSms($req);
        return $resp->toJsonString();
    }
    catch(TencentCloudSDKException $e) {
        echo $e;
    }
}