后端软件下载
- 下载PHP tudy
链接:https://pan.baidu.com/s/1zG2-2q3KK2roLAmi8jO8zQ
提取码:7788

2. 下载Navicat for MySQL
链接:https://pan.baidu.com/s/1-VIf5ISaRtUEM8rNJdePKg
提取码:7788

安装好Navicat for MySQL后,我们在root连接中新建一个数据库,并新建一个表(注意,这里必须要先在PHP study中打开MySQL才能连接)


环境配置
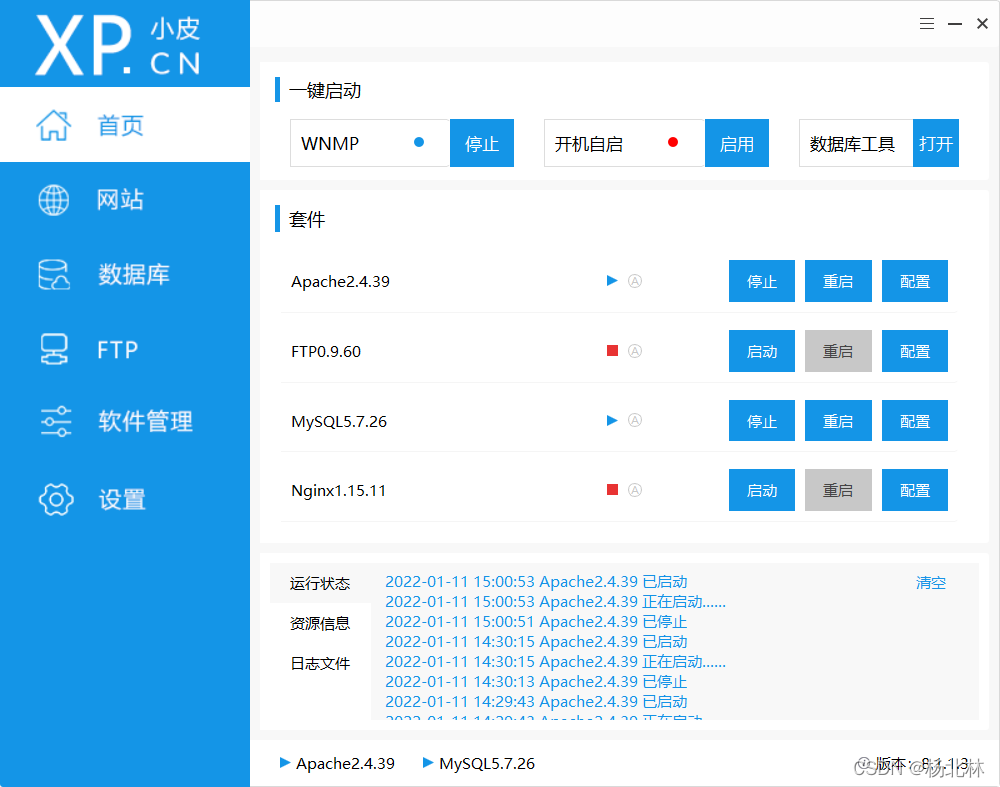
打开PHP study 中的Apache和MySQL,打开后,再打开浏览器出入localhost查看是否完成


出现这个画面表示php站点创建成功。
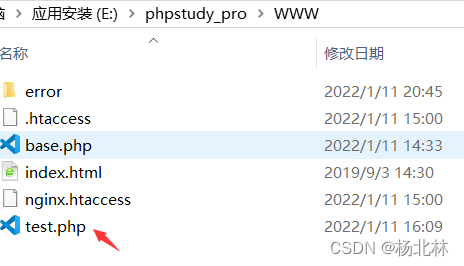
接下来,打开网站目录

刚刚显示的页面就是这里的index.html。
因为这是后台,我们需要写PHP代码,所以我们还需要返回PHP study配置一下,打开的文件类型

配置完,这里在浏览器输入localhost时就会默认打开test.php文件

测试后台接口
这里,我们连接MySQL数据库,并访问刚刚新建的数据表
- base.php:
<?php
	header("Content-type:text/html;charset=utf-8");
	$host='localhost';
	$userName='root';
	$passWorld='root';
	$dbName='second_hand_book';
	$conn=mysqli_connect($host,$userName,$passWorld,$dbName);
	mysqli_query($conn,'set names utf8');
	if(mysqli_connect_errno()){
	  die('数据库连接失败!'.mysqli_connect_errno());
	}else{
	  // echo '<h2>恭喜,数据库连接成功!用户:ROOT,数据库:school</h2>';
	  // echo "success";
	}
?>
PHP连接数据库的方法,可以参考https://blog.csdn.net/qq_43405812/article/details/105985123?spm=1001.2014.3001.5501
- test.php:
<?php
  header('content-type:text/html;charset=utf-8');
  include './base.php';
	$port=array('status'=>'0','msg'=>'error','data'=>'');
	$select_sql="SELECT * FROM  user";
	$result_select=mysqli_query($conn, $select_sql);
	$rows = mysqli_num_rows($result_select);
	print_r($rows);//8
	echo '<br>';
	$i=0;
	while($i<$rows){
    	$row = mysqli_fetch_array($result_select);
	  	echo json_encode($row);
	  	$i++;
	}
	$my=mysqli_fetch_assoc($result_select);
	if($my){
		$port['msg']='登录成功!';
		$port['data']=$my;
		echo json_encode($port);
	 	exit;
	}else{
		$port['msg']='用户名或密码错误!';
		echo json_encode($port);
	 	exit;
	}
	mysqli_close($conn);
?>
这时我们在浏览器输入localhost就会得到刚刚的数据表里面的内容,这样,我们就创建好了一个后台接口
