利用ZendStudio对PHP动态调试
本文系统环境:win10-64
本文工具:ZendStudio13.6.1、Xdebug、phpstudy、firefox
动态调试php代码一般可使用phpstorm与ZendStudio,二者都需要配合Xdebug或zend debugger达到动态调试效果,本文主要介绍怎样配置ZendStudio与Xdebug进行动态调试。
一、安装firefox插件Xdebug
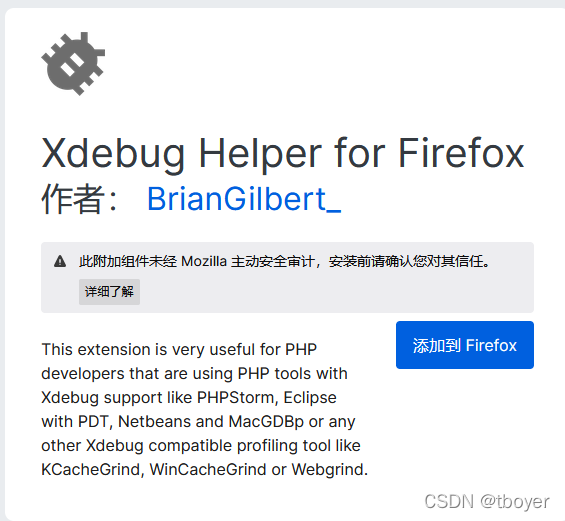
这里就是安装firefox的扩展,图例中的两个任意安装一个就可以,我用的是第一个


安装完成后再firefox的URL栏中会显示一个小虫子

二、安装PHP扩展Xdebug
1、这里直接使用phpstudy进行配置,服务器设置为Nginx1.15.11,php版本为5.6.9,在phpstudy面板下进行如下操作:
打开phpstudy,网站=>管理=>php扩展=>php_xdebug=>重启服务

2、查看php.ini文件,确定xdebug信息,将Xdebug部分下的Off都改为On
打开phpstudy,设置=>配置文件=>php5.6.9=>重启服务


三、ZendStudio配置
新建Servers
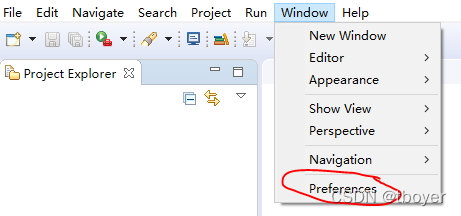
1、工具栏选择 Window=>Preferences

2、选择 PHP=>Servers=>New=>Generic PHP Server

3、Server Name自己随便起;Base URL就是服务器的根域名,这里使用的是80端口;Document Root填写根域名的绝对路径。配置好后选择Next

4、Debugger处选择XDebug,其他默认即可,Finish

新建php Executable
1、 Window=>Preferences=>PHP=>php Executable=>Add

2、Name自己定,Executable path是php的执行目录,PHP ini file是php.ini的目录.设置好后Next

3、Debugger设置为XDebug,port为9000。Finish

4、将配置好的php设置为默认。选择OK

设置Debug
1、Window=>Preferences=>PHP=>Debug
php Server选择刚刚新建的Servers,PHP选择刚刚新建的php,取消Break at First Line勾选。选择Apply=>OK

四、测试
1、在ZendStudio中新建项目或导入项目都可以,我这里导入了一个thinkphp
在配置完上述内容后,很多教程都是直接启动Debug调试,但在实际过程中发现如下Error

这里需要进行php的再设置
在调试文件处点击右键(这里是index.php)=>Debug As =>Debug Configurations

查看PHP CLI Application与PHP Web Application,如果Alternate PHP 不是我们所创建的则更改为之前新建的php(项目中的其他文件运行不了也可能是这个问题)

2、在准备调试的地方打上断点

3、右键要调试的文件=>Debug As =>Debug CLI Application(也可以选则web Application)

至此,我们就可利用ZendStudio对项目进行动态调试了,还可以联动firefox直接访问设置了断点的文件或项目。