本文以centos 7.6操作系统为例
关闭selinux和防火墙
sed -i 's/SELINUX=enforcing/SELINUX=disabled/' /etc/selinux/config
systemctl stop firewalld.service
systemctl disable --now firewalld
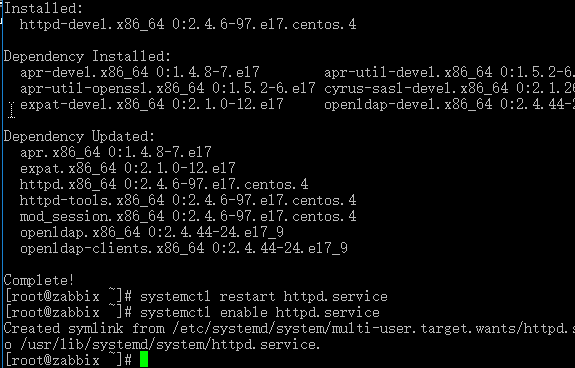
#安装httpd服务,设置开机自启动
yum install httpd-devel -y
systemctl restart httpd.service
systemctl enable httpd.service
编译安装php-7.4.28
#下载php压缩包
wget https://www.php.net/distributions/php-7.4.28.tar.gz

安装依赖,如果配置错误,需要安装其他的模块,直接yum一并安装依赖库
yum install -y gcc openssl openssl-devel
yum install -y libxml2 libxml2-devel  curl curl-devel libjpeg libjpeg-devel libpng libpng-devel freetype freetype-devel zlib zlib-devel openldap openldap-devel sqlite-devel oniguruma-devel
#解压,编译安装
mv php-7.4.28.tar.gz /opt/
cd /opt/
tar -zxvf php-7.4.28.tar.gz
useradd -s /sbin/nologin -M php
cd php-7.4.28
./configure --prefix=/usr/local/php7 --with-config-file-path=/usr/local/php7/etc --with-mhash --with-openssl --with-mysqli=mysqlnd --with-pdo-mysql=mysqlnd --with-zlib --enable-bcmath  --enable-gd --with-jpeg --with-freetype  --enable-mbstring --enable-ftp --enable-sockets   --with-gettext --enable-session --with-curl   --enable-fpm --with-fpm-user=php --with-fpm-group=php   --enable-pdo -enable-tokenizer --with-zip --with-apxs2=/usr/bin/apxs
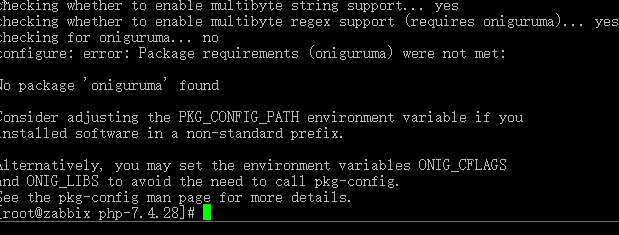
提示apxs问题
yum install httpd-devel
which apxs
发现报错
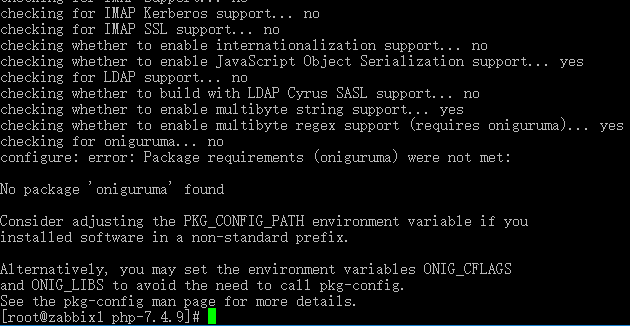
#解决报错No package ‘oniguruma’ found
yum  -y  install autoconf automake libtool
cd ~
wget https://github.com/kkos/oniguruma/archive/v6.9.5_rev1.tar.gz
tar -zxvf v6.9.5_rev1.tar.gz
cd oniguruma-6.9.5_rev1/
./autogen.sh
./configure --prefix=/usr --libdir=/lib64
make && make install
重新进入php目录编译发现新报错
cd /opt/php-7.4.28
./configure --prefix=/usr/local/php7 --with-config-file-path=/usr/local/php7/etc --with-mhash --with-openssl --with-mysqli=mysqlnd --with-pdo-mysql=mysqlnd --with-zlib --enable-bcmath  --enable-gd --with-jpeg --with-freetype  --enable-mbstring --enable-ftp --enable-sockets   --with-gettext --enable-session --with-curl   --enable-fpm --with-fpm-user=php --with-fpm-group=php   --enable-pdo -enable-tokenizer --with-zip --with-apxs2=/usr/bin/apxs
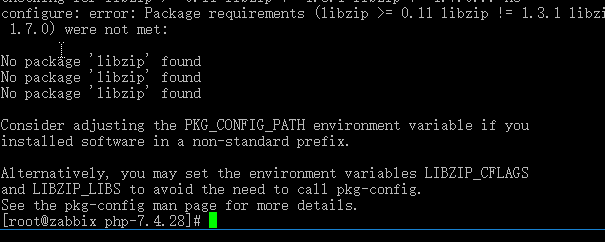
解决报错
cd ~
wget https://libzip.org/download/libzip-1.3.2.tar.gz --no-check-certificate

tar -zxvf libzip-1.3.2.tar.gz
cd libzip-1.3.2
./configure && make && make install
export PKG_CONFIG_PATH="/usr/local/lib/pkgconfig/"
再进入php目录重新编译安装
apache默认加载的是libphp5.so 这时需要指定libphp7.so 按照教程的configure是不生成libphp7.so,因此需要再加一个选项 --with-apxs2
cd /opt/php-7.4.28
./configure --prefix=/usr/local/php7 --with-config-file-path=/usr/local/php7/etc --with-mhash --with-openssl --with-mysqli=mysqlnd --with-pdo-mysql=mysqlnd --with-zlib --enable-bcmath  --enable-gd --with-jpeg --with-freetype  --enable-mbstring --enable-ftp --enable-sockets   --with-gettext --enable-session --with-curl   --enable-fpm --with-fpm-user=php --with-fpm-group=php   --enable-pdo -enable-tokenizer --with-zip   --with-apxs2=/usr/bin/apxs
此时没有报错
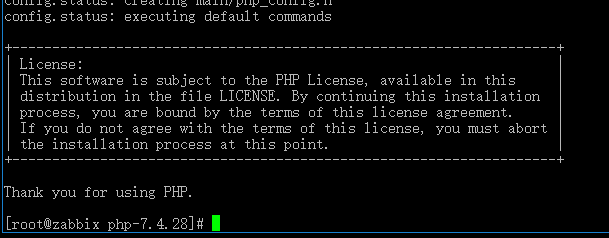
make && make install
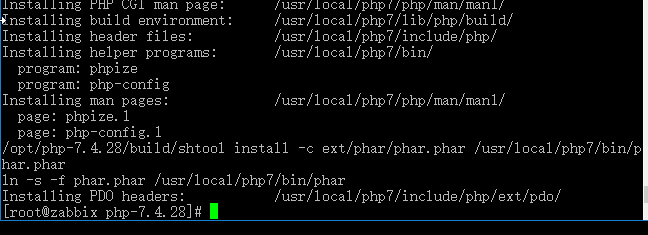
yum install net-tools -y
yum install psmisc -y
#配置文件改名
cd /usr/local/php7/etc/
cp php-fpm.conf.default php-fpm.conf
cp php-fpm.d/www.conf.default php-fpm.d/www.conf
#php命令设置软链接
ln -s /usr/local/php7/sbin/* /usr/local/sbin
ln -s /usr/local/php7/bin/* /usr/local/bin
#查看php的版本
php -v
#启动php-fpm
php-fpm
netstat -antp | grep php-fpm
#查看运行日记
tail -f /usr/local/php7/var/log/php-fpm.log
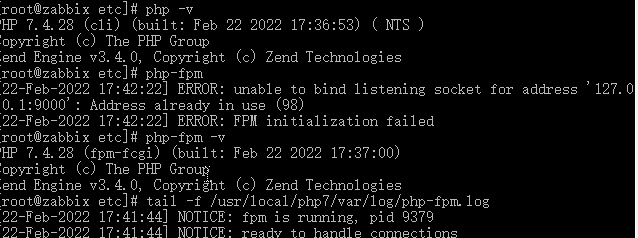
安装ldap扩展模块
#安装ldap扩展模块
cd /opt/php-7.4.28/ext/ldap
find / -name phpize
#运行phpize
/usr/local/php7/bin/phpize
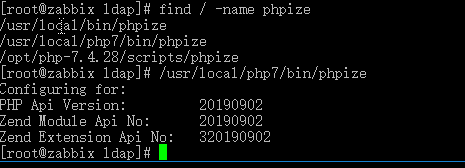
#复制库文件
cp -frp /usr/lib64/libldap* /usr/lib/
#安装至/usr/local/php7/bin/php-config
./configure --with-php-config=/usr/local/php7/bin/php-config
#编译安装
make && make install

#修改参数
cd /opt/php-7.4.28/
cp php.ini-production /usr/local/php7/etc/php.ini
vim /usr/local/php7/etc/php.ini
extension_dir = "/usr/local/php7/lib/php/extensions/no-debug-non-zts-20190902/"
extension = ldap.so

max_execution_time = 300
post_max_size = 16M
max_input_time = 300
date.timezone = Asia/Shanghai

安装MariaDB10.3数据库
yum  -y install mariadb mariadb-libs mariadb-devel mariadb-server
systemctl enable --now mariadb   #设置开机自启
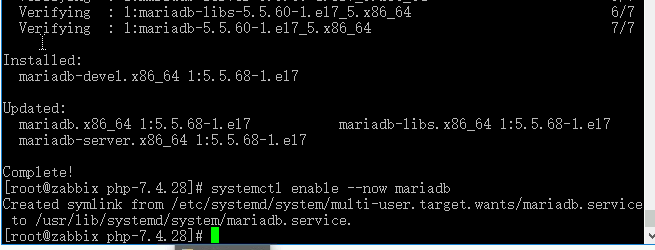
#初始化 mariadb 并配置 root 密码
mysql_secure_installation
#直接回车,空
是否设置密码:y
输入设置密码:123456
再次输入密码:123456
是否移除anonymous用户:y
是否不允许root远程登录:n
是否移除test数据库:y
是否更新:y
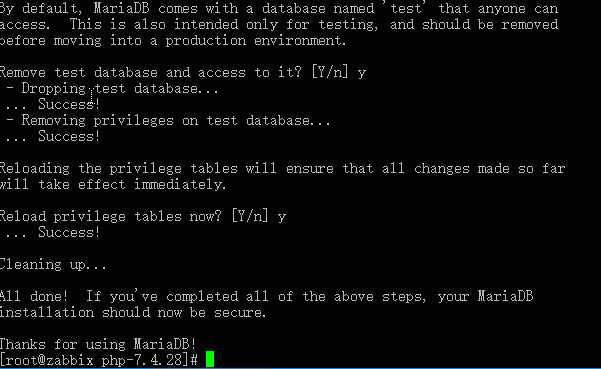
mysql -uroot -p
mysql> show databases;         #查看默认数据库
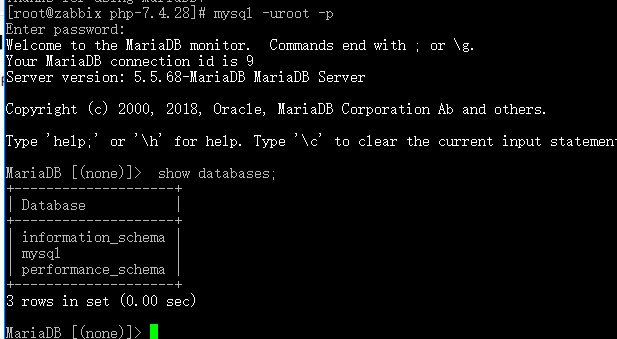
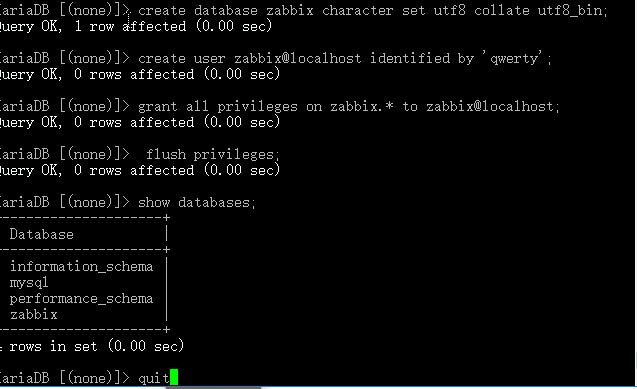
mysql> create database zabbix character set utf8 collate utf8_bin;   #我们的电脑自带的编码就是utf8,如下图
mysql> create user zabbix@localhost identified by 'qwerty';    #密码可以自行修改
mysql> grant all privileges on zabbix.* to zabbix@localhost;
mysql> flush privileges;     #更新
mysql> quit;
#安装依赖
yum install -y libevent-devel net-snmp-devel
#下载压缩包,解压
cd ~
wget https://cdn.zabbix.com/zabbix/sources/stable/6.0/zabbix-6.0.0.tar.gz
tar -zvxf zabbix-6.0.0.tar.gz
#创建用户组等,授权
groupadd --system zabbix
useradd --system -g zabbix -d /usr/lib/zabbix -s /sbin/nologin -c "Zabbix Monitoring System" zabbix
mkdir -m u=rwx,g=rwx,o= -p /usr/lib/zabbix
chown zabbix:zabbix /usr/lib/zabbix
cd zabbix-6.0.0

#编译安装
./configure --enable-server --enable-agent --with-mysql --enable-ipv6 --with-net-snmp --with-libcurl --with-libxml2
make install
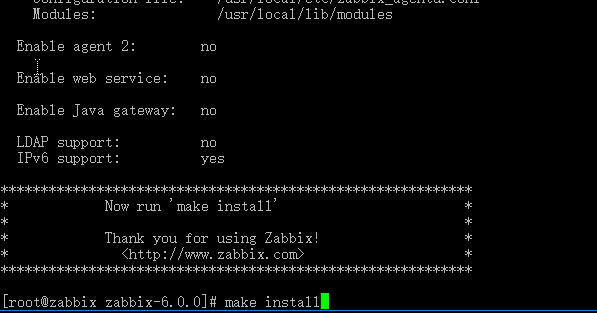
#导入数据库
mysql -uzabbix -p zabbix < database/mysql/schema.sql
mysql -uzabbix -p zabbix < database/mysql/images.sql
mysql -uzabbix -p zabbix < database/mysql/data.sql

#添加数据库zabbix用户的登陆密码
vim +/DBPassword /usr/local/etc/zabbix_server.conf
	DBPassword=qwerty
	DBSocket=/var/lib/mysql/mysql.sock
#启动server与agentd服务
zabbix_server
zabbix_agentd
#Zabbix 前端是 PHP 编写的,所以必须运行在支持 PHP 的 Web 服务器上。需要从ui路径下复制 PHP 文件到 Web 服务器的 HTML 文档目录,完成安装,把整个ui目录都拷贝过去并命名为zabbix
cp -r ui /var/www/html/zabbix/

http://10.12.242.251/zabbix/
#编辑测试页
vim /var/www/html/index.php
<?php
phpinfo();
?>
chmod 755 /var/www/html/index.php

修改配置文件
vim /etc/httpd/conf/httpd.conf
这几行修改如下
Require all granted
增加AddType application/x-httpd-php .php
AddType application/x-httpd-php-source .phps
在DirectoryIndex index.html后面 增加索引页index.php
加载php7模块已经有了,便不再增加,重启httpd服务即可

systemctl restart httpd
再次访问网页发现正常
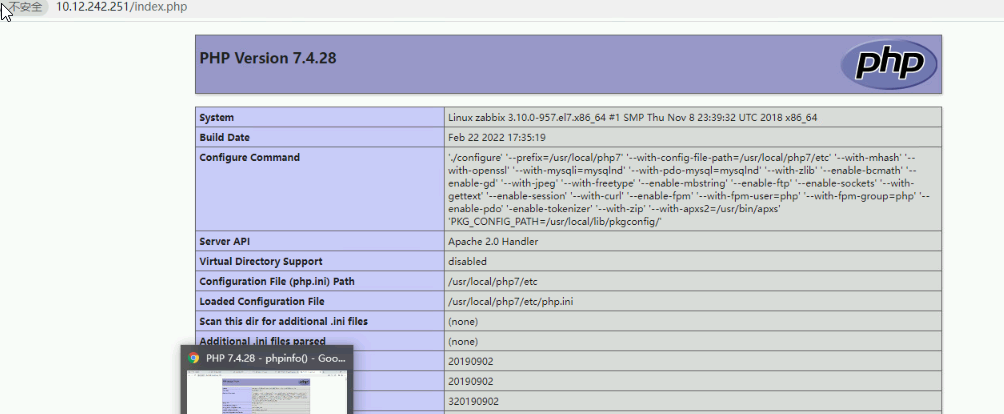
#访问授权zabbix
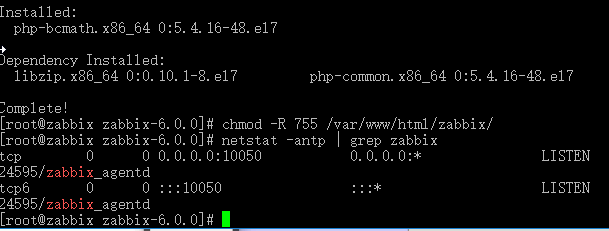
yum install php-bcmath -y
chmod -R 755 /var/www/html/zabbix/
netstat -antp | grep zabbix
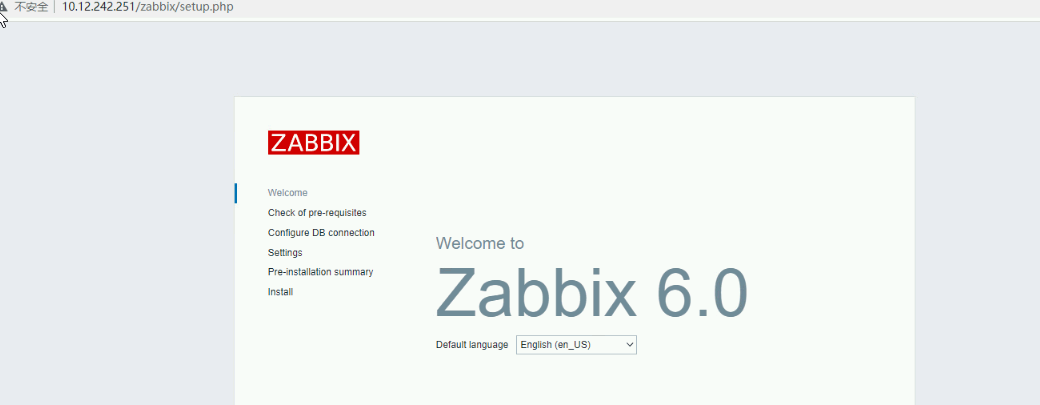
浏览器:http://10.12.242.51/zabbix/setup.php,弹出安装界面
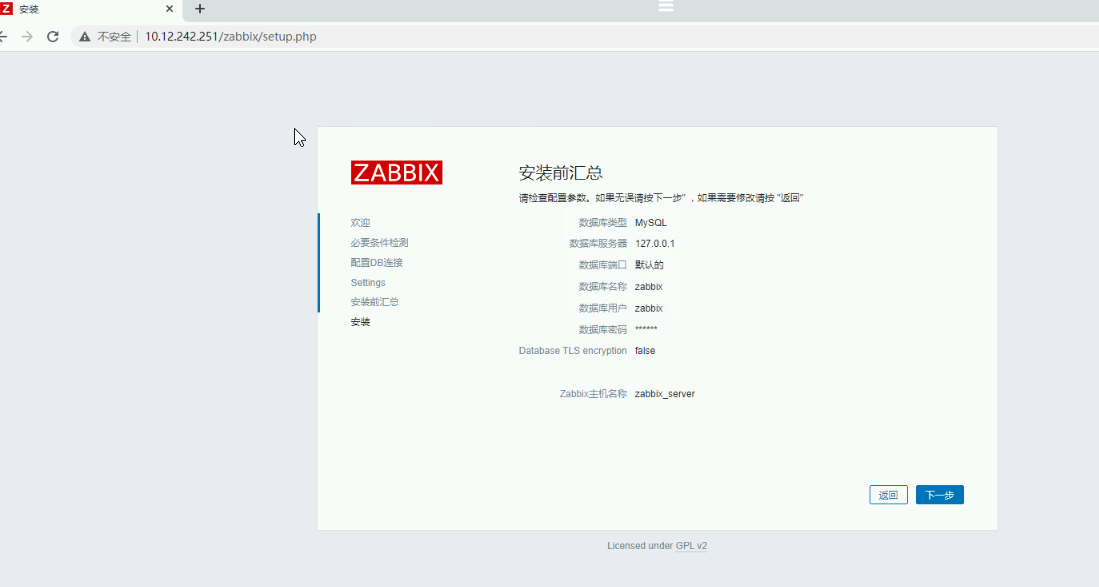
这里当时没连接上,把数据库主机ip改为 127.0.0.1 即可,数据库zabbix/qwerty
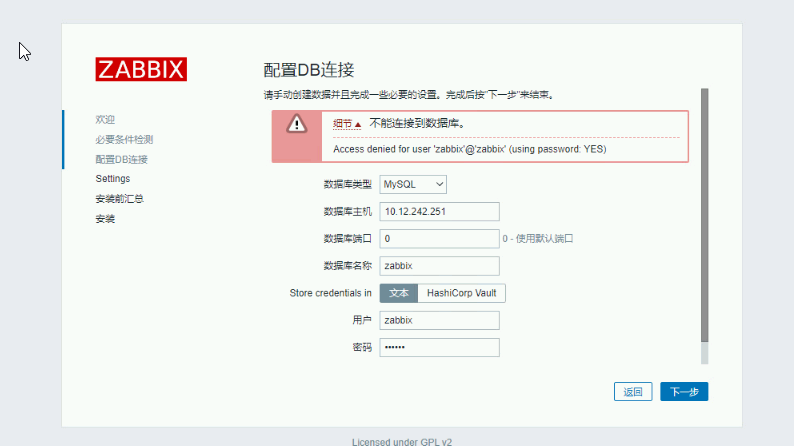
配置
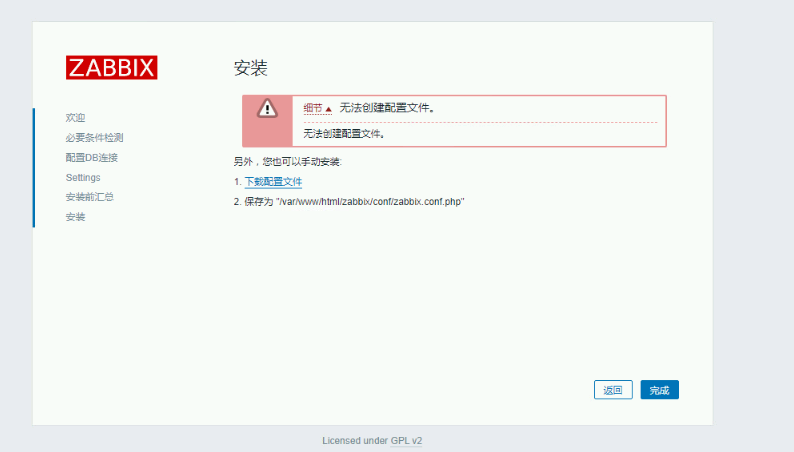
根据提示下载配置文件放在相应目录
登录,初始账号密码是 Admin/zabbix
通过服务器 mysql -uroot -p -e "select * from zabbix.users\G"可查看
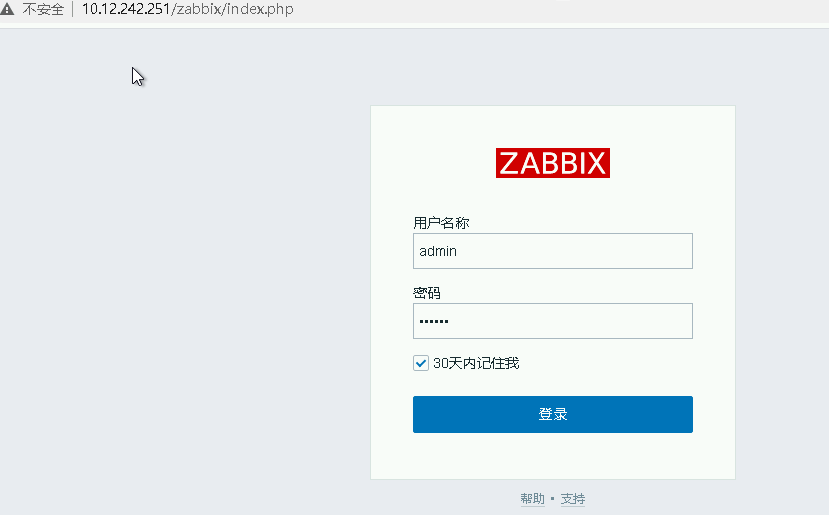
登录成功,剩下的就按照给中配置完成即可
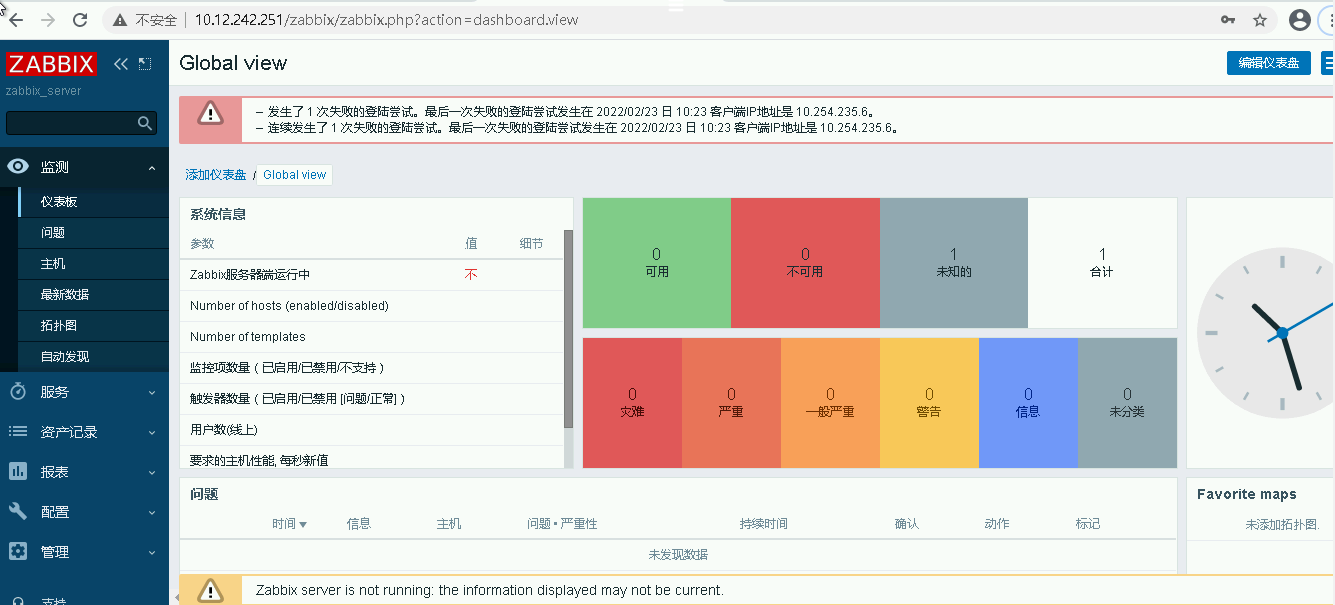
发现黄色告警信息
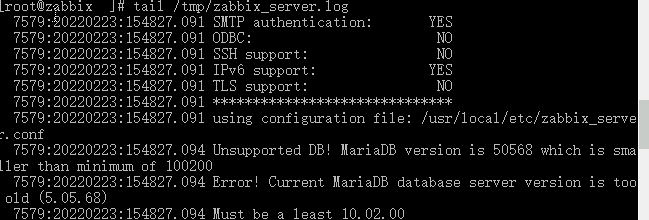
查看日志发现数据库版本过低
添加 MariaDB Yum 库
MariaDB 10.3 CentOS repository list
http://yum.mariadb.org/
MariaDB 10.3 CentOS repository list
http://yum.mariadb.org/
[mariadb]
name = MariaDB
baseurl = http://yum.mariadb.org/10.3/centos7-amd64/
gpgkey = https://yum.mariadb.org/RPM-GPG-KEY-MariaDB
gpgcheck = 1
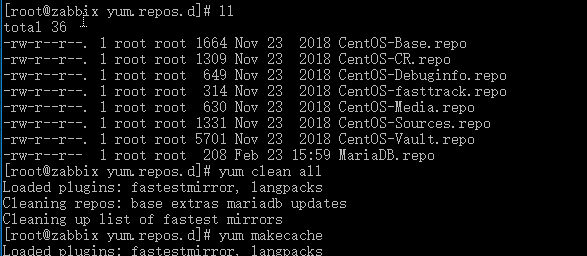
更新数据库
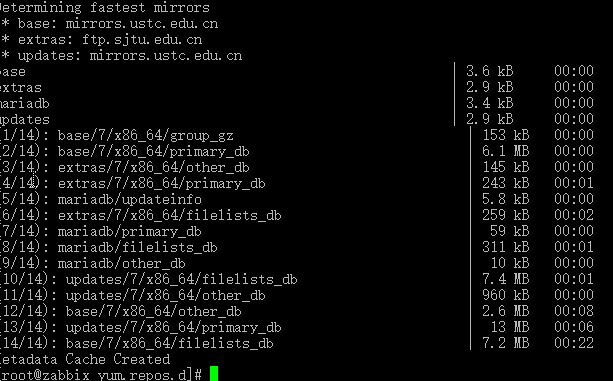
2、清除yum源缓存并建立数据源
yum clean all
yum makecache
三、升级已有数据库
1、安装MariaDB新版本
yum install mariadb mariadb-server
2、启动新版MariaDB
systemctl start mariadb
3、升级已有数据库
mysql_upgrade -uroot -p --force
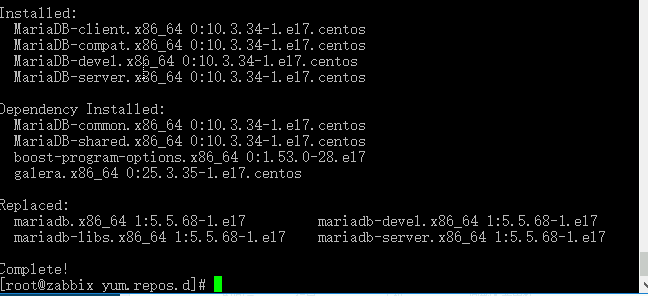
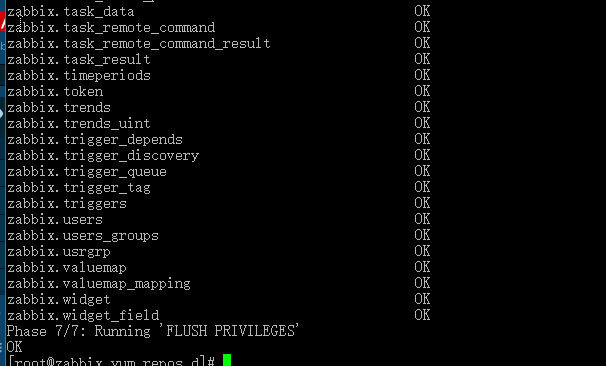
4、配置服务自启动
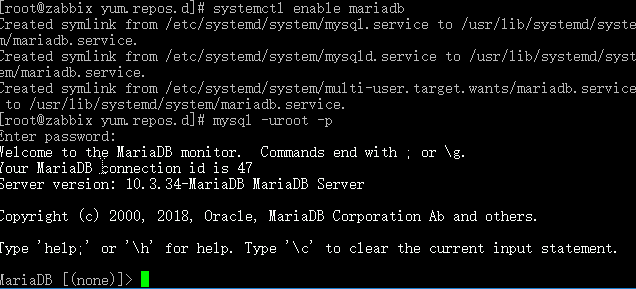
systemctl enable mariadb
5、登录数据库验证
mysql -uroot -p
6、查看数据是否丢失。
启动zabbix——server是又提示需要更高版本
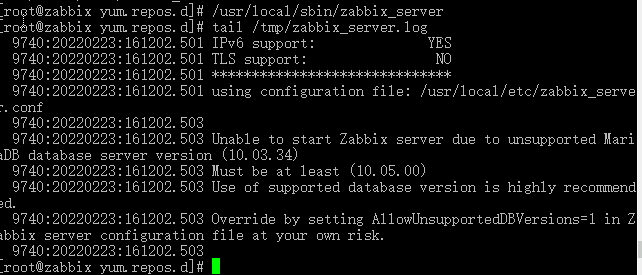

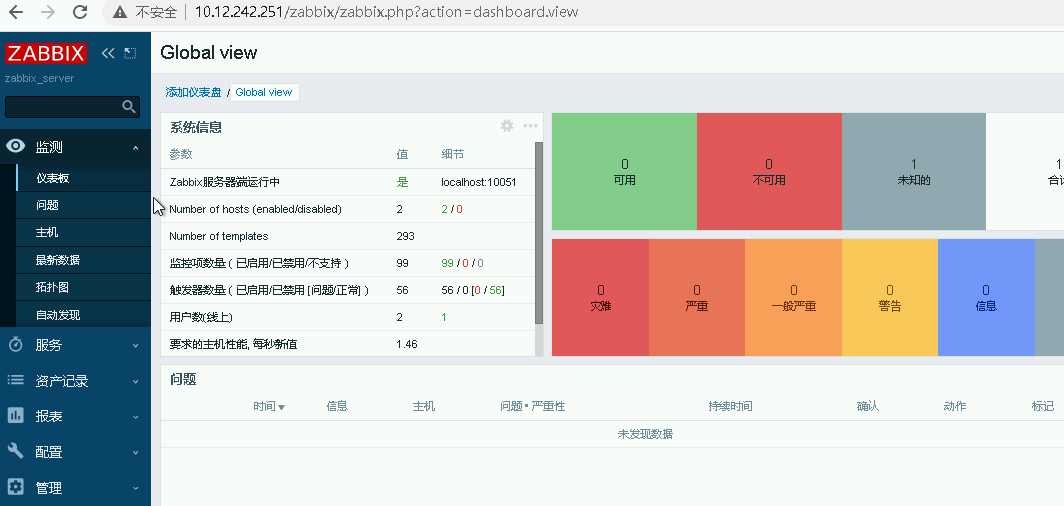
启动zabbix服务,zabbix监控恢复正常
文章参考 https://bbs.huaweicloud.com/blogs/330987
谢谢