实现过程
首先,要安装一些使用 viroBlast 的依赖软件。
安装 blast+,使用conda安装blast
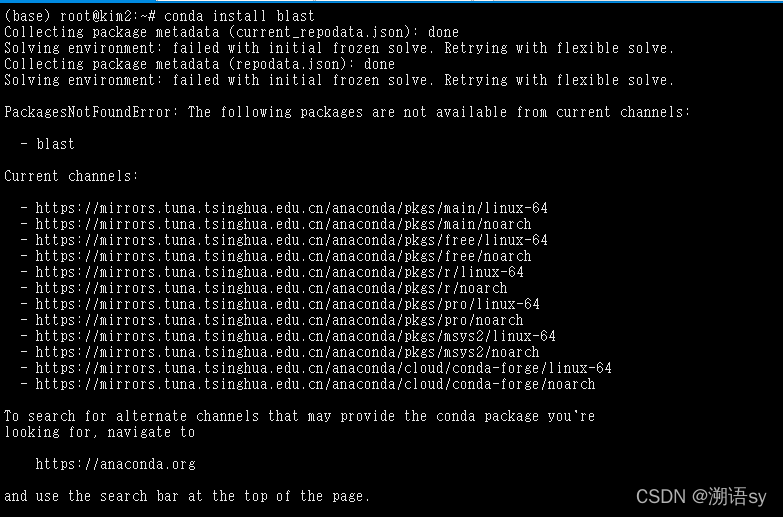
conda install blast
网上的指令都是这个,我在安装的时候总是出现
参考其他博客https://blog.csdn.net/weixin_45552562/article/details/109668589,
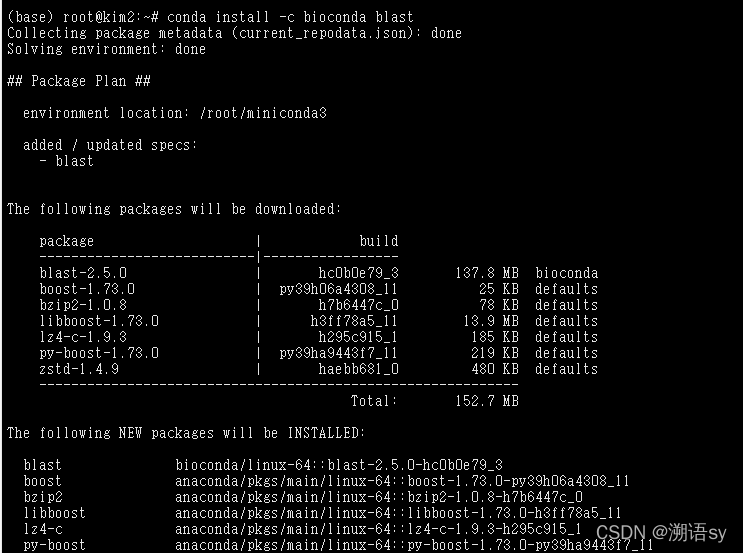
发现使用官网提供的方法可以解决
conda install -c bioconda blast
(中途插入语)也可以去ncbi上下载相应的blast+压缩包,然后再自行安装。(后者没试过,一下是链接)
https://ftp.ncbi.nlm.nih.gov/blast/executables/blast+/LATEST/
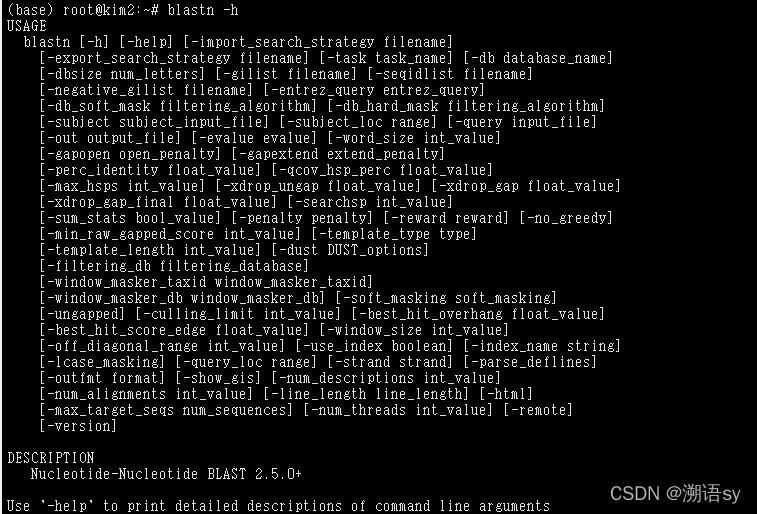
安装成功,用blastn -h检验
blastn -h
安装 服务器 apache2,搭建的是一个网页版的blast。
sudo apt-get install apache2
安装PHP,viroBlast是用PHP编写的
sudo apt-get install libapache2-mod-php php php-gd
下载viroblast。
wget http://indra.mullins.microbiol.washington.edu/viroblast/download.php?ID=viroblast.tar.gz
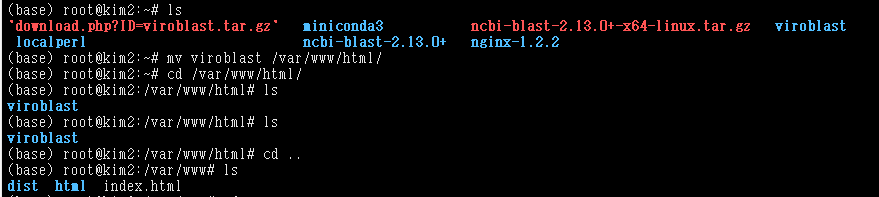
查看下载,并解压

tar -zxvf "download.php?ID=viroblast.tar.gz"

解压之后,移动viroblast到/var/www/html下
mv viroblast /var/www/html/
cd /var/www/html/
通过网页查看viroblast是否安装成功。
打开浏览器,网页访问:http://主机IP/viroblast/viroblast.php,显示如下说明安装成功:
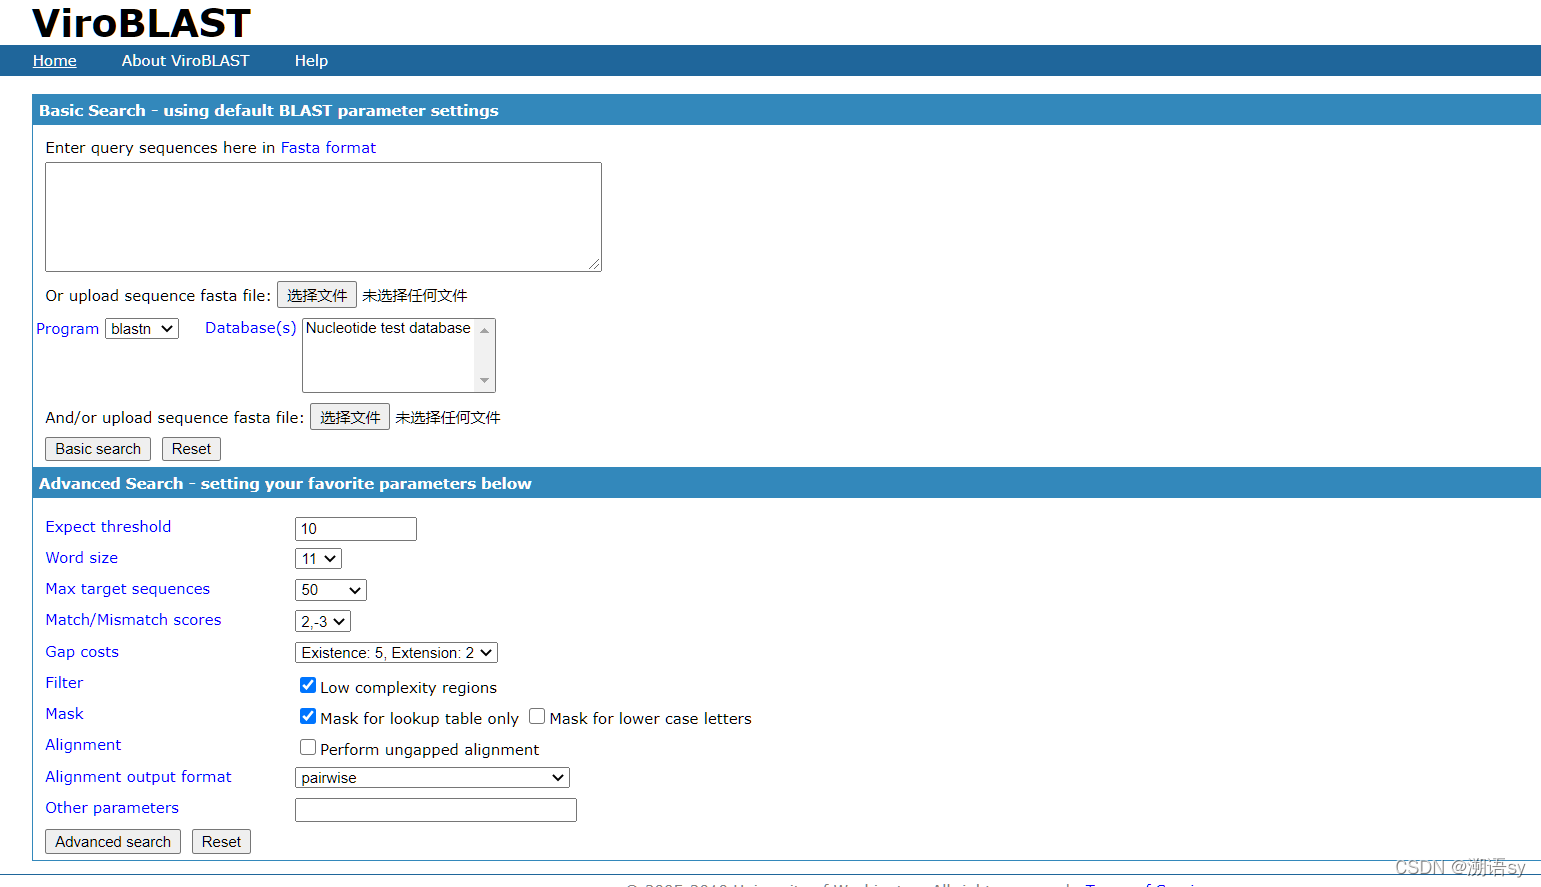
最后,viroblast安装成功,具体后面如何构建自己所需要的blast数据库,请参考其他文章。