Zabbix服务器
1、安装Nginx
软件下载
- 方式一:下载RPM包
官网下载RPM包
wget http://nginx.org/packages/centos/7/x86_64/RPMS/nginx-1.20.2-1.el7.ngx.x86_64.rpm
查看
[root@zabbix ~]# ls
nginx-1.20.2-1.el7.ngx.x86_64.rpm
- 方式二:本地拖拽
使用rz
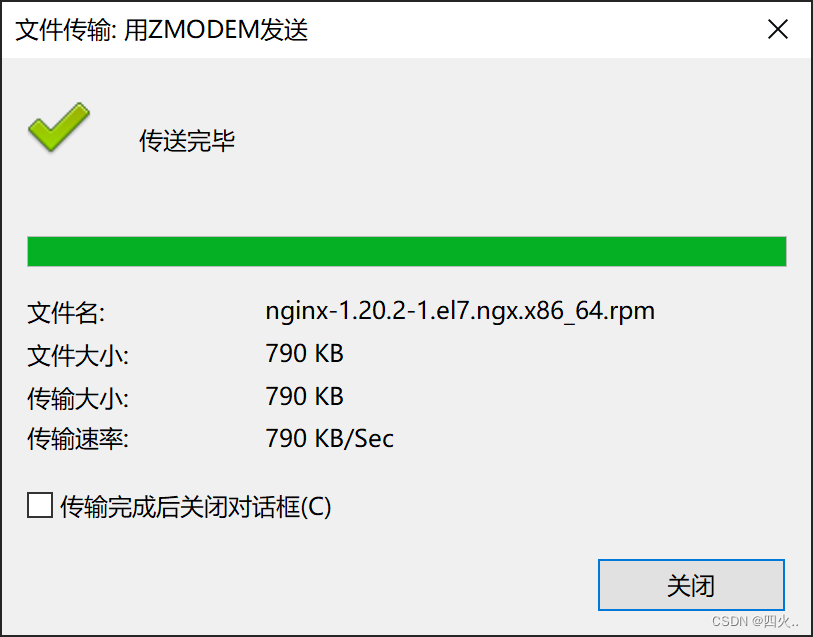
[root@zabbix ~]# ls
nginx-1.20.2-1.el7.ngx.x86_64.rpm
软件安装
进行本地安装
yum localinstall -y nginx-1.20.2-1.el7.ngx.x86_64.rpm
统一系统用户
groupadd nginx -g 888
useradd nginx-u 888 -g 888 -s /sbin/nologin -M
修改nginx配置文件
sed -i '/^user/c user nginx;' /etc/nginx/nginx.conf
2、安装PHP
软件下载
- 方式一:配置官方源
移除旧版php
yum remove php-mysql-5.4 php php-fpm php-common -y
安装扩展源
yum install -y https://mirror.webtatic.com/yum/el7/webtatic-release.rpm
配置第三方源
vim /etc/yum.repos.d/php.repo
[php-webtatic]
name = PHP Repository
baseurl = http://us-east.repo.webtatic.com/yum/el7/x86_64/
gpgcheck = 0
- 方式二:本地拖拽
使用rz
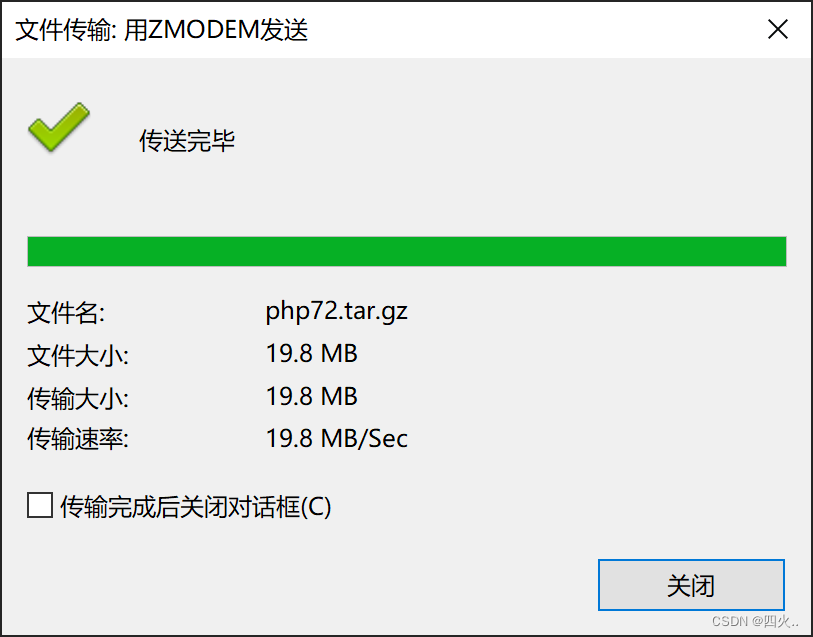
[root@zabbix ~]# ls
nginx-1.20.2-1.el7.ngx.x86_64.rpm  php72.tar.gz
软件安装
- 方式一
安装php7.1版本
yum -y install php71w php71w-cli php71w-common php71w-devel \
php71w-embedded php71w-gd php71w-mcrypt php71w-mbstring php71w-pdo php71w-xml \
php71w-fpm php71w-mysqlnd php71w-opcache php71w-pecl-memcached php71w-pecl-redis \
php71w-pecl-mongodb
替换php-fpm运行的用户和组身份
sed -i '/^user/c user = nginx' /etc/php-fpm.d/www.conf
sed -i '/^group/c group = nginx' /etc/php-fpm.d/www.conf
启动php-fpm管理进程, 并加入开机自启
systemctl start php-fpm
systemctl enable php-fpm
- 方式二
解压
tar xf php72.tar.gz
本地安装
yum localinstall -y php72/*
替换php-fpm运行的用户和组身份
sed -i '/^user/c user = nginx' /etc/php-fpm.d/www.conf
sed -i '/^group/c group = nginx' /etc/php-fpm.d/www.conf
下载PHP的bcmath扩展
使用rz
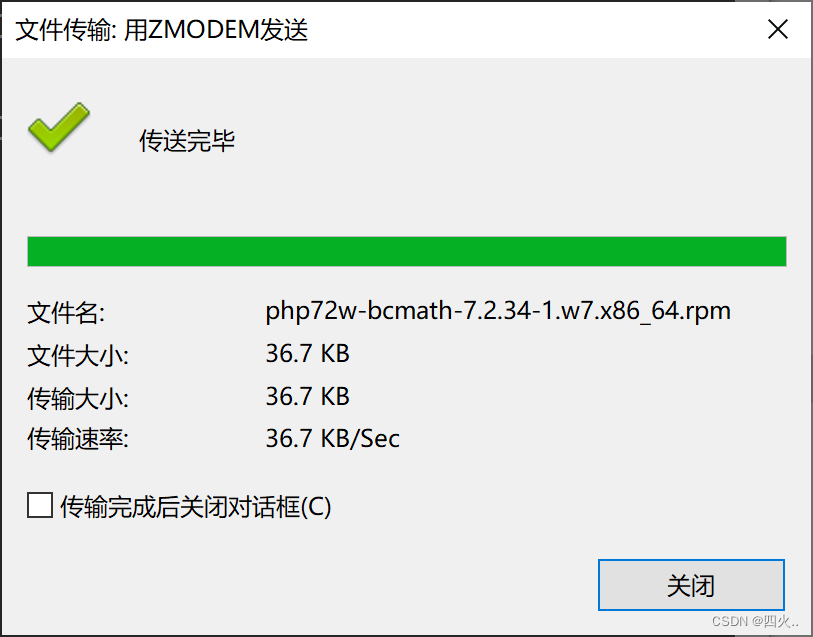
yum localinstall -y php72w-bcmath-7.2.34-1.w7.x86_64.rpm
3、编写zabbix配置文件
- 编写配置文件
vim /etc/nginx/conf.d/zabbix.conf
- 文件内容
server {
        listen 80;
        server_name localhost;
        root /html;
        index index.php index.html;

    location ~ \.php$ {
        root           /html;
        fastcgi_pass   127.0.0.1:9000;
        fastcgi_index  index.php;
        fastcgi_param  SCRIPT_FILENAME  $document_root$fastcgi_script_name;
        include        fastcgi_params;
    }
}
4、启动/重启服务
- 启动服务
systemctl start nginx php-fpm
- 重启服务
systemctl restart nginx php-fpm
- 设置开机自启
systemctl enable nginx php-fpm
5、配置zabbix站点文件
使用rz
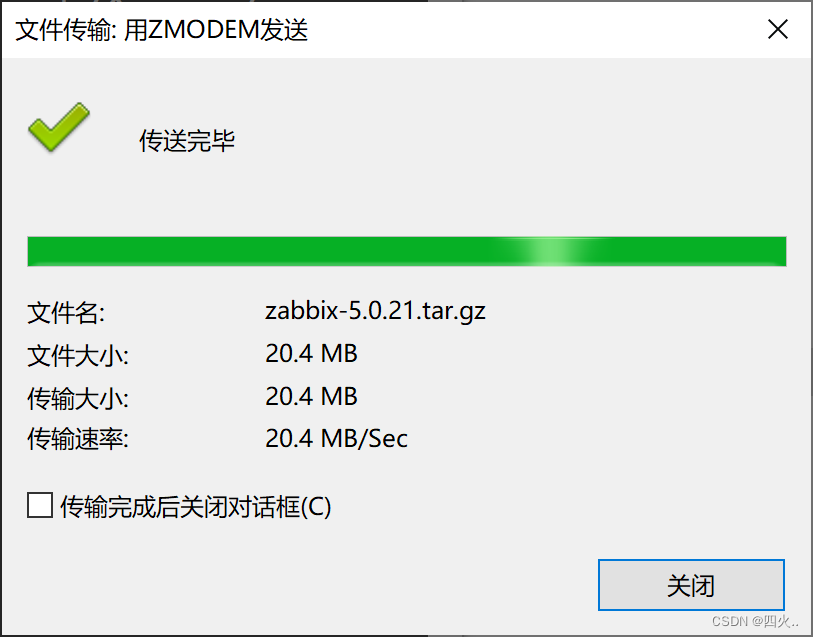
- 解压zabbix压缩包
tar xf zabbix-5.0.21.tar.gz
- 创建站点目录
mkdir -p /html
- 配置站点文件
mv zabbix-5.0.21/ui/* /html/
- 修改文件归属,避免权限问题
chown -R nginx.nginx /html/
6、访问页面报错
- 问题
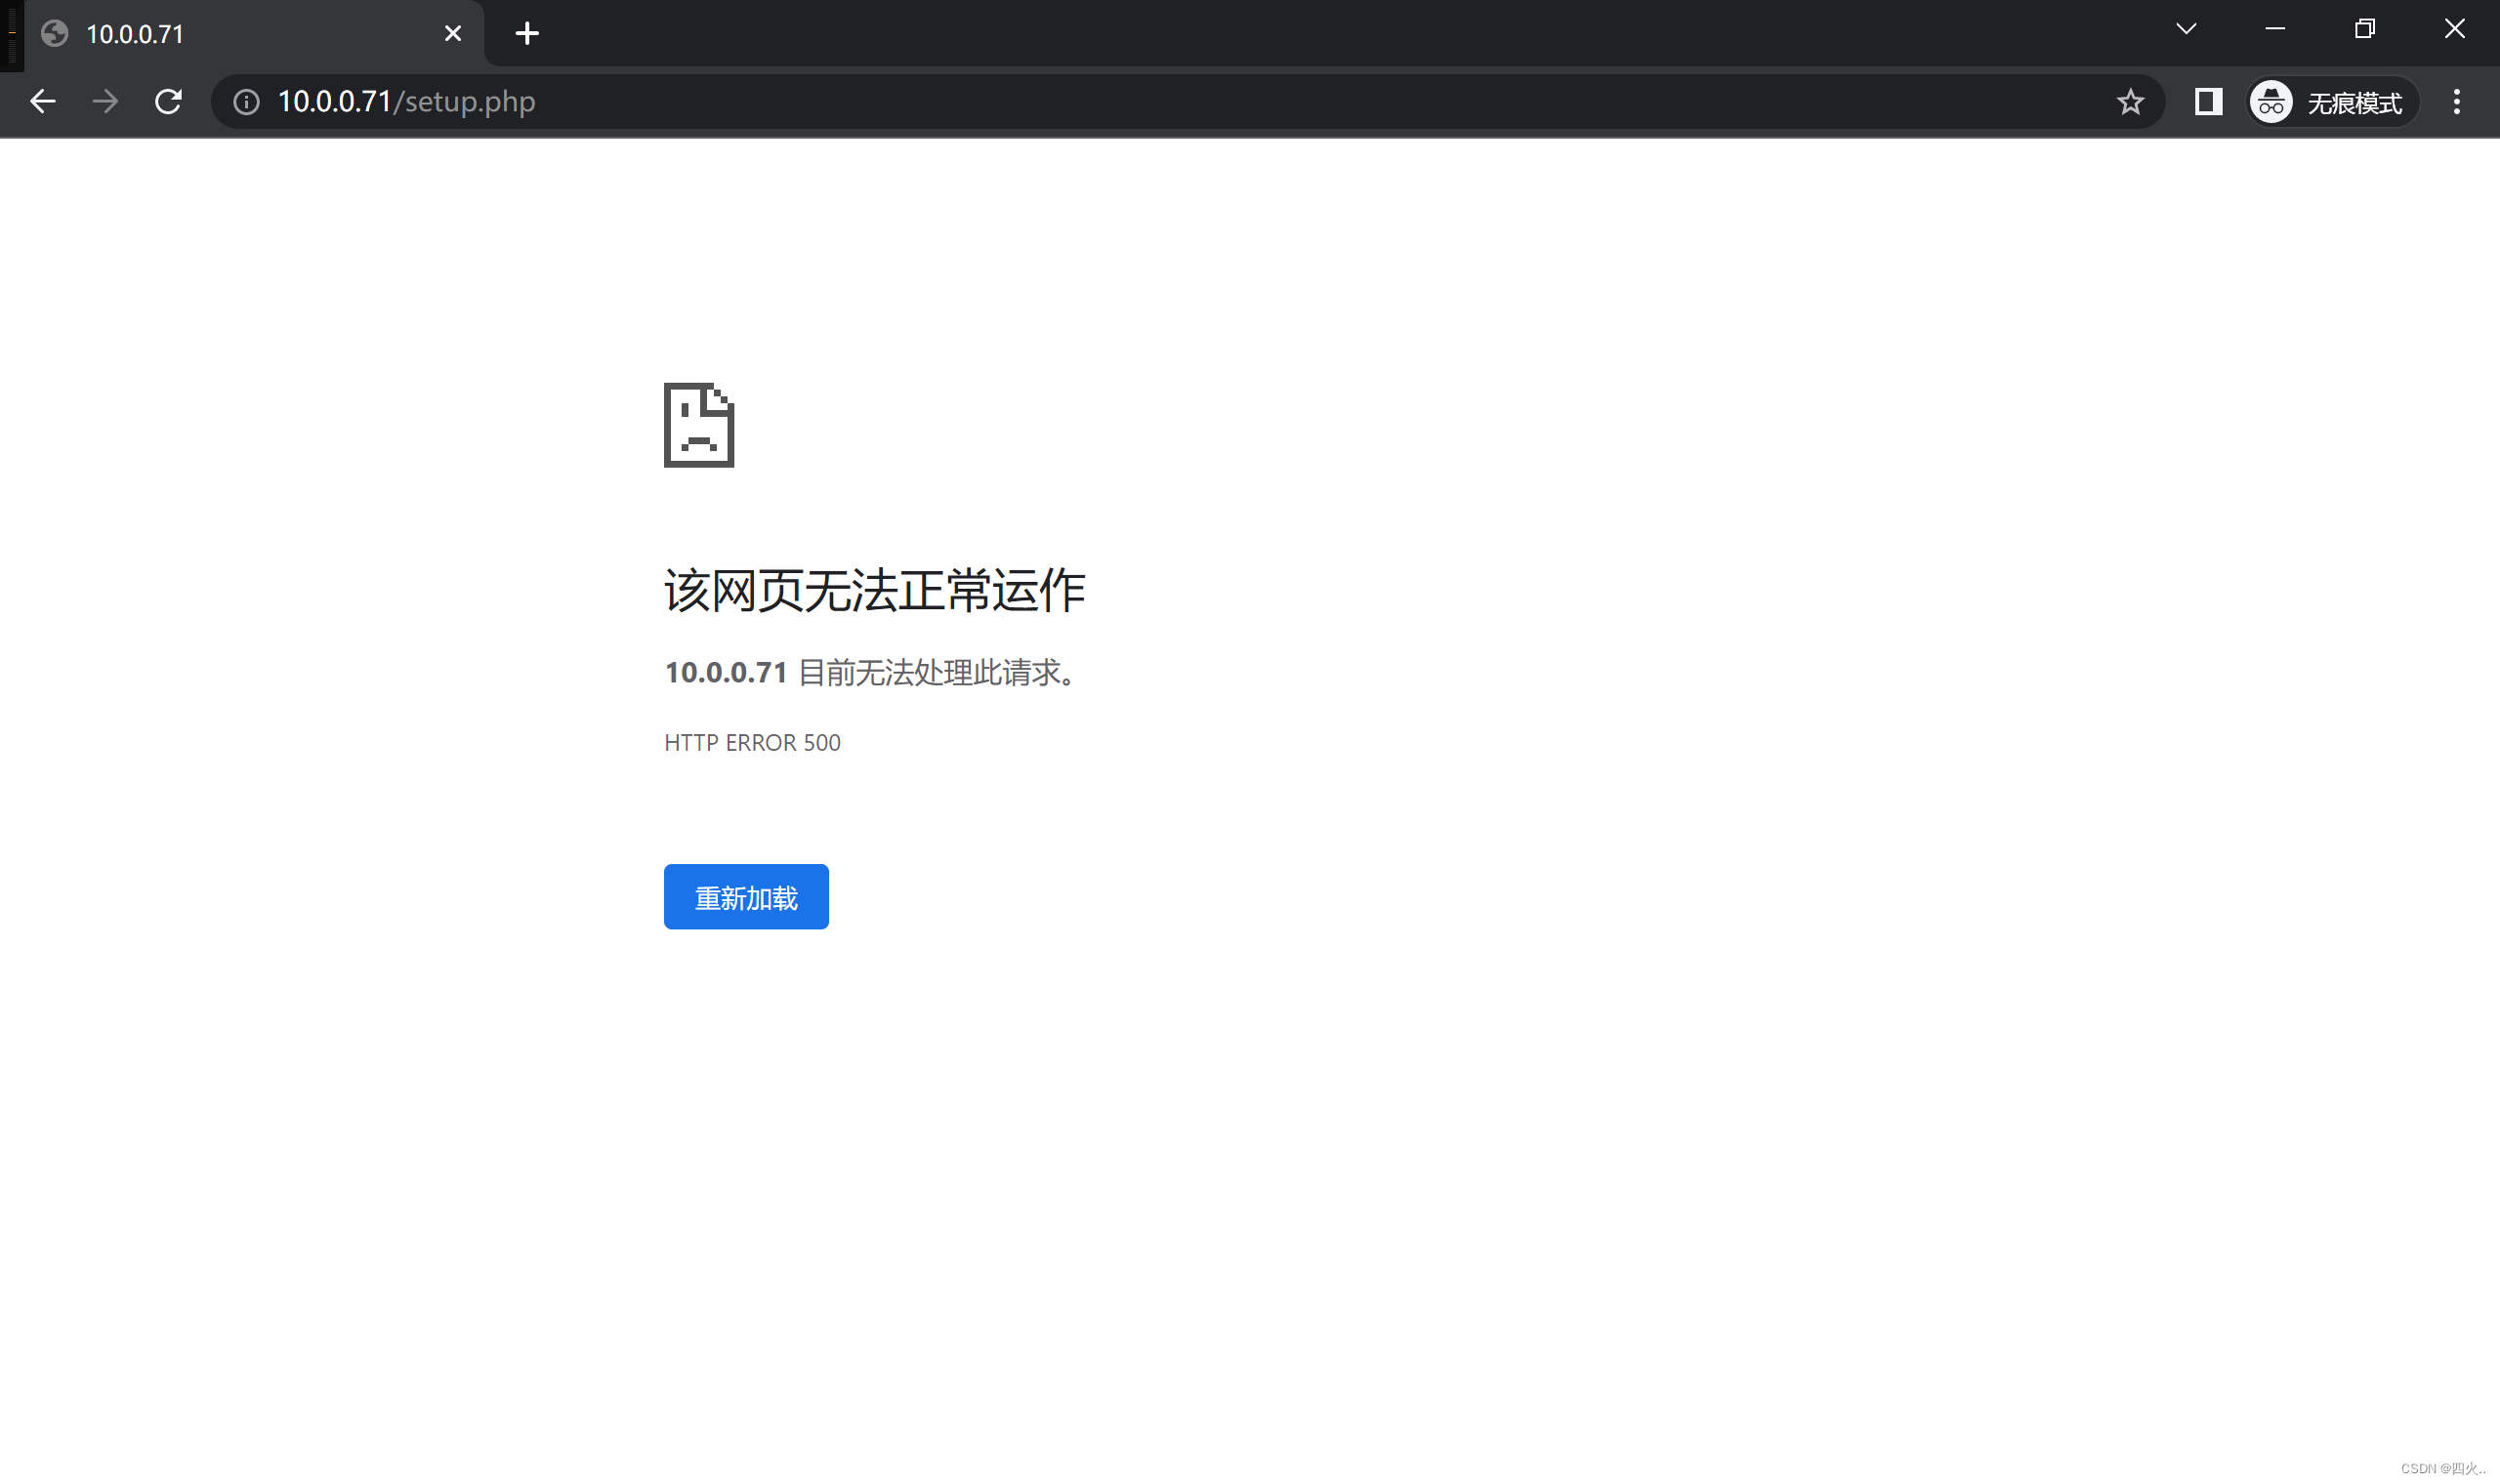
- 查看日志文件
tail /var/log/nginx/error.log

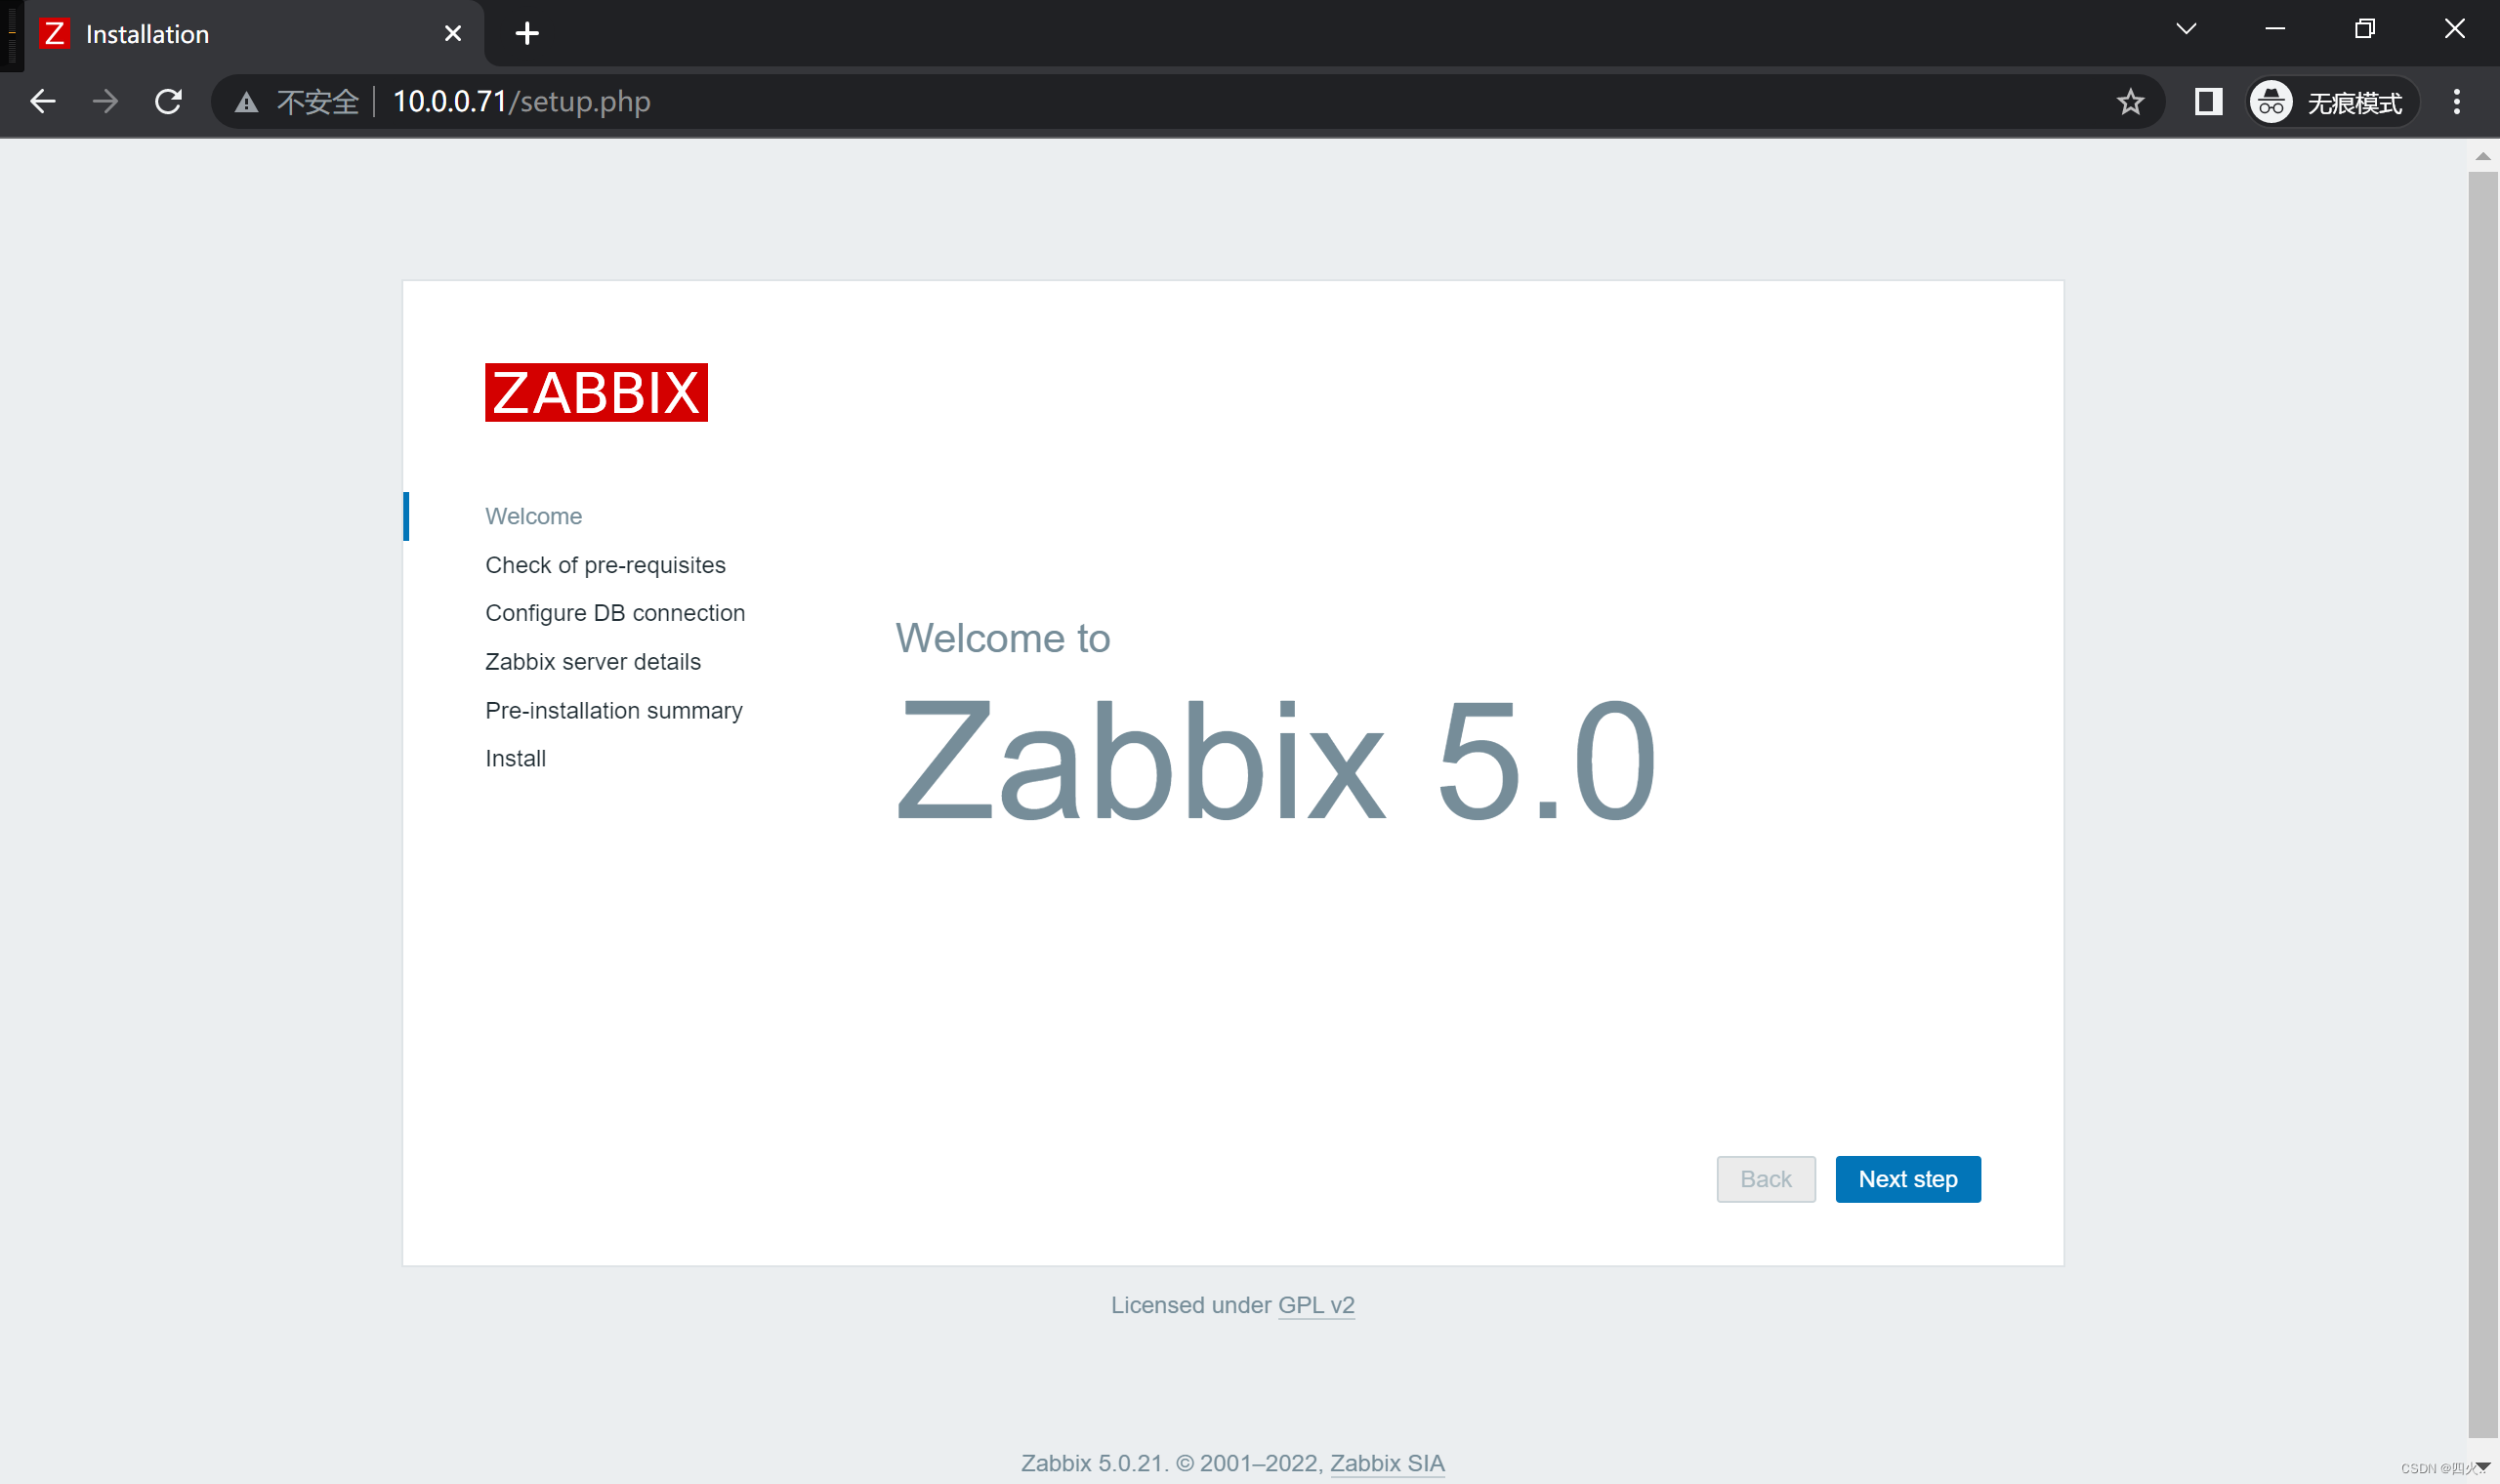
- 解决方式
mkdir -p /var/lib/php/session
chown -R nginx.nginx /var/lib/php/session/
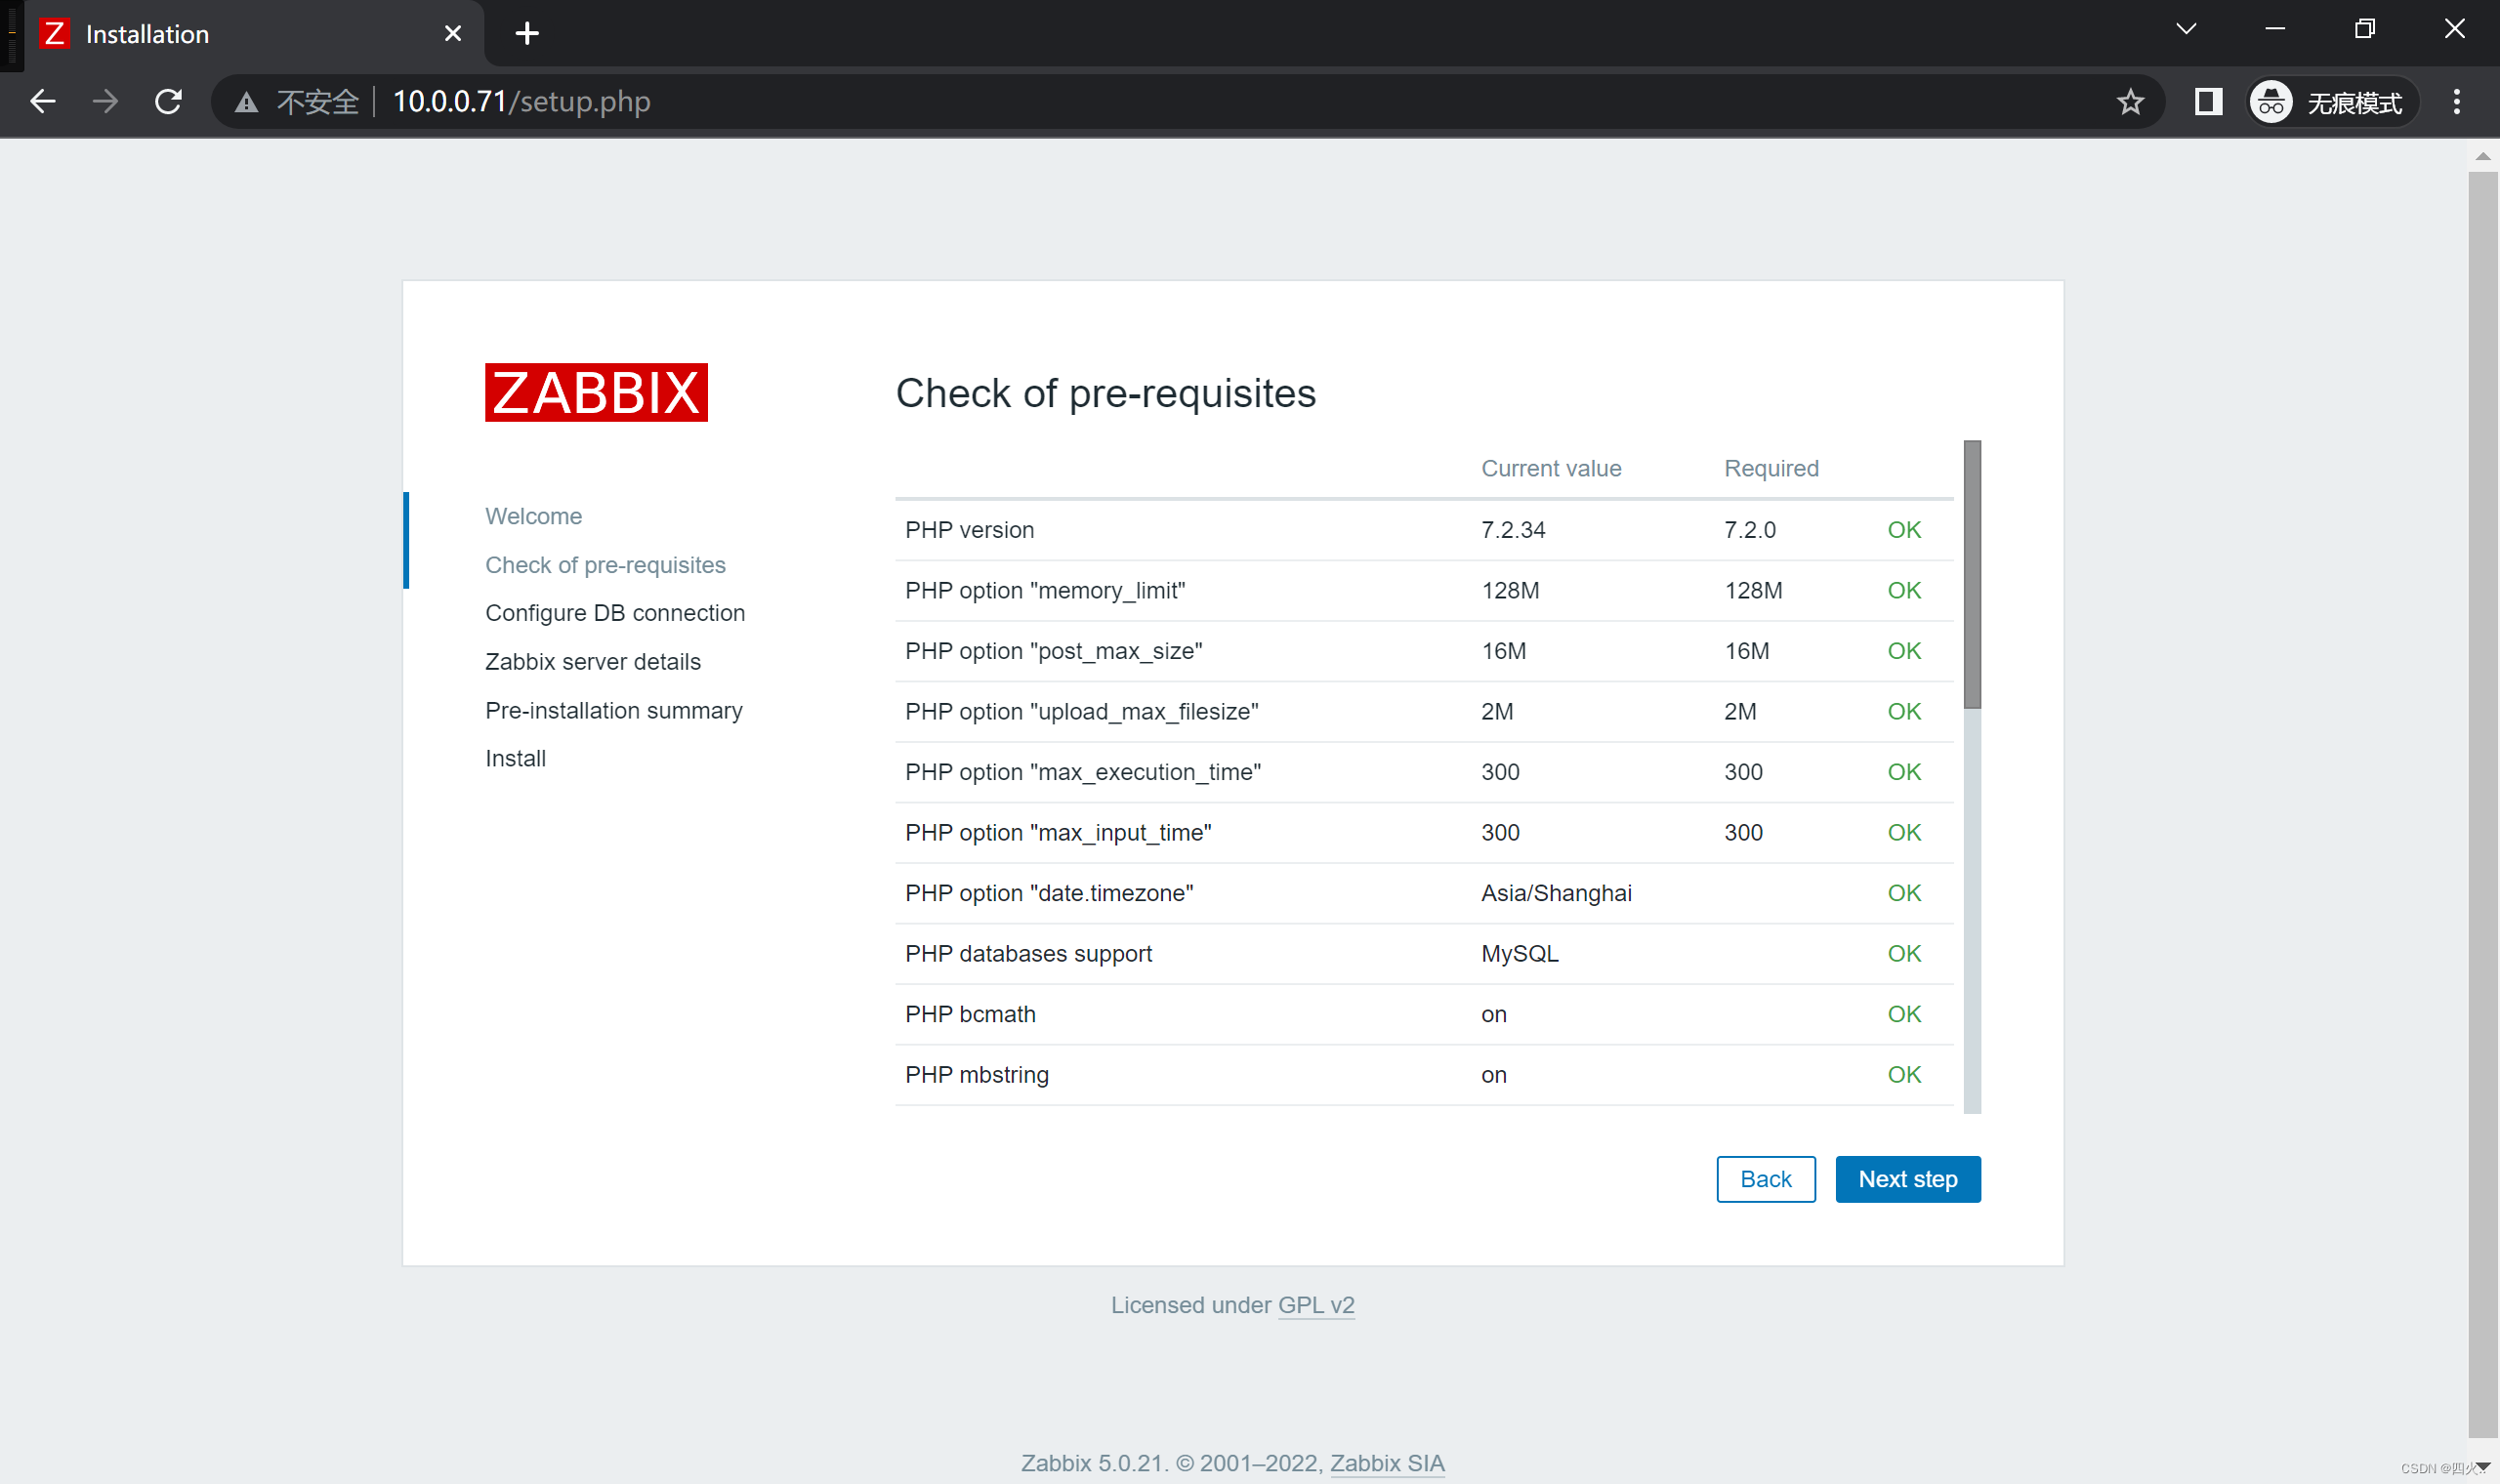
7、修改配置符合Zabbix条件
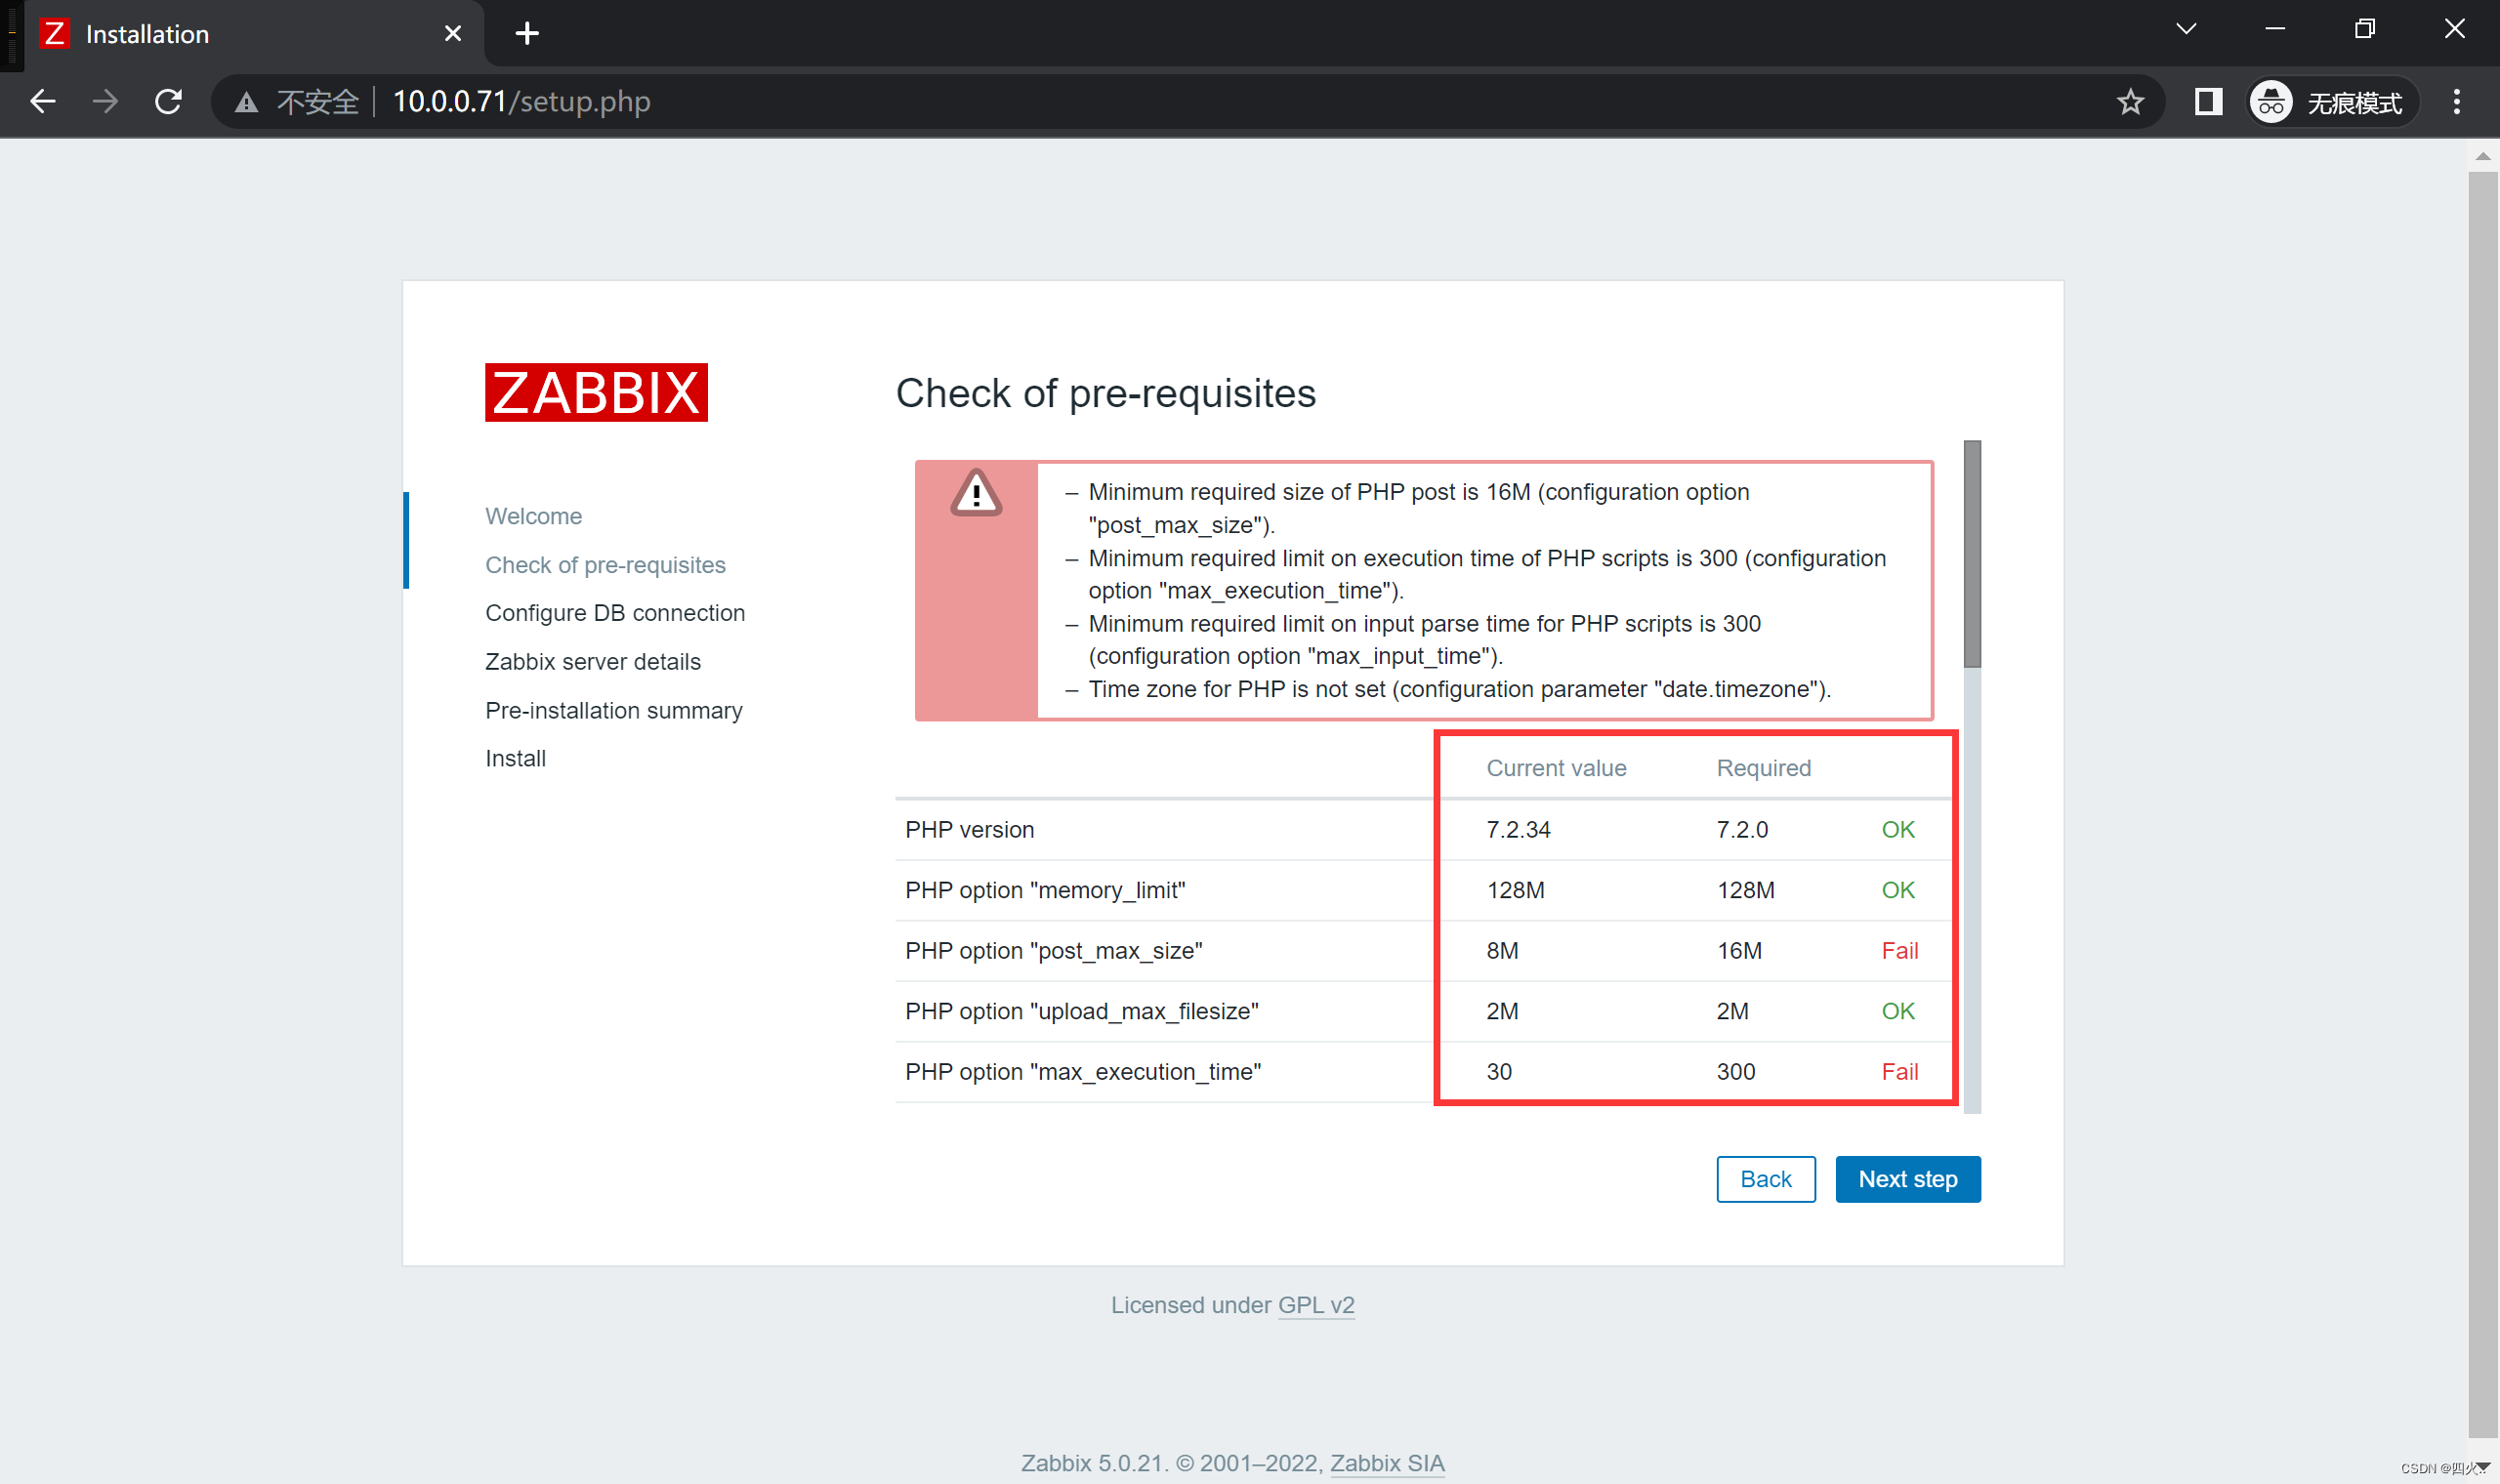
- 方式一:使用vim
vim /etc/php.ini
修改以下内容
max_execution_time = 300
max_input_time = 300
post_max_size = 16M
date.timezone = Asia/Shanghai
pdo_mysql.default_socket= /tmp/mysql.sock
mysqli.default_socket = /tmp/mysql.sock
- 方式二:使用sed
sed -i '/^max_execution_time/c max_execution_time = 300' /etc/php.ini
sed -i '/^max_input_time/c max_input_time = 300' /etc/php.ini
sed -ri '/^[;]?date.timezone/c  date.timezone = Asia/Shanghai' /etc/php.ini
sed -i '/pdo_mysql.default_socket/c pdo_mysql.default_socket = /tmp/mysql.sock' /etc/php.ini
sed -i '/mysqli.default_socket/c mysqli.default_socket = /tmp/mysql.sock' /etc/php.ini
sed -i '/post_max_size/c post_max_size = 16M' /etc/php.ini
- 重启服务
systemctl restart nginx php-fpm
8、部署Zabbix-server
1、配置zabbix5.0的清华大学源
- 下载zabbix源
rpm -ivh https://mirrors.tuna.tsinghua.edu.cn/zabbix/zabbix/5.0/rhel/7/x86_64/zabbix-release-5.0-1.el7.noarch.rpm
- 下载地址:清华源
sed -i 's#http://repo.zabbix.com#https://mirrors.tuna.tsinghua.edu.cn/zabbix#g' /etc/yum.repos.d/zabbix.repo
- 下载地址:阿里源
sed -i 's/repo.zabbix.com/mirrors.aliyun.com\/zabbix/g' /etc/yum.repos.d/zabbix.repo
2、安装Zabbix-server-mysql
yum install -y zabbix-server-mysql
3、导入zabbix初始数据库
前提:DB服务器上已经部署过MySQL数据库
- 安装数据库
yum install -y mariadb
- 导入数据库
zcat /usr/share/doc/zabbix-server-mysql-5.0.28/create.sql.gz | mysql -uDN服务器用户 -h'DB服务器IP地址' -p'DB数据库密码' zabbix
DB服务器为部署mysql数据库报错
ERROR 2003 (HY000): Can't connect to MySQL server on '10.0.0.51' (111)
4、配置zabbix-server
- 编辑文件
vim /etc/zabbix/zabbix_server.conf
- 文件内容
DBHost=DB服务器IP地址
DBName=DB服务器数据库名
DBUser=DB服务器数据库用户
DBPassword=DB服务器数据库用户密码
DBSocket=/tmp/mysql.sock
5、启动zabbix-server
systemctl start zabbix-server
systemctl enable zabbix-server
9、安装客户端 agent2
- 本地安装
yum localinstall -y zabbix-agent2-5.4.9-1.el7.x86_64.rpm
- 启动服务与开机自启
systemctl start zabbix-agent2
systemctl enable zabbix-agent2
DB服务器
1、安装MySQL数据库
- MySQL官方扩展源
rpm -ivh http://repo.mysql.com/yum/mysql-5.7-community/el/7/x86_64/mysql57-community-release-el7-10.noarch.rpm
安装
yum install mysql-community-server -y
- 清华源
vim /etc/yum.repos.d/mysql-community.repo
[mysql-connectors-community]
name=MySQL Connectors Community
baseurl=https://mirrors.tuna.tsinghua.edu.cn/mysql/yum/mysql-connectorscommunity-el7-$basearch/
enabled=1
gpgcheck=0
gpgkey=https://repo.mysql.com/RPM-GPG-KEY-mysql
[mysql-tools-community]
name=MySQL Tools Community
baseurl=https://mirrors.tuna.tsinghua.edu.cn/mysql/yum/mysql-tools-communityel7-$basearch/
enabled=1
gpgcheck=0
gpgkey=https://repo.mysql.com/RPM-GPG-KEY-mysql
[mysql-5.7-community]
name=MySQL 5.7 Community Server
baseurl=https://mirrors.tuna.tsinghua.edu.cn/mysql/yum/mysql-5.7-communityel7-$basearch/
enabled=1
gpgcheck=0
gpgkey=https://repo.mysql.com/RPM-GPG-KEY-mysql
安装
yum install mysql-community-server -y
- 本地安装
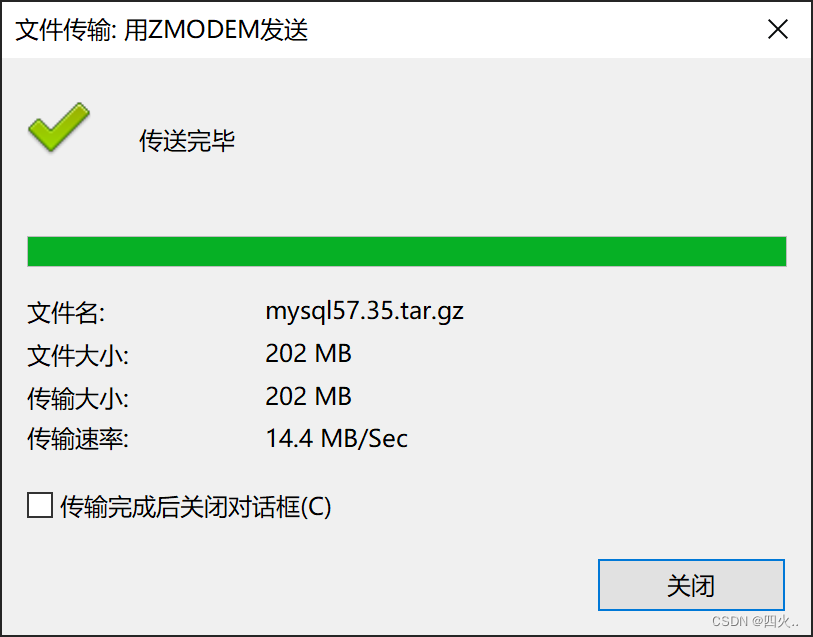
解压
tar xf mysql57.35.tar.gz
安装
yum localinstall -y mysql57/*
2、启动数据库, 并加入开机自启动
systemctl start mysqld
systemctl enable mysqld
3、修改数据库密码
- 方式一:命令修改
mysqladmin -uroot -p$(awk '/temporary password/{print $NF}' /var/log/mysqld.log) password 'mysql用户密码'
- 方式二:数据库内修改
登陆
mysql -uroot -p$(awk '/temporary password/{print $NF}' /var/log/mysqld.log)
修改
mysql> ALTER USER 'root'@'localhost' IDENTIFIED BY '数据库用户密码';
4、创库授权
- 登陆
mysql -uroot -p密码
- 创建zabbix数据库
create database zabbix character set utf8 collate utf8_bin;
- 授权
#将zabbix这一个库所有权限给来自所有主机的zabbix用户,用户密码为...
#授权 权限 on  一个库   to  用户名@所有主机  identified by '...'
grant all on zabbix.* to 'zabbix'@'%' identified by '用户密码';
安装完成图示
1、初始页面
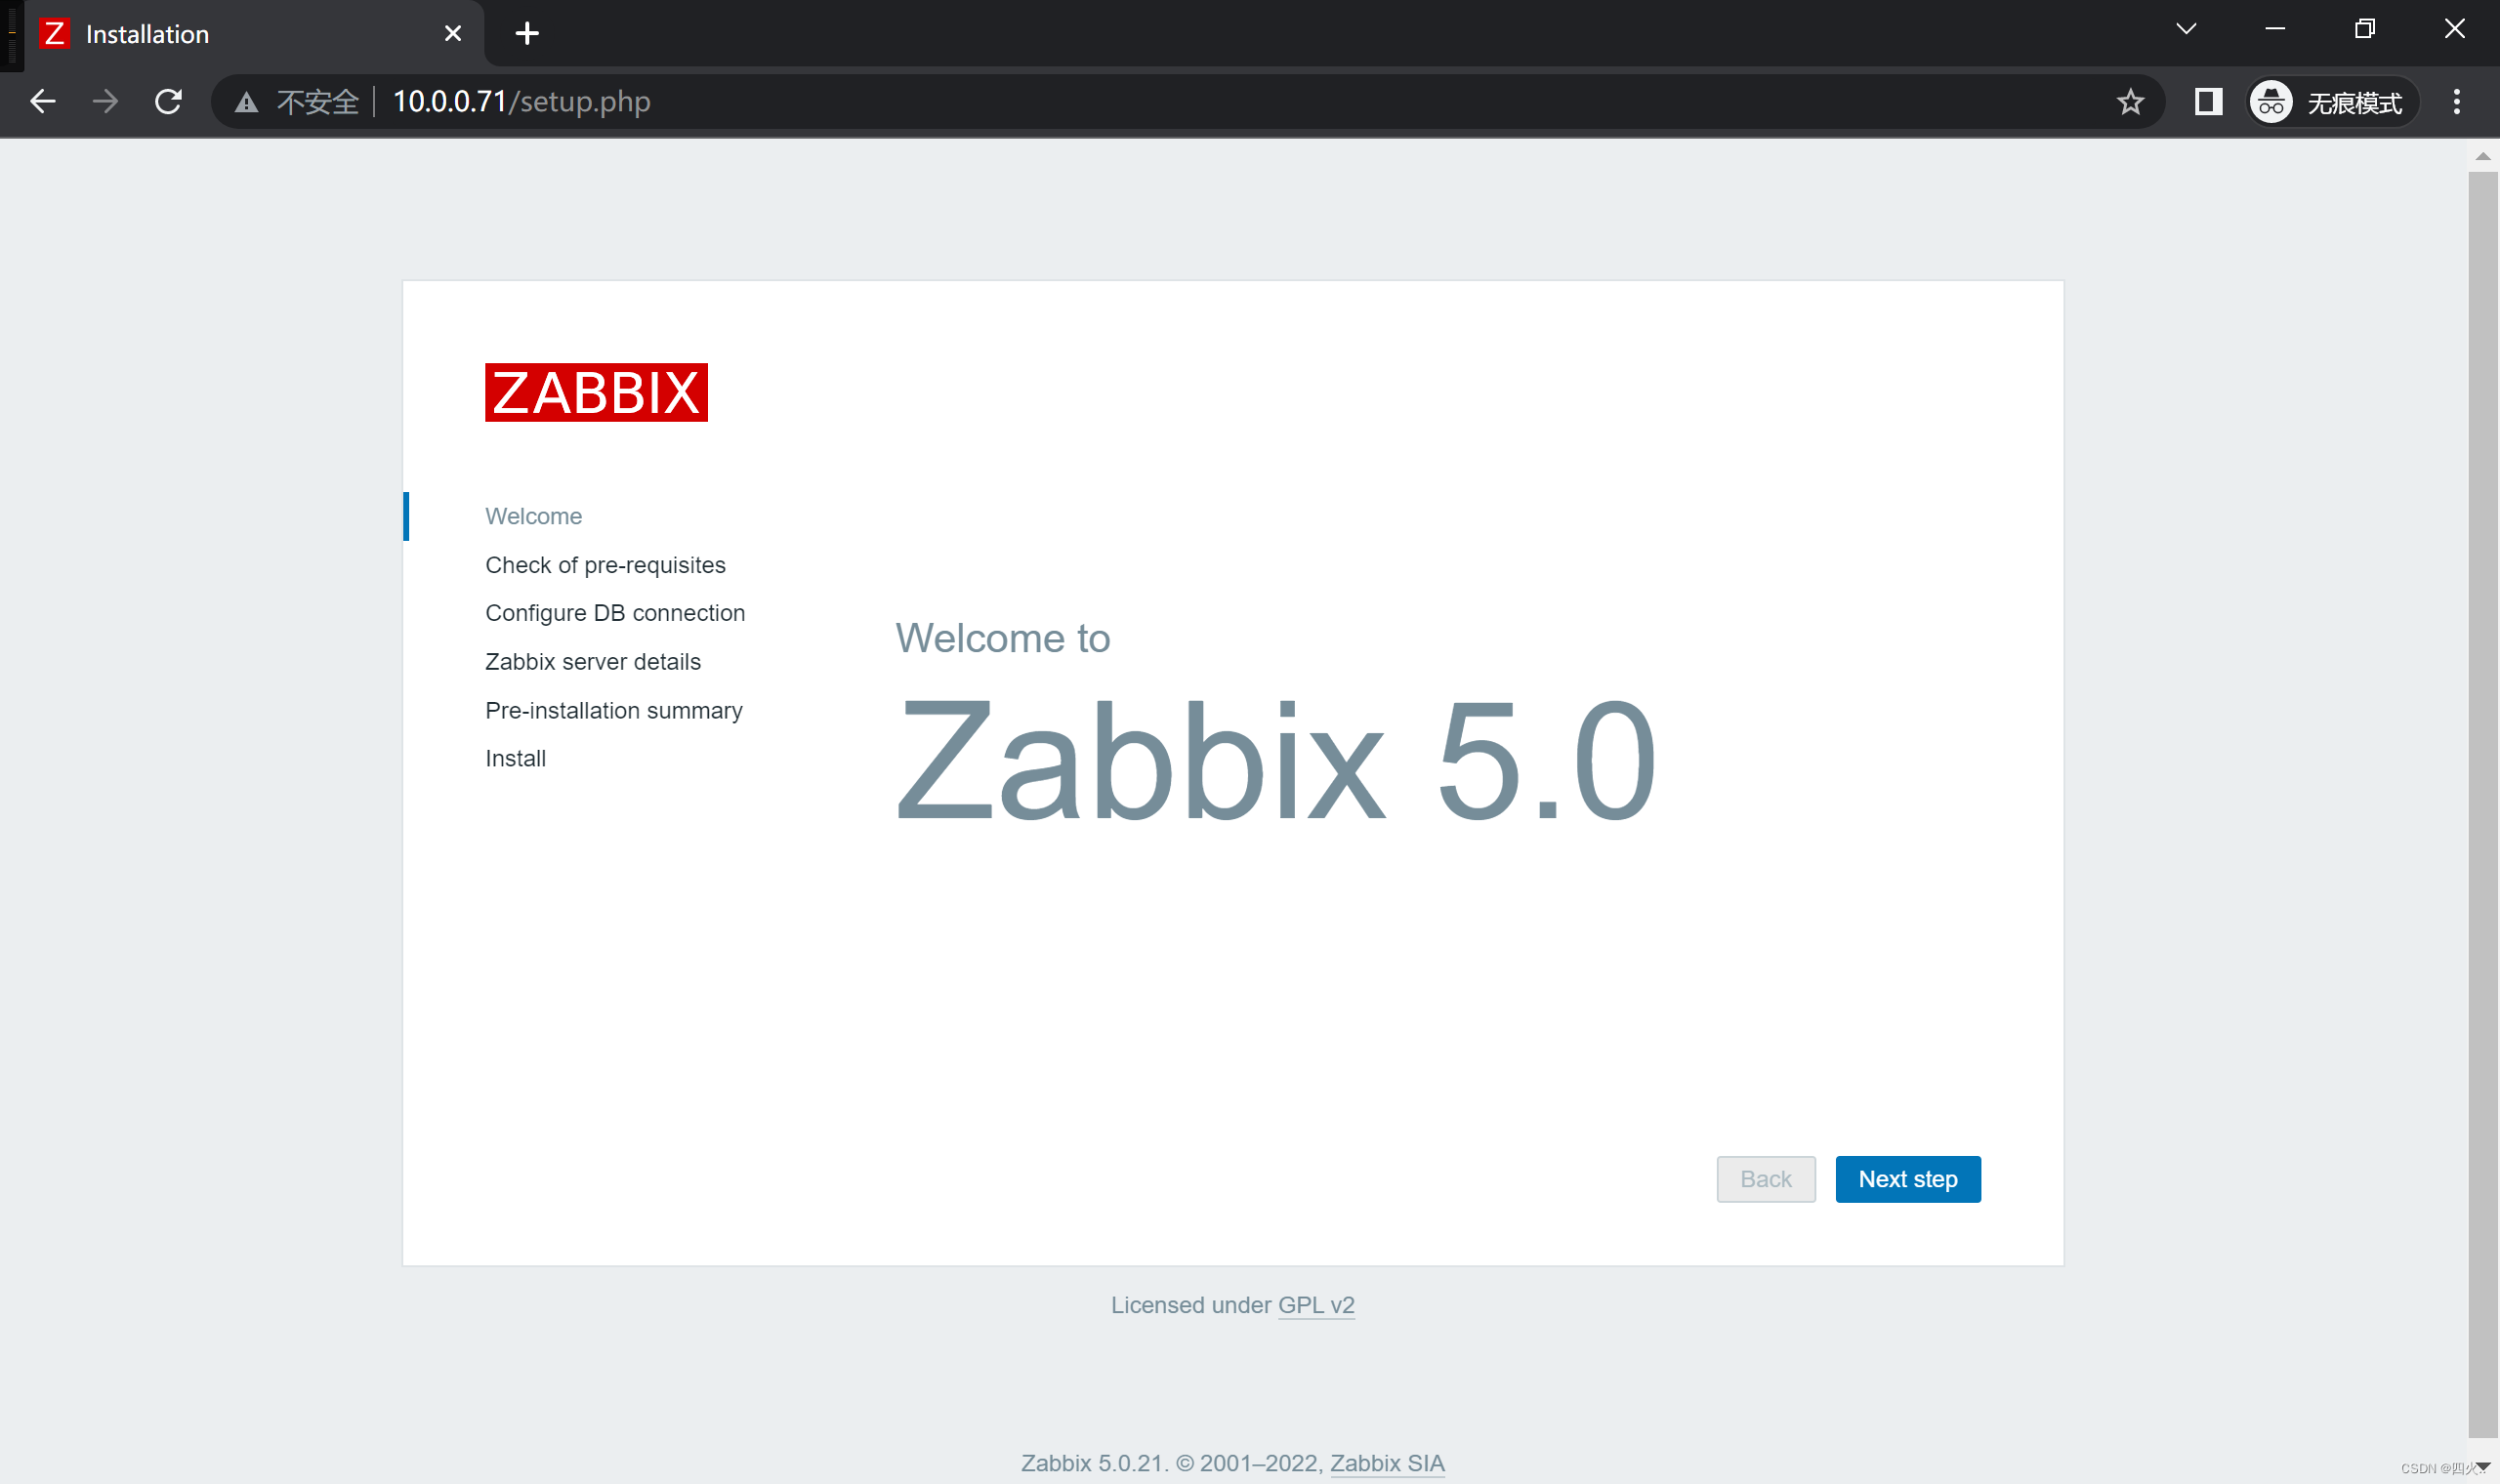
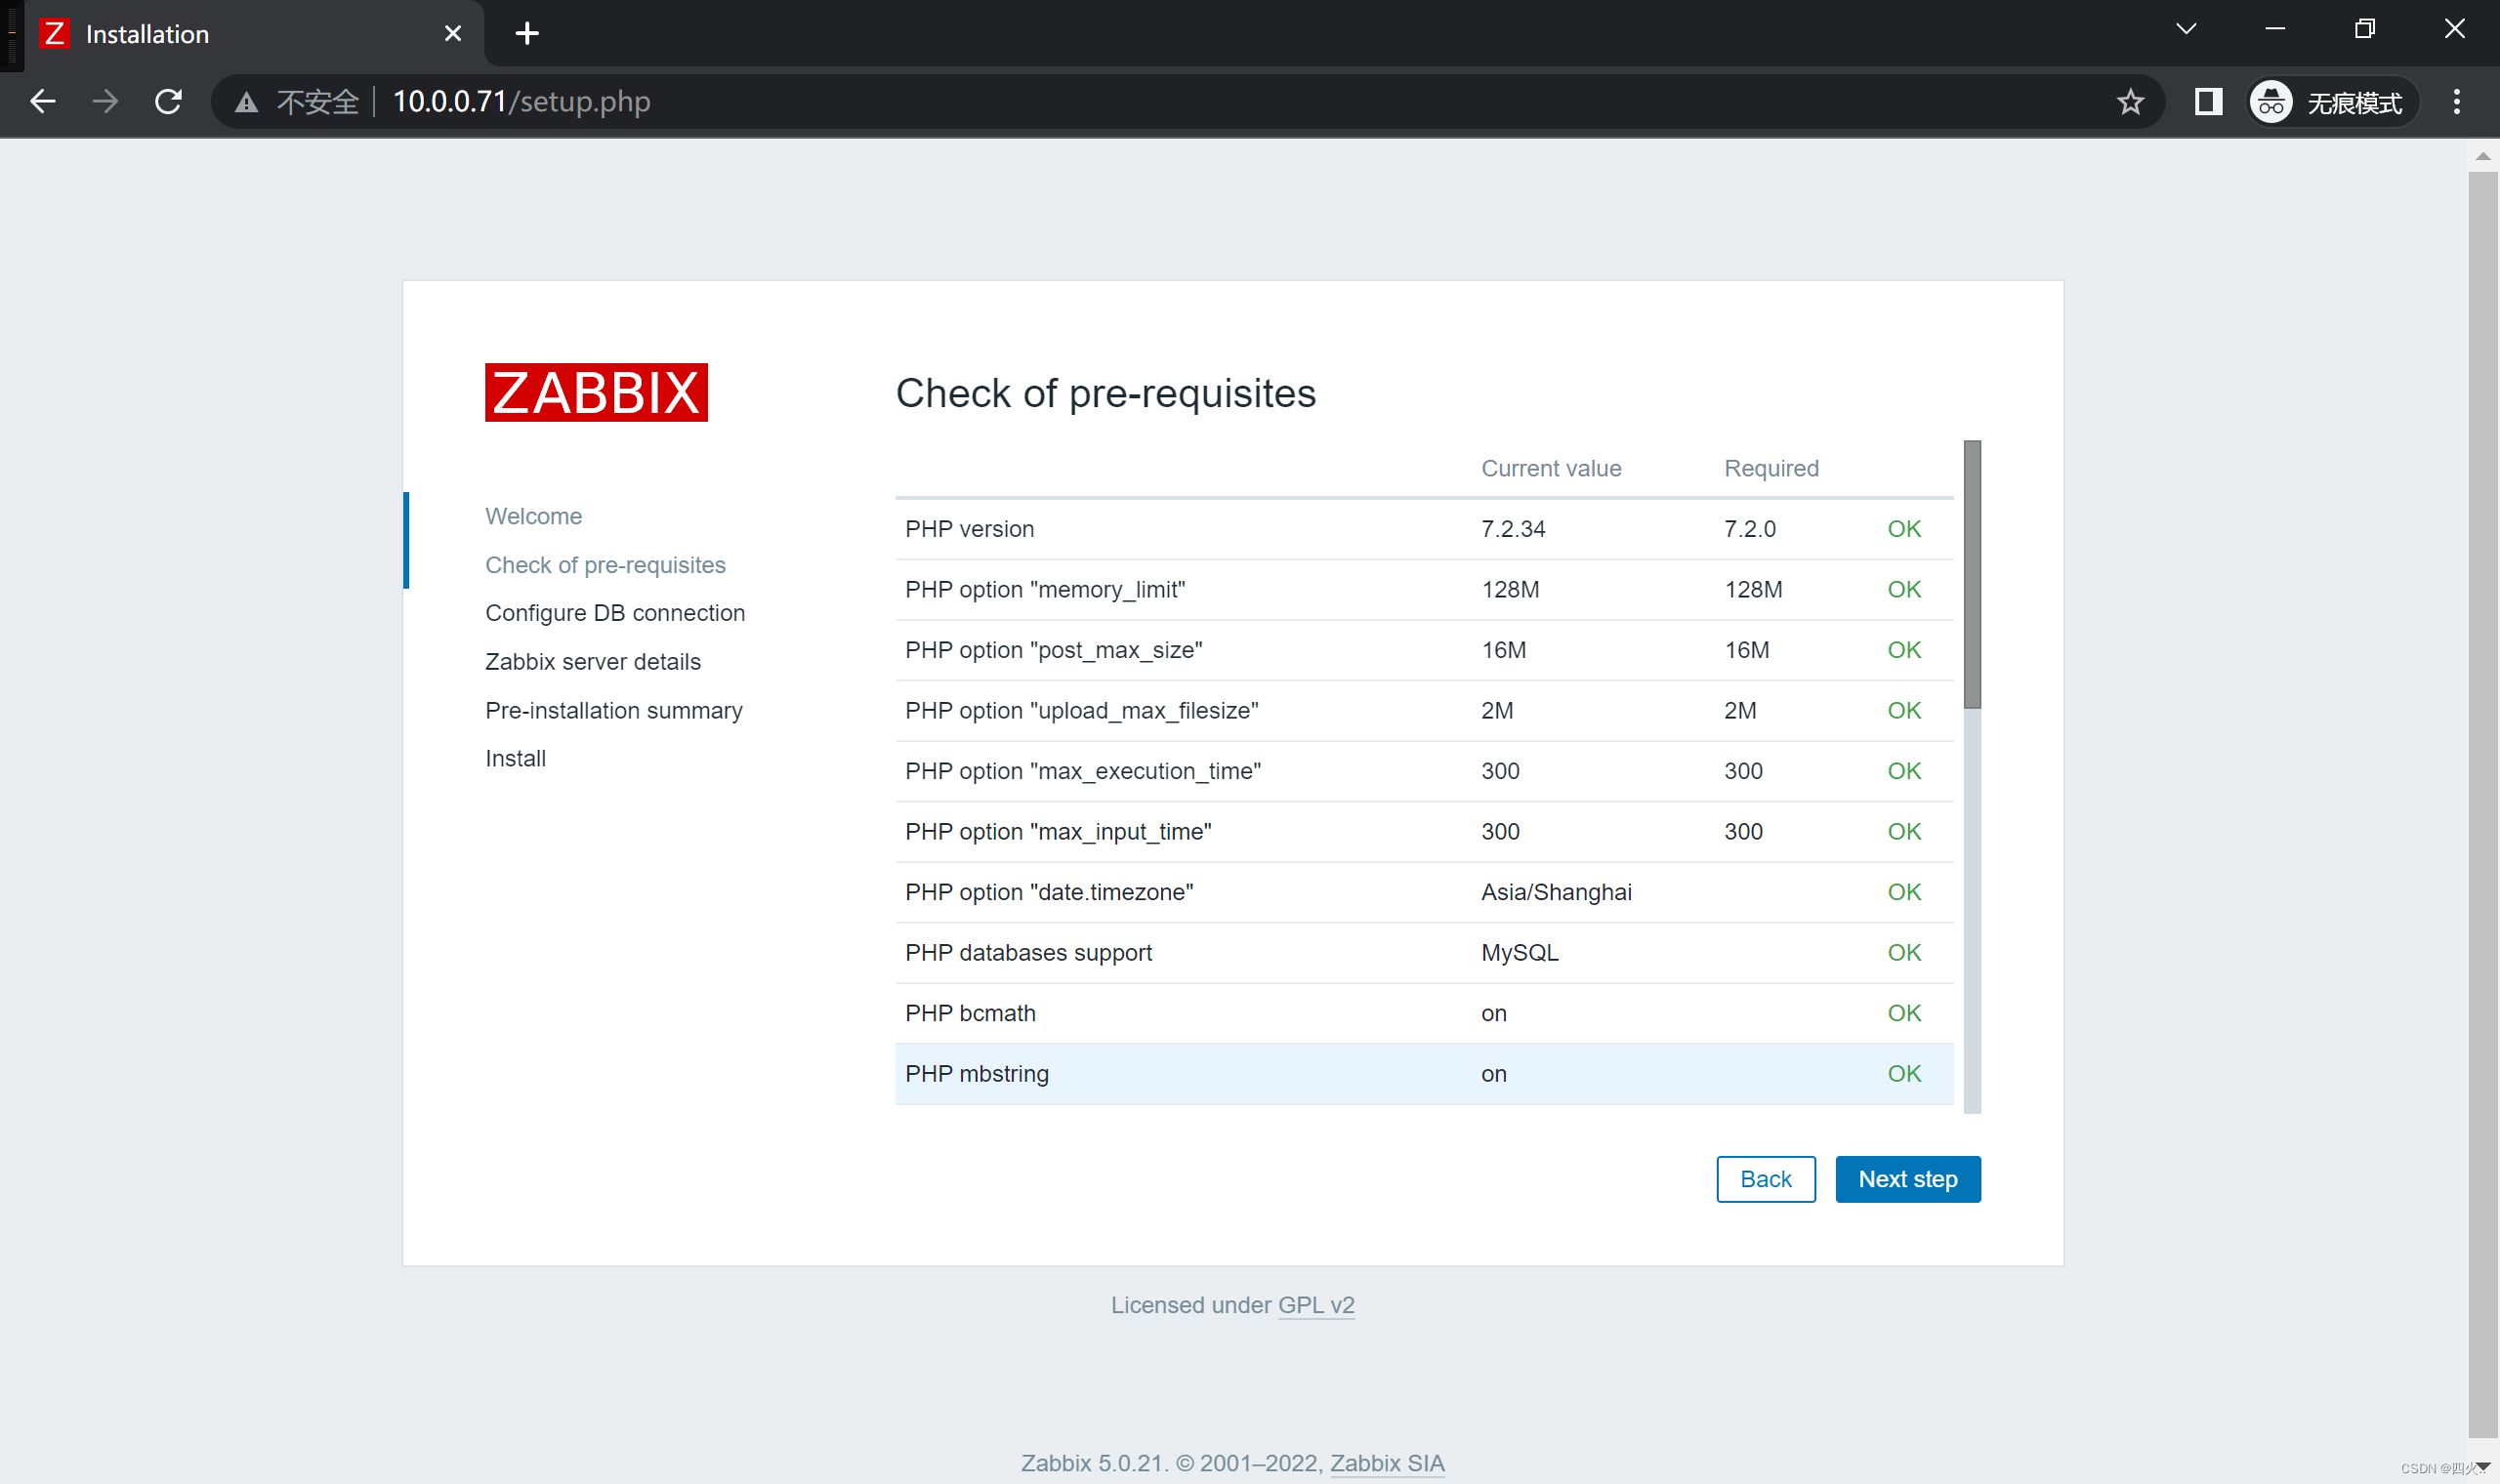
2、配置符合页面
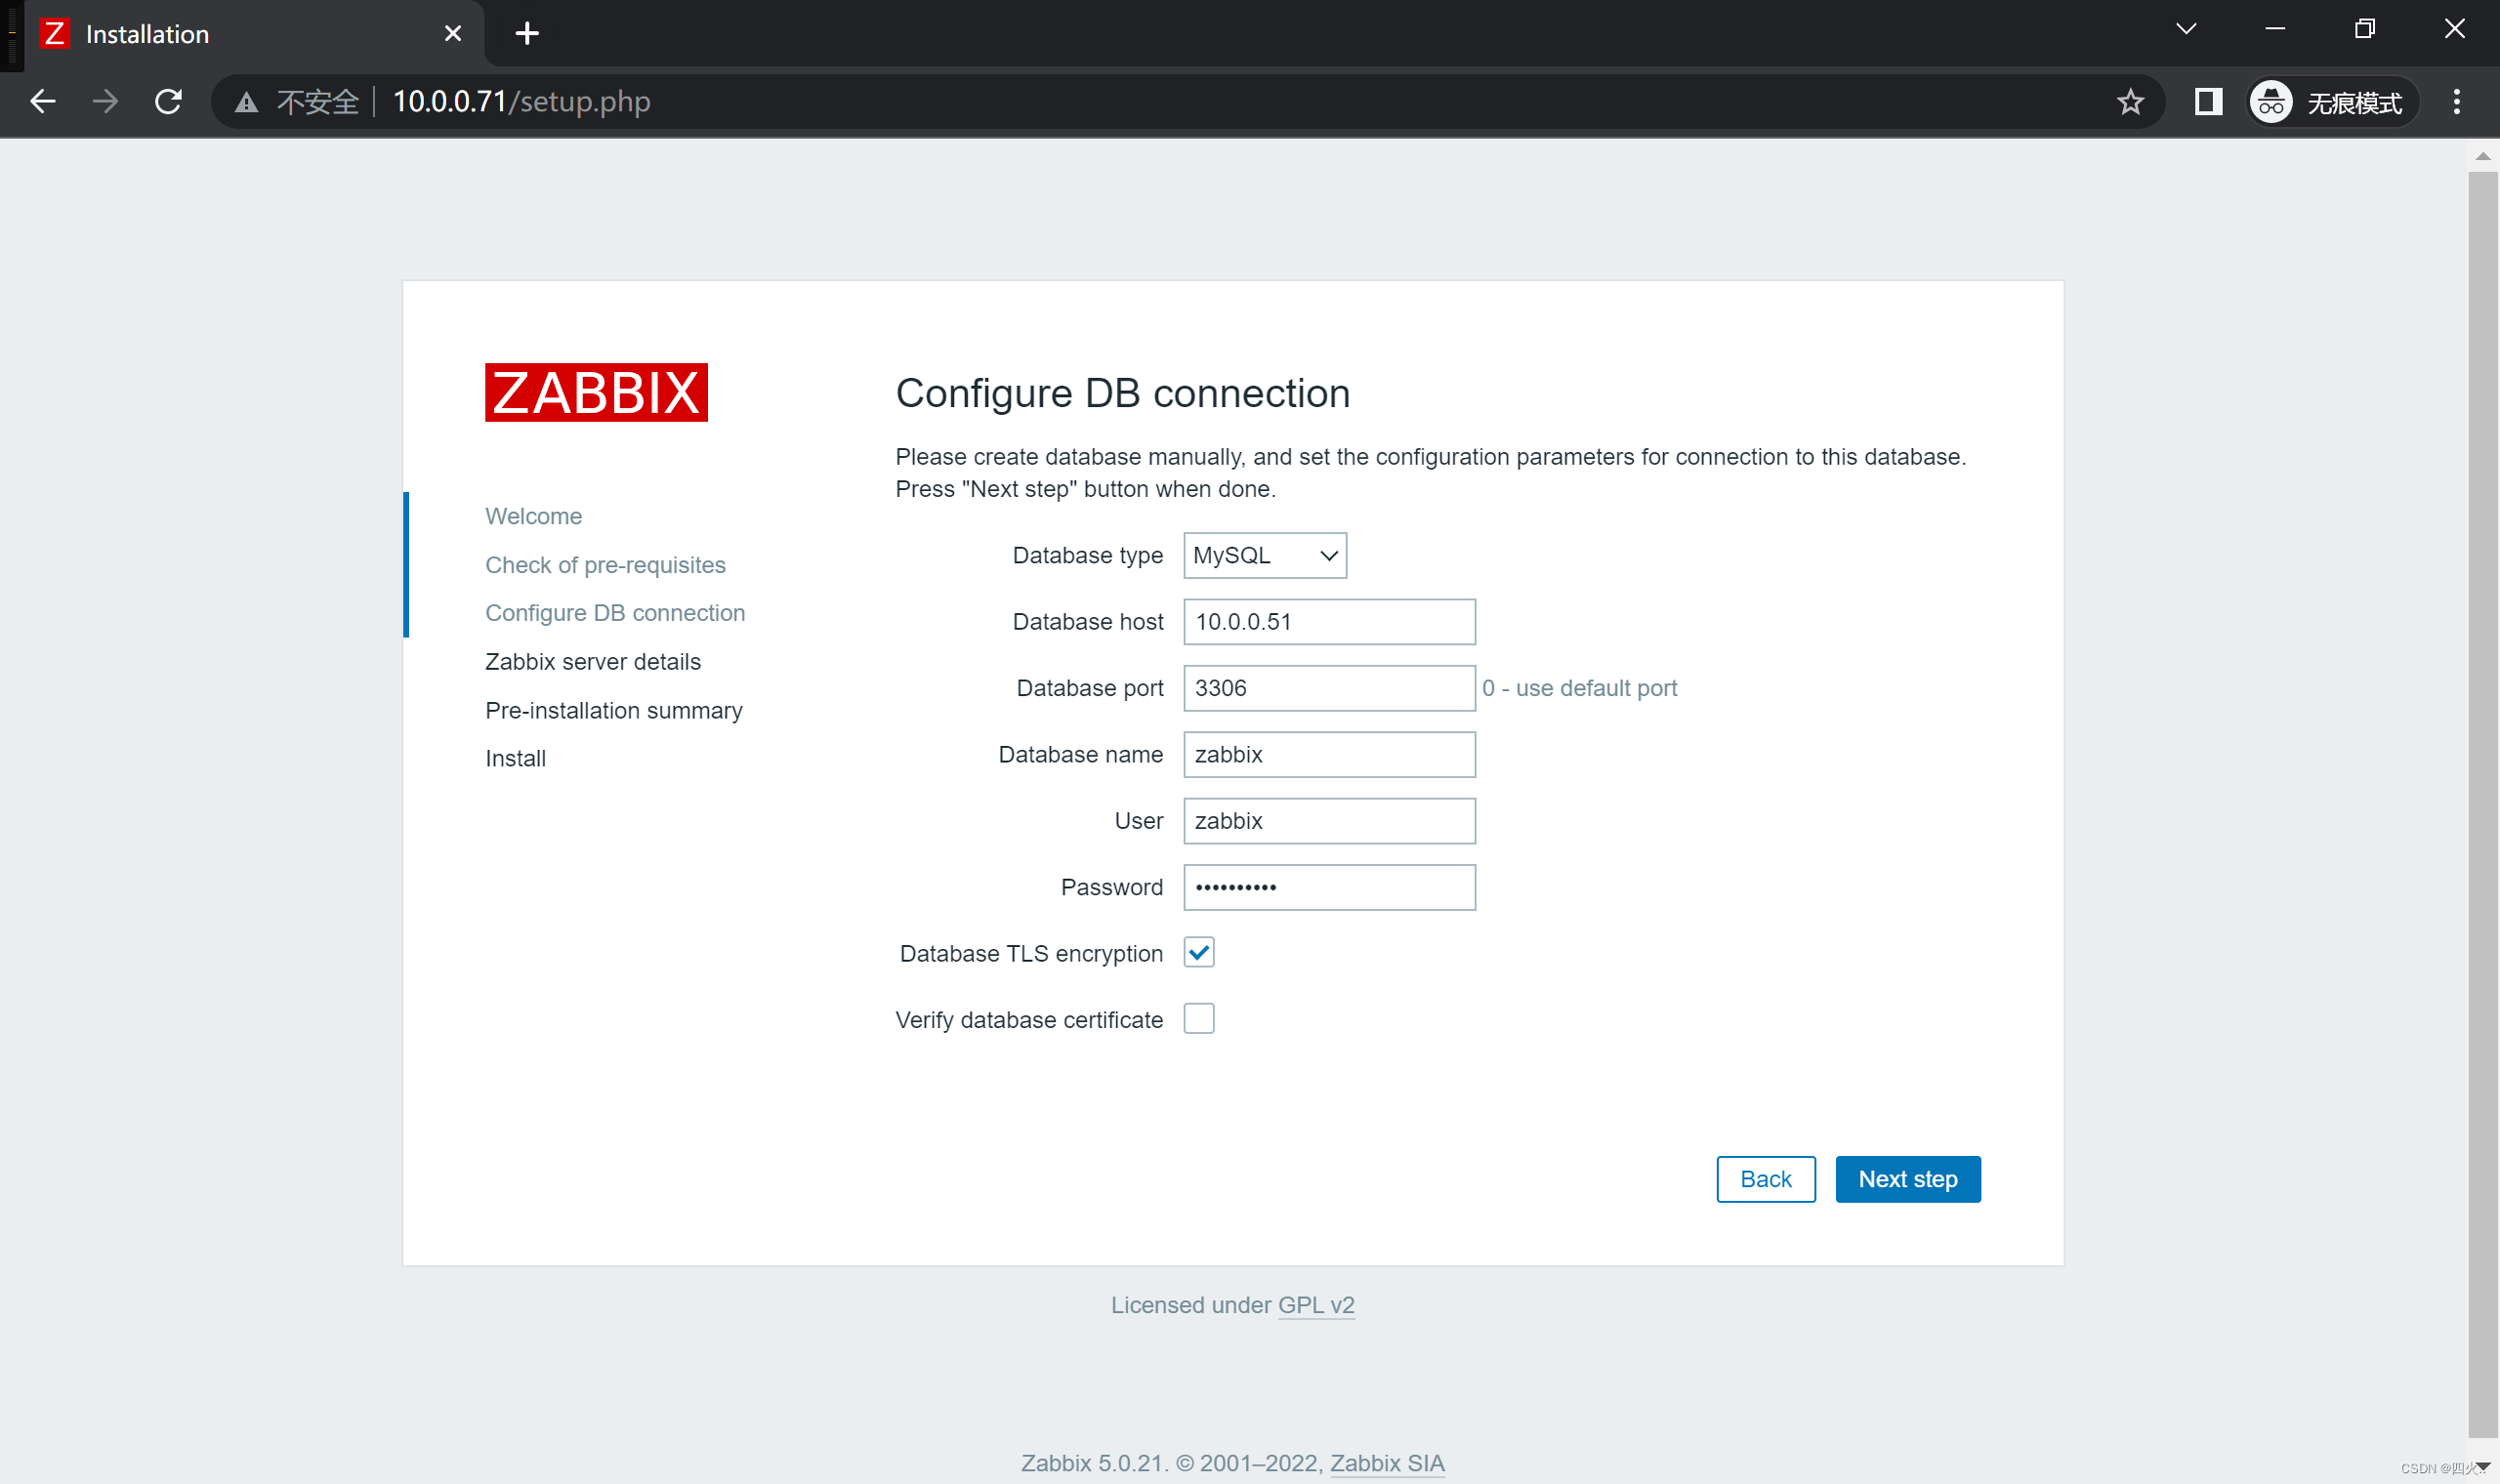
3、连接数据库
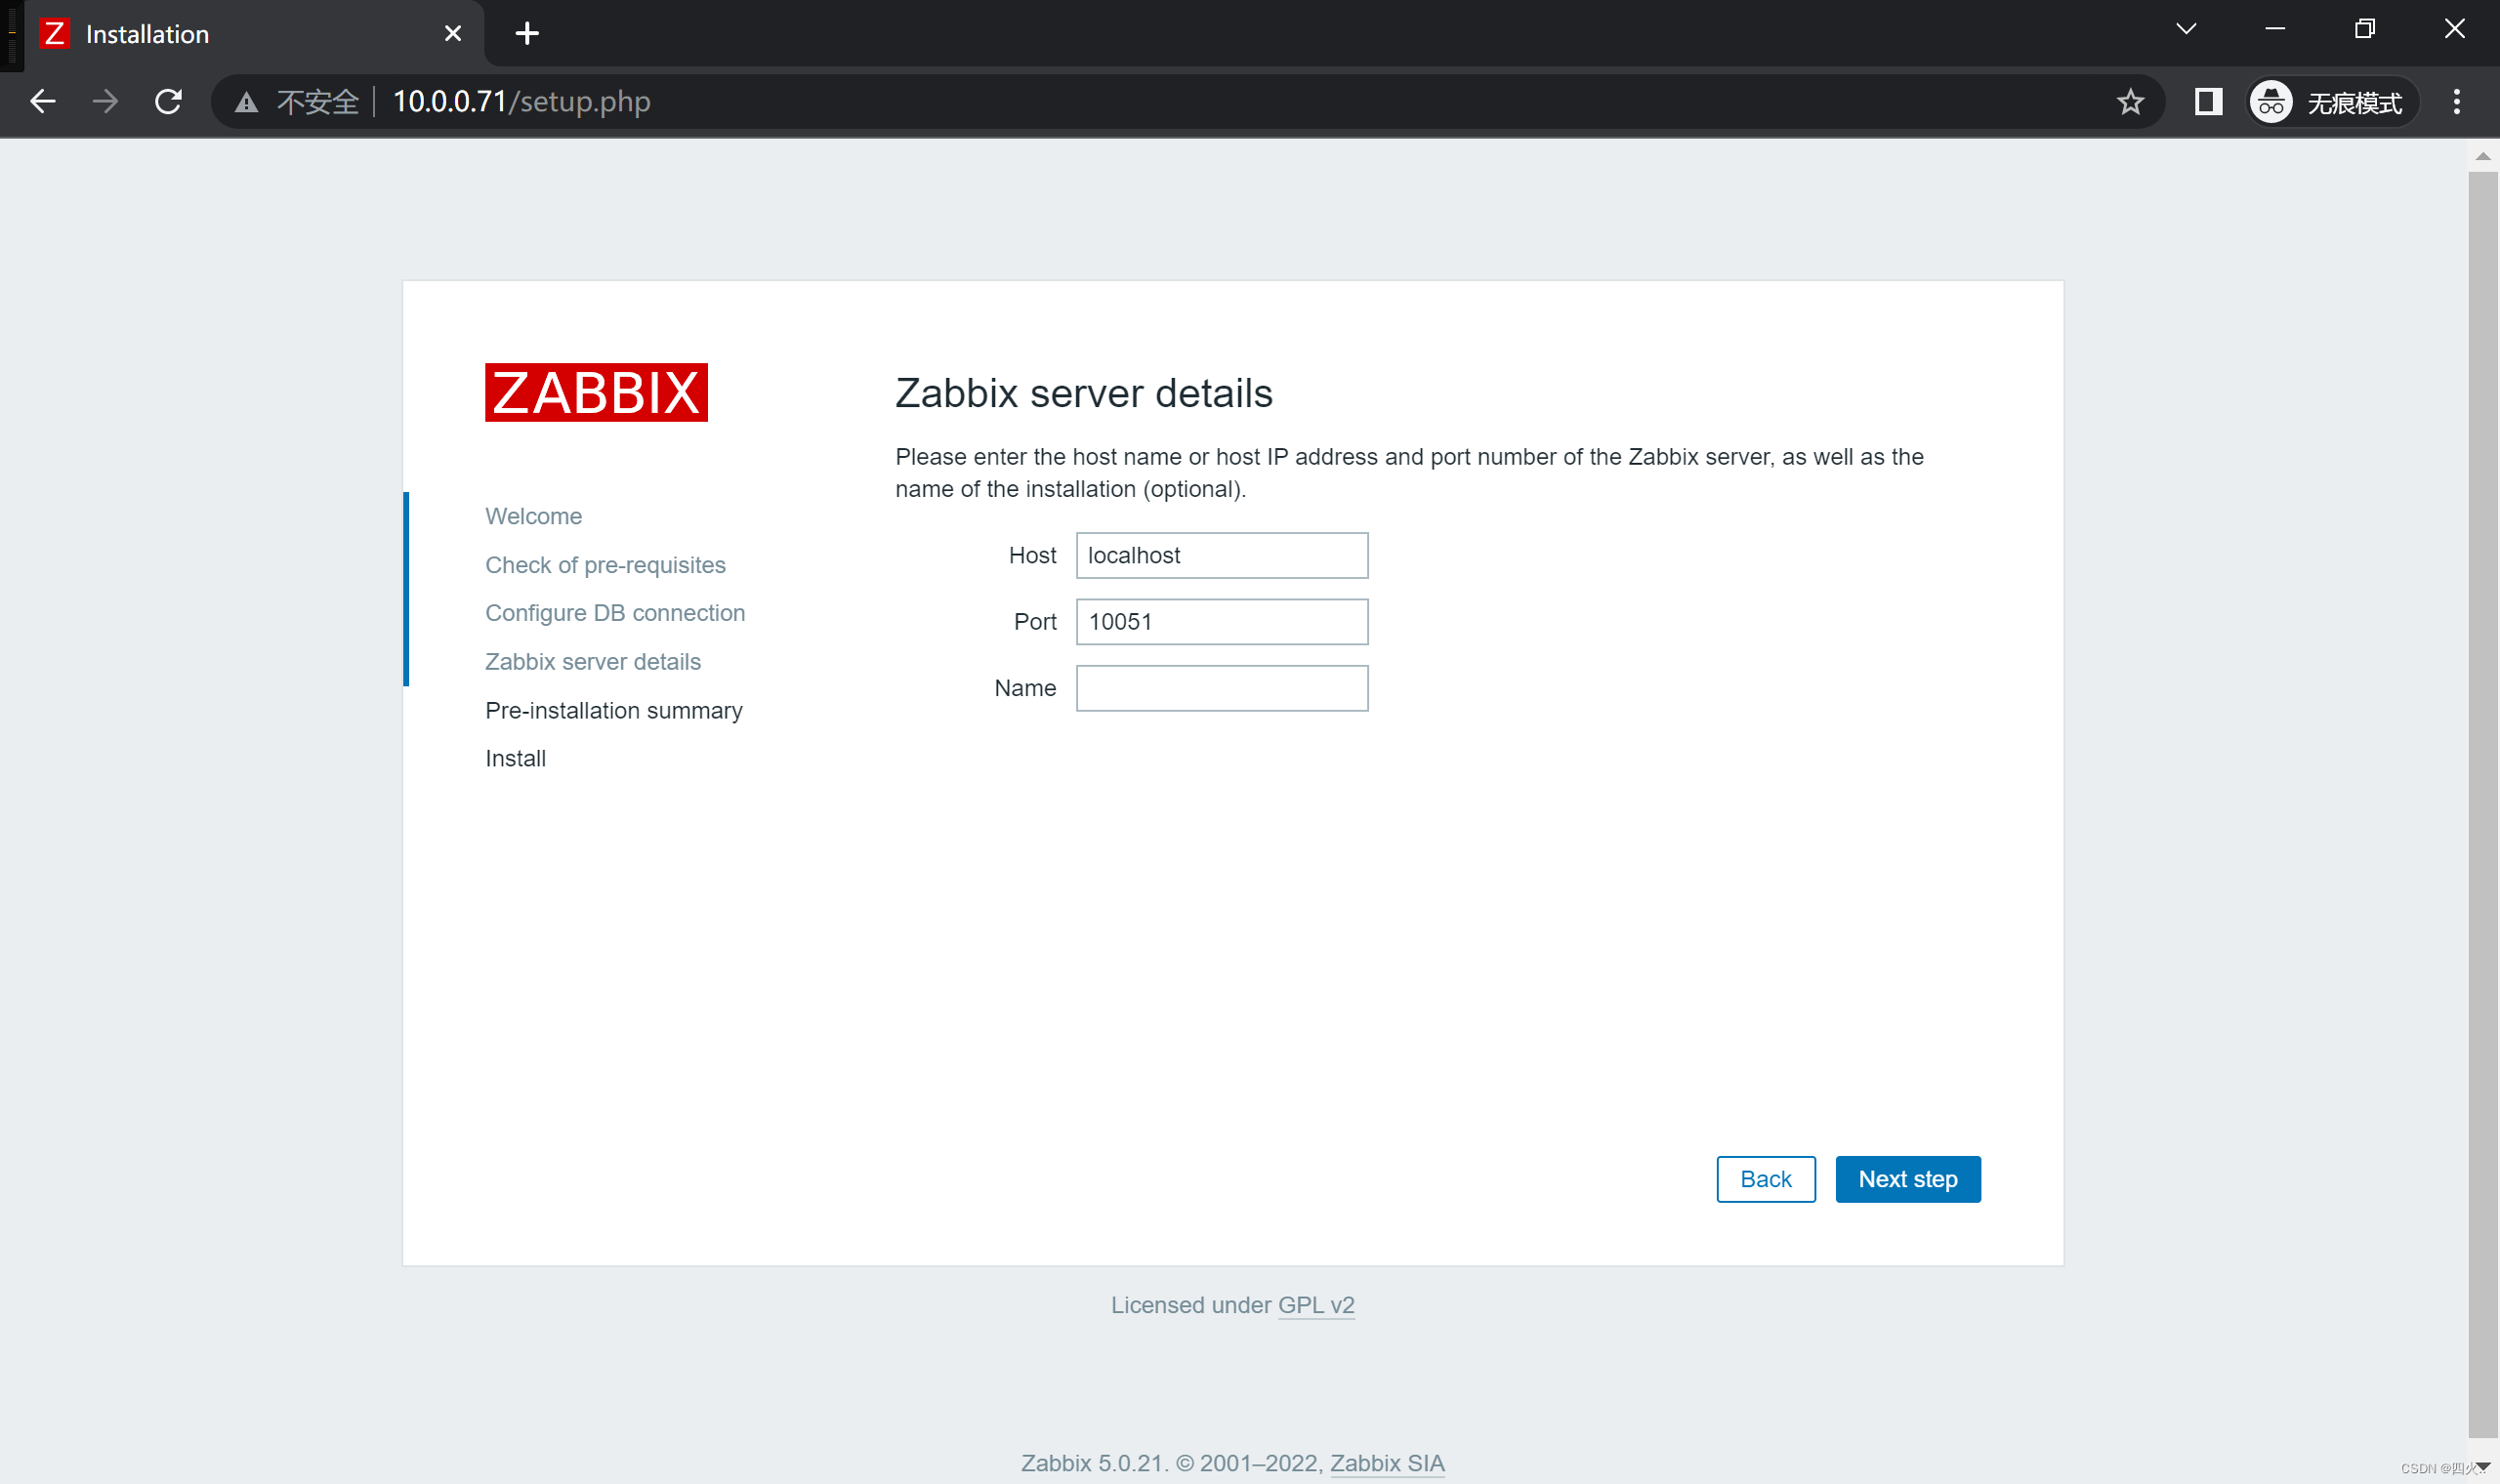
4、Zabbix服务器详细信息
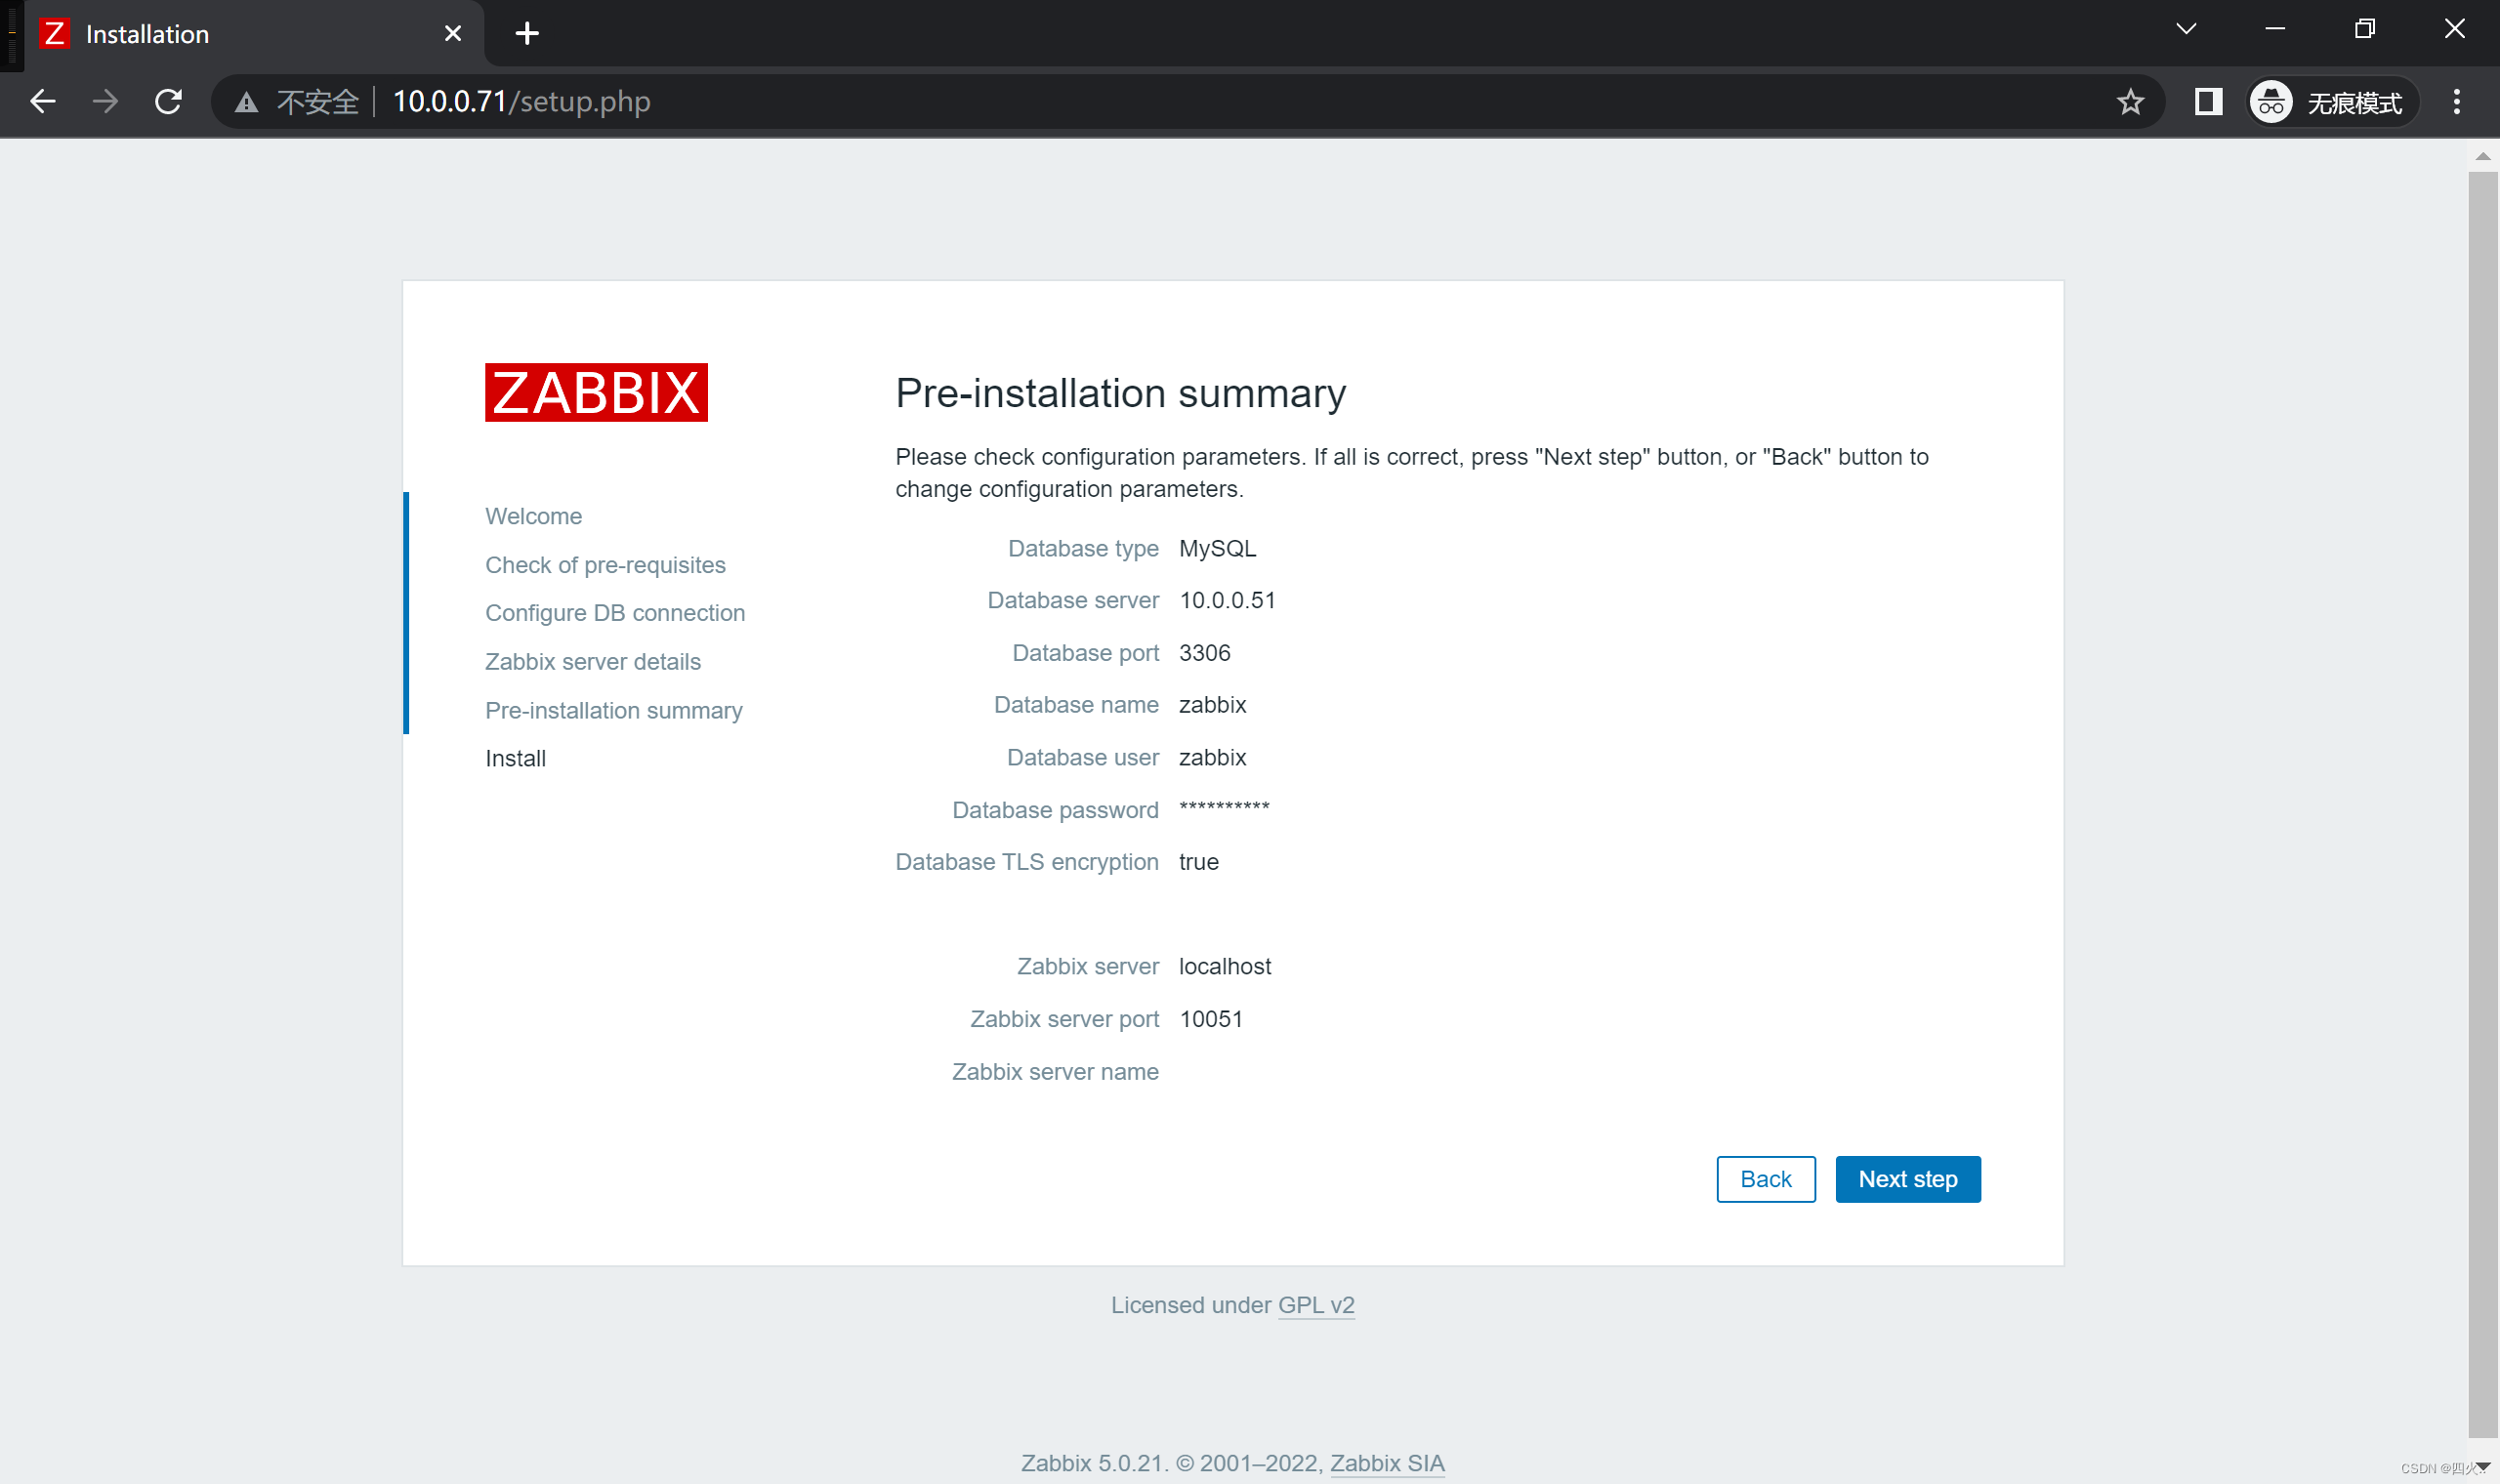
5、安装前摘要
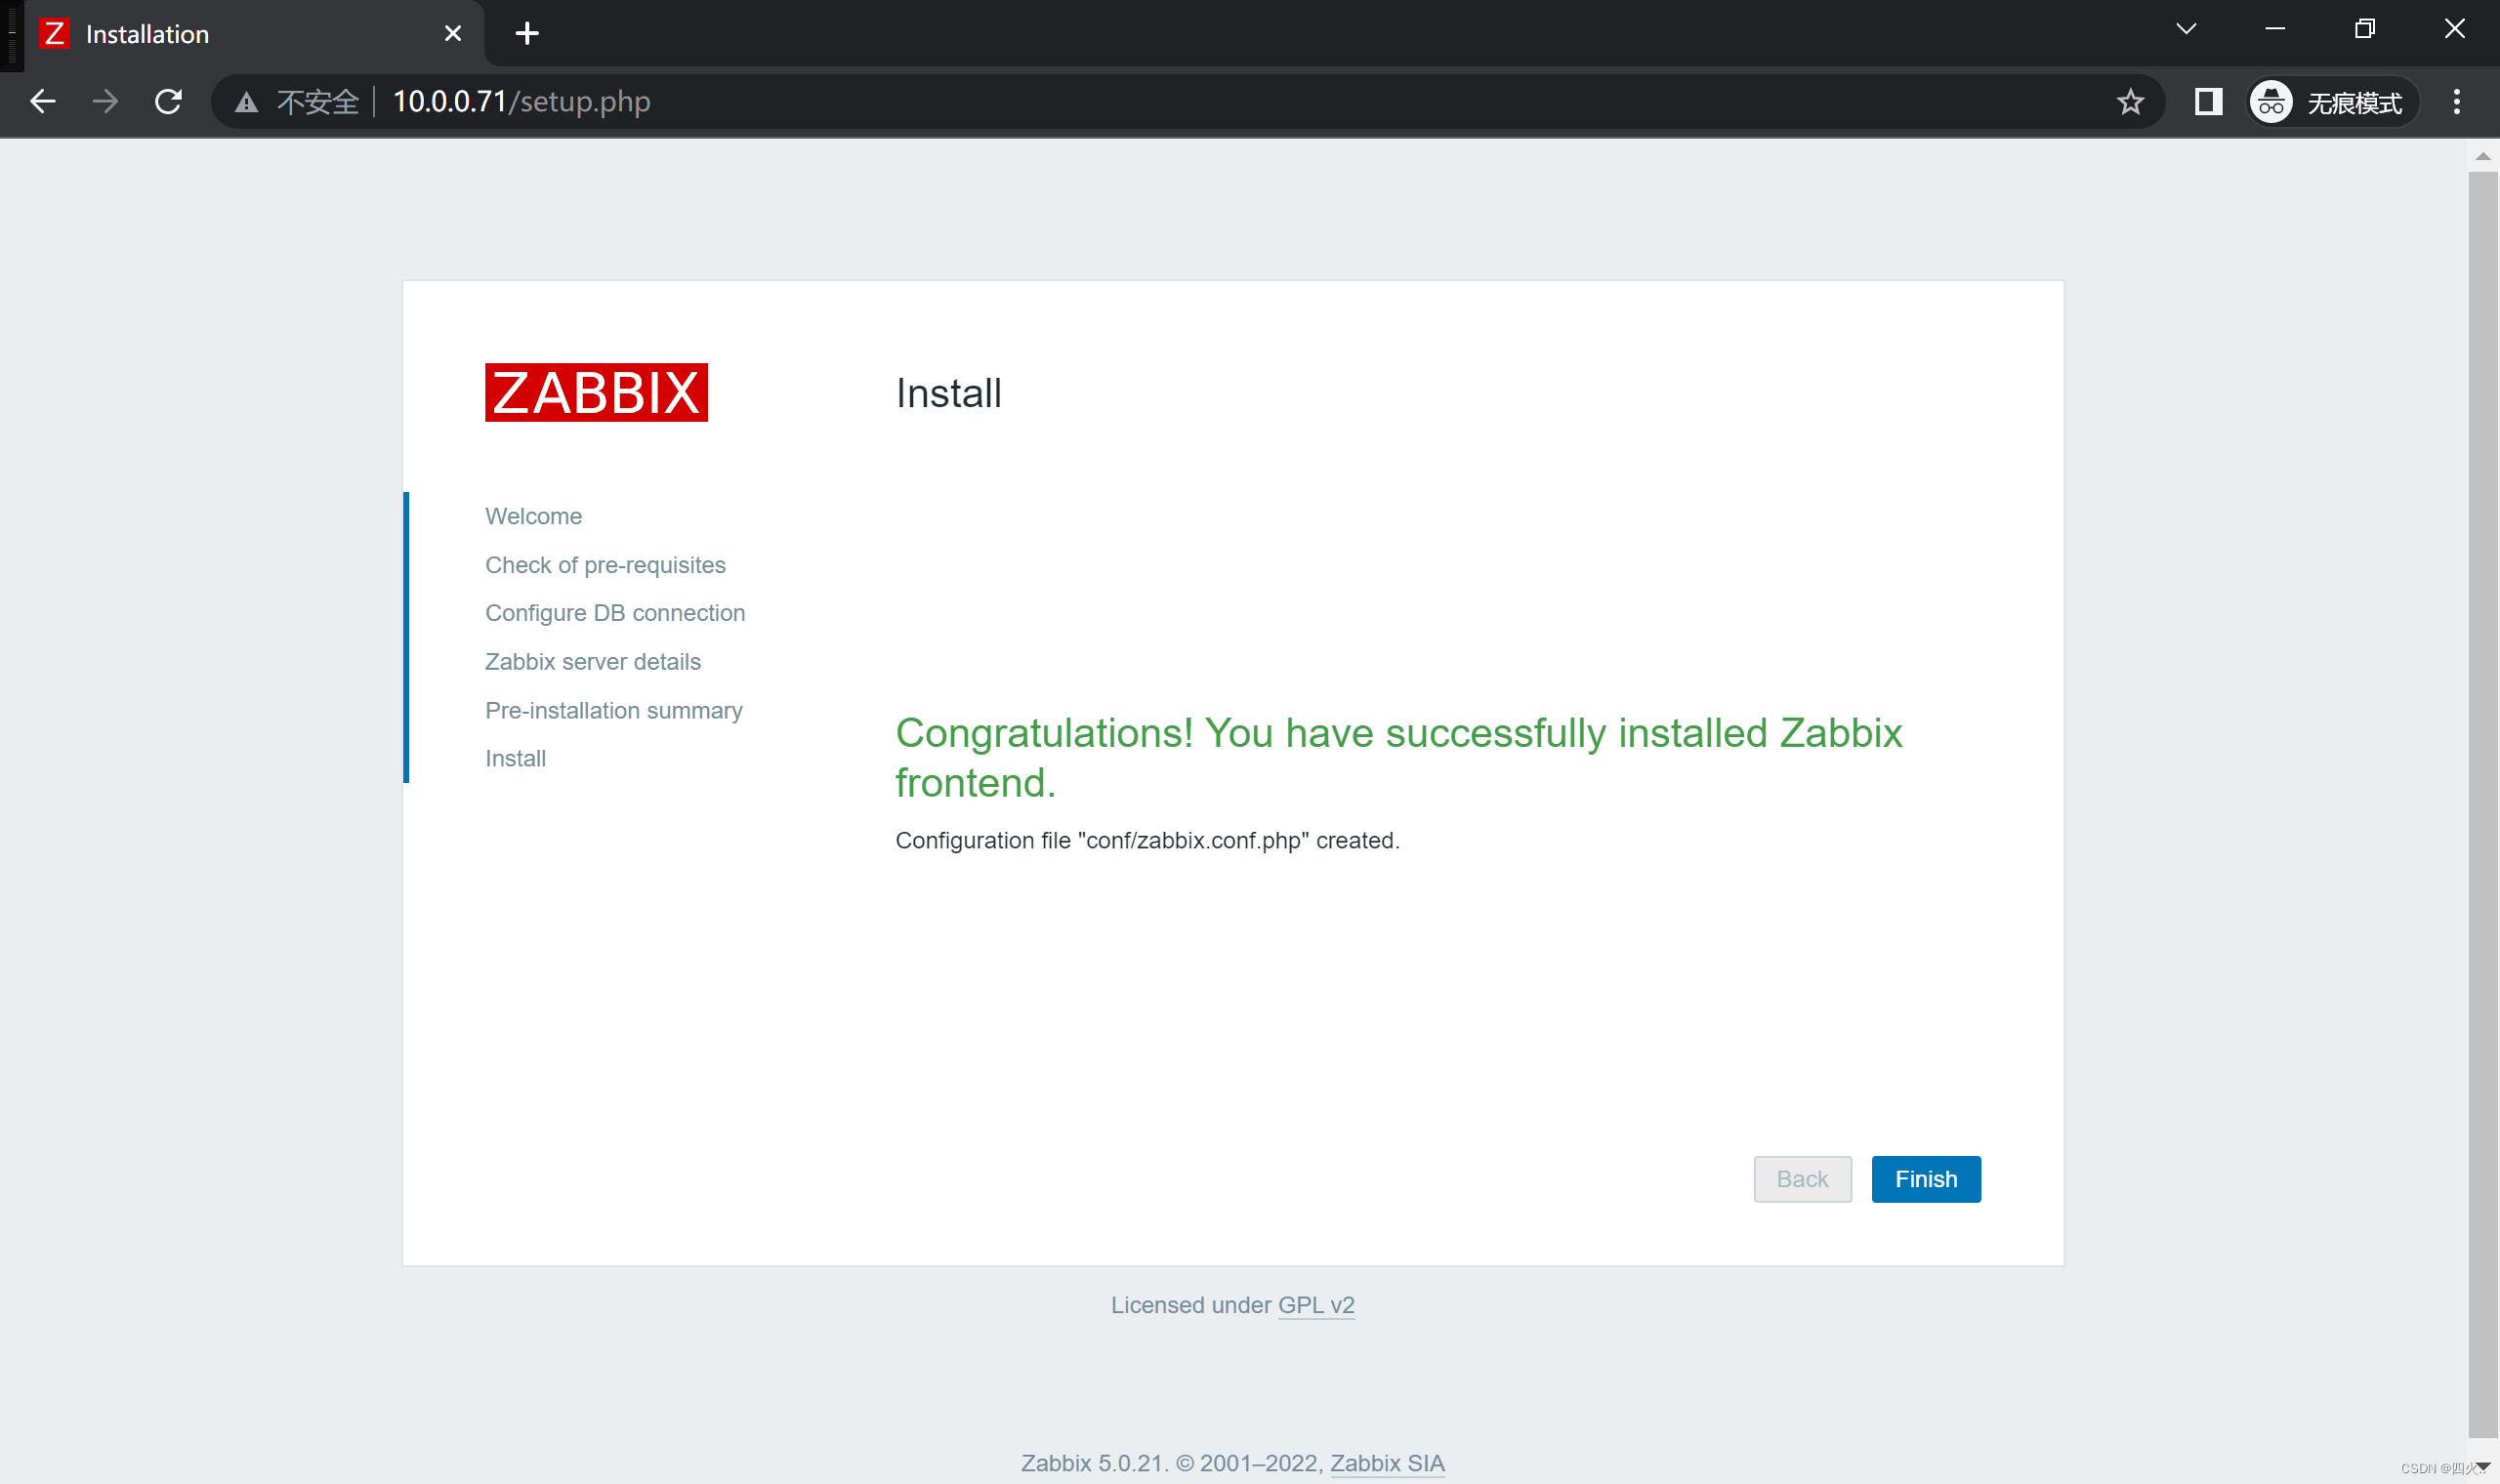
##6、安装成功
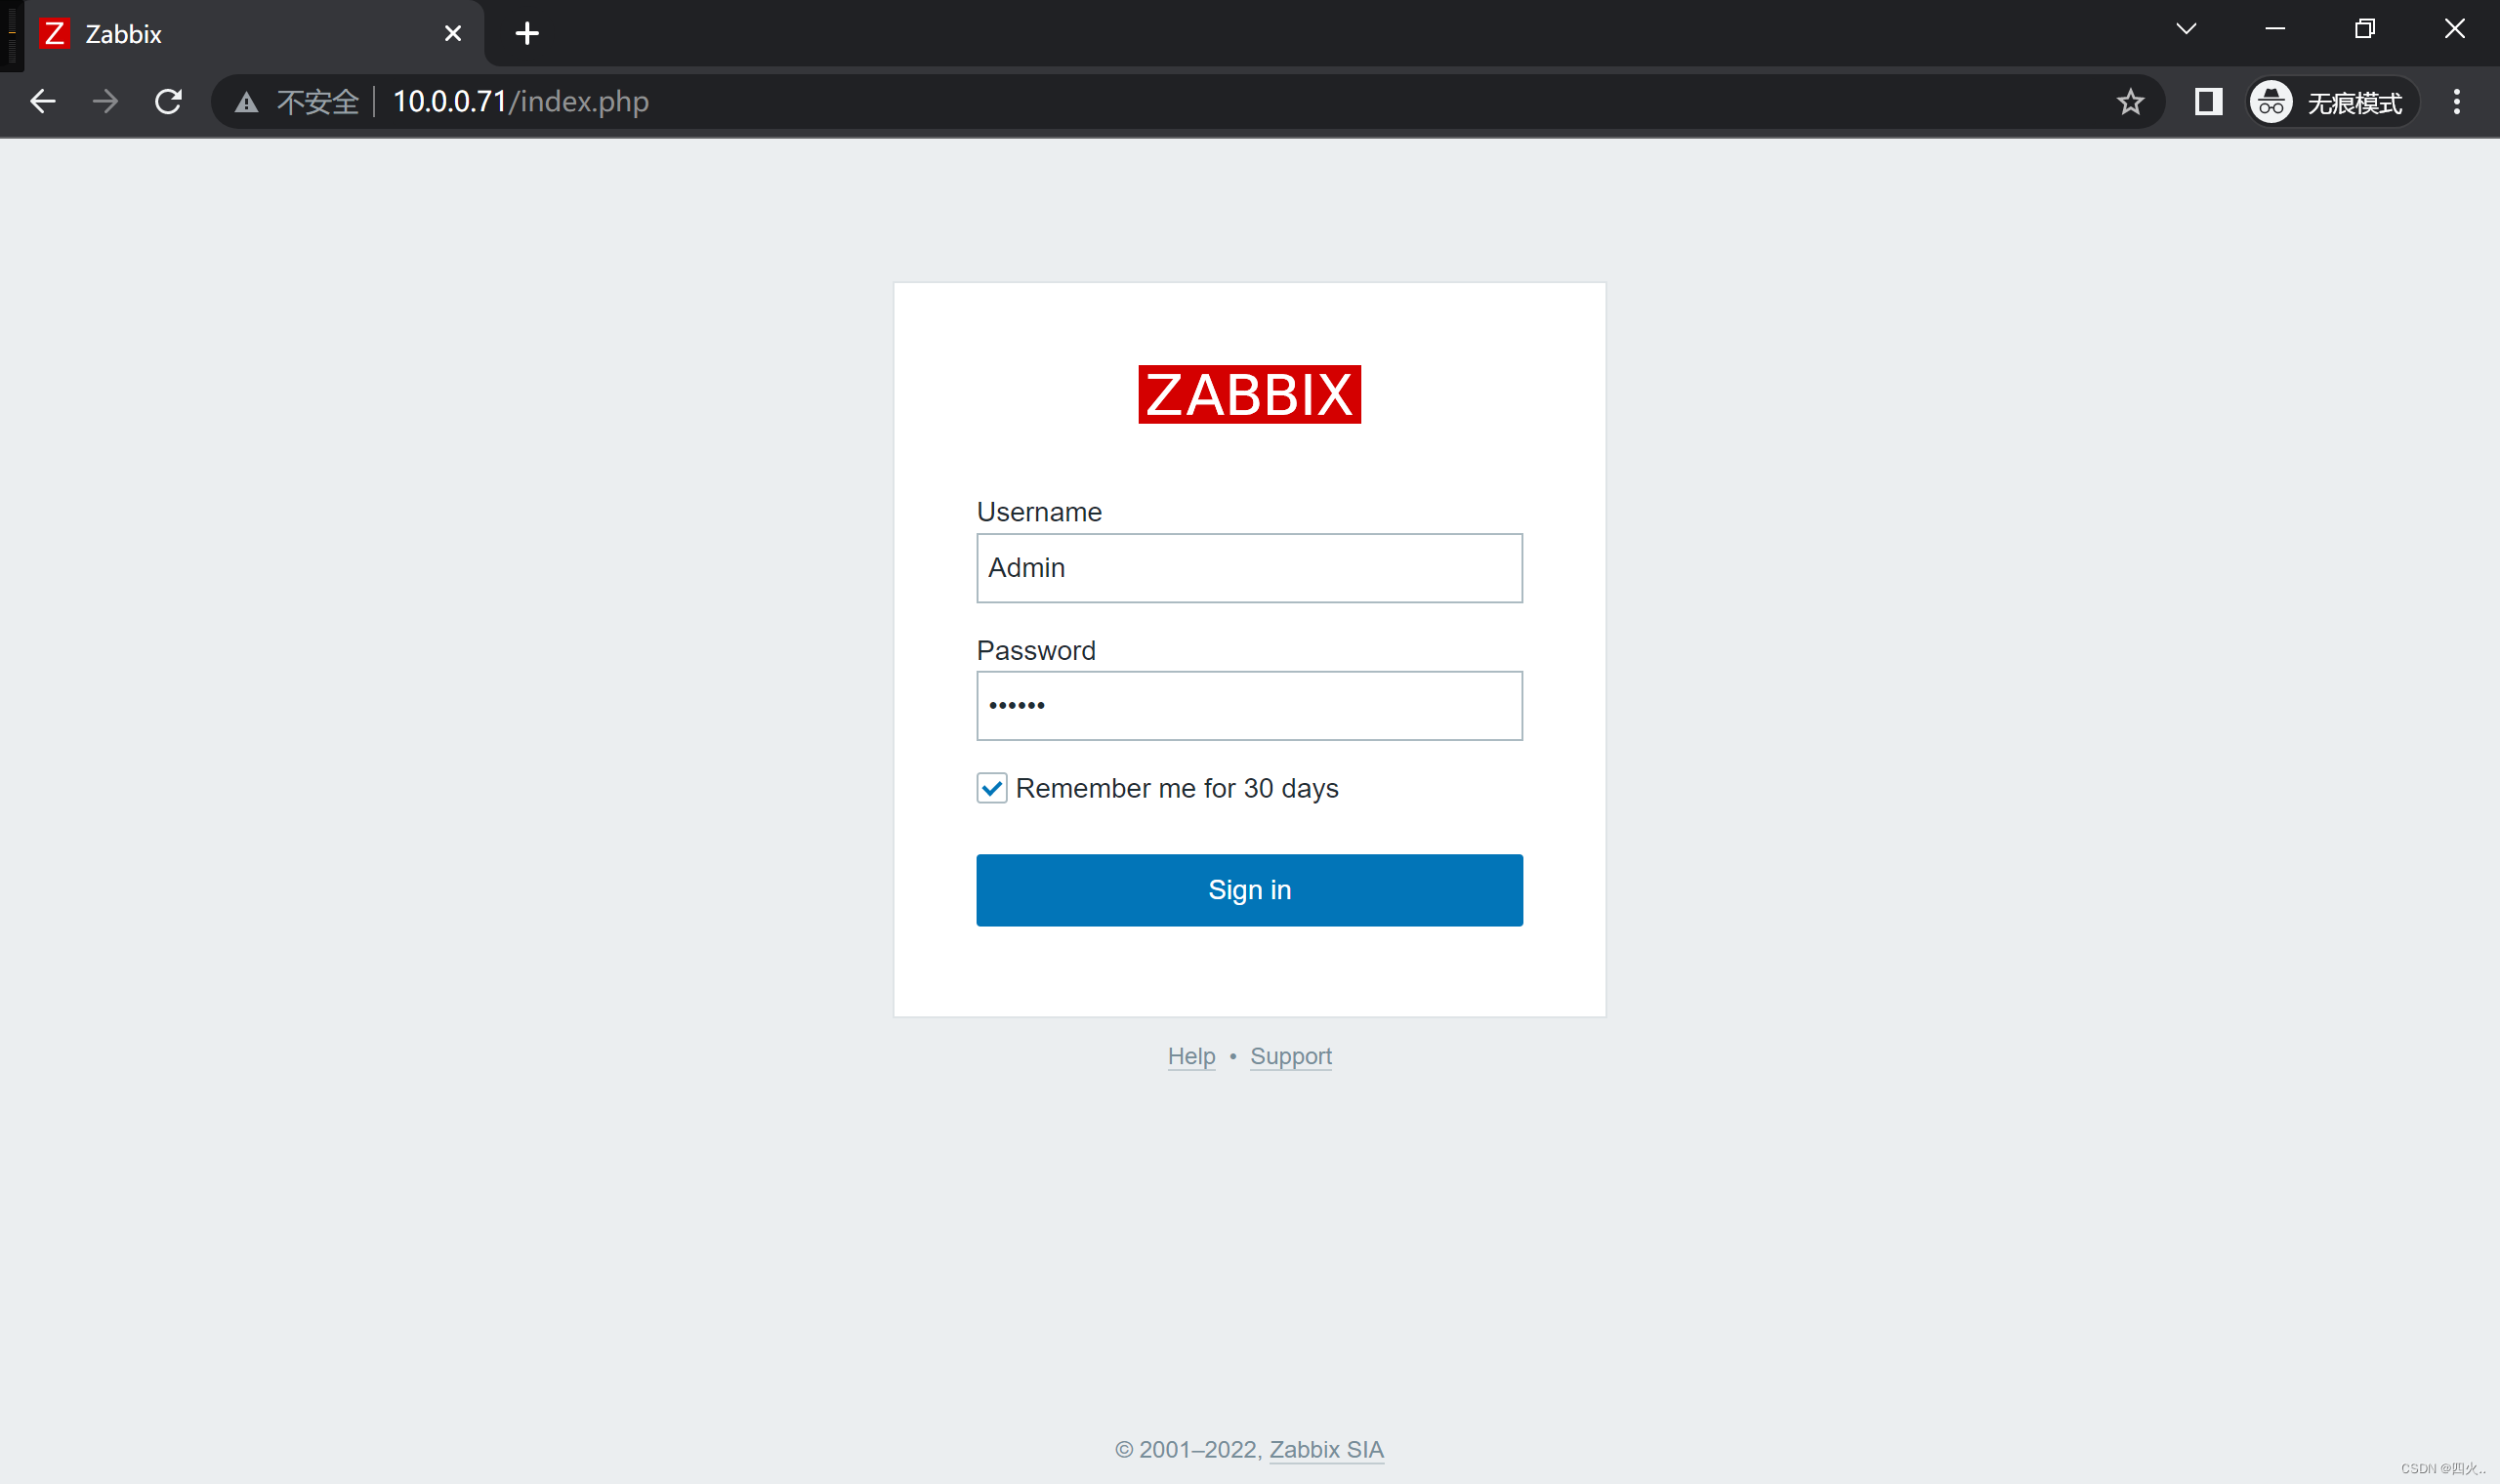
7、登陆页面
默认Username:Admin、Password:zabbix
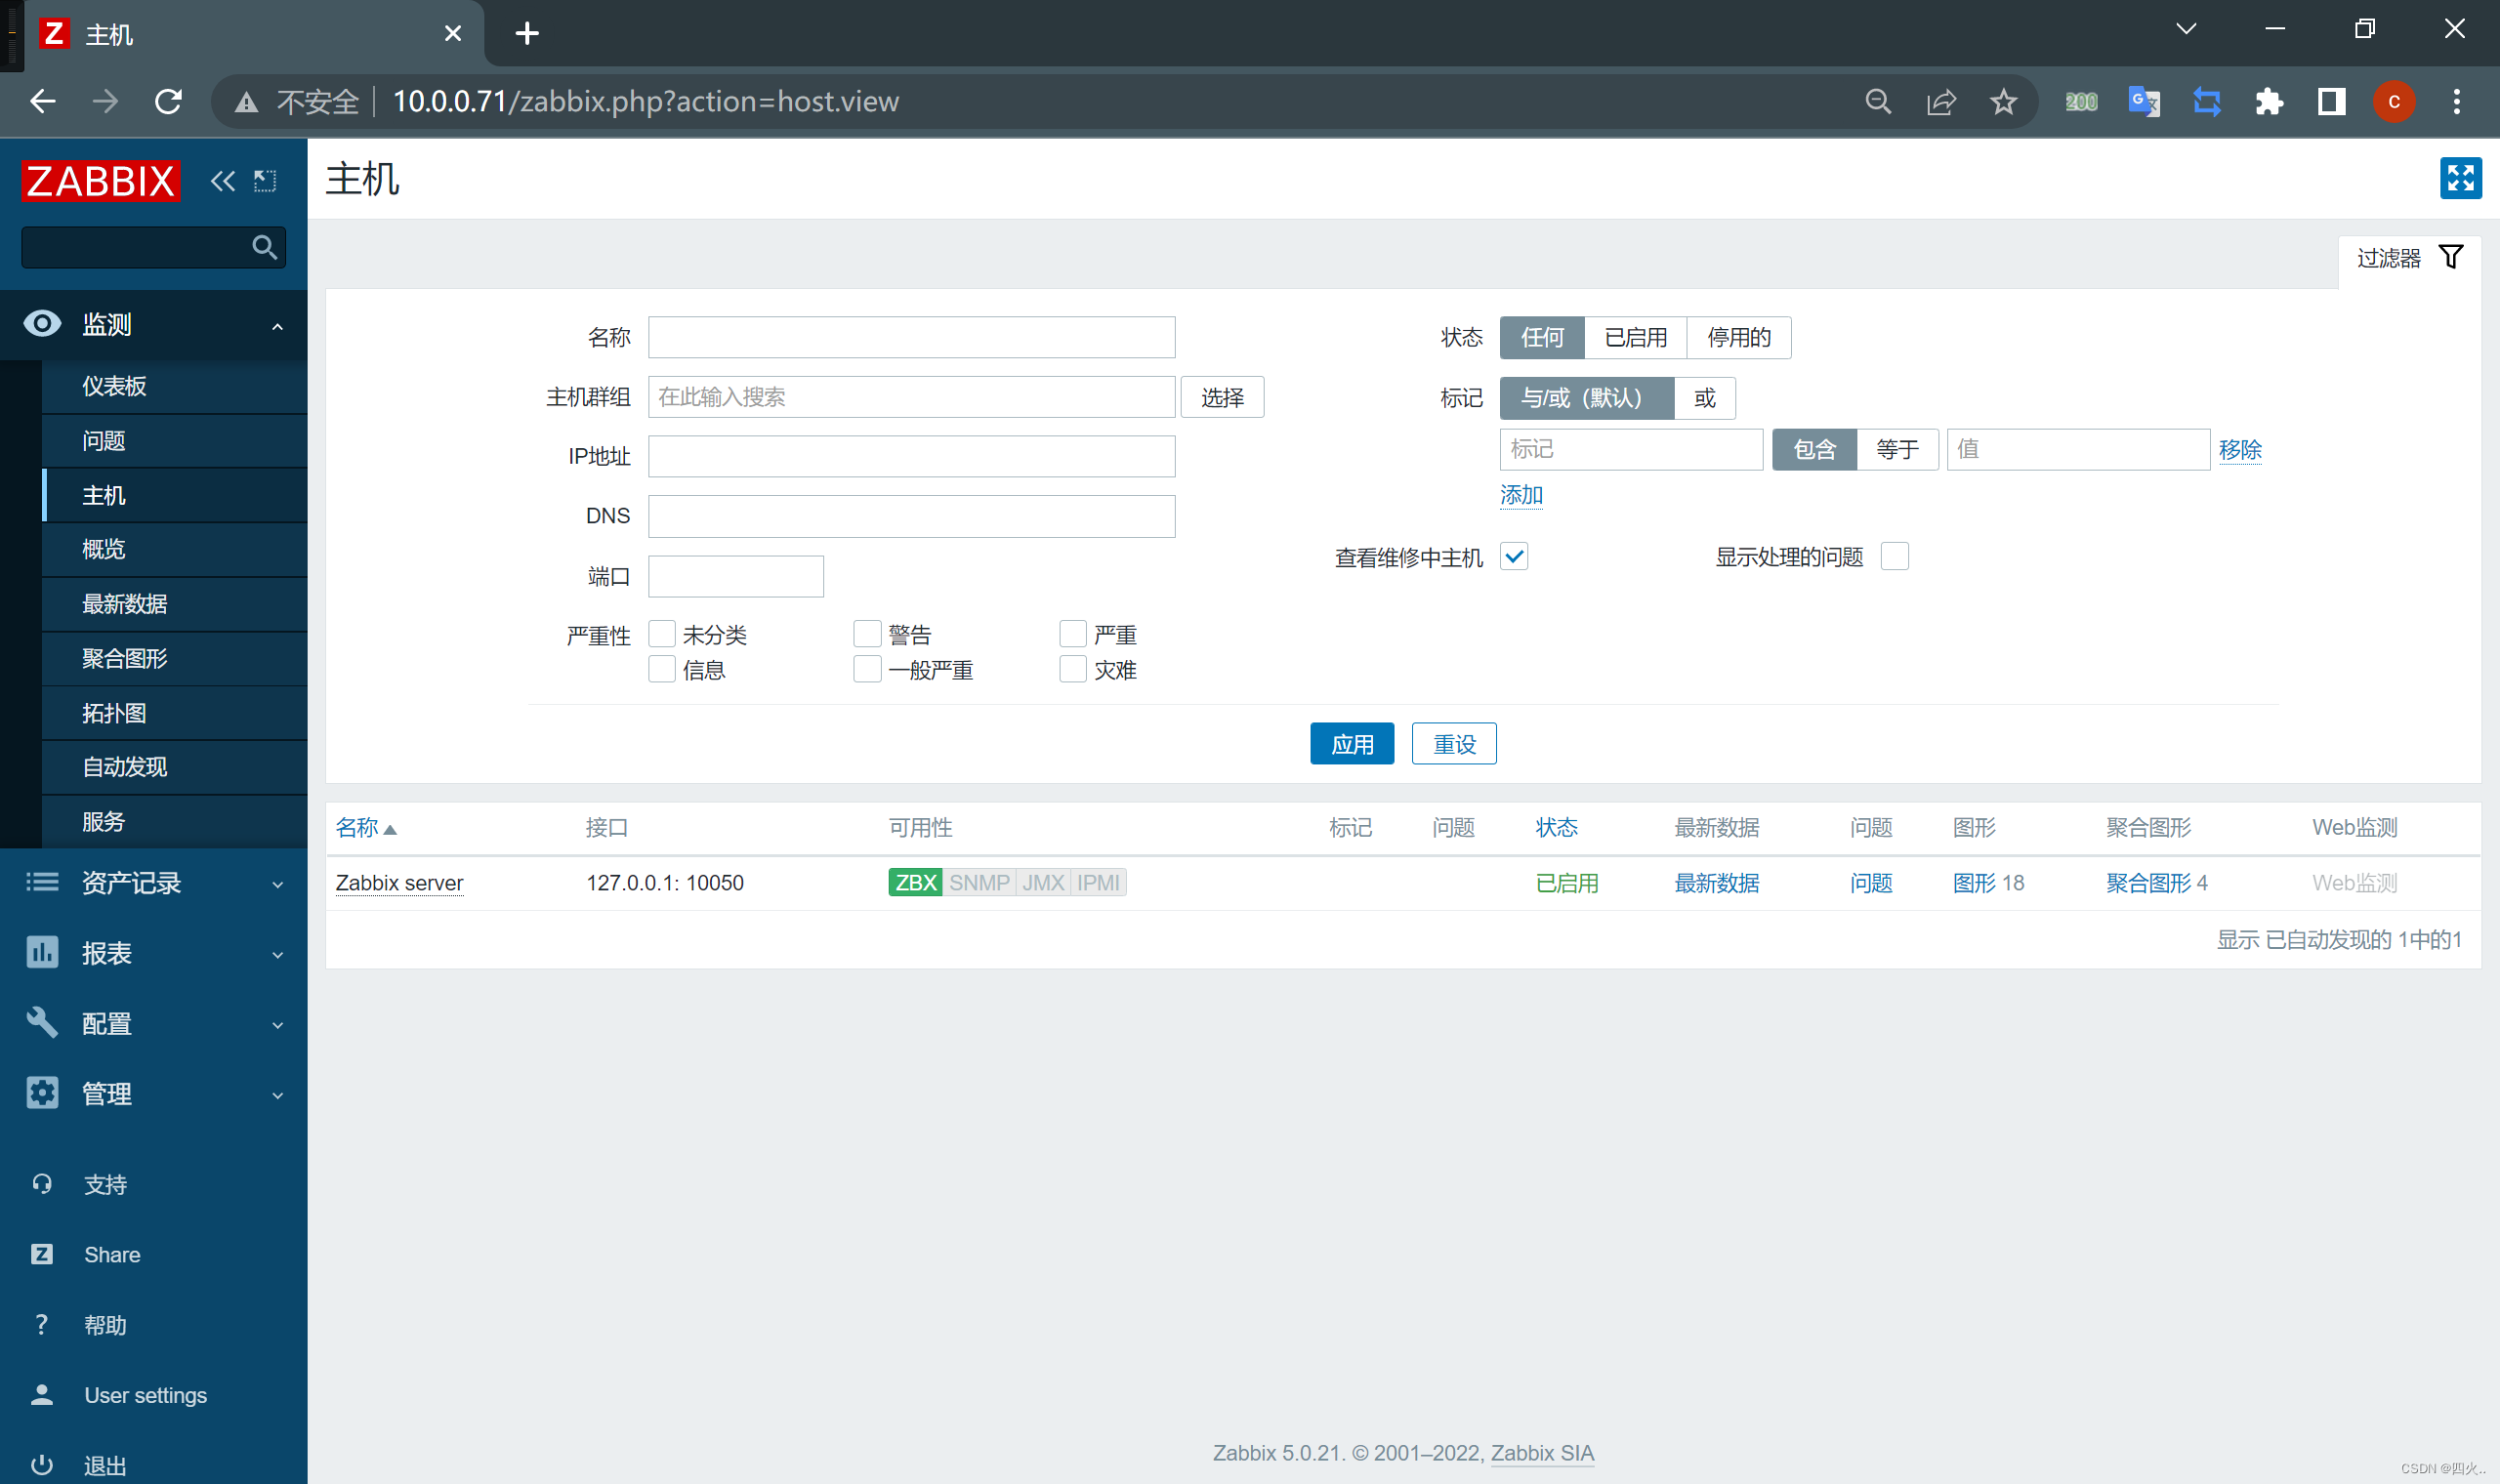
8、监控页面
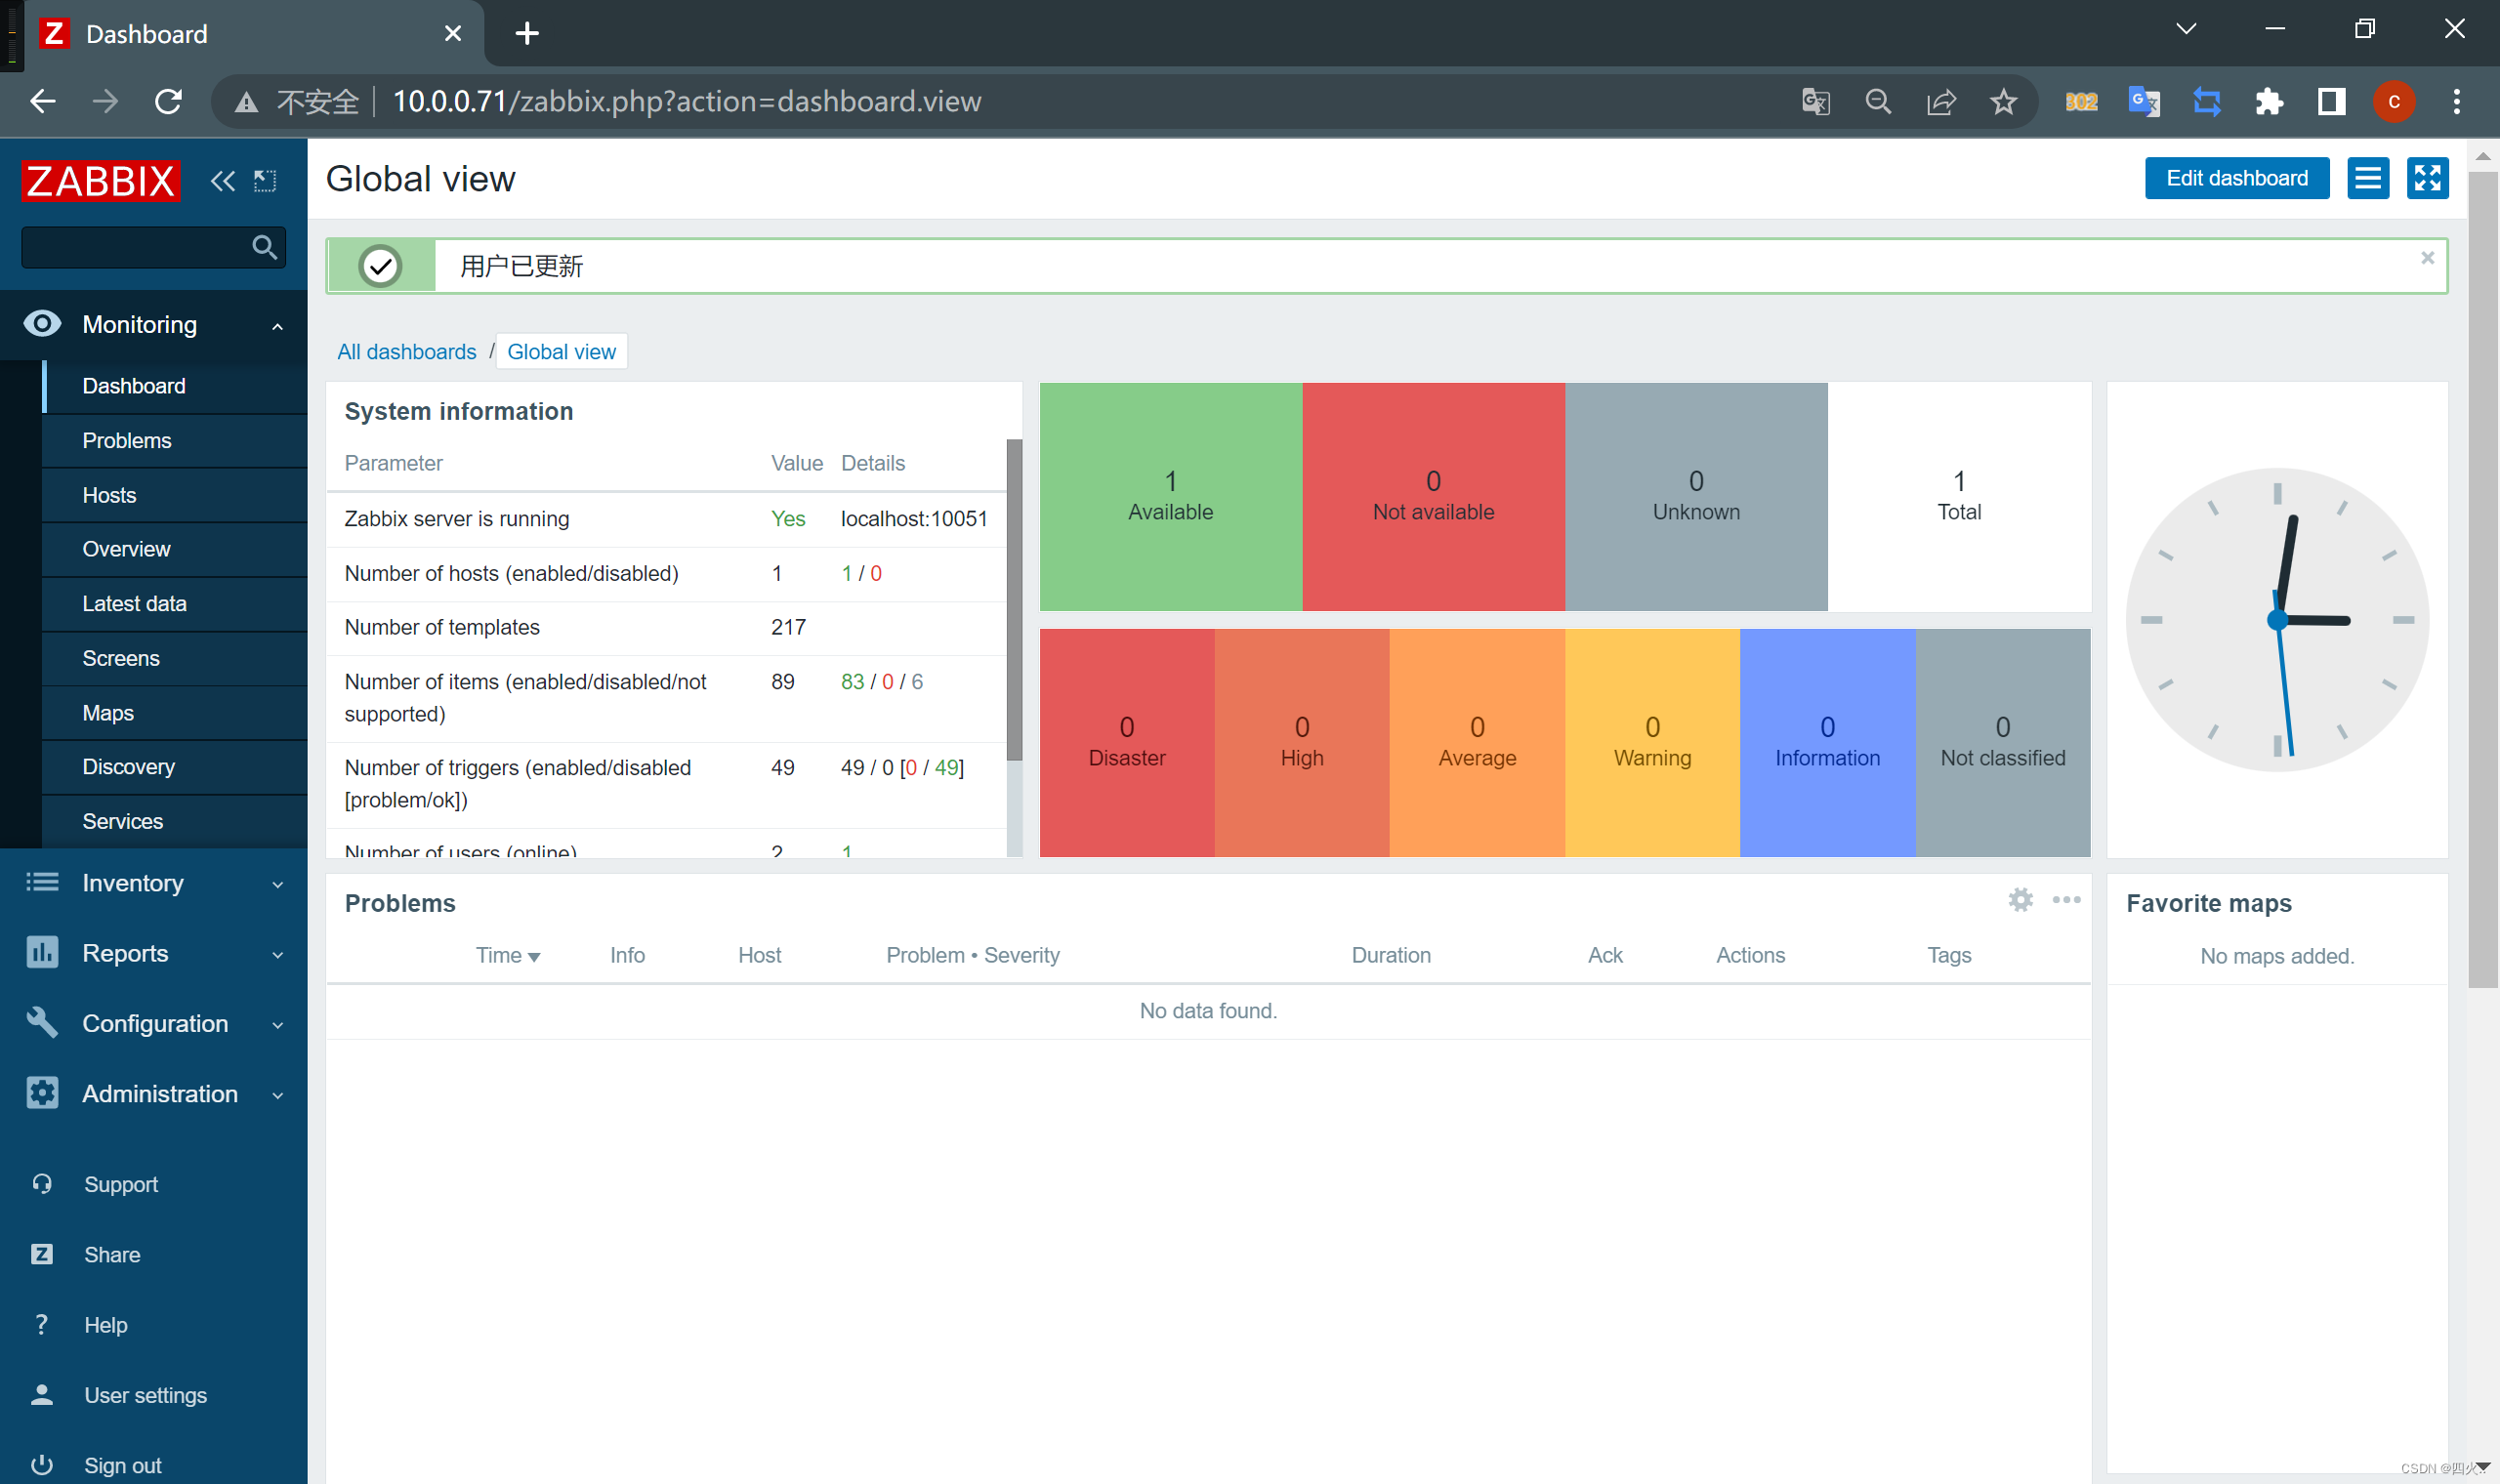
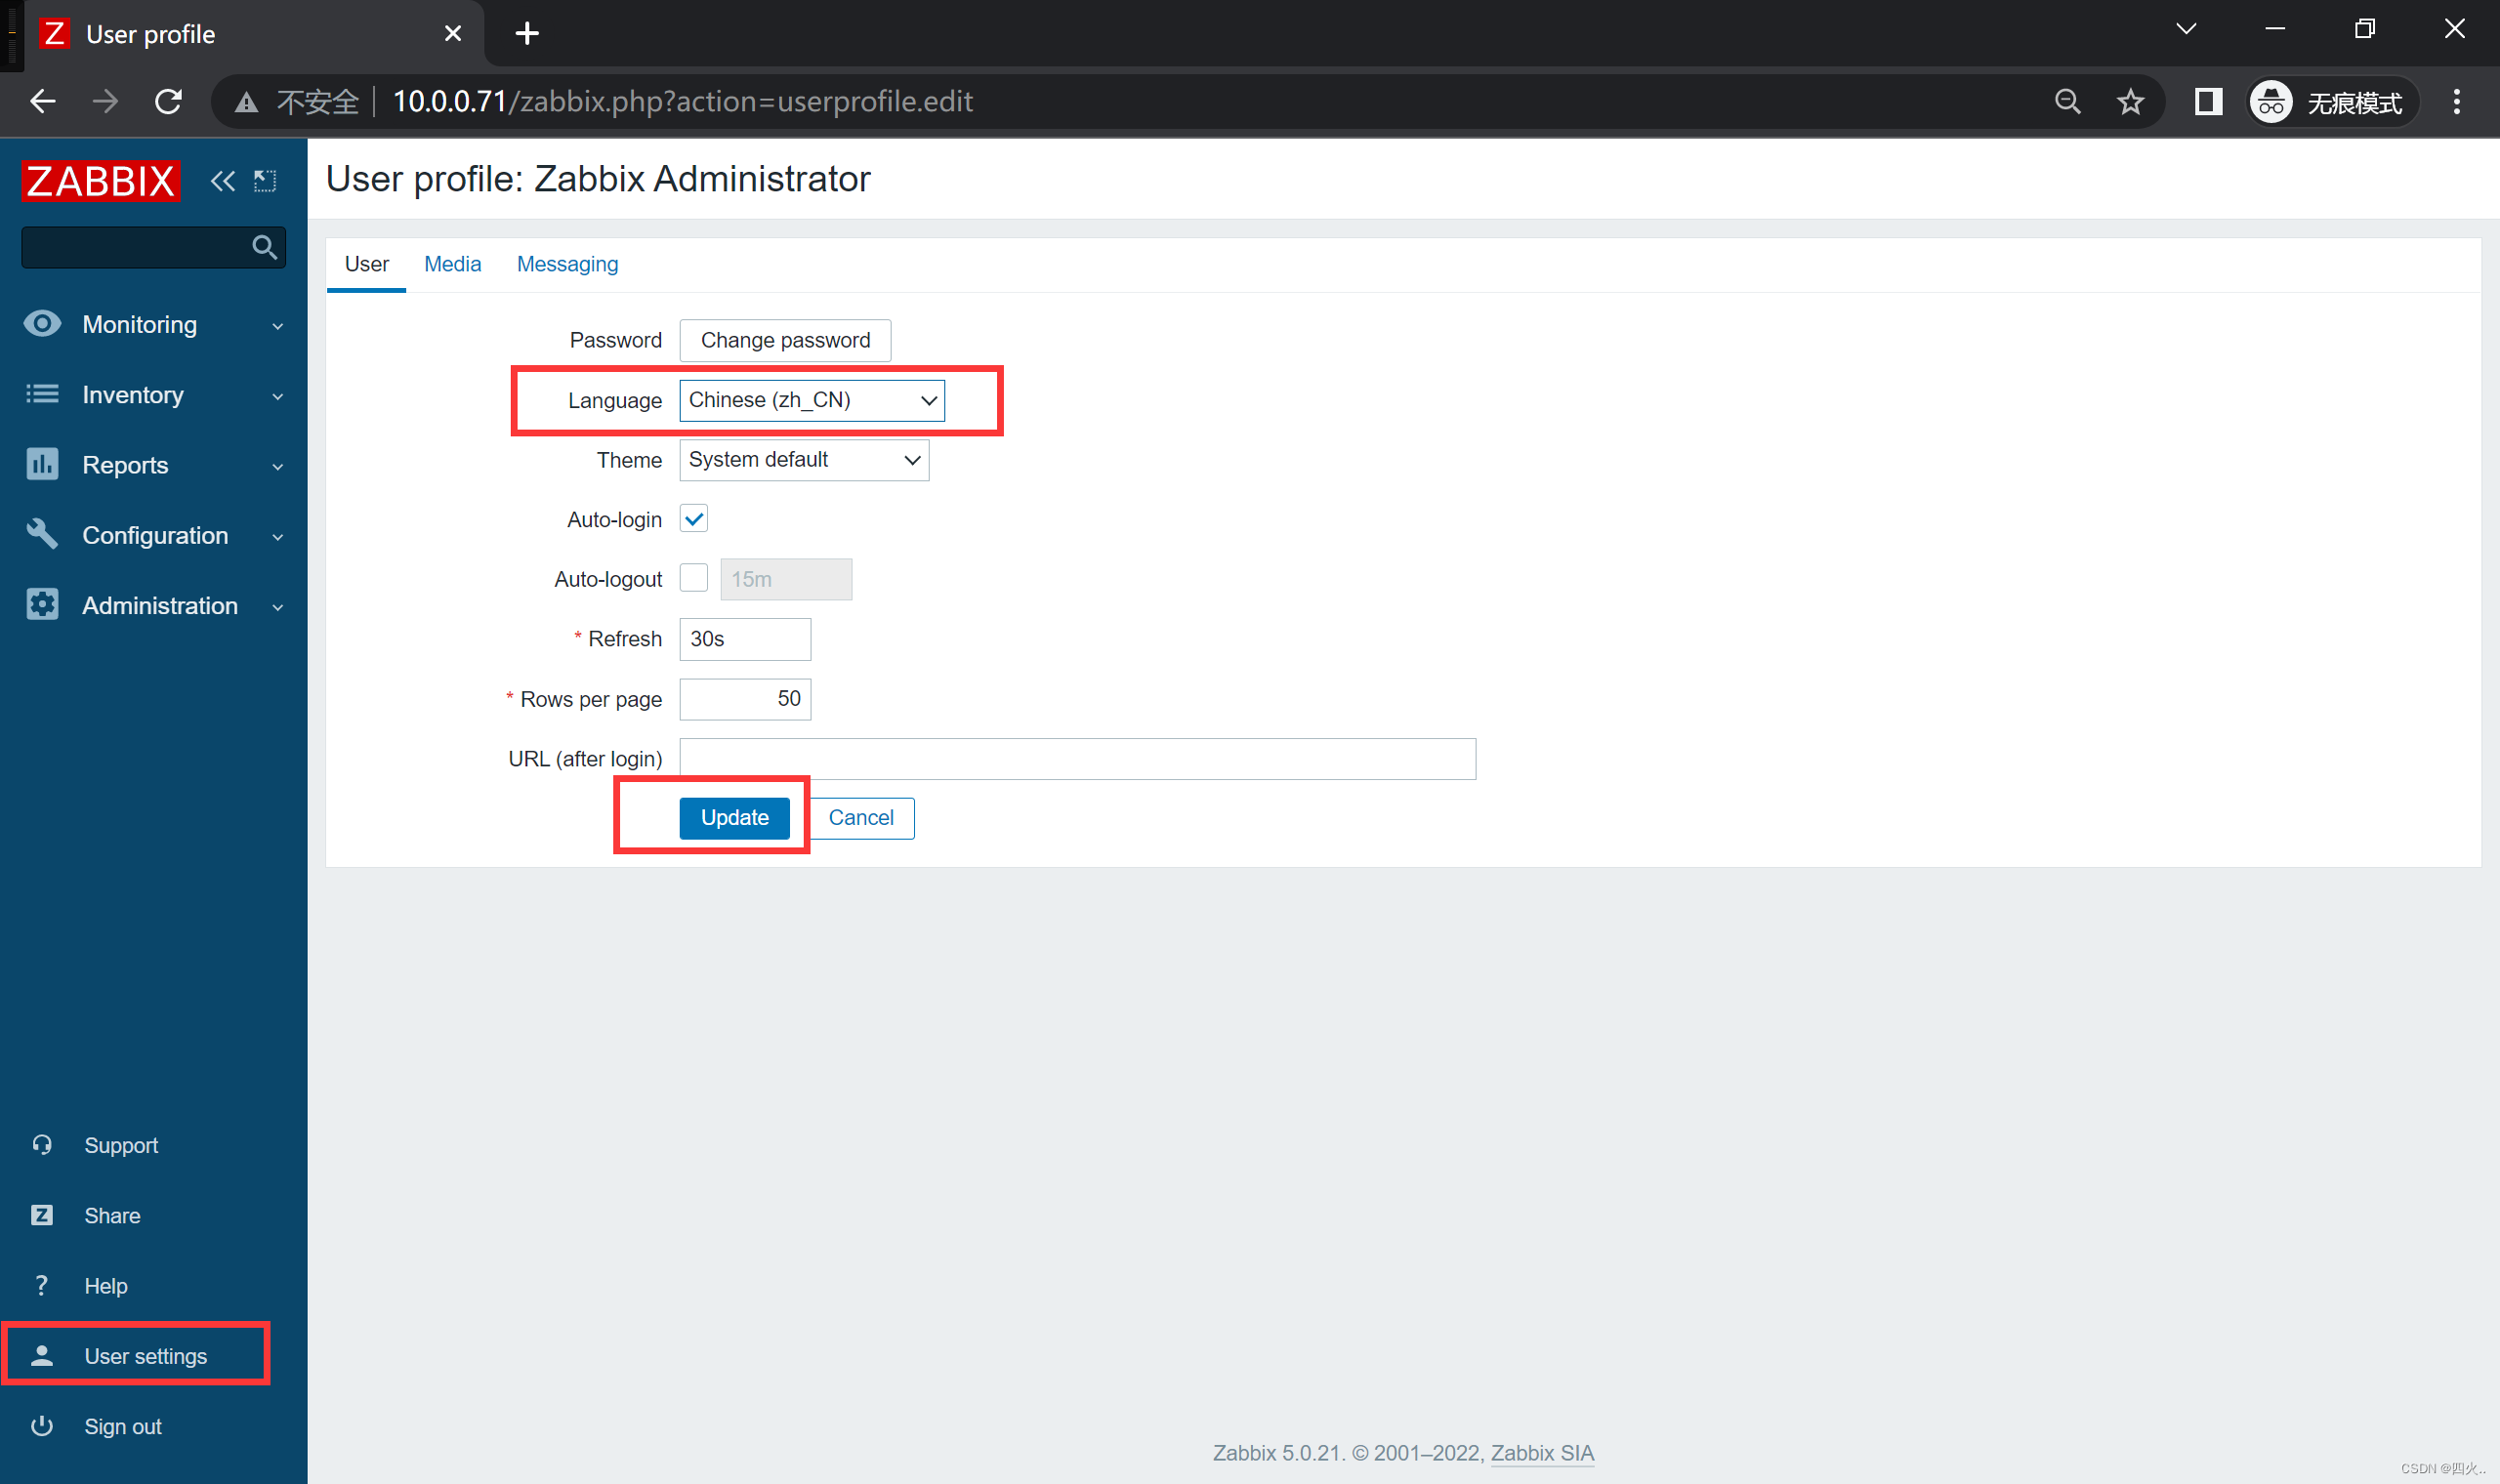
9、修改中文
