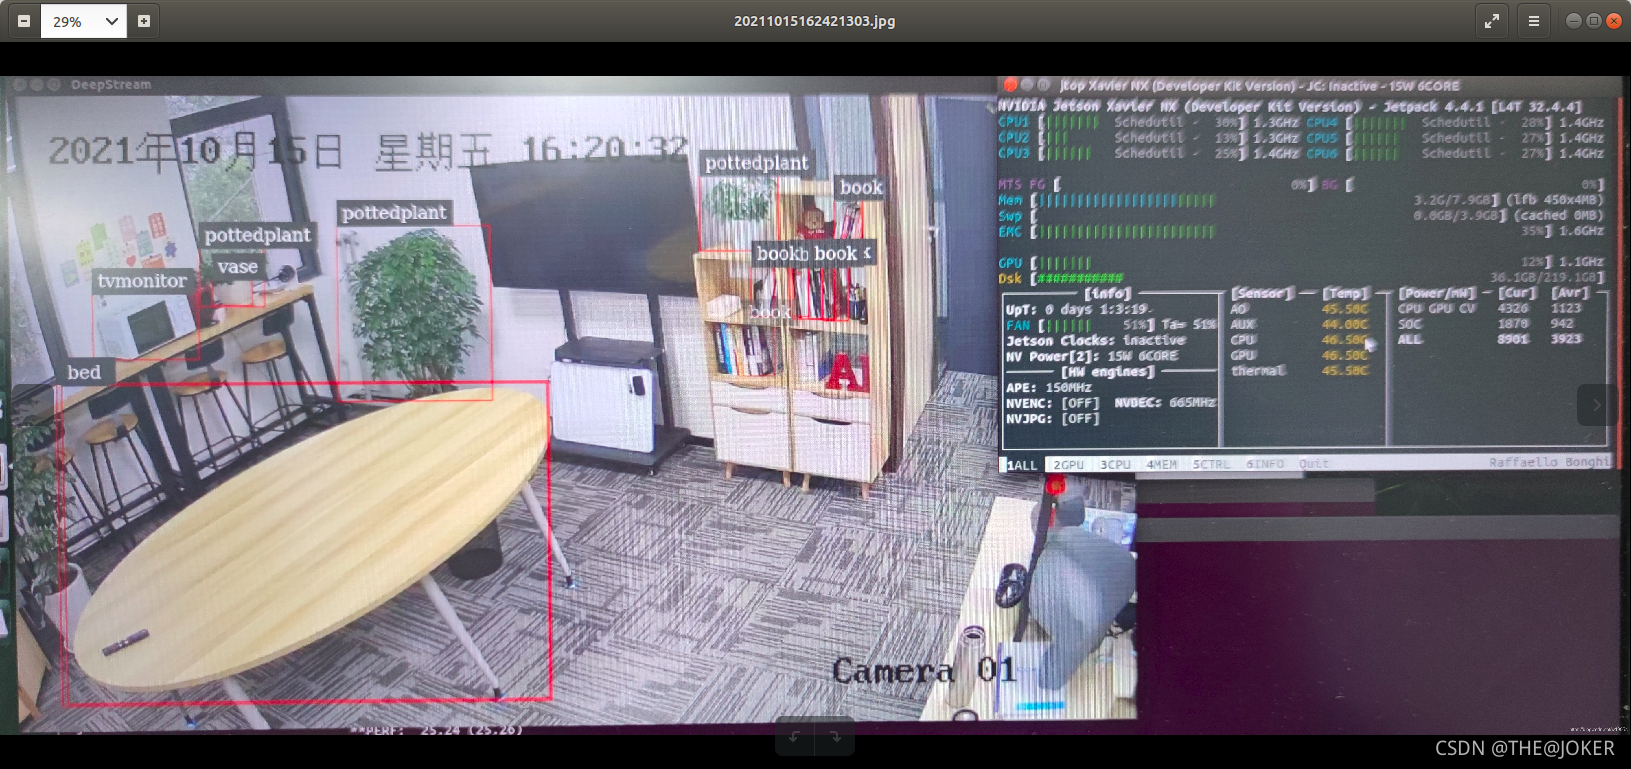
网上用c来部署yolov5的工程有很多,介绍一种包含yolov3/yolov4/yolov5(3.0/4.0/5.0)的github项目,我只实现了yolov5-5.0的工程,且使用了硬解码,其他算法自行实践。
下面以yolov5s.pt为例子,需要使用TensorRT加速,需要模型的转化。
1、将 PyTorch 模型转换为 wts 文件
下载源码:
git clone https://github.com/wang-xinyu/tensorrtx.git
git clone https://github.com/ultralytics/yolov5.git
将最新的 YoloV5(YOLOv5s、YOLOv5m、YOLOv5l 或 YOLOv5x)权重下载到 yolov5 文件夹(例如 YOLOv5s)
wget https://github.com/ultralytics/yolov5/releases/download/v5.0/yolov5s.pt -P yolov5/
将 gen_wts.py 文件(从 tensorrtx/yolov5 文件夹)复制到 yolov5(ultralytics)文件夹
cp tensorrtx/yolov5/gen_wts.py yolov5/gen_wts.py
生成wts文件
cd yolov5
python3 gen_wts.py yolov5s.pt
yolov5s.wts 文件将在 yolov5 文件夹中生成
2、将wts文件转换为TensorRT模型
构建 tensorrtx/yolov5
cd tensorrtx/yolov5
mkdir build
cd build
cmake ..
make
将生成的 yolov5s.wts 文件移动到 tensorrtx/yolov5 文件夹(以 YOLOv5s 为例)
cp yolov5/yolov5s.wts tensorrtx/yolov5/build/yolov5s.wts
转换为TensorRT模型(会在tensorrtx/yolov5/build文件夹中生成yolov5s.engine文件)
sudo ./yolov5 -s yolov5s.wts yolov5s.engine s
创建自定义 yolov5 文件夹并复制生成的文件(以 YOLOv5s 为例)
mkdir /opt/nvidia/deepstream/deepstream-5.0/sources/yolov5
cp yolov5s.engine /opt/nvidia/deepstream/deepstream-5.0/sources/yolov5/yolov5s.engine
注意:默认情况下,yolov5 脚本生成batch size = 1 和FP16 模式的模型。
#define USE_FP16  // set USE_INT8 or USE_FP16 or USE_FP32
#define DEVICE 0  // GPU id
#define NMS_THRESH 0.4
#define CONF_THRESH 0.5
#define BATCH_SIZE 1
如果要更改此参数,请在编译前编辑 yolov5.cpp 文件。
3、编译 nvdsinfer_custom_impl_Yolo
更改权限
sudo chmod -R 777 /opt/nvidia/deepstream/deepstream-5.0/sources/
将下载的DeepStream-Yolo/external/yolov5-5.0 文件夹里面的文件复制到创建的 yolov5 文件夹下
编译库:
- x86平台
cd /opt/nvidia/deepstream/deepstream-5.0/sources/yolov5
CUDA_VER=11.1 make -C nvdsinfer_custom_impl_Yolo

- Jetson平台
cd /opt/nvidia/deepstream/deepstream-5.0/sources/yolov5
CUDA_VER=10.2 make -C nvdsinfer_custom_impl_Yolo
4、测试模型
配置文件:deepstream_app_config.txt和config_infer_primary.txt文件,可自行更改。
运行命令
deepstream-app -c deepstream_app_config.txt
注意:根据选择的模型,编辑 config_infer_primary.txt 文件
例如,如果您使用 YOLOv5x
model-engine-file=yolov5s.engine
到
model-engine-file=yolov5x.engine
要更改 NMS_THRESH,请编辑 nvdsinfer_custom_impl_Yolo/nvdsparsebbox_Yolo.cpp 文件并重新编译
#define kNMS_THRESH 0.45
要更改 CONF_THRESH,请编辑 config_infer_primary.txt 文件
[class-attrs-all]
pre-cluster-threshold=0.25
