VS2022配置OpenGL环境
1:下载资源
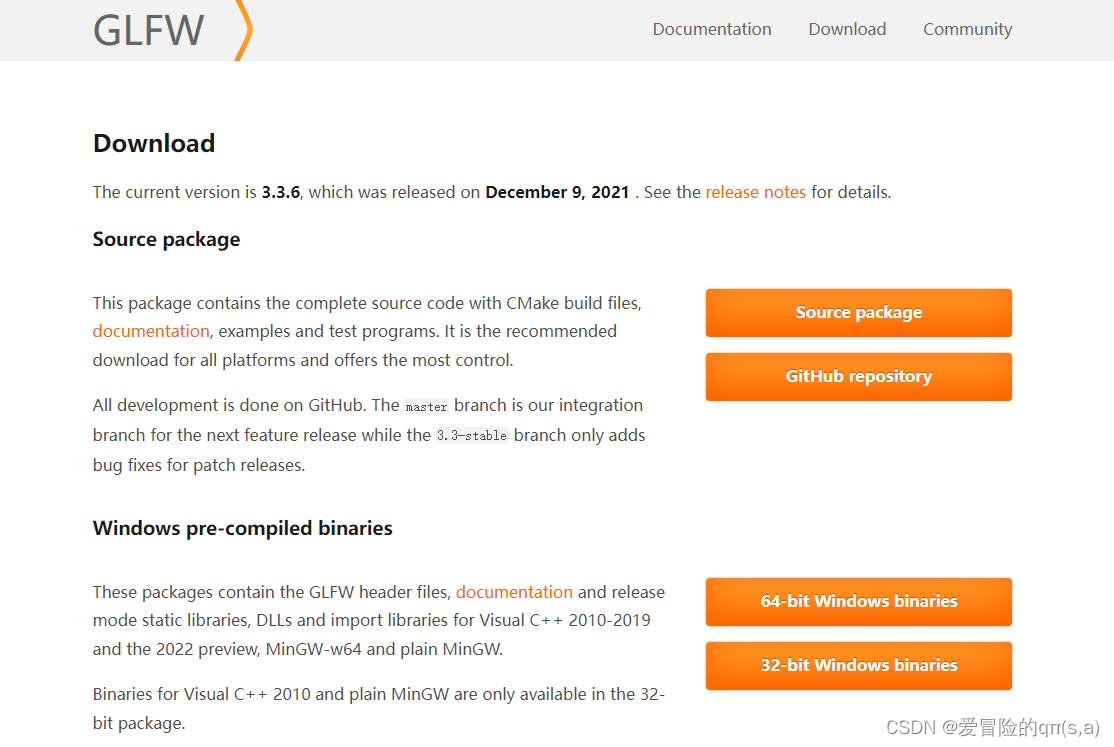
确保vs2022能够正常在win10环境中运行(win10 SDK),下载GLFW,如下图。选择64位或者是32位取决于你的编译器使用的是64还是32.

2:新建项目
新建空项目并创建第一个cpp程序,在此情况下只需要你可以hello world出来就行了。接着粘贴GLFW上的测试代码,接着看着界面标红很红特别红,这是因为还没有依赖。
#include <GLFW/glfw3.h>

int main(void) {
    GLFWwindow* window;

    /* Initialize the library */
    if (!glfwInit())
        return -1;

    /* Create a windowed mode window and its OpenGL context */
    window = glfwCreateWindow(640, 480, "Hello World", NULL, NULL);
    if (!window) {
        glfwTerminate();
        return -1;
    }

    /* Make the window's context current */
    glfwMakeContextCurrent(window);

    /* Loop until the user closes the window */
    while (!glfwWindowShouldClose(window)) {
        /* Render here */
        glClear(GL_COLOR_BUFFER_BIT);

        /* Swap front and back buffers */
        glfwSwapBuffers(window);

        /* Poll for and process events */
        glfwPollEvents();
    }

    glfwTerminate();
    return 0;
}
3:配置项目
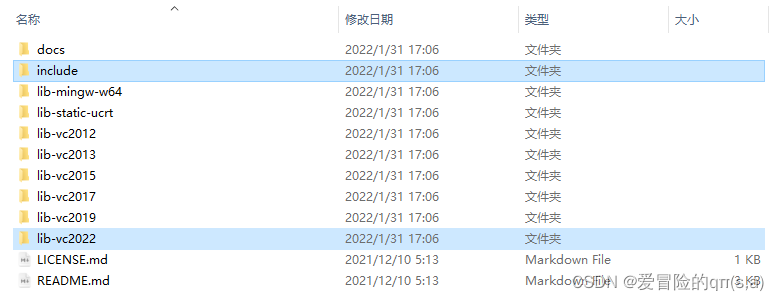
首先看到GLFW目录里的各种内容,会用到include和lib-vc2022两个目录。

将上面两个目录直接粘贴到你的项目文件里,在项目里可以提前创建新的资源管理目录(你的说不定没我的东西多,因为我提前build过并且手滑点击了解决方案与项目同目录)。

我的目录是$(SolutionDir)Dependences\GLFW。

快捷键alt+enter打开项目首选项,在配置首选项中的C/C++中选择General的第一项额外include目录,添加库文件。

在下方的Linker中添加静态链接库。

如果闲着没事干可以把Input里的额外依赖删除只留下我们想要的。

重写添加依赖:

到这里为止就暂时配置完毕了。
