控制你的角色
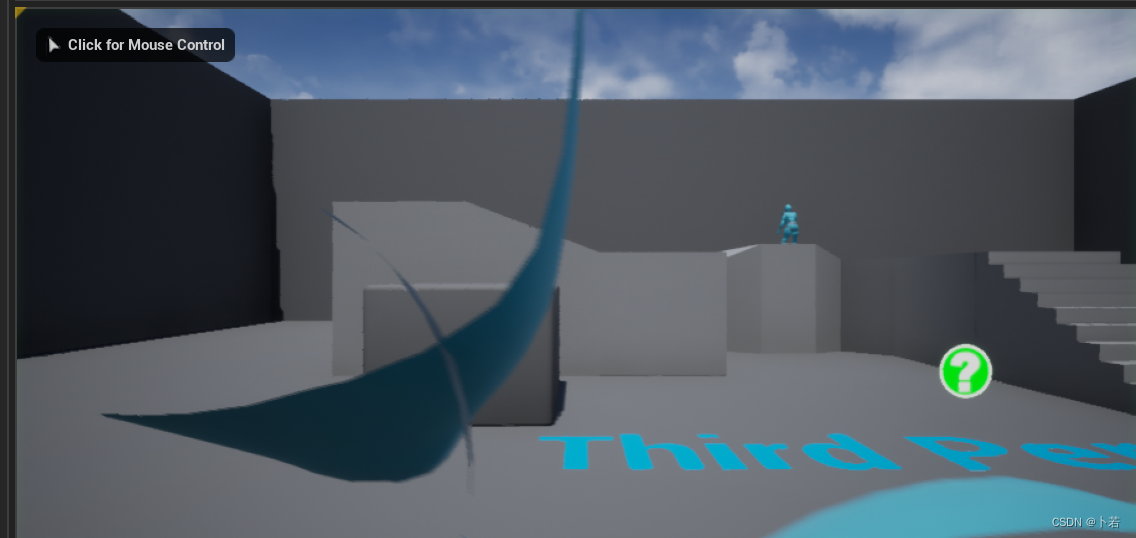
效果演示
我们在第五章已经成功的创建了你的角色,我们现在希望去控制它。
对此。为了便于管理,我们会将控制类整理到一个类中。
1.1 创建控制类
AInputManager.cpp
// Fill out your copyright notice in the Description page of Project Settings.


#include "InputManager.h"

// Sets default values
AInputManager::AInputManager()
{
 	// Set this actor to call Tick() every frame.  You can turn this off to improve performance if you don't need it.
	PrimaryActorTick.bCanEverTick = true;

}

// Called when the game starts or when spawned
void AInputManager::BeginPlay()
{
	Super::BeginPlay();

	auto world = this->GetWorld();
	auto playerController= world->GetFirstPlayerController();
	auto inputComp = playerController->InputComponent;

	inputComp->BindAxis("MouseTurnInput", this, &AInputManager::MouseTurnInput);
	inputComp->BindAxis("MouseTurnUpInput", this, &AInputManager::MouseTurnUpInput);
	inputComp->BindAxis("RightDirInput", this, &AInputManager::RightDirInput);
	inputComp->BindAxis("ForwardDirInput", this, &AInputManager::ForawrdDirInput);

}

// Called every frame
void AInputManager::Tick(float DeltaTime)
{
	Super::Tick(DeltaTime);

}

void AInputManager::MouseTurnInput(float val)
{

}

void AInputManager::MouseTurnUpInput(float val)
{

}

void AInputManager::ForawrdDirInput(float val)
{

}

void AInputManager::RightDirInput(float val)
{

}
1.2 通过GameMode生成角色
1.2.1 Unreal的GamePlay框架
在Unreal中,定义游戏的基本规则是通过GameMode来完成的。
本章我们重点关注的是GameMode会处理玩家的生成。
1.2.2 设置GamePlay
在我们创建一个第三人称项目的时候,项目会默认带着一个GamePlay的配置脚本
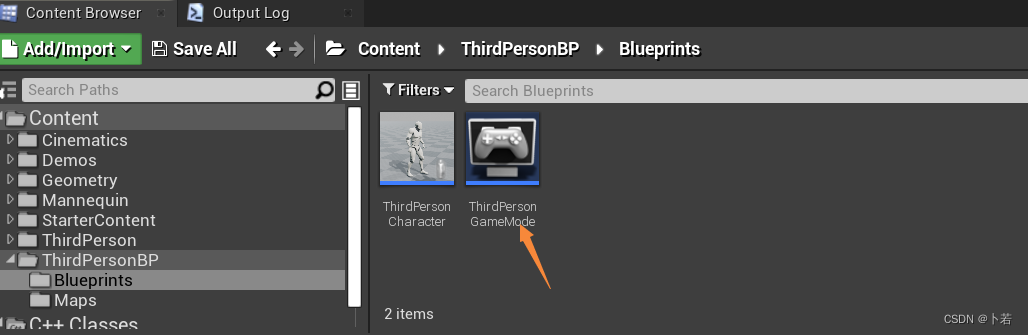
我们打开这个GamePlay配置脚本,会发现有很多配置项
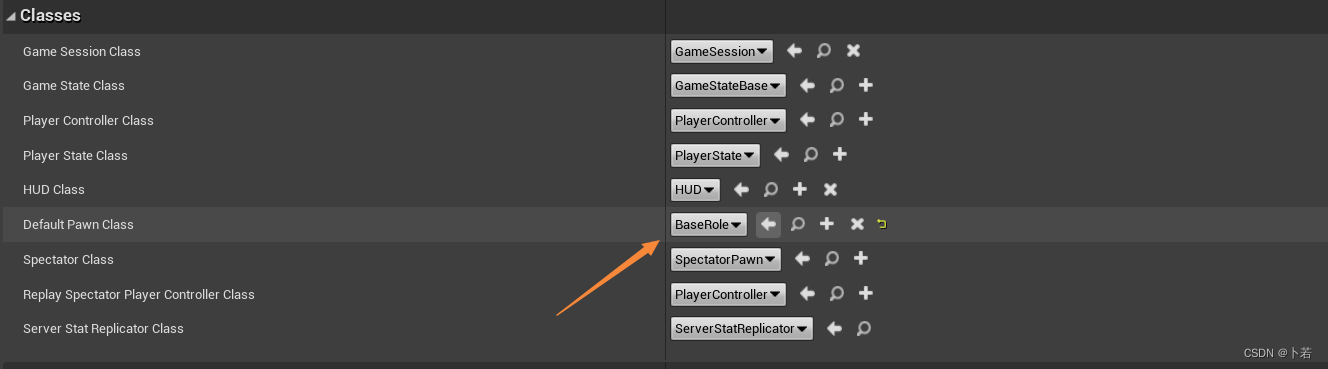
本章我们关注的是通过GamePlay 控制默认生成的对象类为我们的BaseRole
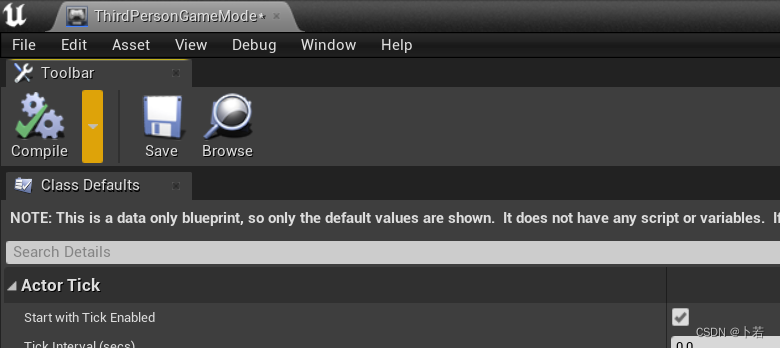
注意编译(再强调一下)
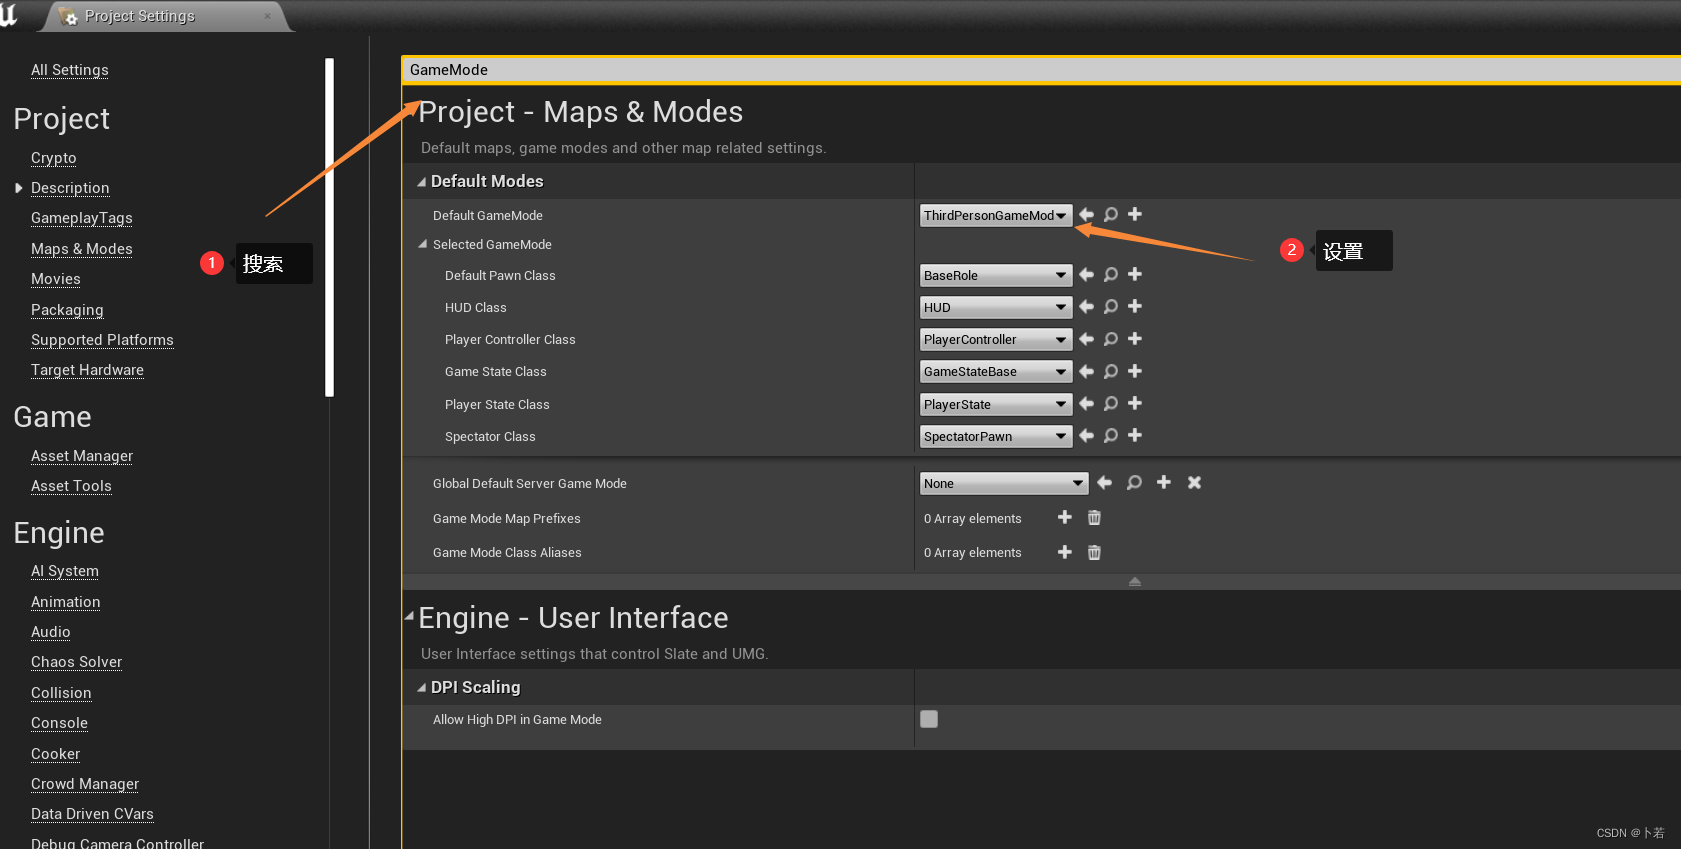
另外一个问题,当我们有很多GamePlay的配置脚本时,我们应该怎么去选择应用某个GamePlay?
然后我们再将场景中的第三人称的角色删掉
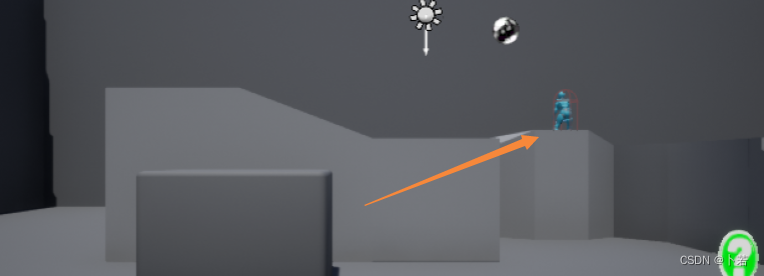
当我们再度运行游戏的时候,它会给你生成一个默认的BaseRole
这里其实存在几个问题
-
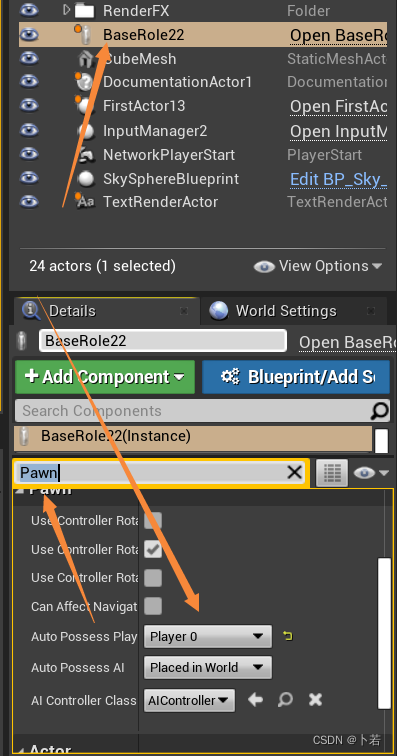
我们其实希望我们的默认角色是一个已经放在场景中的角色
这个时候,我们可以通过指定该角色为 PlayerController 默认拥有的角色0 即可
-
缺少相机
这时候我们看到的画面依旧是非常鬼畜的,因为我们缺少相机
我们需要针对这个解决一下
1.3 c++角色添加摄像机
核心代码:
ABaseRole::ABaseRole()
{
 	// Set this character to call Tick() every frame.  You can turn this off to improve performance if you don't need it.
	PrimaryActorTick.bCanEverTick = true;
	auto mesh = this->GetMesh();
	auto asset = ConstructorHelpers::FObjectFinder<USkeletalMesh>(TEXT("SkeletalMesh'/Game/Demos/Mesh/BaseRole/BaseRole.BaseRole'"));
	mesh->SetSkeletalMesh(asset.Object);
	mesh->SetRelativeLocation(FVector(0, 0, -80));
	mesh->SetRelativeRotation(FRotator(0,-90, 0));
	ConstructorHelpers::FClassFinder<UAnimInstance> meshAnima(TEXT("/Game/Demos/Animator/AnimBP/BaseRoleAnimBP"));
	auto animClass = meshAnima.Class;
	mesh->SetAnimClass(animClass);
	bUseControllerRotationYaw = false;
	camera = CreateDefaultSubobject<UCameraComponent>(TEXT("Camera"));
	arm = CreateDefaultSubobject<USpringArmComponent>(TEXT("Arm"));
	arm->AttachTo(RootComponent);
	arm->TargetArmLength = 300.f;
	arm->SetRelativeRotation(FRotator(-45, 0, 0));
	arm->bEnableCameraLag = true;
	arm->CameraLagSpeed = 5;
	arm->CameraLagMaxDistance = 1.5f;
	arm->bEnableCameraRotationLag = true;
	arm->CameraRotationLagSpeed = 10;
	arm->CameraLagMaxTimeStep = 1;
	camera->AttachTo(arm,USpringArmComponent::SocketName);

}
这里面关于视角的控制函数:
void ABaseRole::VerticalRot(float val)
{
	if (val) {
		float temp = arm->GetRelativeRotation().Pitch + val;
		if (temp < 25 && temp > -65) {
			arm->AddLocalRotation(FRotator(val, 0, 0));
		}
	}
}


void ABaseRole::HorizontalRot(float val)
{
	if (val) {
		AddActorLocalRotation(FRotator(0, val, 0));
	}
}
1.3.1 鼠标控制SpringArm
一般,我们的控制逻辑都会在一个控制类中实现,也就是InputManager去处理我们的所有控制逻辑
所以当前我们要解决的问题就是:怎么在InputManager中获取这个游戏对象
一般由两种办法:
一:直接从PlayerController中获取
二:当我们创建该对象时,可以将该对象存放成一个共享变量,然后通过共享变量去访问
从PlayerController中获取Playter0

在InputManager里面,当我们接收到鼠标移动的信号时,直接call role的两个视角旋转函数即可
void AInputManager::MouseTurnInput(float val)
{
	//FString TheFloatStr = FString::SanitizeFloat(val);
	role->HorizontalRot(val);
}

void AInputManager::MouseTurnUpInput(float val)
{
	role->VerticalRot(val);
}
1.4 移动控制
代码也比较简单:
void ABaseRole::RightMove(float val)
{
	FRotator CurrentRotation = this->GetActorRotation();
	const FVector Direction = FRotationMatrix(CurrentRotation).GetScaledAxis(EAxis::Y);
	AddMovementInput(Direction, val * 10);
}

void ABaseRole::ForwardMove(float val)
{
	FRotator CurrentRotation = this->GetActorRotation();
	const FVector Direction = FRotationMatrix(CurrentRotation).GetScaledAxis(EAxis::X);
	AddMovementInput(Direction, val * 10);
}