Web原生组件注入
使用Servlet API
@ServletComponentScan注解
在 SpringBootApplication 上使用@ServletComponentScan 注解后,Servlet、Filter、Listener 可以直接通过 @WebServlet、@WebFilter、@WebListener 注解自动注册,无需其他代码
@ServletComponentScan("com.Servlet")
@SpringBootApplication
public class CrudApplication {
    public static void main(String[] args) {
        SpringApplication.run(CrudApplication.class, args);
    }
}
Servlet的使用
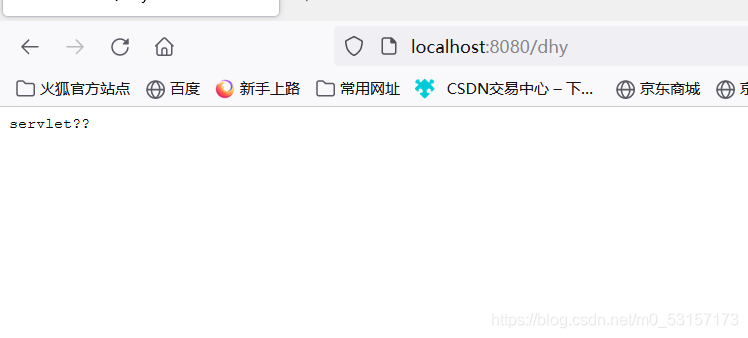
@WebServlet("/dhy")
public class Myservlet extends HttpServlet
{
    @Override
    protected void doGet(HttpServletRequest req, HttpServletResponse resp) throws ServletException, IOException {
        resp.getWriter().write("servlet请求");
    }
}
Filter的使用
@Slf4j
@WebFilter("/main.html")
public class MyFilter implements Filter {
@Override
public void init(FilterConfig filterConfig) throws ServletException {
log.info("初始化");
}
@Override
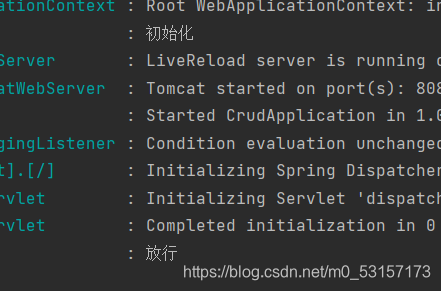
public void doFilter(ServletRequest servletRequest, ServletResponse servletResponse, FilterChain filterChain) throws IOException, ServletException {
log.info("放行");
filterChain.doFilter(servletRequest,servletResponse);
}
@Override
public void destroy() {
log.info("销毁");
}
}
Listener的使用
@WebListener
public class MyFilter implements ServletContextListener {
@Override
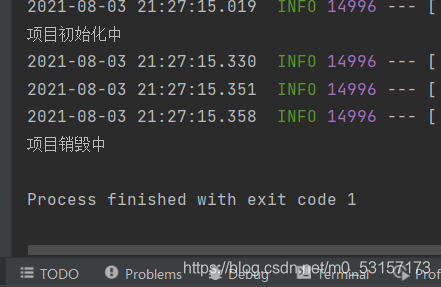
public void contextInitialized(ServletContextEvent sce) {
System.out.println("项目初始化中");
}
@Override
public void contextDestroyed(ServletContextEvent sce) {
System.out.println("项目销毁中");
}
}
使用RegistrationBean
ServletRegistrationBean, FilterRegistrationBean, and ServletListenerRegistrationBean
@Configuration
public class MyServletConfig
{
    //注册三大组件
    //注册Servlet到容器中
    @Bean
     public ServletRegistrationBean myServlet()
     {
         ServletRegistrationBean servletRegistrationBean =
                 //第一个参数:注册哪一个Servlet
                 //第二个参数:这个Servlet映射哪些路径
                 new ServletRegistrationBean(new MyServlet(),"/myServlet");
         return servletRegistrationBean;
     }
     //注册Filter到容器中
    @Bean
    public FilterRegistrationBean myFilter()
    {
        FilterRegistrationBean registrationBean=new FilterRegistrationBean();
        registrationBean.setFilter(new MyFilter());
        //拦截路径
        registrationBean.setUrlPatterns(Arrays.asList("/hello","/myServlet"));
        return registrationBean;
    }
   //注册Listener到容器中
    @Bean
    public ServletListenerRegistrationBean myListener()
    {
        ServletListenerRegistrationBean<MyListener> listener = new ServletListenerRegistrationBean<>(new MyListener());
        return listener;
    }
    //定制嵌入式的Servlet容器相关的规则
    @Bean
    public WebServerFactoryCustomizer webServerFactoryCustomizer(){
        return new WebServerFactoryCustomizer<ConfigurableServletWebServerFactory>() {
            //定制嵌入式的Servlet容器相关的规则
            @Override
            public void customize(ConfigurableServletWebServerFactory factory) {
                factory.setPort(8896);
            }
        };
    }
}
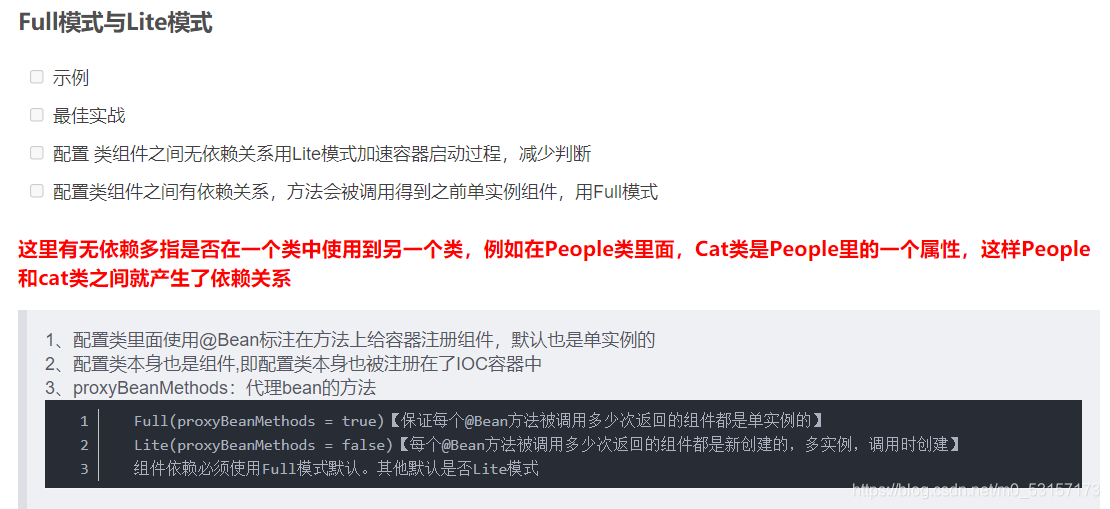
这里需要注意一个小细节: 组件是单实例,还是多实例的,这里建议还是使用默认的单实例,防止每一次请求访问都要创建一个Servlet对象
解释为什么原生的Servlet会直接响应,没有经过spring的拦截器
SpringBoot帮我们自动启动SpirngMVC的时候,自动的注册SpringMVC的前端控制器
-
容器中自动配置了 DispatcherServlet 属性绑定到 WebMvcProperties;对应的配置文件配置项是 spring.mvc。
-
通过 ServletRegistrationBean 把 DispatcherServlet 配置进来。
-
默认拦截的是 / 路径,所有请求,包括静态资源,但不包括jsp , /*会拦截jsp
-
我们可以通过spring.mvc.servlet.path来修改SpringMVC前端控制器默认拦截的请求路径
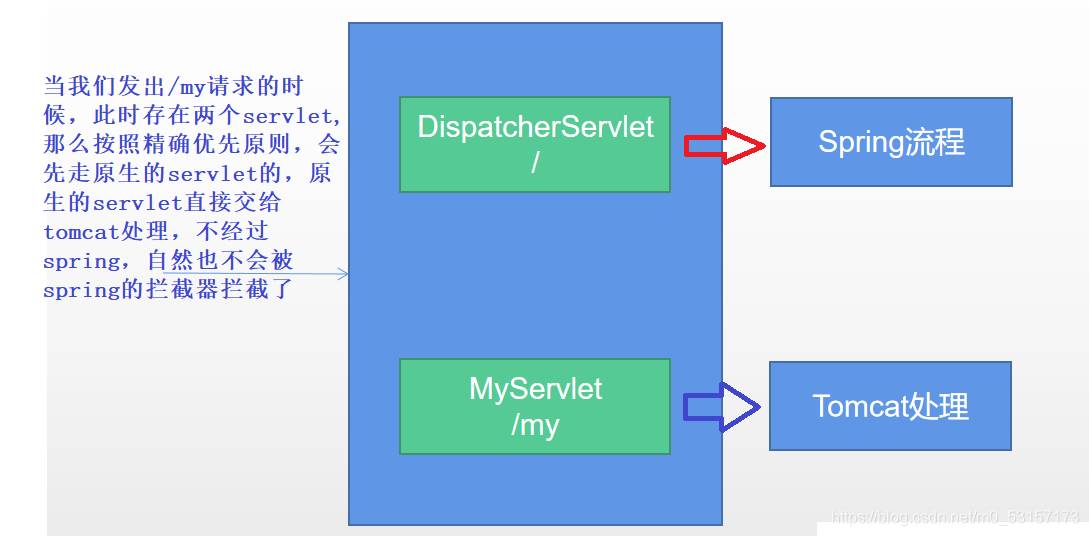
Tomcat-Servlet;
多个Servlet都能处理到同一层路径,精确优选原则
A: /my/
B: /my/1
配置spring.mvc.servlet.path 为dispatchSerlvet中拦截的路径
配置server.servlet.context-path为上下文路径(项目路径),访问的前缀
嵌入式Servlet容器
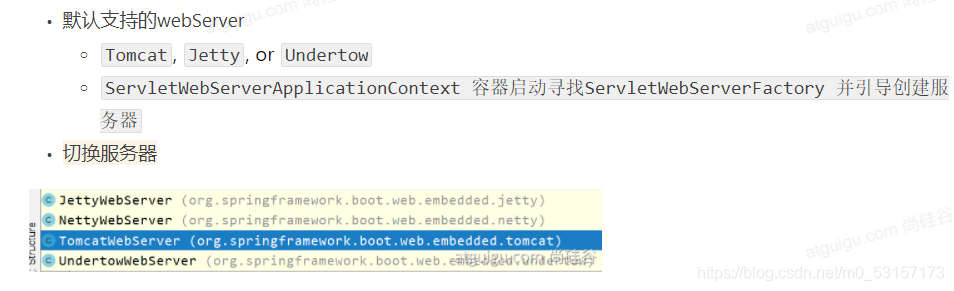
在pom.xml中排除tomcat依赖,再将要切换到的服务器的starter导入即可实现切换,
<dependency>
    <groupId>org.springframework.boot</groupId>
    <artifactId>spring-boot-starter-web</artifactId>
    <exclusions>
        <exclusion>
            <groupId>org.springframework.boot</groupId>
            <artifactId>spring-boot-starter-tomcat</artifactId>
        </exclusion>
    </exclusions>
</dependency>
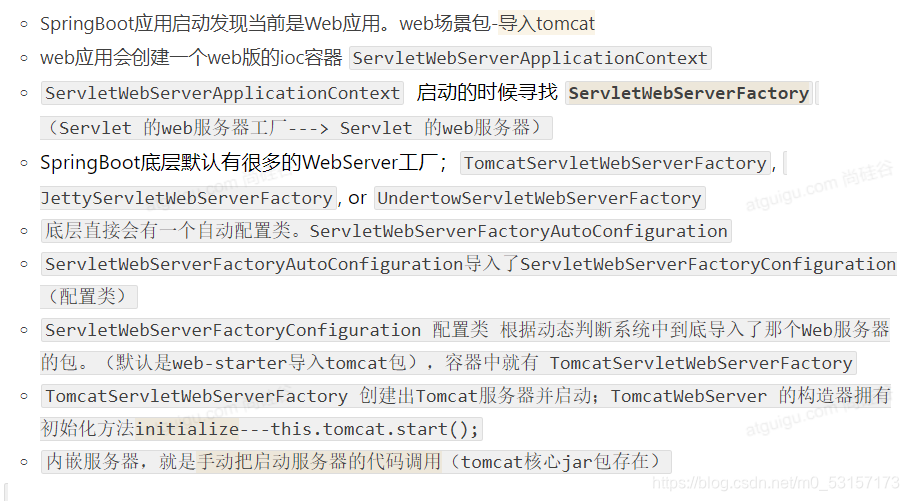
原理
定制Servlet容器―修改默认的属性值,例如端口号等
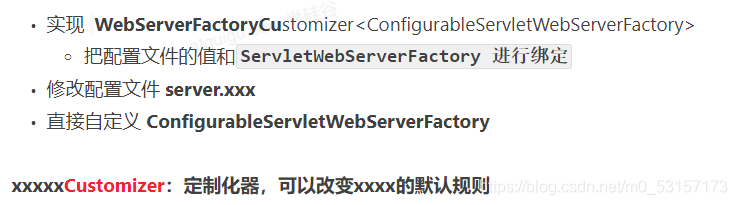
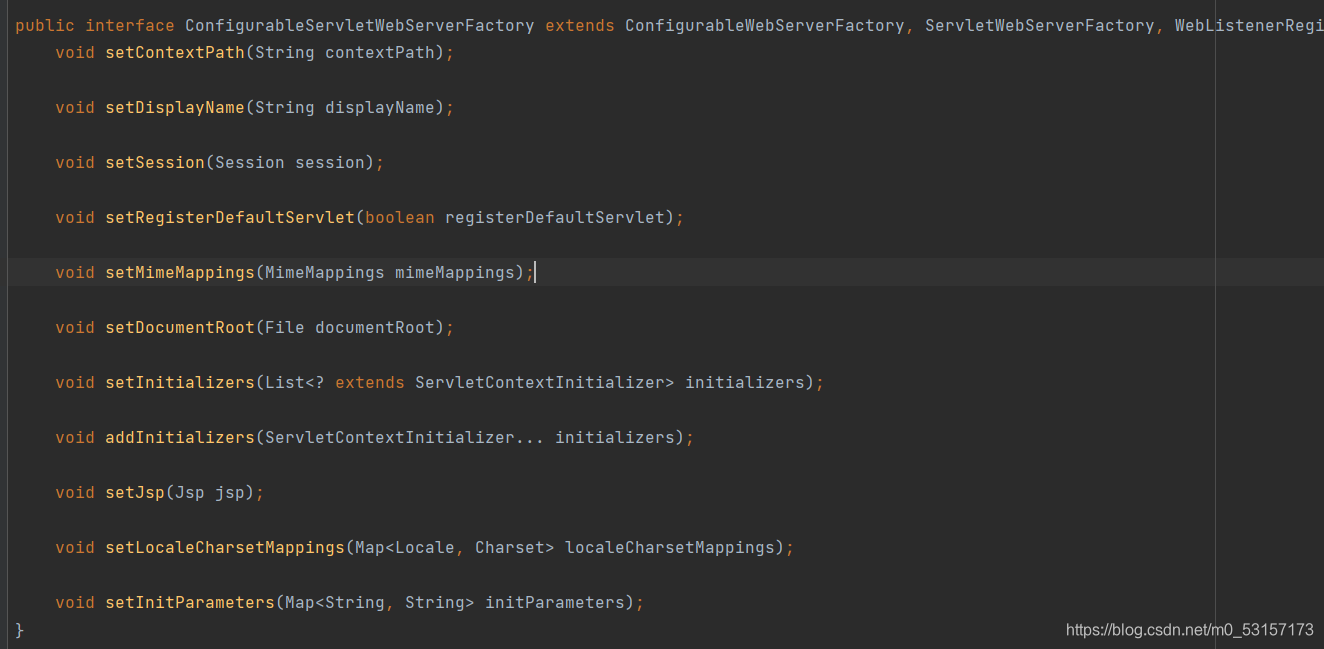
一般修改默认属性建议在全局配置文件中设置或者实现WebServerFactoryCustomizer接口,重写相关方法,并放入容器中完成
import org.springframework.boot.web.server.WebServerFactoryCustomizer;
import org.springframework.boot.web.servlet.server.ConfigurableServletWebServerFactory;
import org.springframework.stereotype.Component;

@Component
public class CustomizationBean implements WebServerFactoryCustomizer<ConfigurableServletWebServerFactory> {

    @Override
    public void customize(ConfigurableServletWebServerFactory server) {
        server.setPort(9000);
    }

}