如果你和我一样,是一名 Java 道路上的编程男孩,其实我不太建议你花时间学 Thymeleaf,当然他的思想还是值得借鉴的。但是他的本质在我看来就是 Jsp 技术的翻版(Jsp 现在用的真的很少很少)。弄前端完全可以直接上手前端框架 vue。
并竟学Java在我眼里,目前没有什么是不要学的。兼测试、运维、前端啥都要会点。另外就目前来说,学Java的人数恐怕仍然后端中最庞大的。
免费后台模板在文末,大家有需求可以直接下载。

我想如果不是学校作业,也不会心血来潮写这篇文章👩?💻。
阅读本文收获 📖
- 学会 Thymeleaf 常用语法🏄?♀?
- 知晓 Thymeleaf 如何与 SpringBoot 集成🤹?♀?
- 使用 Thymeleaf 完成学校老师作业 👨?🔬
- 如果有需求,可以直接下个模板,结合SpringBoot 写个毕业设计👨?💻
一、 Thymeleaf 初介绍 📓
Thymeleaf是适用于 Web 和独立环境的现代服务器端 Java 模板引擎。
Thymeleaf 的主要目标是为您的开发工作流程带来优雅的自然模板——HTML可以在浏览器中正确显示,也可以作为静态原型工作,从而加强开发团队的协作。
凭借 Spring Framework 的模块、与您最喜欢的工具的大量集成以及插入您自己的功能的能力,Thymeleaf 是现代 HTML5 JVM Web 开发的理想选择——尽管它还有更多功能。 —官方介绍
二、SpringBoot 整合 Thymeleaf 📚
主要针对我们在项目中最常见的几种用法进行讲解。同时我们也是在项目中直接讲 Thymeleaf 的用法。
2.1、新建 SpringBoot 项目
这个就不用说了哈,我想大家都是会这个的吧。
2.2、导入依赖
<parent>
    <groupId>org.springframework.boot</groupId>
    <artifactId>spring-boot-starter-parent</artifactId>
    <version>2.5.2</version>
    <relativePath/>
</parent>
<dependencies>
    <dependency>
        <groupId>org.springframework.boot</groupId>
        <artifactId>spring-boot-starter-web</artifactId>
    </dependency>
    <dependency>
        <groupId>org.springframework.boot</groupId>
        <artifactId>spring-boot-starter</artifactId>
    </dependency>
    <dependency>
        <groupId>org.springframework.boot</groupId>
        <artifactId>spring-boot-starter-thymeleaf</artifactId>
    </dependency>
    <dependency>
        <groupId>org.projectlombok</groupId>
        <artifactId>lombok</artifactId>
    </dependency>
</dependencies>
2.3、SpringBoot 静态资源存放路径
首先我们将模板下载下来:
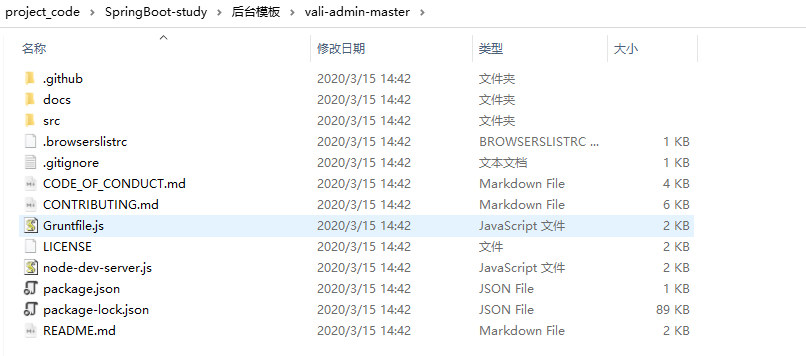
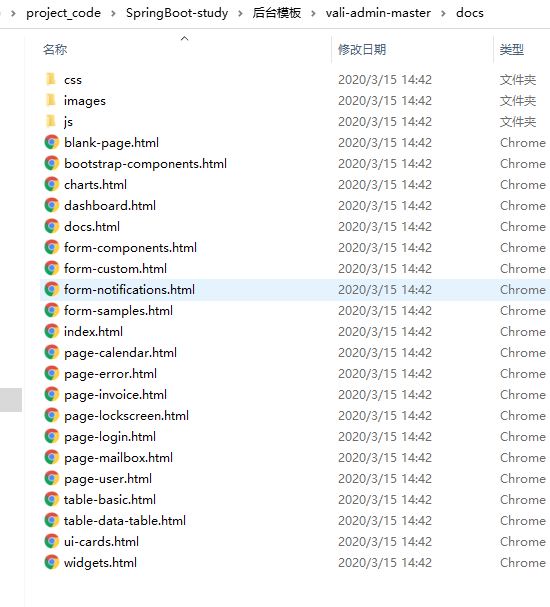
我们点进 doc ,将需要的页面文件复制到 resources/templates包下,将css、images、js复制到 resources/static包下。

2.4、书写配置文件
thymeleaf 可以配置的一些属性,这只是常见的哈。
spring:
  thymeleaf:
    enabled: true  #开启thymeleaf视图解析
    encoding: utf-8  #编码
    prefix: classpath:/templates/  #前缀 当然默认也是这个,可以不配置
    cache: false  #是否使用缓存
    mode: HTML  #严格的HTML语法模式
    suffix: .html  #后缀名
2.5、编写Controller
我们以 登录页面 为例,写个Controller 跳转到 login.html。
@Controller
@RequestMapping
public class LoginController {

    /** * 跳转到登录页面*/
    @GetMapping("/login")
    public String login(){
        return "login";
    }

    /** * 模拟登录请求  */
    @PostMapping("/doLogin")
    public String doLogin(String username,String password){
        if(username!=null&&password!=null){
            System.out.println(username+password);
            //重定向到 /indedx 请求  也可以重定向页面
            return "redirect:/index";
        }
        return "login";
    }

    /**  * 跳转到index 页面*/
    @GetMapping("/index")
    public String index(){
        return "index";
    }

}
2.6、启动项目&问题处理
启动类没啥要改的,直接跑。
启动项目后,访问 localhost:8080/login ,可能会出现一个 缺少css、js的页面。而不是下面这个成功的页面。
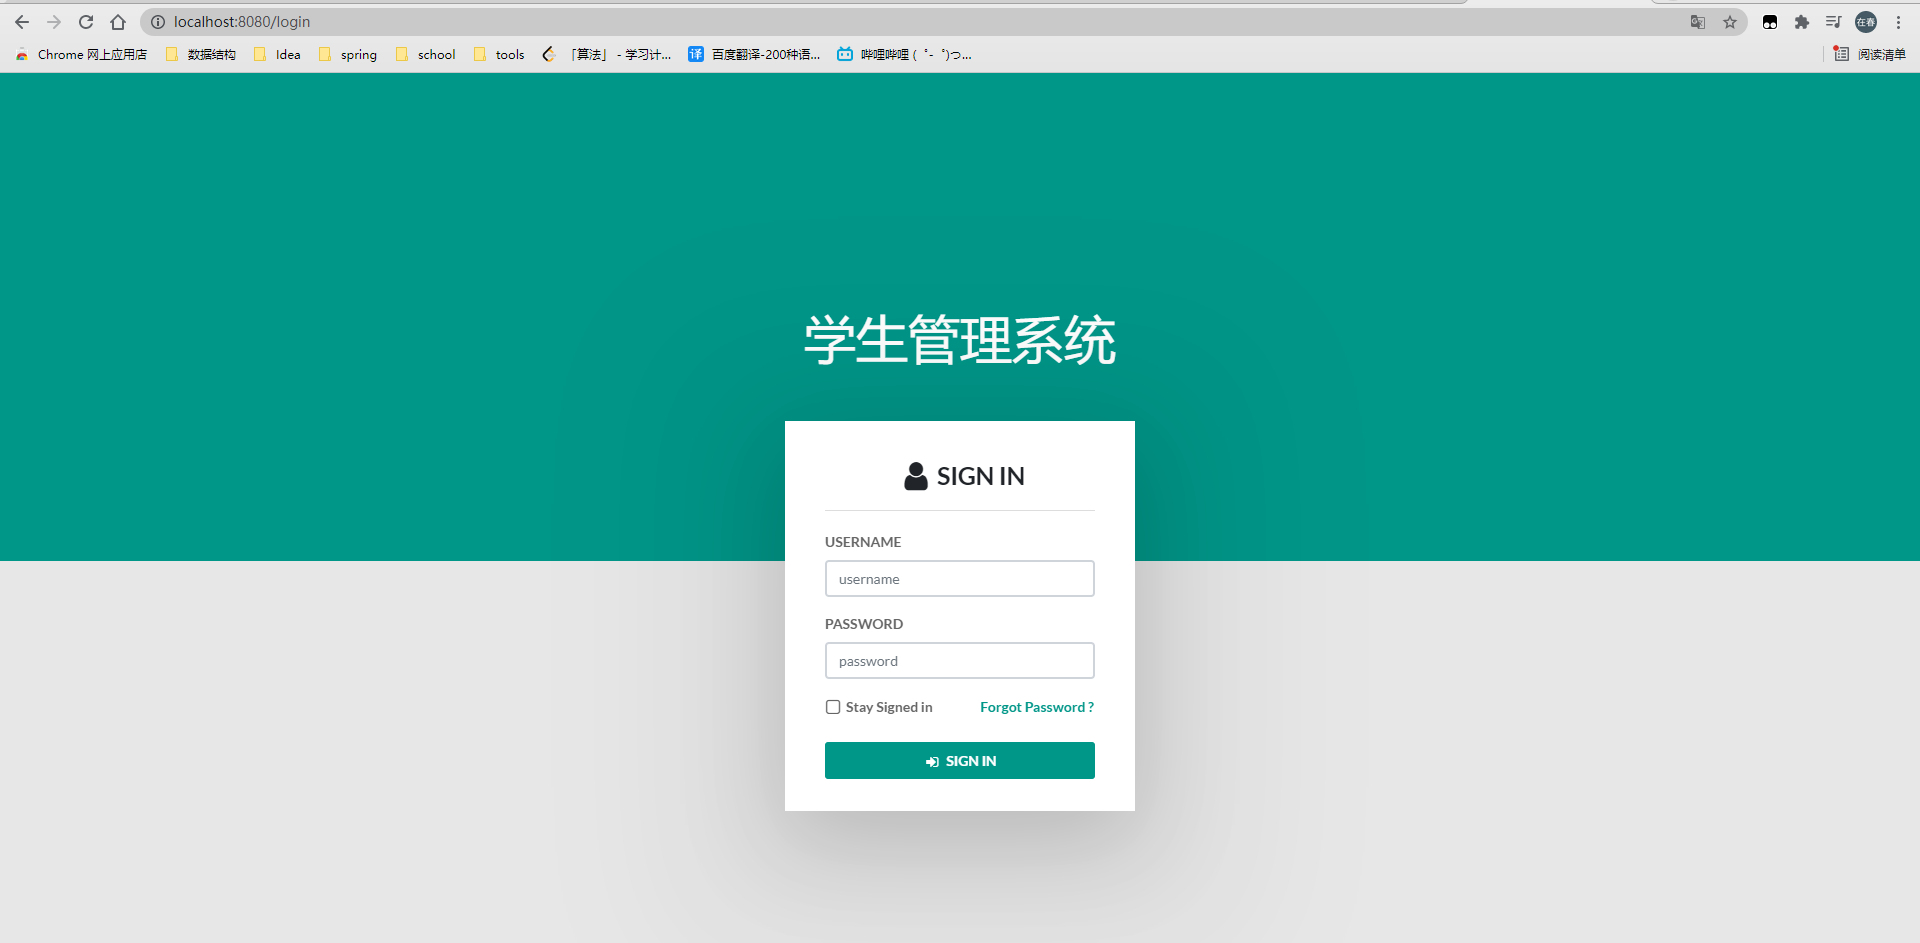
原因是在我们使用 Thyemleaf后,在页面中就不应该再使用相对路径,如这种: <link rel="stylesheet" type="text/css" th:href="/css/main.css">。
而是应该修改为:<link rel="stylesheet" type="text/css" th:href="@{/css/main.css}"> 。
修改完之后,还应在 html 页面的头部做一下修改:

<html lang="en" xmlns:th="http://www.thymeleaf.org">
2.7、Thyemleaf 常用
2.7.1、th:href | 链接 (URL) 表达式
其实我们刚刚已经说了这点:
//以前的
<link rel="stylesheet" type="text/css" href="/css/main.css">
//修改后的:
<link rel="stylesheet" type="text/css" th:href="@{/css/main.css}">
至于这么做的原因是由于Thymeleaf 的语法规则规定。
错误示例:
<link rel="stylesheet" type="text/css" th:href="@{/static/css/main.css}">
引入的资源路径千万不要静态资源路径的集合中路径的前缀。否则会导致请求不到资源。
我们在使用 Thymeleaf 的 @{} 修饰后,它会自己去 static 包下寻找。
注意:在springboot2.0版本以前拦截器会默认对静态资源不拦截,但是springboot 2.0 以后拦截器会拦截所有,所以需要重写addInterceptors方法,不管是自己的静态资源还是webjars中的资源,都要放行
当然我只是在这提上一嘴,本文没写拦截器相关知识。
2.7.2、th:text
我们都会有一个需要提示信息的时候,就是简单展示一段文本,如:
<p th:text="#{home.welcome}">Welcome to our grocery store!</p>
我们修改一下之前的Controller:
/*** 跳转到登录页面  */
@GetMapping("/login")
public String login(Model model){
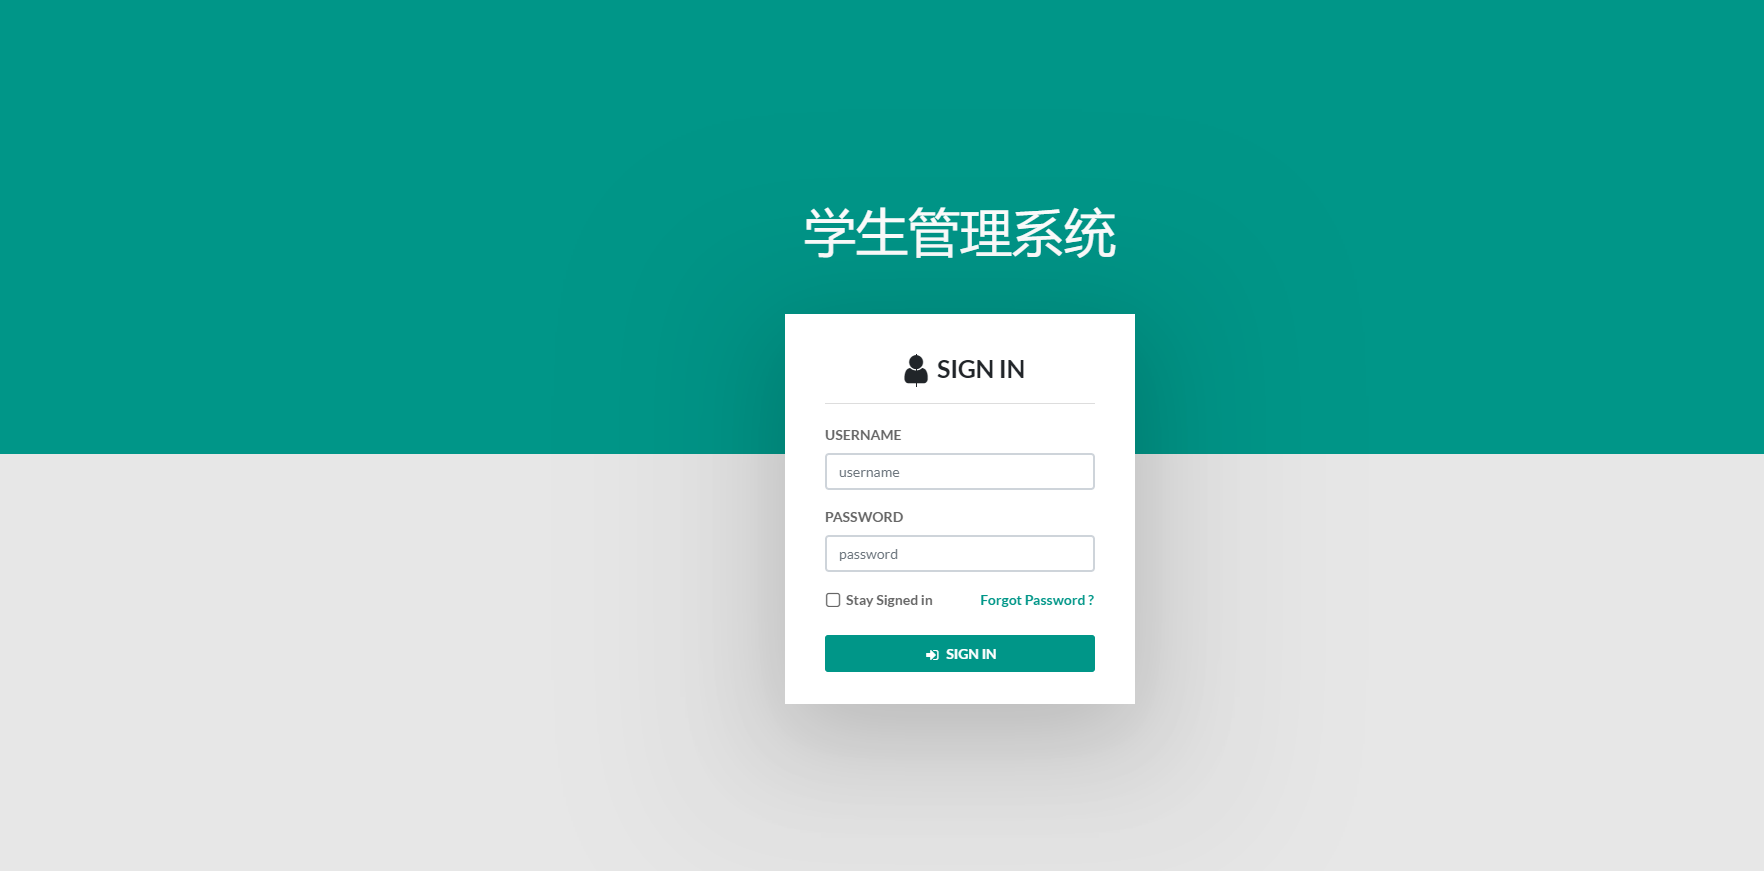
    model.addAttribute("systemName","学生管理系统");
    return "login";
}
另外修改一下登录页面:
<div class="logo">
    <h1 th:text="${systemName}"></h1>
</div>
2.7.3、th:action
表单提交我想是最常见的啦吧。
<form class="login-form" method="post" th:action="@{/doLogin}">
</form>
在这里提交的路径,也是需要用 @{} 包裹起来。
后端还是照写,没有变化。
2.7.4、th:each & th:if
循环、判断应该是没有哪里用不到的啦吧。
写个Student 类,稍后会用到
@Data
@AllArgsConstructor
@NoArgsConstructor
public class Student {
    private Long id;
    private String name;
    private Integer age;
    /**
     * true 为男
     * false 为女
     */
    private Boolean gender;
}
写个controller
/**
     * 添加多个学生
     */
@GetMapping("/doEach")
public String doEach(Model model){
    List<Student> students = new ArrayList<>();
    Student student1 = new Student(1L,"1号学生",20,true);
    students.add(student1);
    Student student2 = new Student(2L,"2号学生",21,true);
    students.add(student2);
    Student student3 = new Student(3L,"3号学生",22,false);
    students.add(student3);
    Student student4 = new Student(4L,"4号学生",23,true);
    students.add(student4);
    model.addAttribute("students",students);
    return "each";
}
再写个 each.html 页面
<!DOCTYPE html>
<html lang="en" xmlns:th="http://www.thymeleaf.org">
<head>
    <meta charset="UTF-8">
    <title>for循环</title>
</head>
<body>

<table border="1">
    <tr>
        <th>id</th>
        <th>姓名</th>
        <th>年龄</th>
        <th>性别</th>
    </tr>
    <tr  th:each="student : ${students}" >
        <td th:text="${student.id}"></td>
        <td th:text="${student.name}"></td>
        <td th:text="${student.age}"></td>
<!--      三元表达式  -->
        <td th:text="${student.gender}?男:女"></td>
        <td th:if="${student.gender}">利用if判断性别 男</td>
        <td th:if="${not student.gender}">利用if判断性别 女</td>
    </tr>
</table>
</body>
</html>
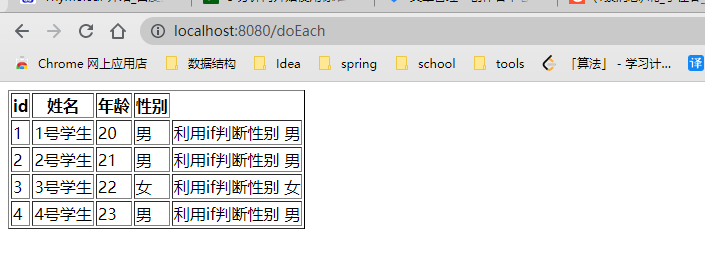
成果:
2.8、小结
我只是简单的说了一下 Thymeleaf,它支持的东西还是有不少的,在这没有一一说明,有需求时,可直接查询 Thymeleaf文档即可。
三、免费后台模板 📋
1、免费的后台模板:Vail Admin
2、聚集多个免费的后台模板:免费模板
点进去直接下载就可以啦。在SpringBoot 项目中直接引用就可以啦。
四、自言自语 🚀
你好,我是博主
宁在春:主页希望本篇文章能让你感到有所收获!!!
祝
我们:待别日相见时,都已有所成。欢迎大家一起讨论问题😁,躺了🛌
