本章内容:
1.docker-compose 安装nexus3
2. nexus3 仓库的配置
3. 整一个案例推送到nexus3仓库中
使用docker-compose.yml安装nexus3
version: "3.7"
services:
    nexus:
        image: sonatype/nexus3
        container_name: nexus3
        ports:
            - 8081:8081
        environment:
            NEXUS_CONTEXT: nexus3
        volumes:
            - ./data:/nexus-data
        environment:
            ES_JAVA_OPTS: "-Xmx1024m -Xms1024m"
启动完成 http://localhost:8081/ 登录
密码在 nexus-data admin.password中
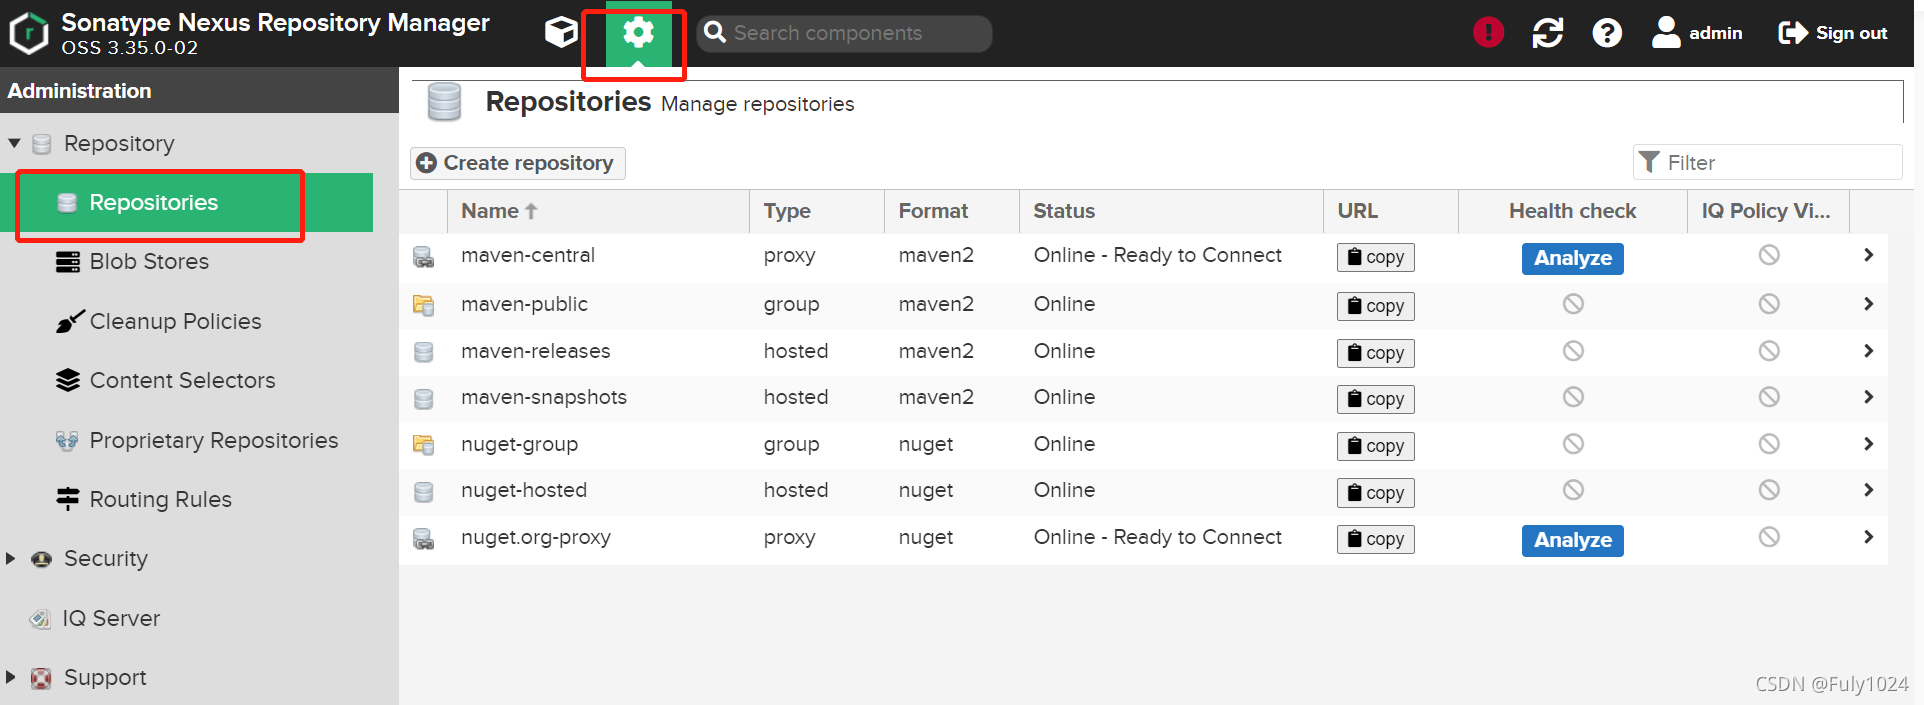
登录之后我们找到这个画面

以下参考: https://zhuanlan.zhihu.com/p/26303165
https://www.xncoding.com/2017/09/02/tool/nexus.html
nexus仓库类型:
| 仓库名 | 作用 |
|---|---|
| Hosted(本地仓库) | 可部署自己的构件到这类型的仓库。比如公司的第二方库 |
| Proxy(代理仓库) | 代理仓库,被用来代理远程的公共仓库,如maven中央仓库; |
| Group(仓库组) | 仓库组,用来合并多个hosted/proxy仓库,当项目需要引用多个repository资源时,只需要将这些资源放到一个group中,引用这一个group即可; |
创建我们自己的maven仓库:

仓库创建 参考: https://blog.csdn.net/lhanson/article/details/108306550
创建一个代理仓库代理阿里云的仓库: http://maven.aliyun.com/nexus/content/groups/public
创建一个本地仓库 创建hosted类型仓库时,需要将Deployment policy设为Allow redeploy,否则无法部署jar
创建一个仓库组 包含刚
maven 仓库建好了,接下来时使用:
举个例子:
创建一个快照版本的本地仓库
这些参数要在创建的时候选择好,有些参数 后面无法修改,而且还会报错,还定位不到错的地方
比如这种
[ERROR] Failed to execute goal org.apache.maven.plugins:maven-deploy-plugin:2.8.2:deploy (default-deploy) on project springboot_02_mybatis_plus: Deployment failed: repository element was not specified in the POM inside distributionM
anagement element or in -DaltDeploymentRepository=id::layout::url parameter -> [Help 1]

[ERROR] Failed to execute goal org.apache.maven.plugins:maven-deploy-plugin:2.8.2:deploy (default-deploy) on project springboot_02_mybatis_plus: Failed
to deploy artifacts: Could not transfer artifact xxxx:springboot_02_mybatis_plus:jar:0.0.2-20211029.064156-1 from/to local_maven-snapshots (http://l
ocalhost:8081/repository/maven-snapshots/): Transfer failed for http://localhost:8081/repository/maven-snapshots/xxxx/springboot_02_mybatis_plus/0.0
.2-SNAPSHOT/springboot_02_mybatis_plus-0.0.2-20211029.064156-1.jar 400 Repository version policy: RELEASE does not allow version: 0.0.2-20211029.064156-
1 -> [Help 1]
重新建个仓库吧 按照下图

第一步先在我们用的maven的setting文件中添加
私有仓库服务器的访问权限
在<servers> 中添加

	<server>
      <id>local-snapshots</id>
      <username>admin</username>
      <password>admin1234</password>
    </server>

在  <repositories>  中添加

	  	 <repository>
          <id>local-snapshots</id>
          <name>local_maven-snapshots</name>
          <url>http://localhost:8081/repository/local-snapshots/</url>
          <layout>default</layout>
          <!-- 是否开启发布版构件下载 -->
          <releases>
            <enabled>false</enabled>
          </releases>
          <!-- 是否开启快照版构件下载 -->
          <snapshots>
            <enabled>true</enabled>
          </snapshots>
        </repository>
然后pom文件中添加
注意: < version>0.0.1-SNAPSHOT < version> 要这种以SNAPSHOT 结尾的
    <distributionManagement>
        <snapshotRepository>
            <id>local-snapshots</id>
            <name>local_maven-snapshots</name>
            <url>http://localhost:8081/repository/local-snapshots/</url>
            <layout>default</layout>
        </snapshotRepository>
    </distributionManagement>
最后在项目文件所在的位置执行
mvn clean deploy
或者点击deploy

稍等片刻就推送成功了
