1. SpringBoot整合Redis
- 搭建SpringBoot工程
- 引入redis起步依赖
- 配置redis相关属性
- 注入RedisTemplate模板
- 编写测试方法,测试
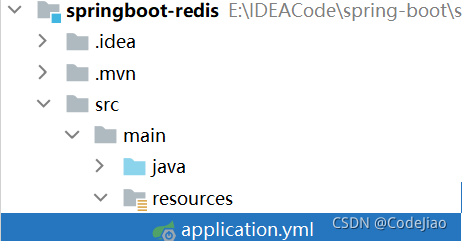
1.1 搭建SpringBoot工程

1.2 引入redis起步依赖

        <dependency>
            <groupId>org.springframework.boot</groupId>
            <artifactId>spring-boot-starter-data-redis</artifactId>
        </dependency>
1.3 配置redis相关属性
如果是连接本地redis,可以不用配置,这里是为了以后配置服务器上面的redis做预热。
spring:
  redis:
    host: 127.0.0.1 # redis的主机ip
    port: 6379 # redis 端口号
1.4 注入RedisTemplate模板 编写测试方法测试
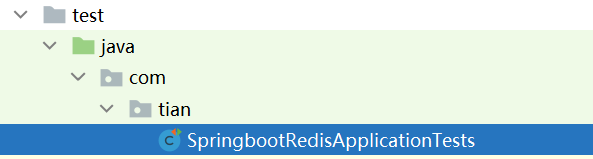
package com.tian;

import org.junit.jupiter.api.Test;
import org.springframework.beans.factory.annotation.Autowired;
import org.springframework.boot.test.context.SpringBootTest;
import org.springframework.data.redis.core.RedisTemplate;

@SpringBootTest
class SpringbootRedisApplicationTests {

	// 注入redis模板
    @Autowired
    private RedisTemplate redisTemplate;

    @Test
    void contextLoads() {
    }

    @Test
    public void testSet() {
        //存入数据
        redisTemplate.boundValueOps("name").set("zhangsan");
    }

    @Test
    public void testGet() {
        //获取数据
        Object name = redisTemplate.boundValueOps("name").get();
        System.out.println(name);
    }
}
启动redis:
开始测试: