一、写在前面
Spring Boot Actuator 是 spring-boot 自带监控功能 ,可以帮助实现对程序内部运行情况监控,比如监控状况、Bean 加载情况、环境变量、日志信息、线程信息等。
Spring Boot Admin是一个针对 spring-boot 的 actuator 接口进行 UI 美化封装的监控工具。他可以:在列表中浏览所有被监控 spring-boot 项目的基本信息,详细的Health信息、内存信息、JVM 信息、垃圾回收信息、各种配置信息(比如数据源、缓存列表和命中率)等,还可以直接修改 logger 的 level。
二、搭建监控服务中心
1、引入 maven 依赖
<!-- SpringBoot Admin -->
<dependency>
    <groupId>de.codecentric</groupId>
    <artifactId>spring-boot-admin-starter-server</artifactId>
    <version>2.5.3</version>
</dependency>
<!-- web支持 -->
<dependency>
    <groupId>org.springframework.boot</groupId>
    <artifactId>spring-boot-starter-web</artifactId>
</dependency>
<!-- spring security -->
<dependency>
    <groupId>org.springframework.boot</groupId>
    <artifactId>spring-boot-starter-security</artifactId>
</dependency>
- spring-boot-admin-starter-server,是监控中心所需要的依赖
- spring-boot-starter-security,用于开启登录认证,即开启用户名密码登录监控中心
2、启动类
package com.asurplus.cloud;

import de.codecentric.boot.admin.server.config.EnableAdminServer;
import org.springframework.boot.SpringApplication;
import org.springframework.boot.autoconfigure.SpringBootApplication;

@SpringBootApplication
@EnableAdminServer
public class MonitorServer {

    public static void main(String[] args) {
        SpringApplication.run(MonitorServer7001.class, args);
    }
}
- @EnableAdminServer 用户开启监控服务中心,表明自己是一个服务注册中心
3、YML 配置文件
server:
  port: 7001

spring:
  # 安全认证
  security:
    user:
      # 账号
      name: admin
      # 密码
      password: 123456
  boot:
    admin:
      ui:
      	# 网页标题
        title: Asurplus服务监控
4、监控权限配置
package com.asurplus.cloud.config;

import de.codecentric.boot.admin.server.config.AdminServerProperties;
import org.springframework.context.annotation.Configuration;
import org.springframework.security.config.annotation.web.builders.HttpSecurity;
import org.springframework.security.config.annotation.web.configuration.WebSecurityConfigurerAdapter;
import org.springframework.security.web.authentication.SavedRequestAwareAuthenticationSuccessHandler;

/**
 * 监控权限配置
 *
 */
@Configuration
public class WebSecurityConfigurer extends WebSecurityConfigurerAdapter {

    /**
     * 上下文路径
     */
    private final String contextPath;

    public WebSecurityConfigurer(AdminServerProperties adminServerProperties) {
        this.contextPath = adminServerProperties.getContextPath();
    }

    @Override
    protected void configure(HttpSecurity http) throws Exception {
        SavedRequestAwareAuthenticationSuccessHandler successHandler = new SavedRequestAwareAuthenticationSuccessHandler();
        successHandler.setTargetUrlParameter("redirectTo");
        successHandler.setDefaultTargetUrl(contextPath + "/");

        http.headers().frameOptions().disable()
                .and().authorizeRequests()
                .antMatchers(contextPath + "/assets/**"
                        , contextPath + "/login"
                        , contextPath + "/actuator/**"
                        , contextPath + "/instances/**"
                ).permitAll()
                .anyRequest().authenticated()
                .and()
                .formLogin().loginPage(contextPath + "/login")
                .successHandler(successHandler).and()
                .logout().logoutUrl(contextPath + "/logout")
                .and()
                .httpBasic().and()
                .csrf()
                .disable();
    }
}
至此,监控中心配置完成,启动该服务,访问:http://localhost:7001
http://localhost:7001
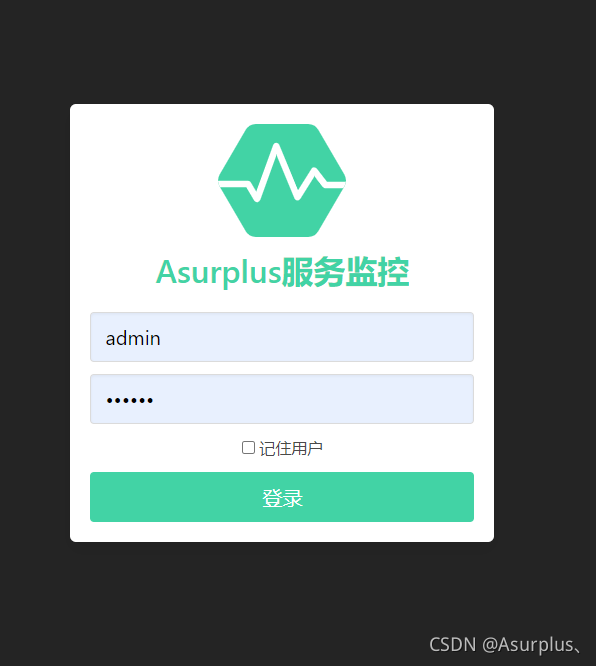
就会看到如下界面:

使用我们配置的账户密码登录

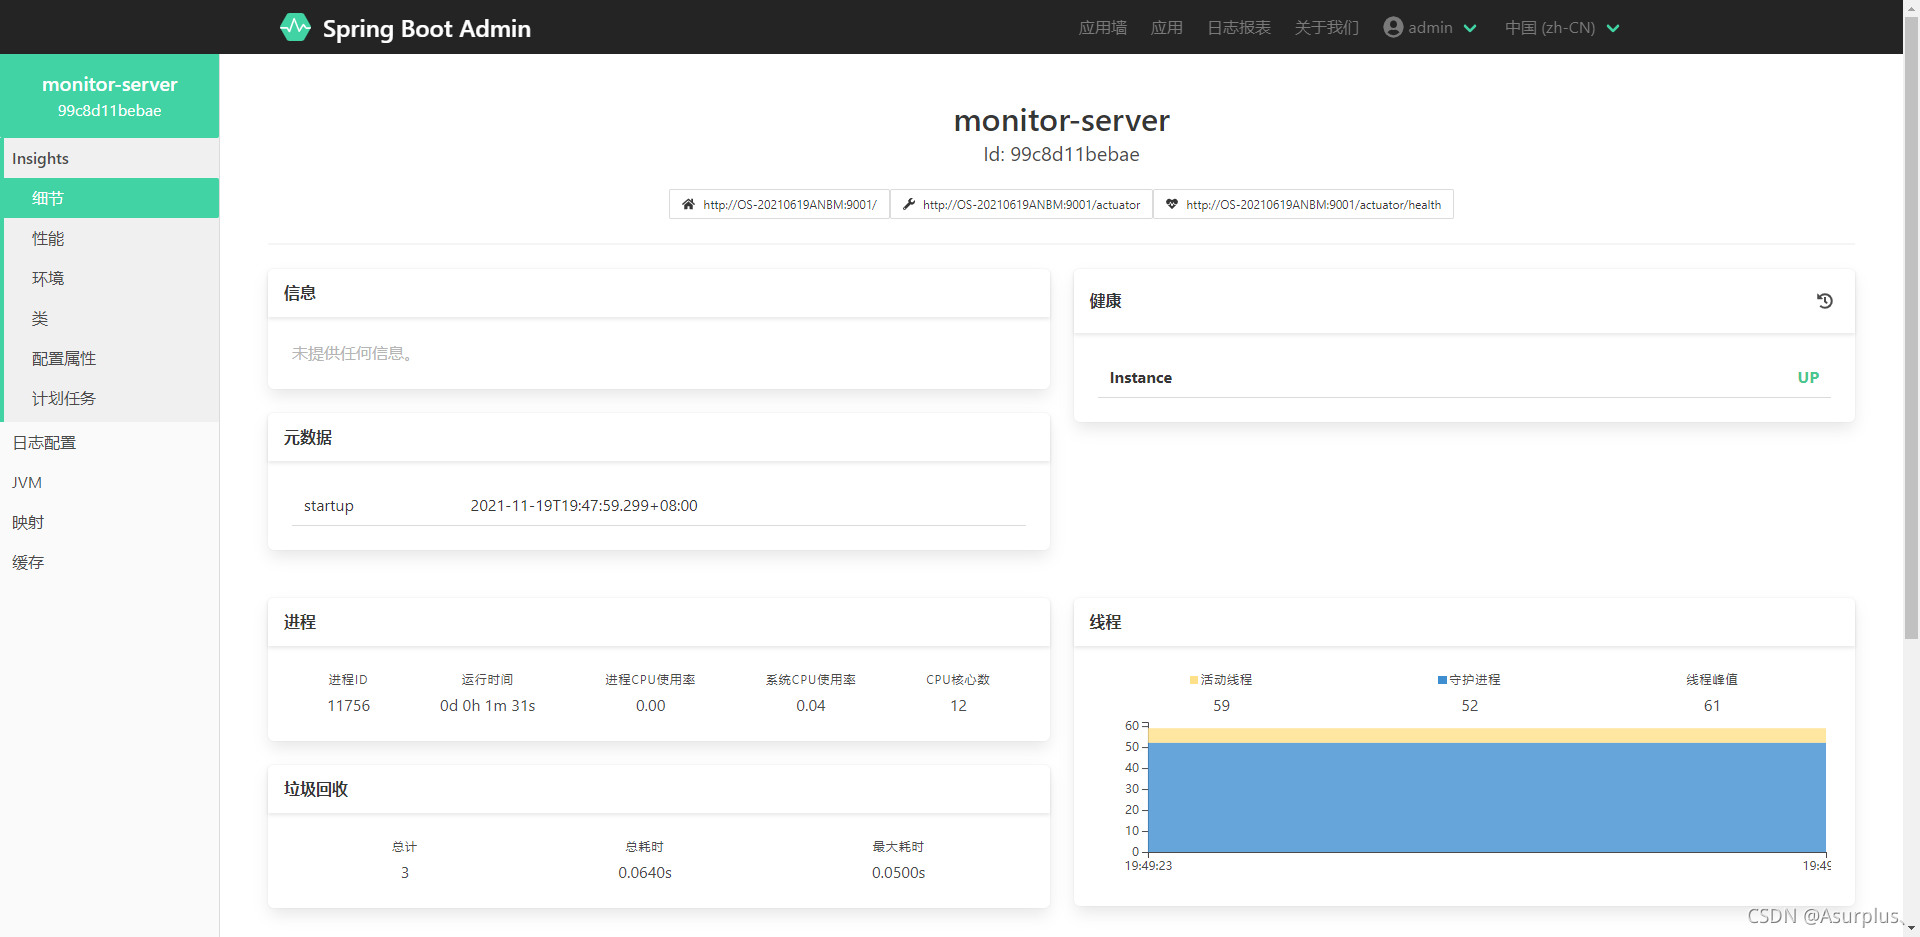
注册进我们的监控服务中心的实例,我们就能在这儿看到,当然现在还没有实例注册
三、注册进入监控服务中心
1、新建一个工程,引入 maven 依赖
<dependency>
    <groupId>org.springframework.boot</groupId>
    <artifactId>spring-boot-starter-web</artifactId>
</dependency>
<!-- SpringBoot Admin Client -->
<dependency>
    <groupId>de.codecentric</groupId>
    <artifactId>spring-boot-admin-starter-client</artifactId>
    <version>${spring-boot-admin.version}</version>
</dependency>
<!-- SpringBoot Actuator -->
<dependency>
    <groupId>org.springframework.boot</groupId>
    <artifactId>spring-boot-starter-actuator</artifactId>
</dependency>
- spring-boot-admin-starter-client,是客户端需要的依赖
- spring-boot-starter-actuator,用来获取项目的监控信息
2、启动类
package com.asurplus.cloud;

import org.springframework.boot.SpringApplication;
import org.springframework.boot.autoconfigure.SpringBootApplication;
import org.springframework.cloud.client.discovery.EnableDiscoveryClient;

@SpringBootApplication
public class MonitorClient {

    public static void main(String[] args) {
        SpringApplication.run(MonitorClient.class, args);
    }
}
启动类,没有特殊配置
3、YML 配置文件
server:
  port: 9001

spring:
  boot:
    admin:
      client:
      	# 注册中心地址
        url:
        - http://localhost:7001
  application:
    name: monitor-client

# 暴露我们的所有监控信息
management:
  endpoints:
    web:
      exposure:
        include: '*'
我们的端口为 9001,注册进入我们的监控服务中心,http://localhost:7001,可以看出这是一个数组,表示可以同时注册进入多个监控服务中心
接下来,我们启动我们的 9001 项目,访问 http://localhost:7001

可以看到,有一台实例注册进入了监控服务中心,我们点击它,就能看到关于这台实例的监控信息

四、实时日志
1、在客户端工程中配置日志文件名称
logging:
  file:
    name: logs/${spring.application.name}/info.log
2、编写访问接口
package com.asurplus.cloud.controller;

import org.slf4j.Logger;
import org.slf4j.LoggerFactory;
import org.springframework.beans.factory.annotation.Value;
import org.springframework.web.bind.annotation.GetMapping;
import org.springframework.web.bind.annotation.RestController;

@RestController
public class TestController {

    private static final Logger log = LoggerFactory.getLogger(TestController.class);

    @Value("${server.port}")
    private String port;

    @GetMapping("init")
    public String init() {
        log.info("这是实时日志");
        return port;
    }
}
重新启动我们的项目,访问:http://localhost:9001/init
http://localhost:9001/init
我们就能看到了实时日志

Spring-Boot-Admin 还支持动态修改日志级别,其他的自己琢磨琢磨吧!!!
如您在阅读中发现不足,欢迎留言!!!