mybatis-plus基础知识
文章目录
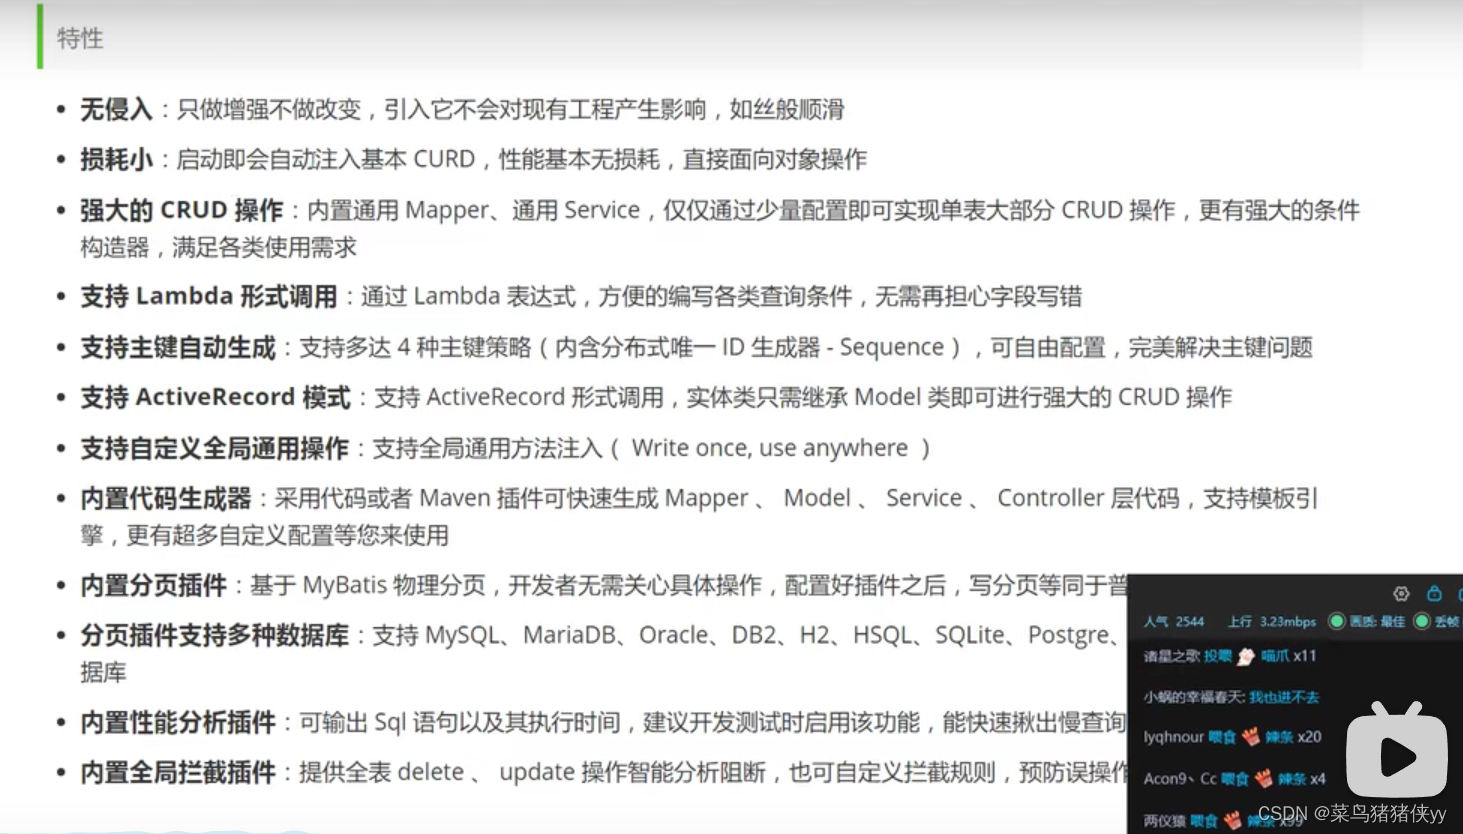
特性

快速入门
1.连接数据库

2.pojo类

3.新建mapper包并新建一个mapper接口,如下:
package com.example.mybatisplus.mapper;

import com.baomidou.mybatisplus.core.mapper.BaseMapper;
import com.example.mybatisplus.pojo.User;

// 继承BaseMapper接口即可
public interface UserMapper extends BaseMapper<User> {

}
4.在主启动类上开启注解扫描

4.测试
package com.example.mybatisplus;

import com.example.mybatisplus.mapper.UserMapper;
import com.example.mybatisplus.pojo.User;
import org.junit.jupiter.api.Test;
import org.mybatis.spring.annotation.MapperScan;
import org.springframework.beans.factory.annotation.Autowired;
import org.springframework.boot.test.context.SpringBootTest;

import java.util.List;


@SpringBootTest
class MybatisPlusApplicationTests {
	@Autowired
	private UserMapper userMapper;

	@Test
//	查询所有数据
	public void user_Test() {
		System.out.println(("----- selectAll method test ------"));
		List<User> userList = userMapper.selectList(null);
		userList.forEach(System.out::println);
	}

}
mybatis与mybatis-plus的区别

配置日志的输出

插入测试及雪花算法

主键生成策略
默认ID_WORKER (全局唯一id)

这里mybatis-plus使用的是雪花算法
雪花算法

主键自增
1.需要将数据库的id字段设为自增
2.在实体类id字段上配置注解@TableId(type = IdType.AUTO)
几种不同的主键自增策略
    AUTO(0), // id自增
    NONE(1),  // 未设置主键自增策略
    INPUT(2), // 手动输入
    ASSIGN_ID(3),  //
    ASSIGN_UUID(4), //
    /** @deprecated */
    @Deprecated
    ID_WORKER(3), // 默认的全局唯一id
    /** @deprecated */
    @Deprecated
    ID_WORKER_STR(3),  // 全局唯一表示法 截取字符串
    /** @deprecated */
    @Deprecated
    UUID(4);  // 全局唯一id
更新操作
@Test
	public void updateData(){
		User user=new User();
		user.setUser("yang yang");
		user.setAge(23);
		user.setPass("123");
		user.setSex("man");
		user.setId(6);
		// 注意:这里的updateById方法的参数是一个对象
		int count=userMapper.updateById(user);
		System.out.println(count);
	}
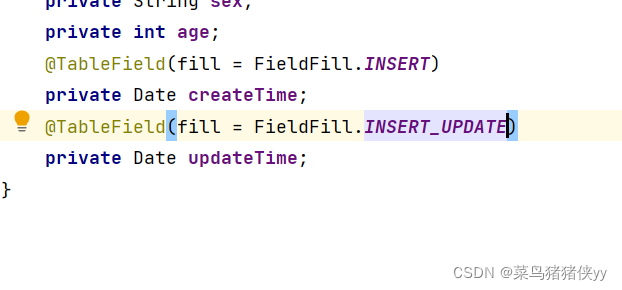
自动填充

数据库级别


代码级别


编写处理器来处理注解
这样的话,在执行插入和更新操作时,会将数据的updateTime和inserTime字段的值进行自动插入和更新
/*
	如果不想每次都写private
	final Logger logger = LoggerFactory.getLogger(当前类名.class); 可以用注解@Slf4j;
* */
@Slf4j
@Component
public class MyMetaHandler implements MetaObjectHandler {

//	插入时的策略
	@Override
	public void insertFill(MetaObject metaObject) {
		log.info("start inserfill...");
		this.setFieldValByName("createTime",new Date(),metaObject);
		this.setFieldValByName("updateTime",new Date(),metaObject);
	}

//更新时的策略
	@Override
	public void updateFill(MetaObject metaObject) {
		log.info("start updatefill...");
		this.setFieldValByName("updateTime",new Date(),metaObject);
	}
}
乐观锁处理
编写Configuration配置类
@Configuration
public class mybatisplusConfig {

	//	注册乐观锁插件
	@Bean
	public OptimisticLockerInterceptor optimisticLockerInterceptor(){
		return new OptimisticLockerInterceptor();
	}
}


模拟线程插队的更新操作
User user=userMapper.selectById(8); //version=2
		user.setUser("kuangsheng");

//		模拟插队线程的操作
		User user1=userMapper.selectById(8);
		user1.setUser("kuangsheng111");
		userMapper.updateById(user1); //version=3

		/*
		下面这句查询其实为 select* from user where version =2
		(但数据库并没有version=2的数据,所以就会导致更细失败!)
		因为上面的操作将version变成3了,这就是乐观锁的机制
		*/
		int count=userMapper.updateById(user); //如果没有乐观锁,则改端代码的结果会 覆盖 插队线程的操作
查询操作
批量查询
List<User> userList=userMapper.selectBatchIds(Arrays.asList(1,2,3));
		userList.forEach(System.out::println);
多条件查询
Map<String,Object> map=new TreeMap<>();
		map.put("user","李福");
		List<User> userList= userMapper.selectByMap(map);
		System.out.println(userList);
分页查询
1.配置拦截器组件
//	配置分页插件
	@Bean
	public PaginationInterceptor paginationInterceptor() {
		PaginationInterceptor paginationInterceptor = new PaginationInterceptor();
		paginationInterceptor.setCountSqlParser(new JsqlParserCountOptimize(true));
		return paginationInterceptor;
	}
测试
		//curren:当前页 size:每页数据条数
		Page<User> page=new Page<>(1,5);
		userMapper.selectPage(page,null);
		List<User> userList=page.getRecords();
		userList.forEach(System.out::println);
	}
删除操作

单个删除
int count=userMapper.deleteById(7);
		if (count>0){
			System.out.println("删除成功!!!");
		}
批量删除
int count=userMapper.deleteBatchIds(Arrays.asList(5,6));
		if (count>0){
			System.out.println("批量删除成功!!!");
		}
通过map删除
Map<String,Object> map=new HashMap<>();
		map.put("user","liifu");
		map.put("user","cyh");
		int count=userMapper.deleteByMap(map);
		if(count>0){
			System.out.println("删除成功!!");
		}
逻辑删除

1.数据库增加一个deleted字段
2.pojo类增加对应deleted字段
3.编写Config配置
在这里插入代码片
4.配置文件(application.yml)
#配置日志
mybatis-plus:
  configuration:
    log-impl: org.apache.ibatis.logging.stdout.StdOutImpl
  #逻辑删除
  global-config:
    db-config:
      logic-delete-value: 1      #即删除为1
      logic-not-delete-value: 0  #未删除为0
注意点
1.要在主启动类上使用@MapperScan注解扫描mapper下的包