目录
1.新建系统监控服务
1.1 引入服务端依赖
说明:由于我需要兼容客户端nacos的版本,所以这里 spring-boot-starter-parent 使用了2.3.6.RELEASE版本,客户端nacos-config-spring-boot-starter使用了0.2.4版本
        <spring-boot-admin.version>2.3.1</spring-boot-admin.version>

        <dependency>
            <groupId>org.springframework.boot</groupId>
            <artifactId>spring-boot-starter-web</artifactId>
        </dependency>
        <dependency>
            <groupId>de.codecentric</groupId>
            <artifactId>spring-boot-admin-starter-server</artifactId>
            <version>${spring-boot-admin.version}</version>
        </dependency>
1.2 添加启动注解
????????引入依赖后启动类添加 @EnableAdminServer?注解,并且配置服务端口号,因为这是一个向外部提供接口的web项目
? ? ? ? 然后启动admin服务端
2.客户端添加配置
2.1?引入客户端依赖
这里admin版本尽量和boot保持一致,避免出现版本冲突问题
        <spring-boot-admin.version>2.3.1</spring-boot-admin.version>

        <dependency>
            <groupId>de.codecentric</groupId>
            <artifactId>spring-boot-admin-starter-client</artifactId>
            <version>${spring-boot-admin.version}</version>
        </dependency>
2.2?添加配置参数
spring:
  application:
    name: delivery

  boot:
    admin:
      client:
        url: http://localhost:9999

management:
  endpoint:
    health:
      show-details: always

  endpoints:
    web:
      exposure:
        include: "*"
配置好后启动客户端服务
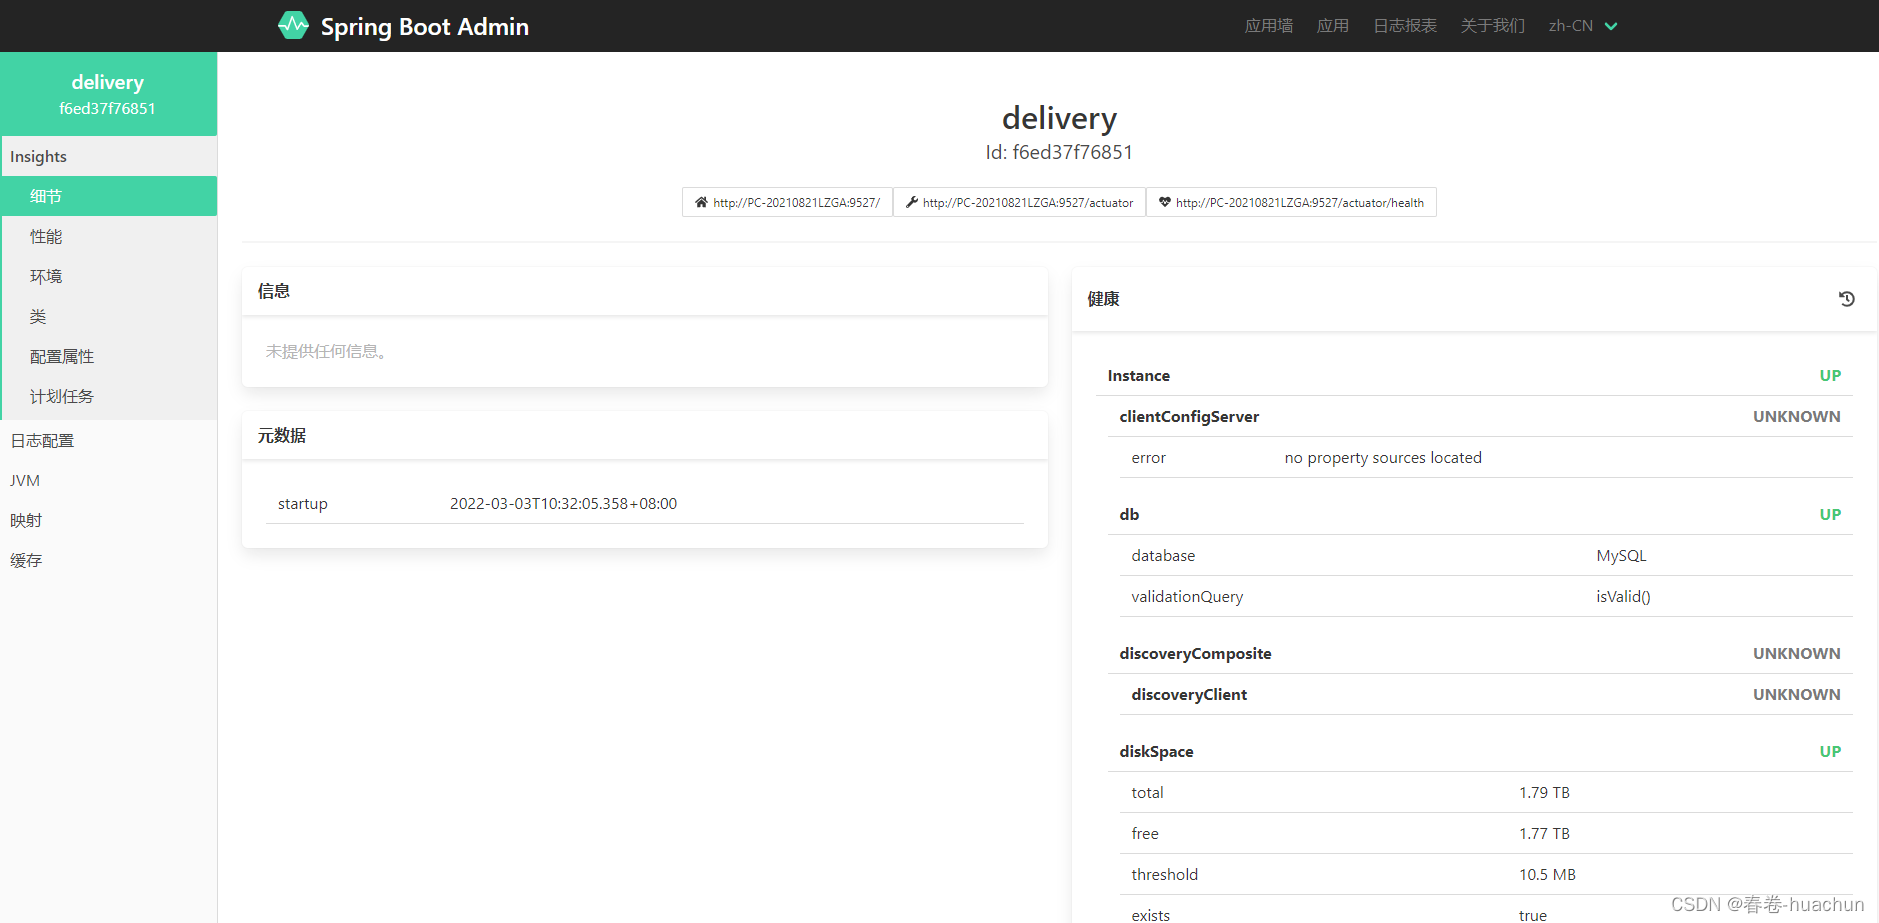
3.查看系统监控
4.配置安全验证
4.1?引入依赖
        <dependency>
            <groupId>org.springframework.boot</groupId>
            <artifactId>spring-boot-starter-security</artifactId>
        </dependency>
4.2?配置参数?
spring:
  application:
    name: monitor-service
  security:
    user:
      name: huachun
      password: huachun
4.3?添加配置类?
package com.hhmt.monitor.config;

import org.springframework.context.annotation.Configuration;
import org.springframework.security.config.annotation.web.configuration.EnableWebSecurity;
import org.springframework.security.config.annotation.web.configuration.WebSecurityConfigurerAdapter;

import de.codecentric.boot.admin.server.config.AdminServerProperties;
import org.springframework.security.config.annotation.web.builders.HttpSecurity;
import org.springframework.security.config.annotation.web.builders.WebSecurity;
import org.springframework.security.web.authentication.SavedRequestAwareAuthenticationSuccessHandler;
import org.springframework.security.web.csrf.CookieCsrfTokenRepository;

/**
 * 辉煌明天
 * FileName: AdminSecurityConfig
 * Author:   huachun
 * email: huachun_w@163.com
 * Date:     2022/3/3 17:26
 * Description: 原文链接:https://blog.csdn.net/wuxiuyong/article/details/119180458
 */
@EnableWebSecurity
@Configuration(proxyBeanMethods = false)
public class AdminSecurityConfig extends WebSecurityConfigurerAdapter {


    private final String adminContextPath;

    public AdminSecurityConfig(AdminServerProperties adminServerProperties) {
        this.adminContextPath = adminServerProperties.getContextPath();
    }

    @Override
    protected void configure(HttpSecurity http) throws Exception {
        // @formatter:off
        SavedRequestAwareAuthenticationSuccessHandler successHandler = new SavedRequestAwareAuthenticationSuccessHandler();
        successHandler.setTargetUrlParameter("redirectTo");
        successHandler.setDefaultTargetUrl(adminContextPath + "/");

        http.authorizeRequests()
                .antMatchers(adminContextPath + "/assets/**").permitAll()
                .antMatchers(adminContextPath + "/login").permitAll()
                .antMatchers(adminContextPath + "/instances/**").permitAll()
                .anyRequest().authenticated()
                .and()
                .formLogin().loginPage(adminContextPath + "/login").successHandler(successHandler).and()
                .logout().logoutUrl(adminContextPath + "/logout").and()
                .httpBasic().and()
                .csrf()
                .csrfTokenRepository(CookieCsrfTokenRepository.withHttpOnlyFalse())
                .ignoringAntMatchers(
                        adminContextPath + "/instances",
                        adminContextPath + "/actuator/**"
                );
        // @formatter:on
    }

    @Override
    public void configure(WebSecurity web) {
        web.ignoring().antMatchers("/actuator/**");
    }

}
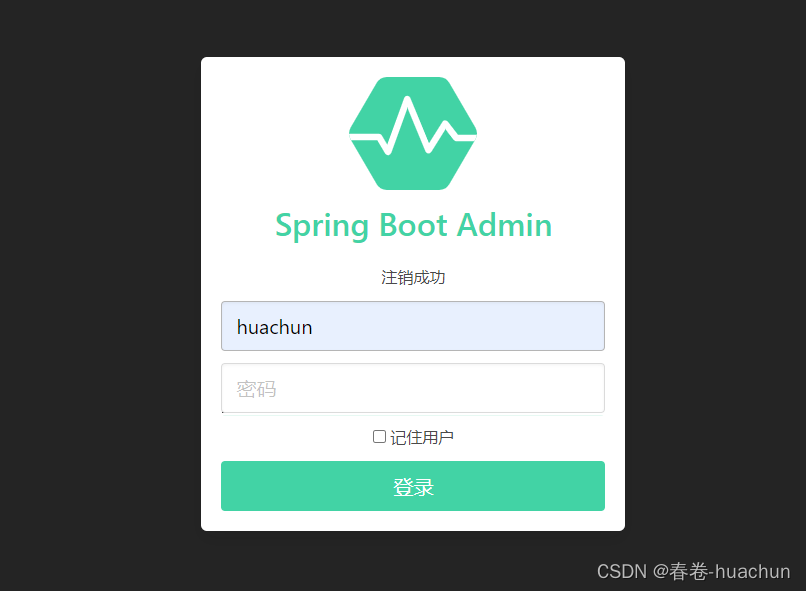
再次访问发现需要输入用户名和密码才能进去
5.配置线上日志
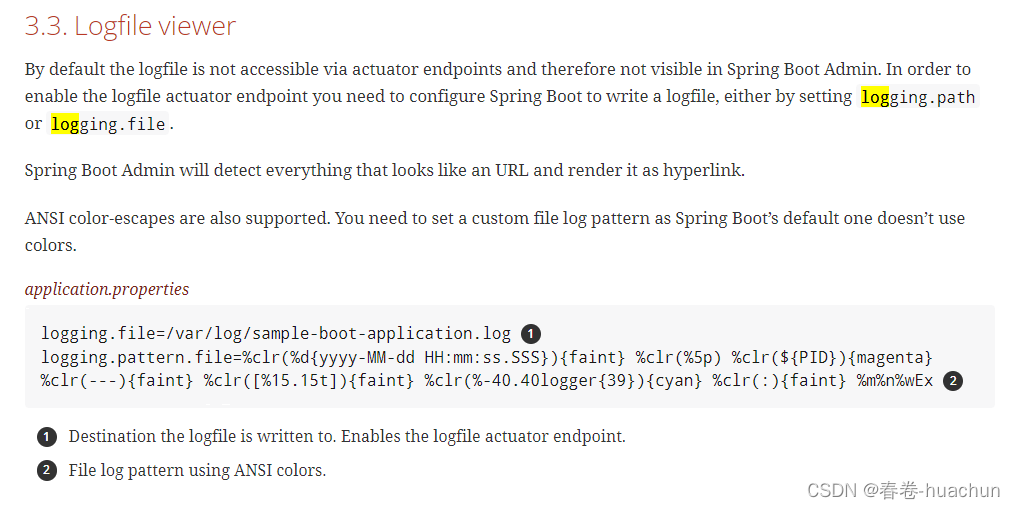
?由于我项目中引入了log4j所以可以直接进行配置
logging:
  pattern:
    file: "%clr(%d{yyyy-MM-dd HH:mm:ss.SSS}){faint} %clr(%5p) %clr(${PID}){magenta} %clr(---){faint} %clr([%15.15t]){faint} %clr(%-40.40logger{39}){cyan} %clr(:){faint} %m%n%wEx"
  file:
    name: ./ocpx_logs/hhmt-cpa-ocpx.log
启动后效果如下:
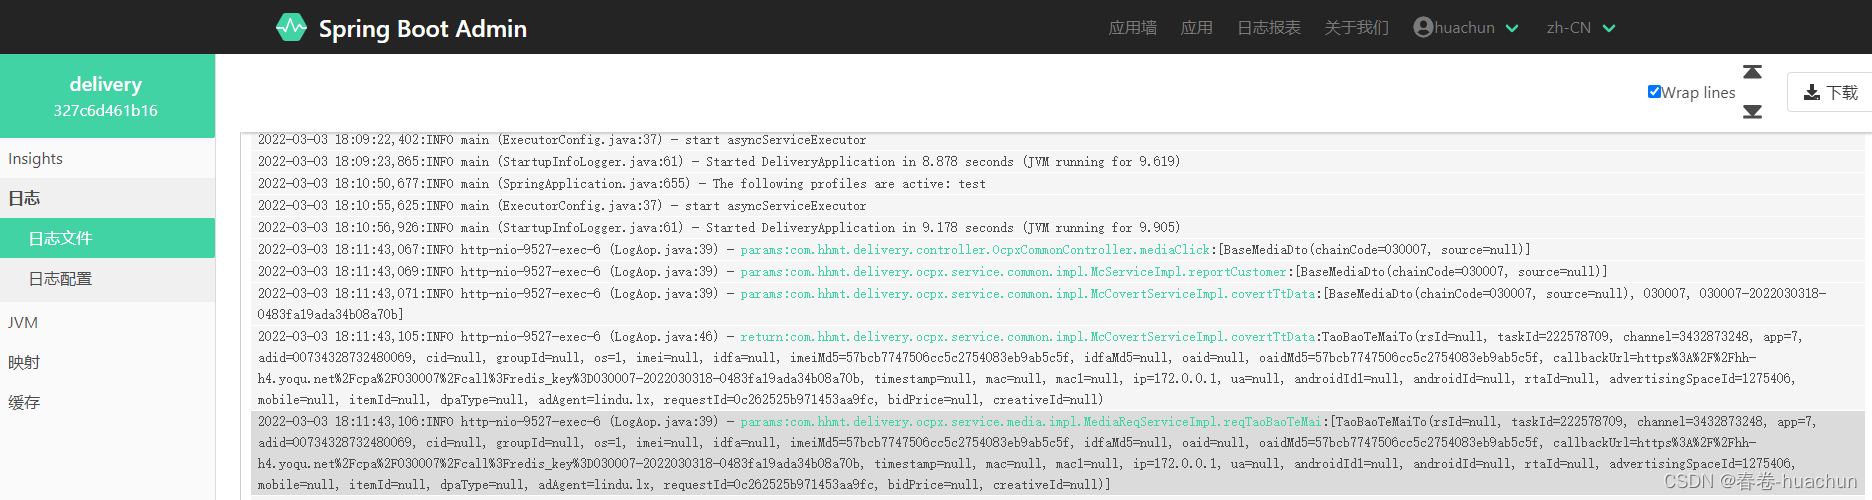
?还是比较满意的
参考文档:Spring Boot Admin Reference Guide
6.常见问题
6.1?线上服务离线

?原文参考:解决spring-boot-Admin的服务端和客户端不在同一个服务器的通信问题_feidie436的专栏-CSDN博客
springboot项目接入springbootAdmin搭建流程_wuxiuyong的博客-CSDN博客
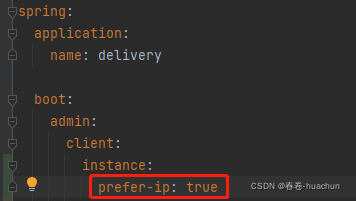
解决方法:配置参数中??prefer-ip设置为true
spring:
  boot:
    admin:
      client:
        instance:
          prefer-ip: true