1.新建项目

2.如图

3.如图

4.选依赖


5.finish

6.配置阿里云仓库
<repositories>
    <repository>
        <id>nexus-aliyun</id>
        <name>nexus-aliyun</name>
        <url>http://maven.aliyun.com/nexus/content/groups/public/</url>
        <releases>
            <enabled>true</enabled>
        </releases>
        <snapshots>
            <enabled>false</enabled>
        </snapshots>
    </repository>
</repositories>

<pluginRepositories>
    <pluginRepository>
        <id>public</id>
        <name>aliyun nexus</name>
        <url>http://maven.aliyun.com/nexus/content/groups/public/</url>
        <releases>
            <enabled>true</enabled>
        </releases>
        <snapshots>
            <enabled>false</enabled>
        </snapshots>
    </pluginRepository>
</pluginRepositories>

然后点击一下刷新就可以啦,这样以后下载依赖会用阿里云,比国外要快很多!
7.删掉多余文件

8.启动一下,测试一下,点击绿色的小三角的按钮,他会报一个错误,说是数据库没有配置,下面我们就来配置一下。
9.配置数据库
spring.datasource.driver-class-name=com.mysql.cj.jdbc.Driver
spring.datasource.url=jdbc:mysql://localhost:3306/qing?serverTimezone=GMT%2b8
spring.datasource.username=root
spring.datasource.password=123456

10.用Navicat测试连接


11.新建数据库


数据库创建完成,下面去测试一下springboot项目
12.测试, idea中点绿色小按钮,如果出现这个页面,就说明连接成功了

13.再去写一个接口测试一下
package com.jyb.springboot;

import org.springframework.boot.SpringApplication;
import org.springframework.boot.autoconfigure.SpringBootApplication;
import org.springframework.web.bind.annotation.GetMapping;
import org.springframework.web.bind.annotation.RestController;

@RestController
@SpringBootApplication
public class SpringbootApplication {

    public static void main(String[] args) {
        SpringApplication.run(SpringbootApplication.class, args);
    }

    @GetMapping("/")
    public String index() {
        return "恭喜,您的springboot搭建完成!!!";
    }

}


现在springboot项目就已经搭建完成了,但是有的同学会说前端不是8080吗?现在被后端占用了,那怎么办呢?那我们就去改一下后端的端口号
server.port=9090

再重启一下,现在8080已经无法访问,再去访问一下9090


OK,完成!!!
但是又有同学要说了,vue和springboot在两个地方,每次都得打开两个idea,特别不方便,所以怎么办呢?当然有办法,看宾叔娓娓道来!
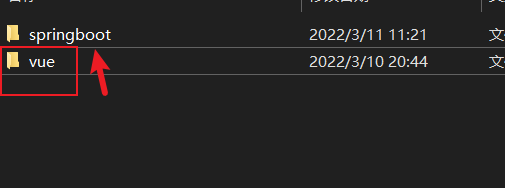
1.先把vue的文件夹剪切到springboot中。

到idea中看一下,已经有了!

下面再介绍一下启动方式


然后点击绿色的箭头启动一下,此时可以看到是启动的vue的项目

此时看到vue已经启动完成,去浏览器看一下
http://localhost:8080/

成功启动了的
如果要再切换springboot,切换这个,再点击绿色的箭头,启动


服务已经启动,我们再去浏览器测试一下
localhost:9090

完成