IDEA创建Web项目
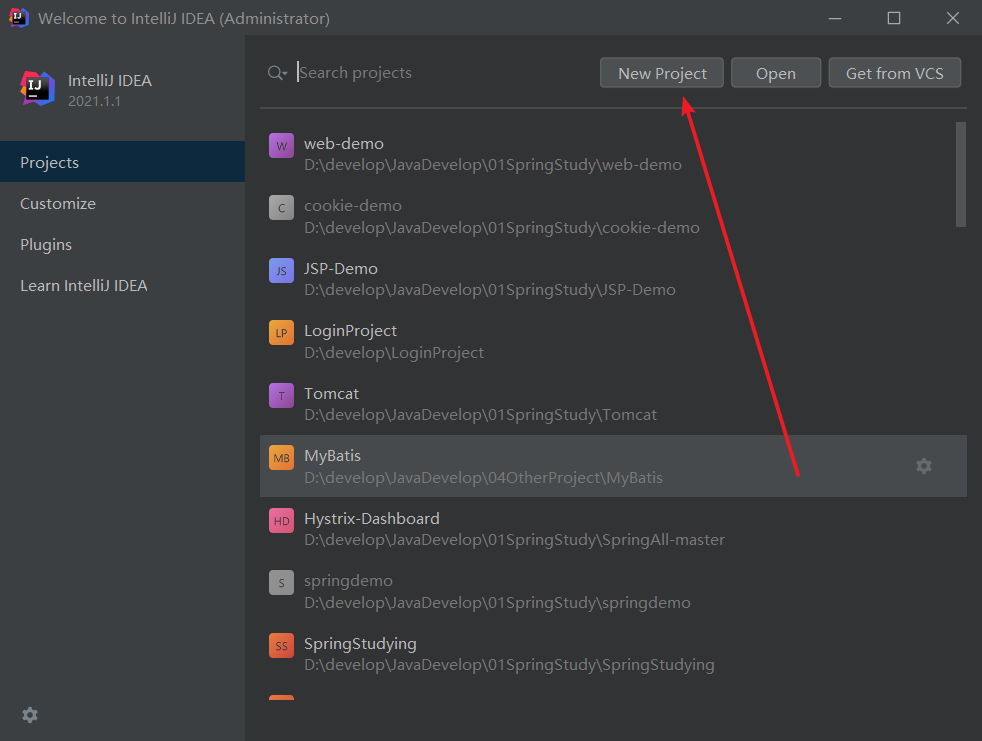
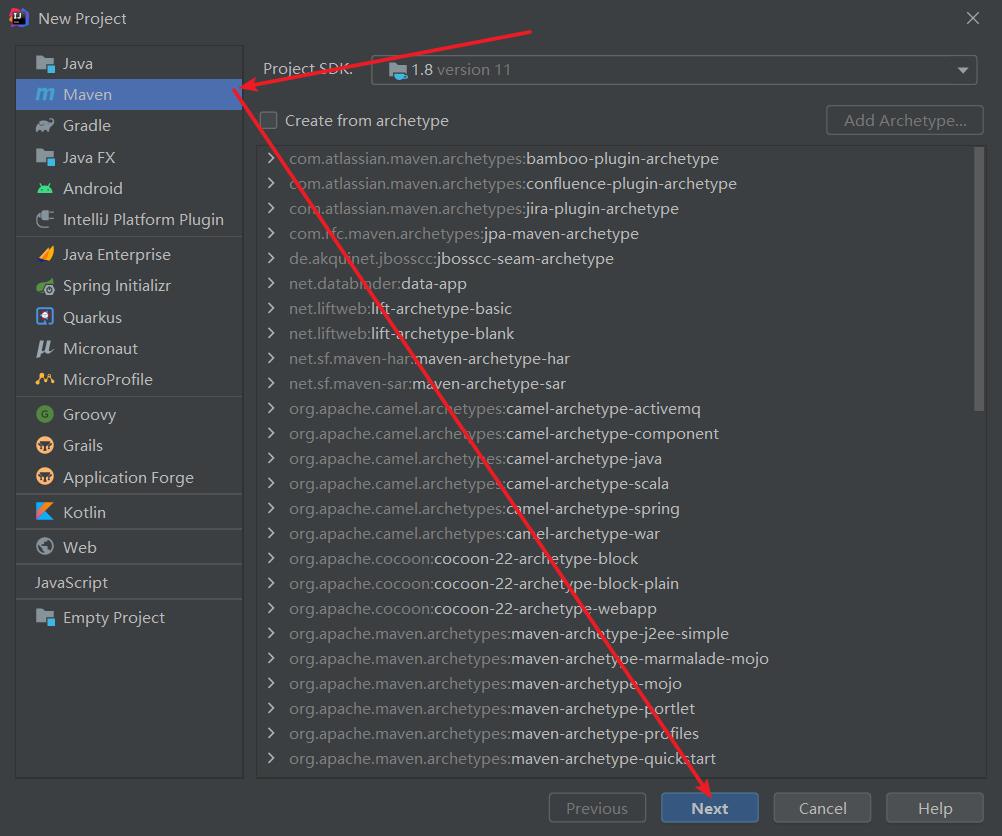
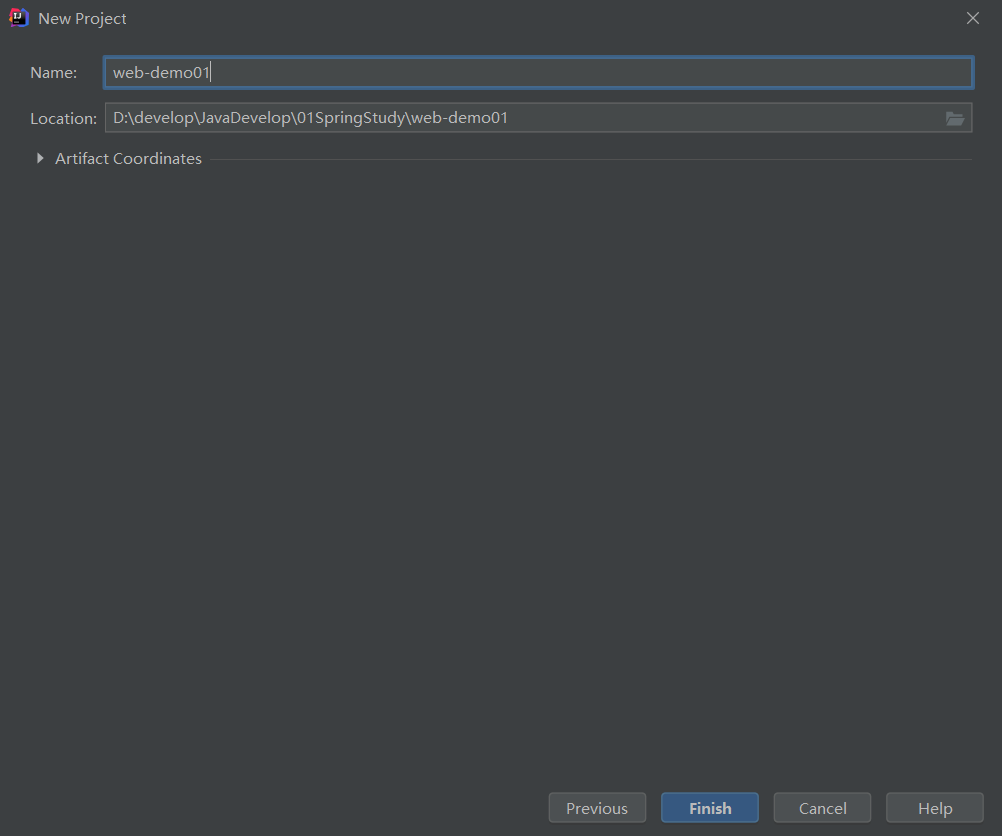
一、新建Maven项目
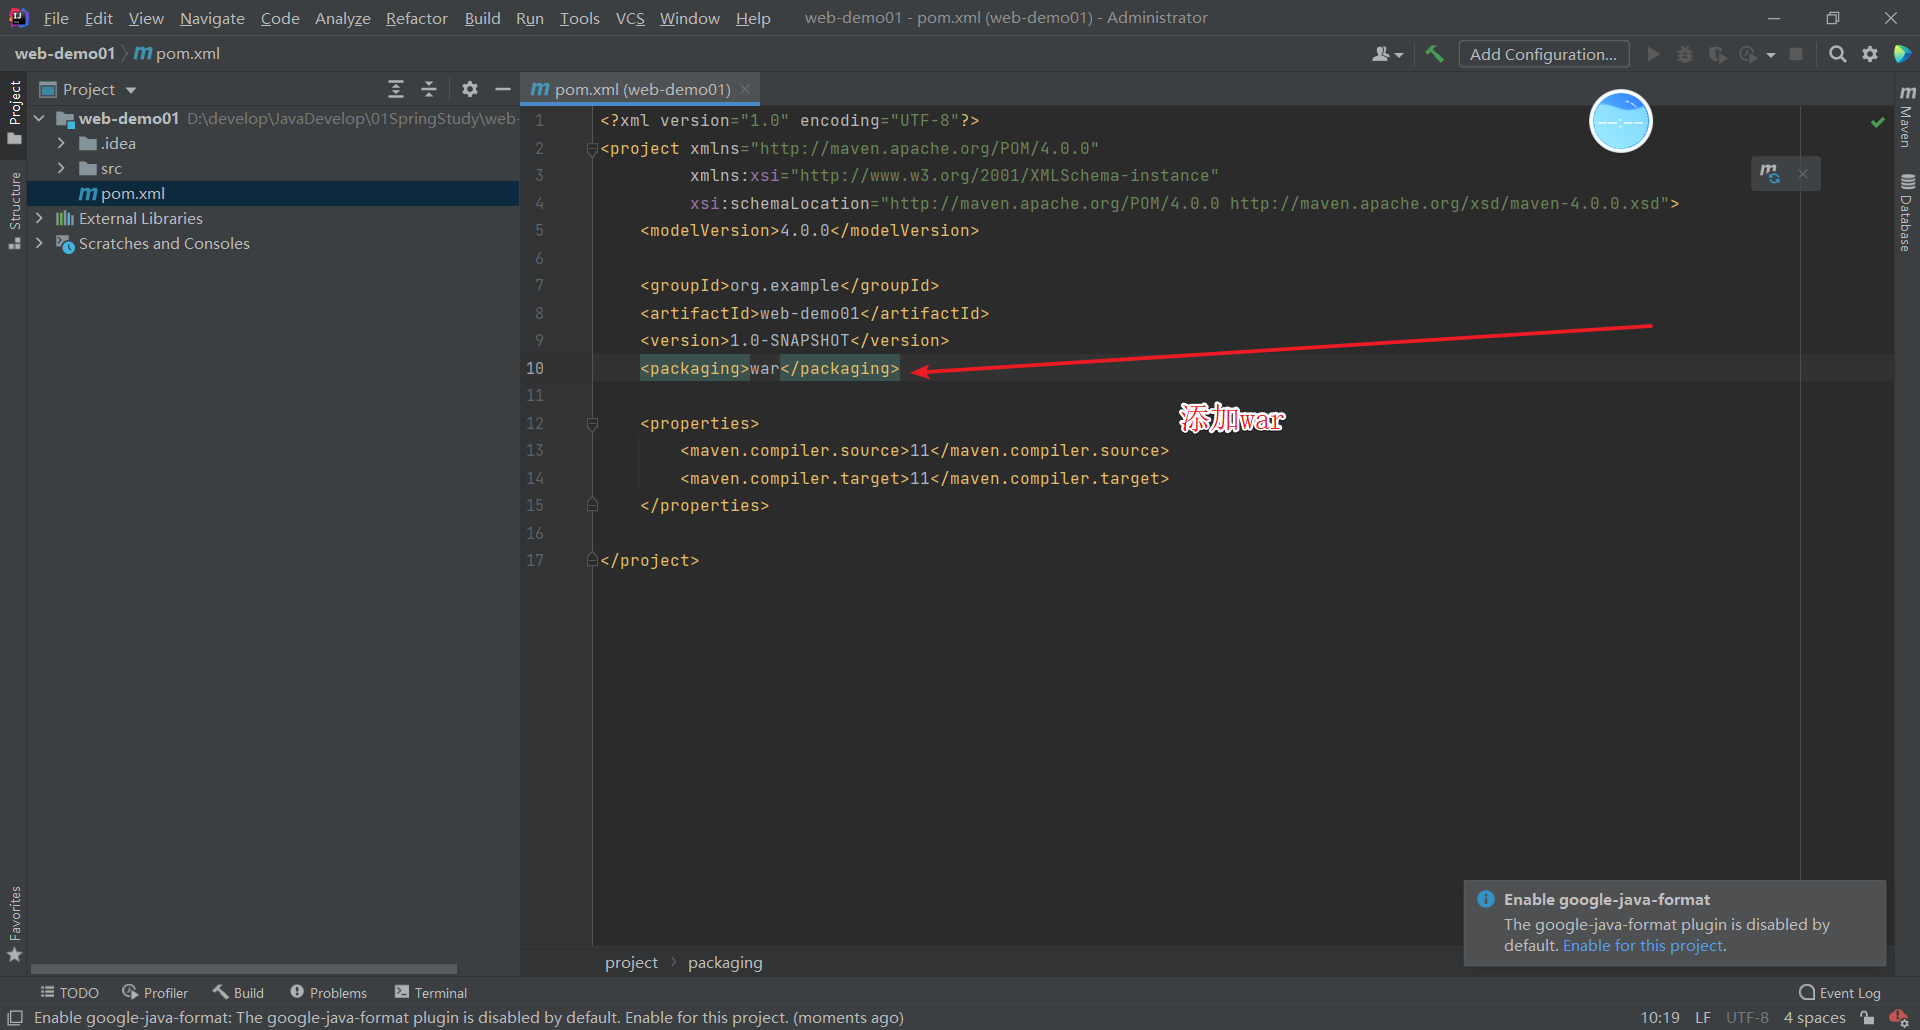
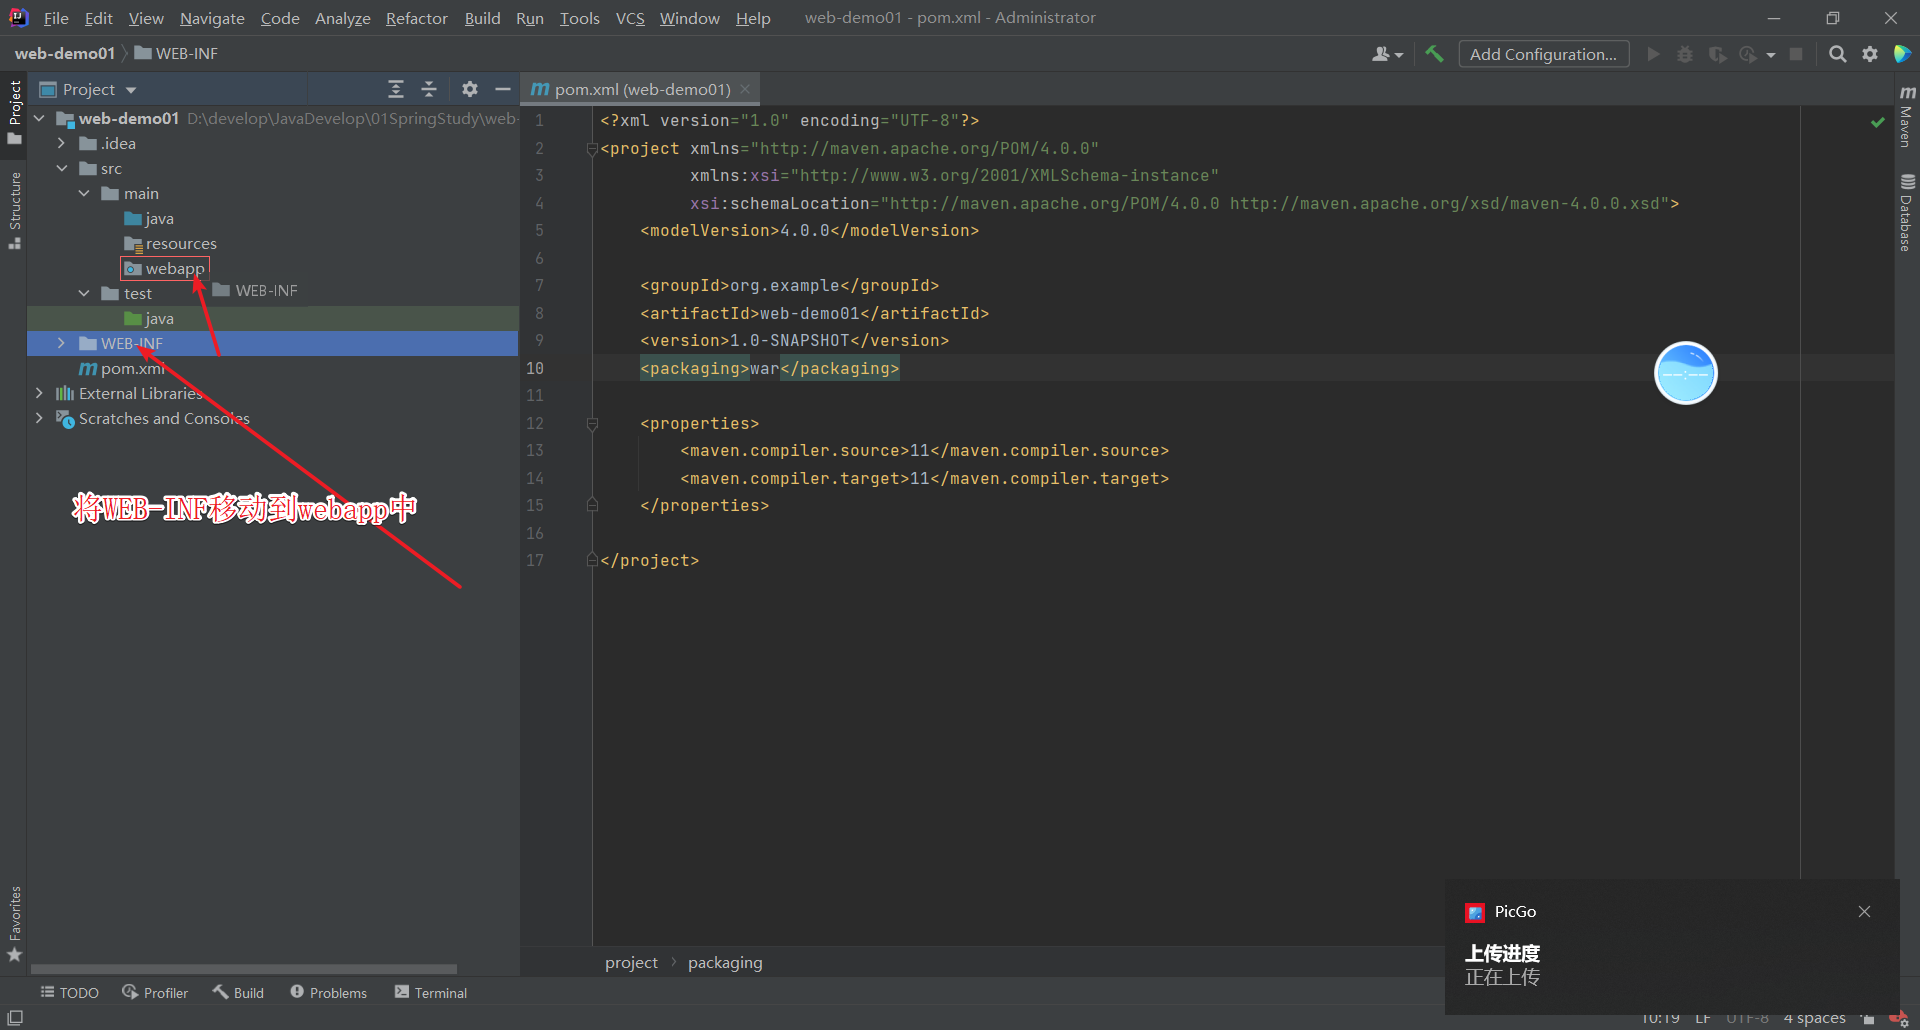
二、添加依赖 war
<?xml version="1.0" encoding="UTF-8"?>
<project xmlns="http://maven.apache.org/POM/4.0.0"
         xmlns:xsi="http://www.w3.org/2001/XMLSchema-instance"
         xsi:schemaLocation="http://maven.apache.org/POM/4.0.0 http://maven.apache.org/xsd/maven-4.0.0.xsd">
    <modelVersion>4.0.0</modelVersion>

    <groupId>org.example</groupId>
    <artifactId>web-demo01</artifactId>
    <version>1.0-SNAPSHOT</version>
    <packaging>war</packaging>

    <properties>
        <maven.compiler.source>11</maven.compiler.source>
        <maven.compiler.target>11</maven.compiler.target>
    </properties>

</project>
三、添加web项目
点击Project structure

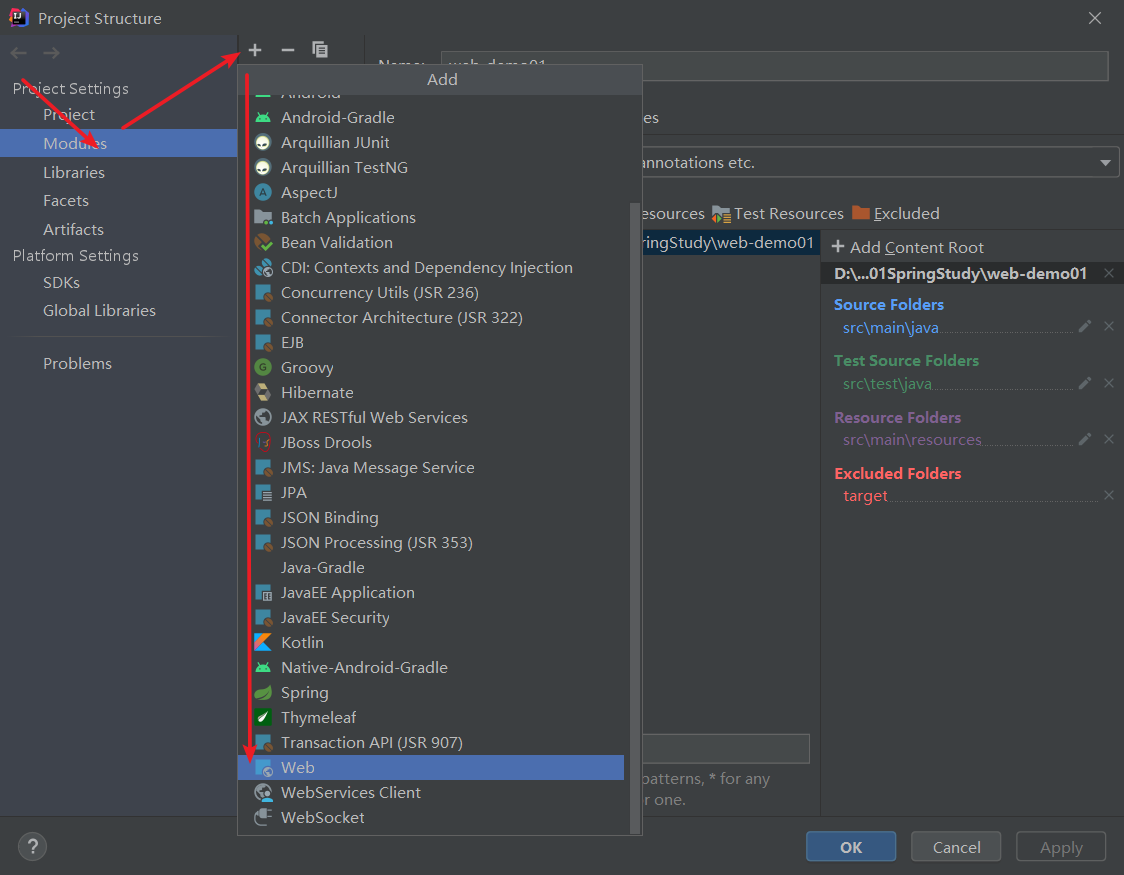
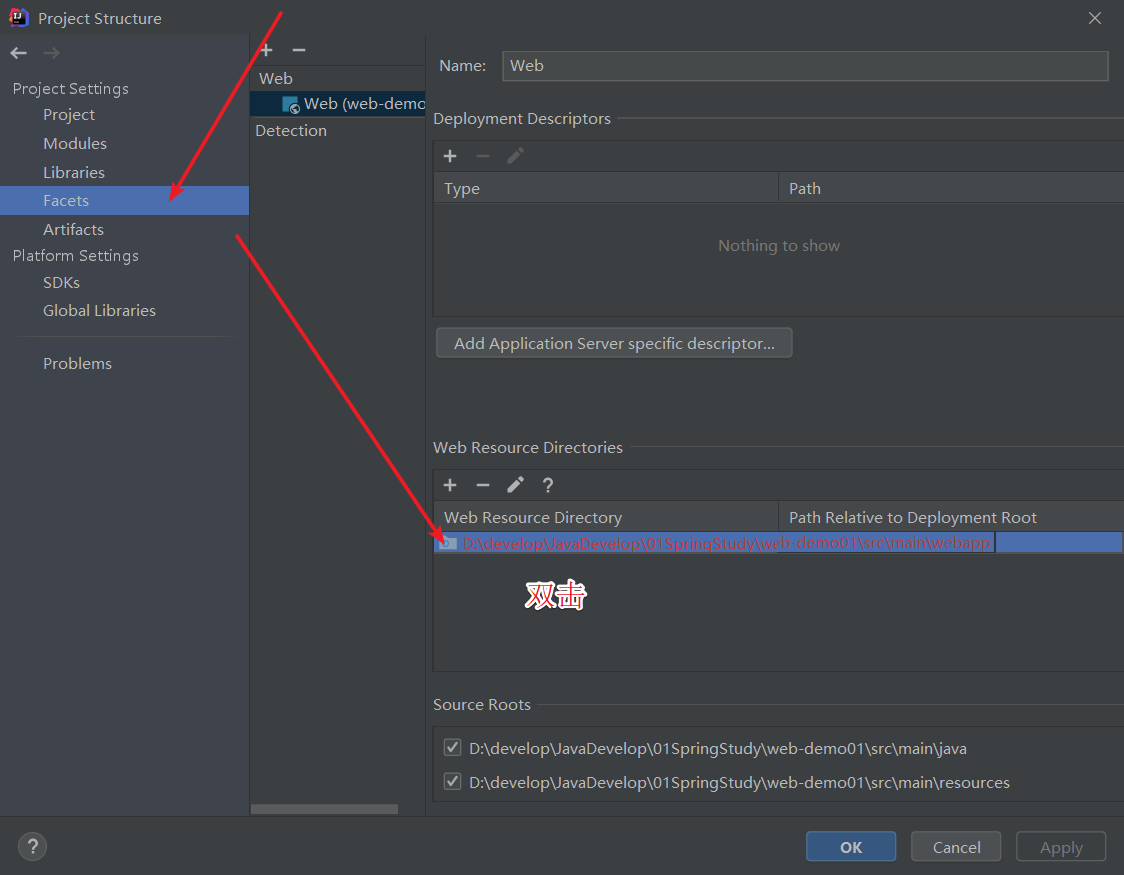
3.1、创建web目录
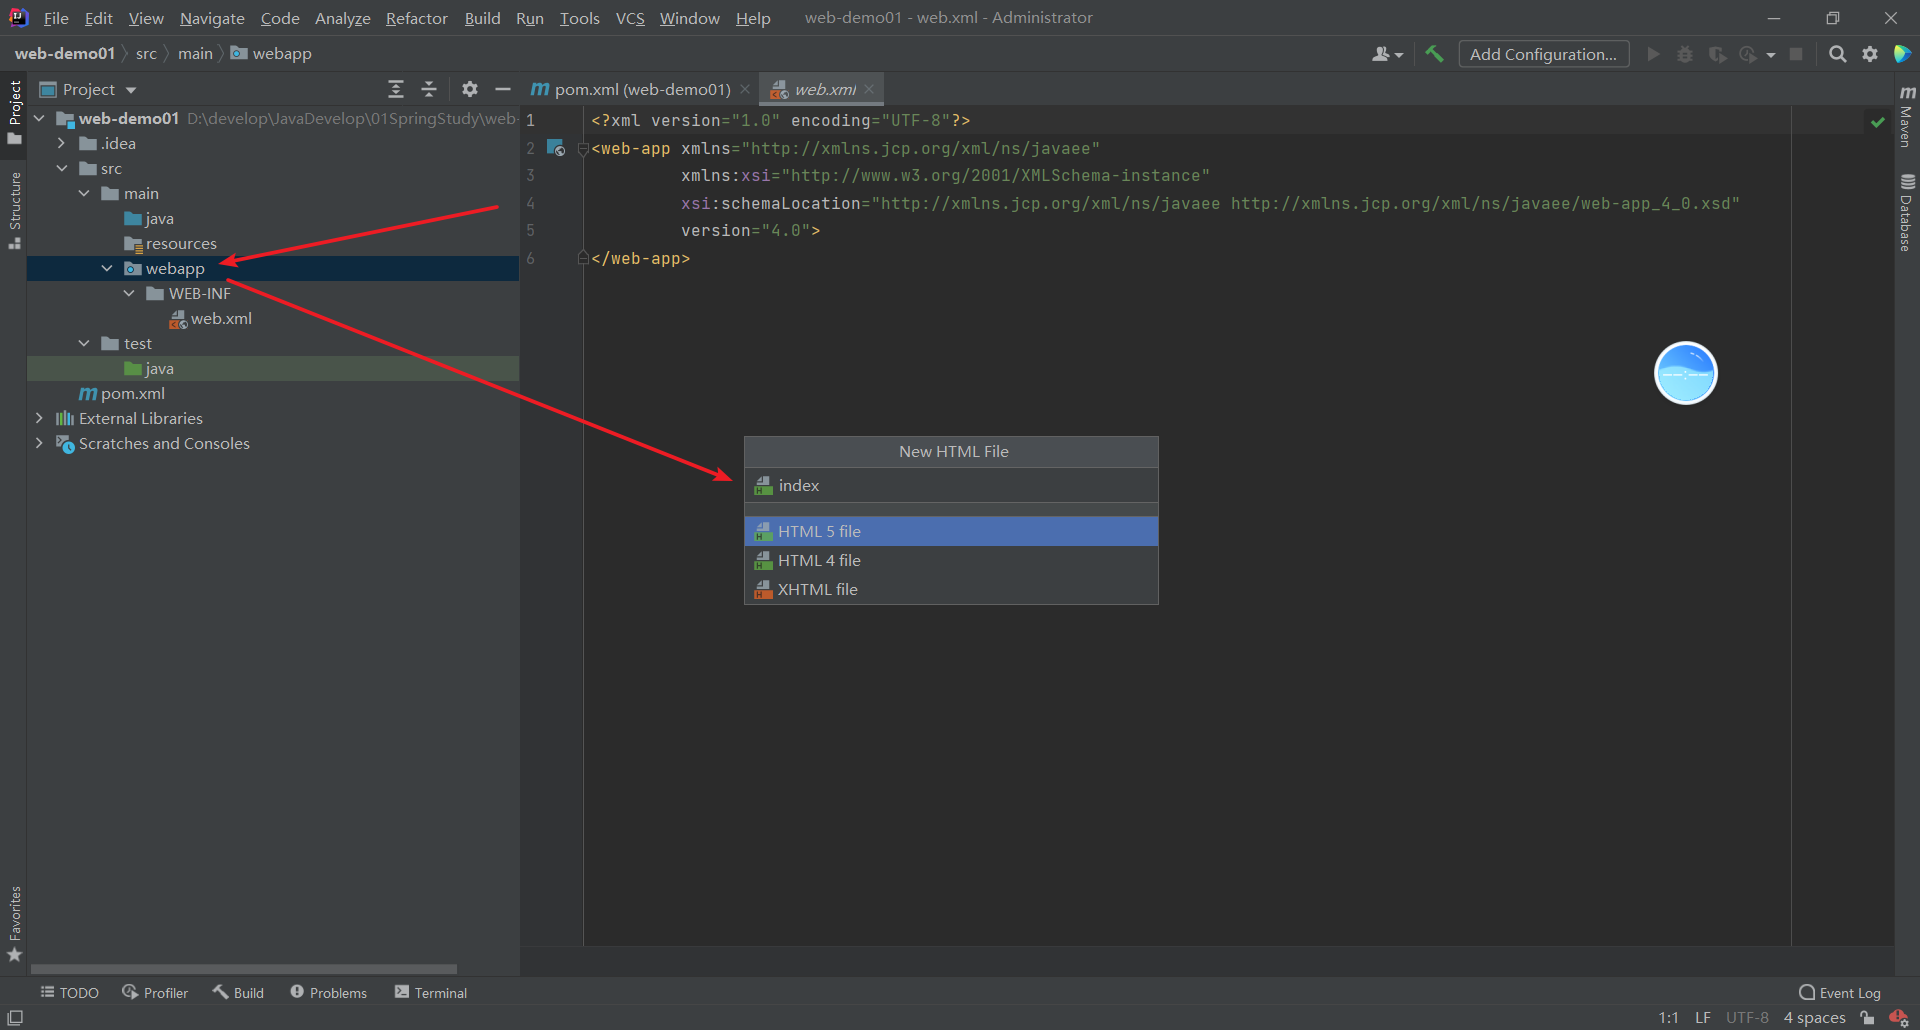
3.2、添加web.xml文件
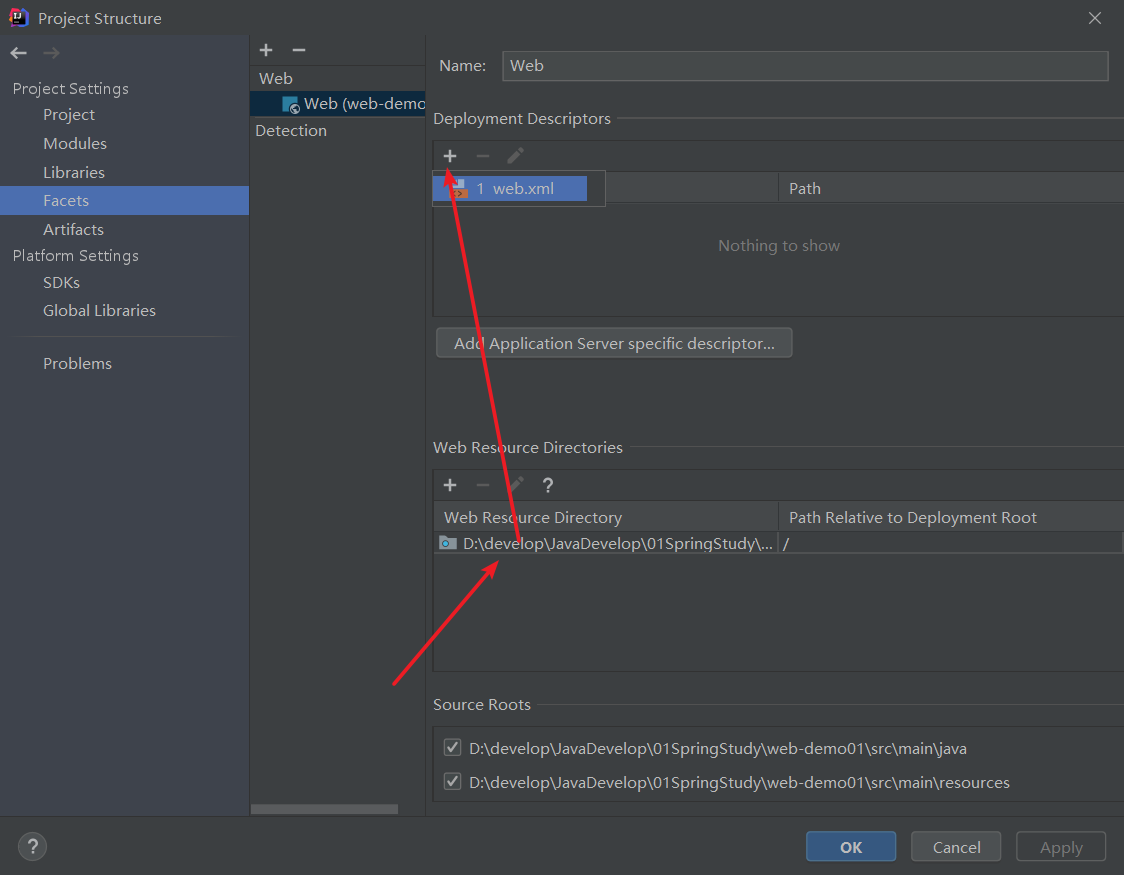
3.3、将web.xml文件放入到web目录中
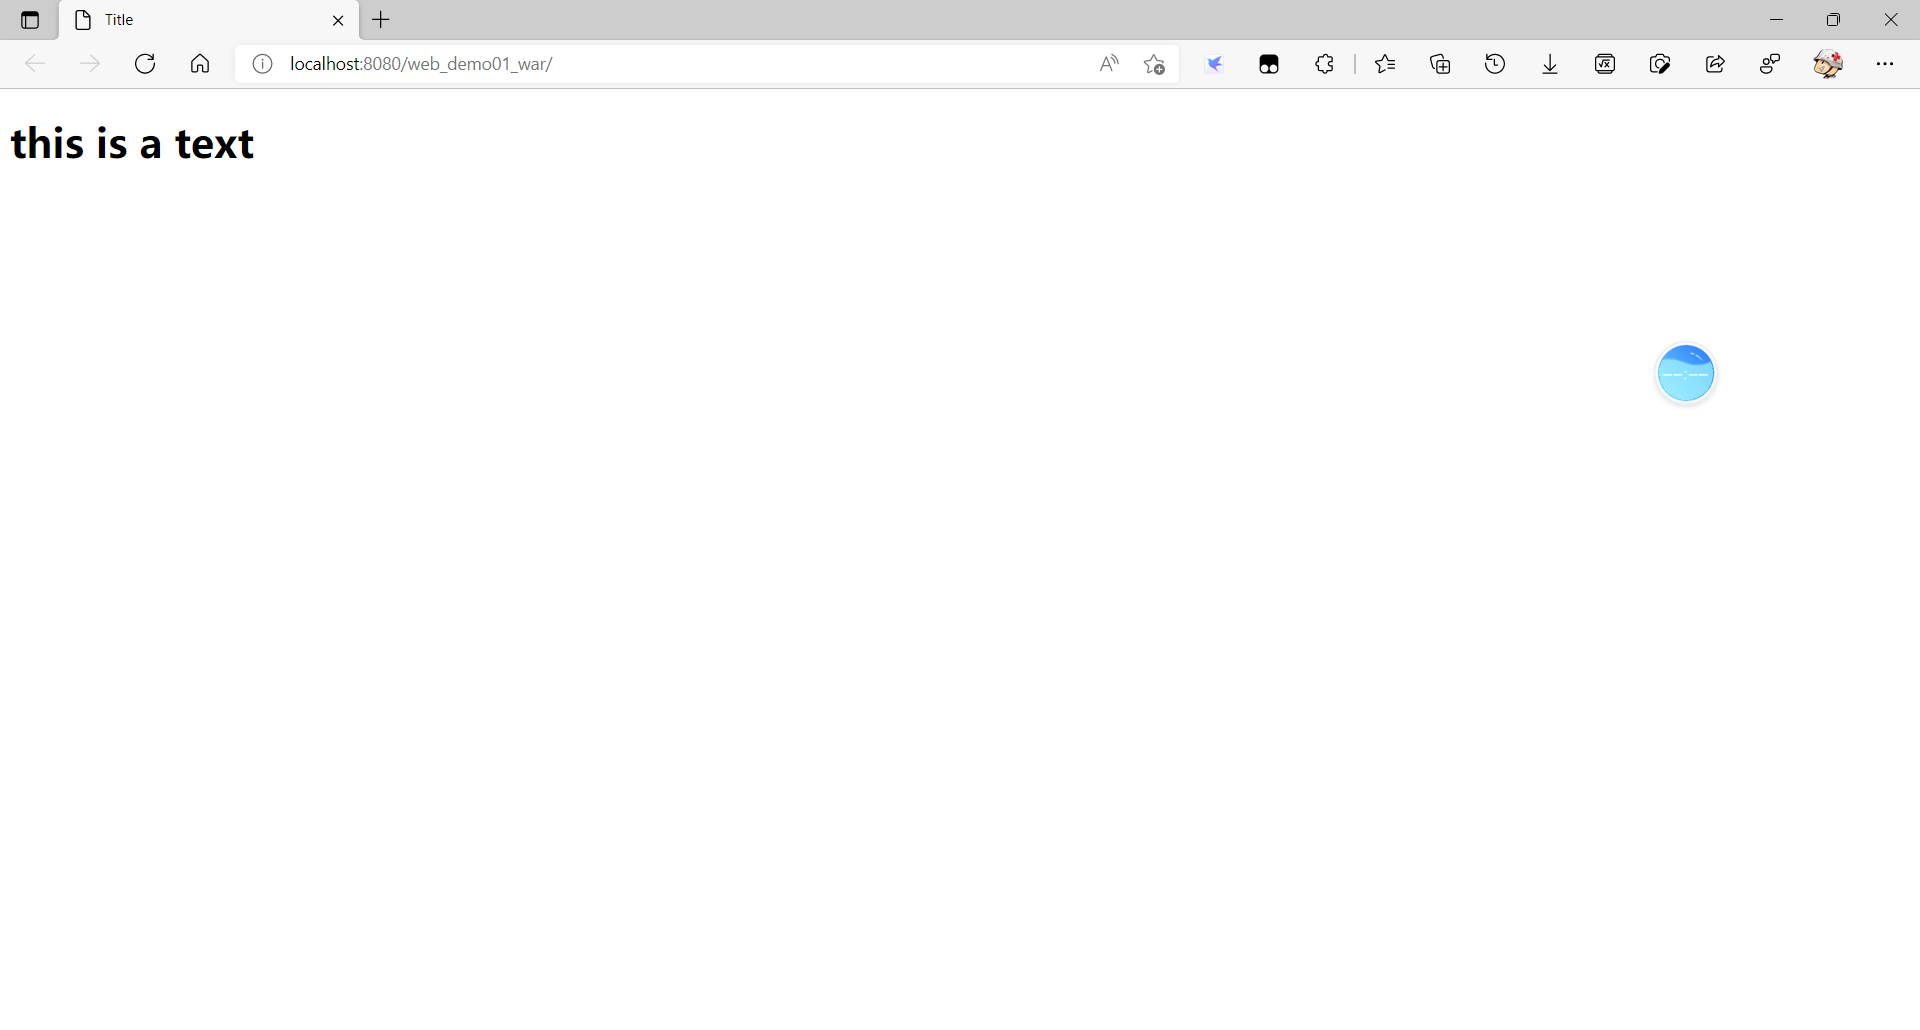
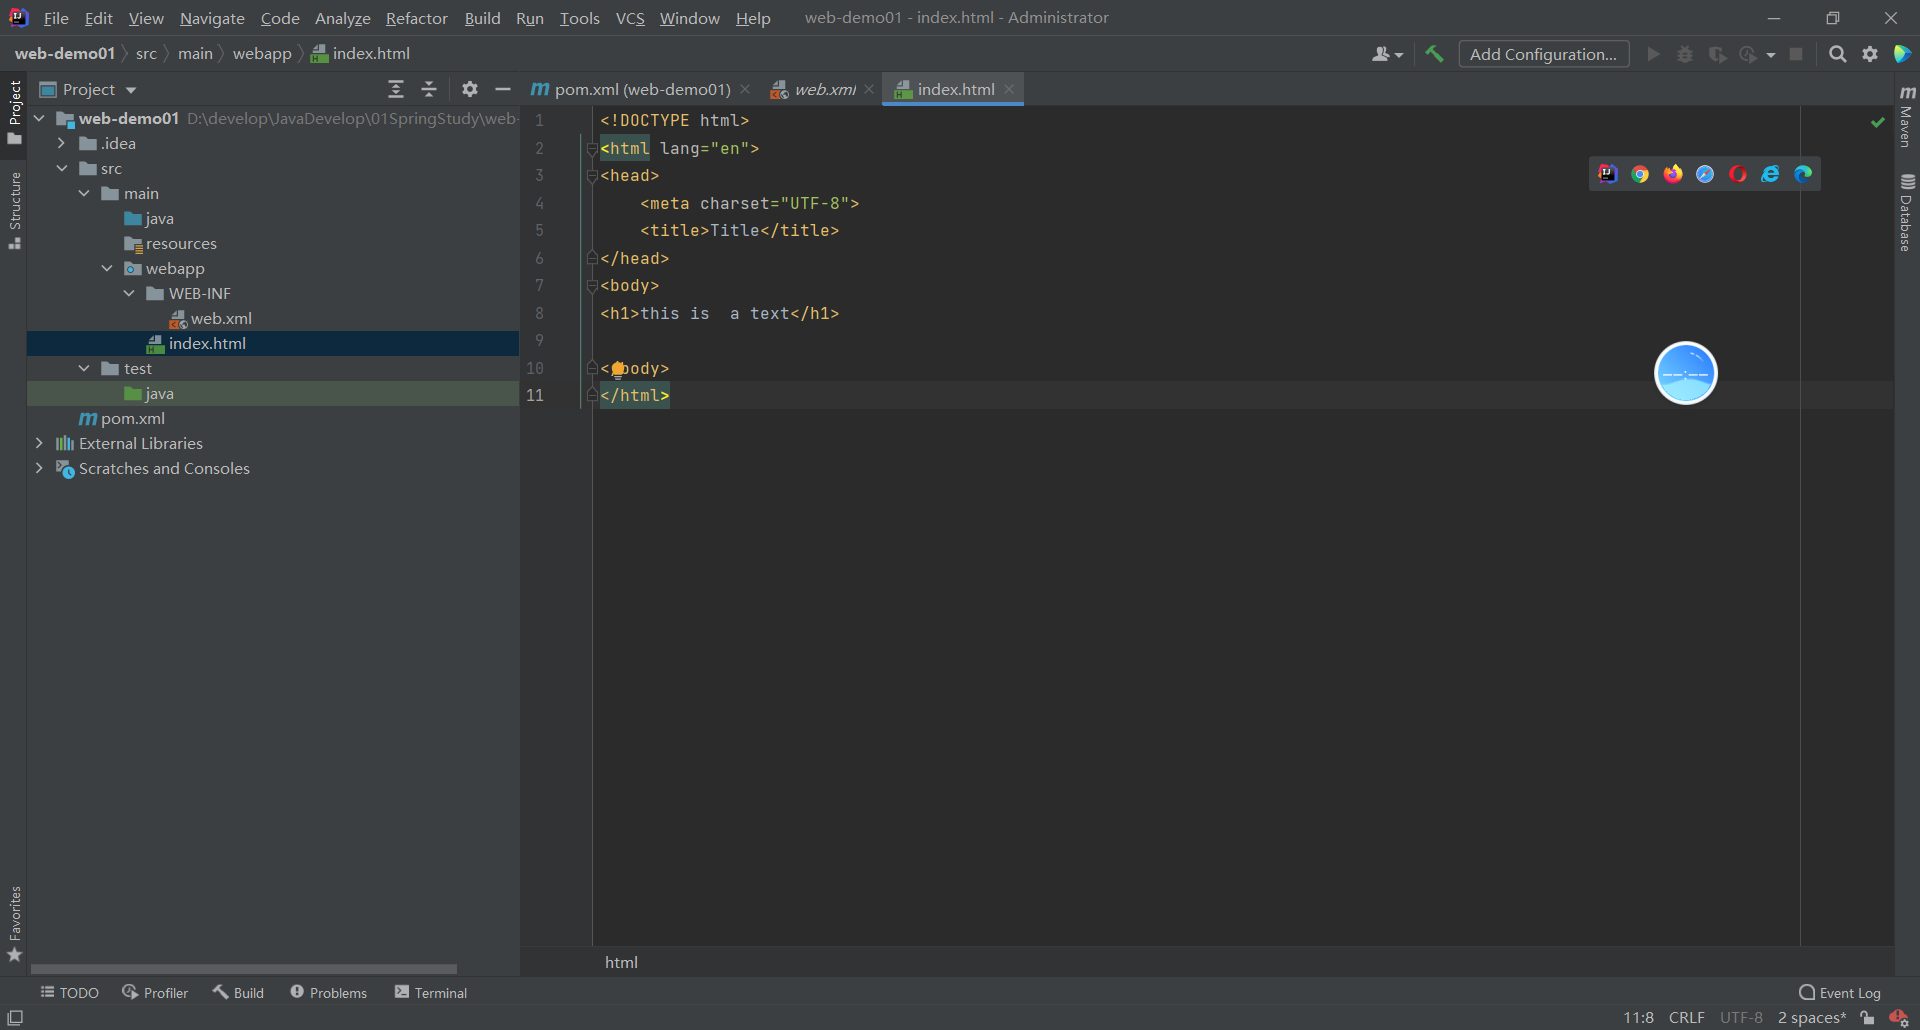
四、新建HTML文件进行测试
<!DOCTYPE html>
<html lang="en">
<head>
    <meta charset="UTF-8">
    <title>Title</title>
</head>
<body>

	<h1>this is  a text</h1>

</body>
</html>
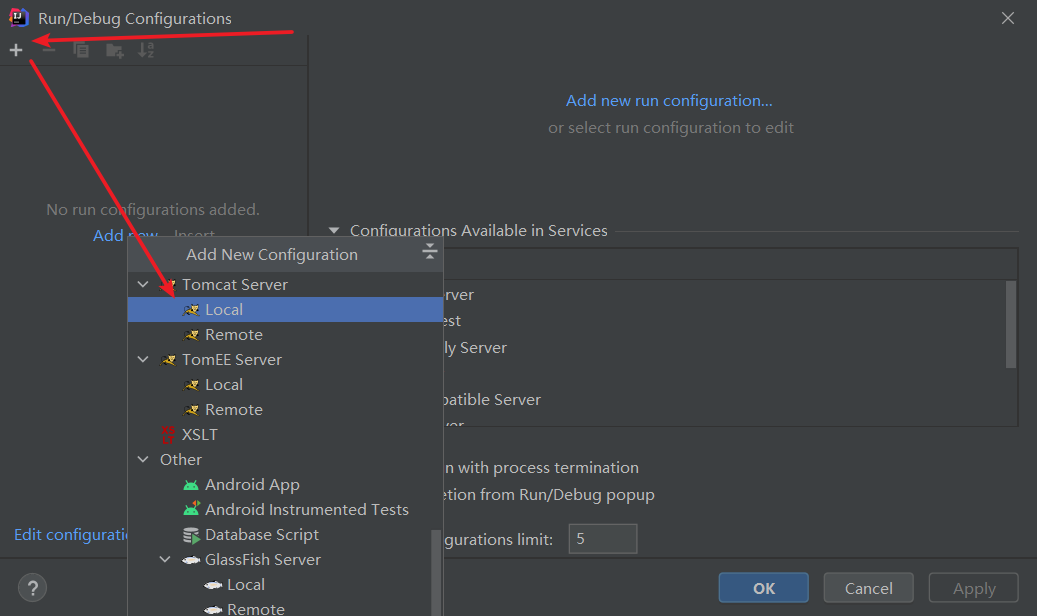
五、配置Tomcat服务器
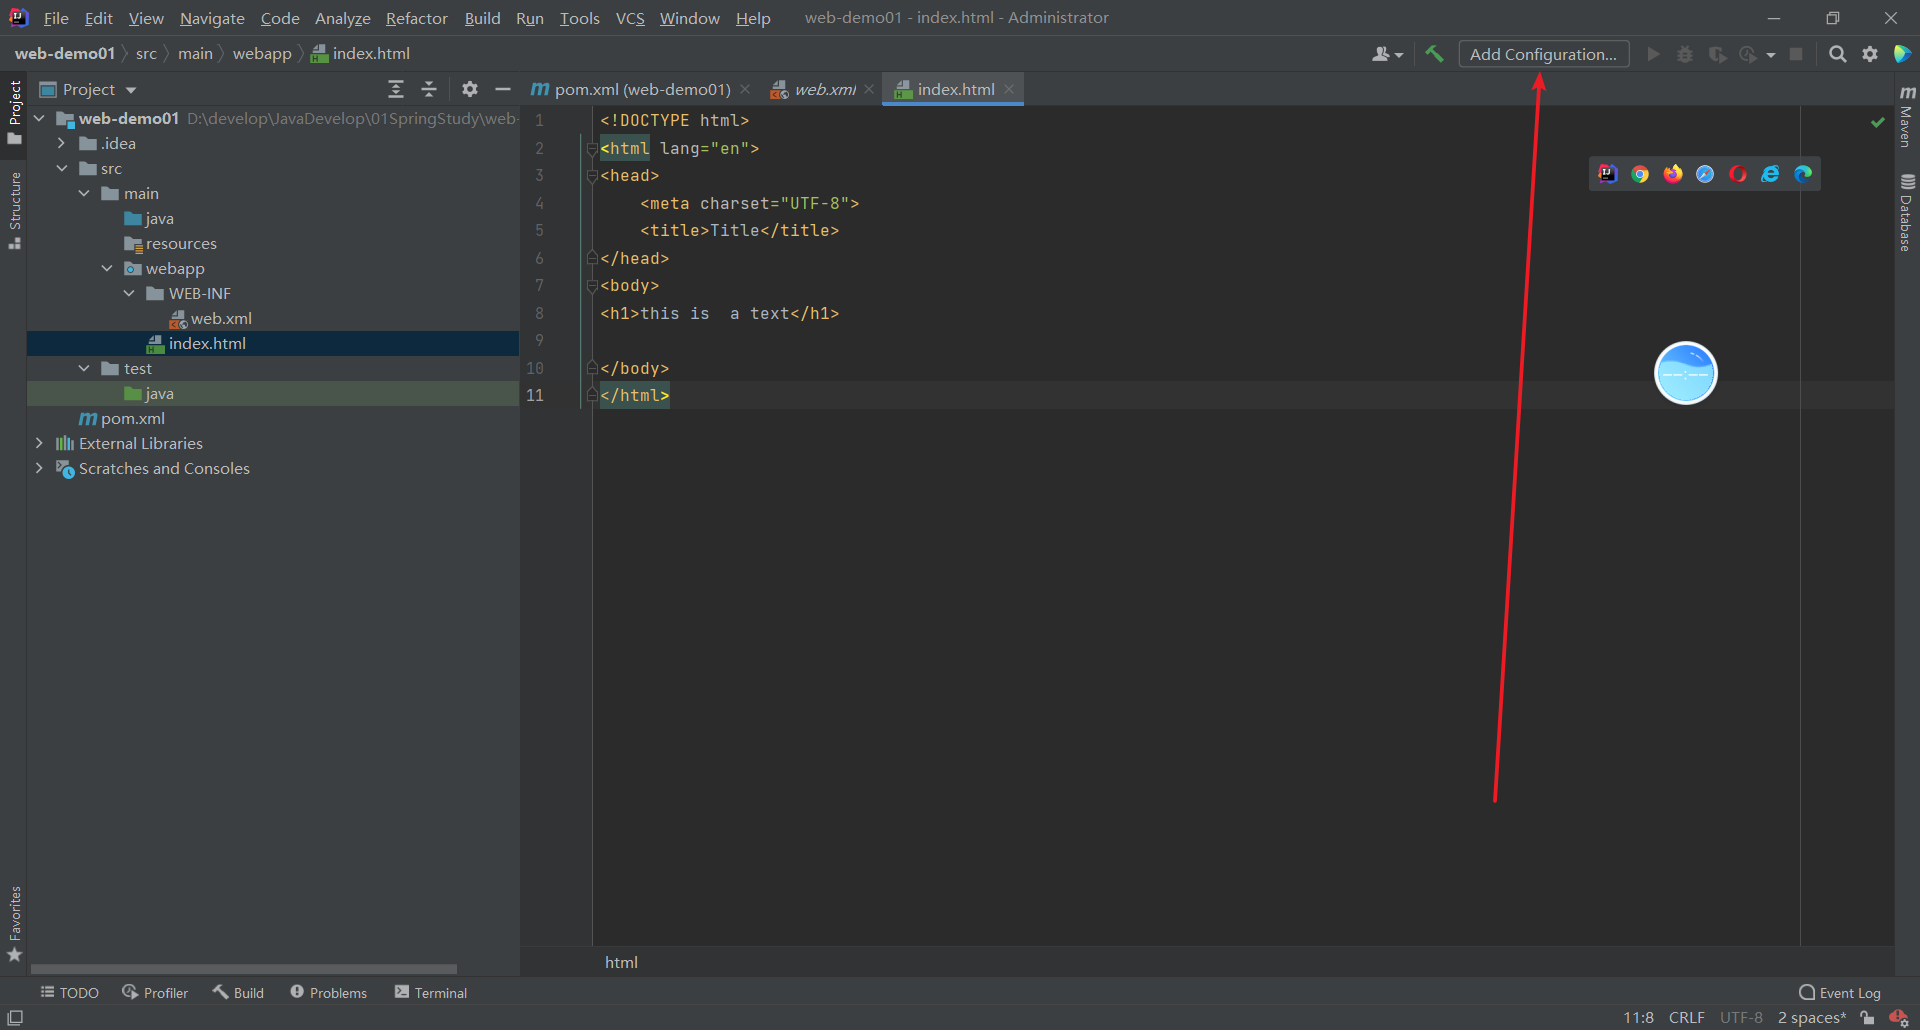
5.1、添加本地的local tomcat
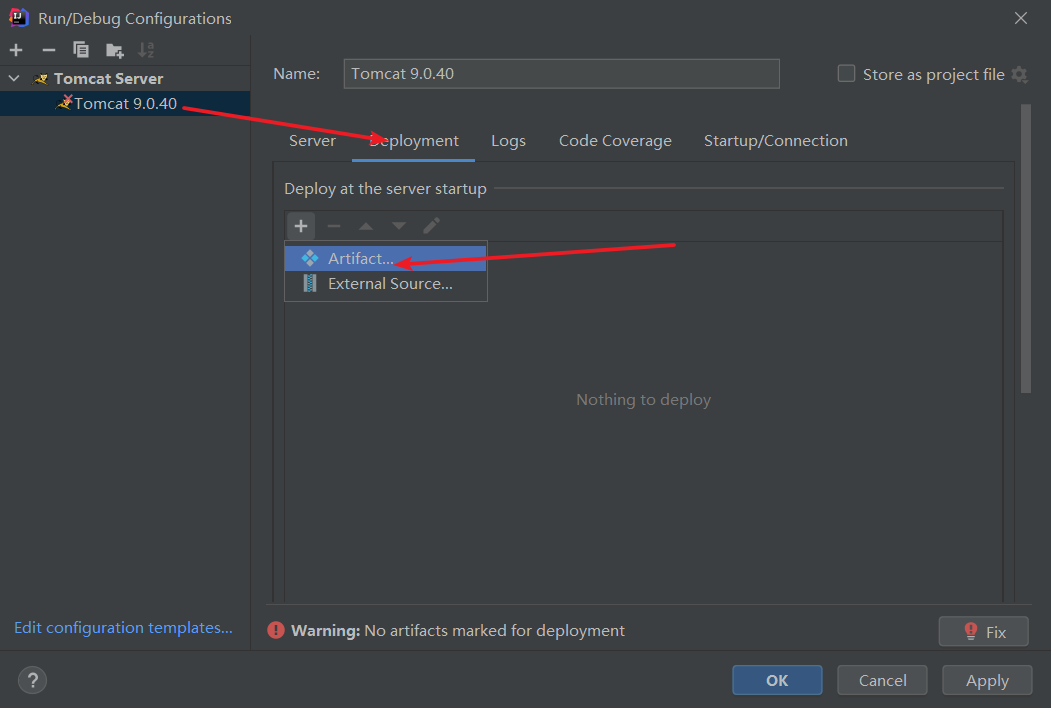
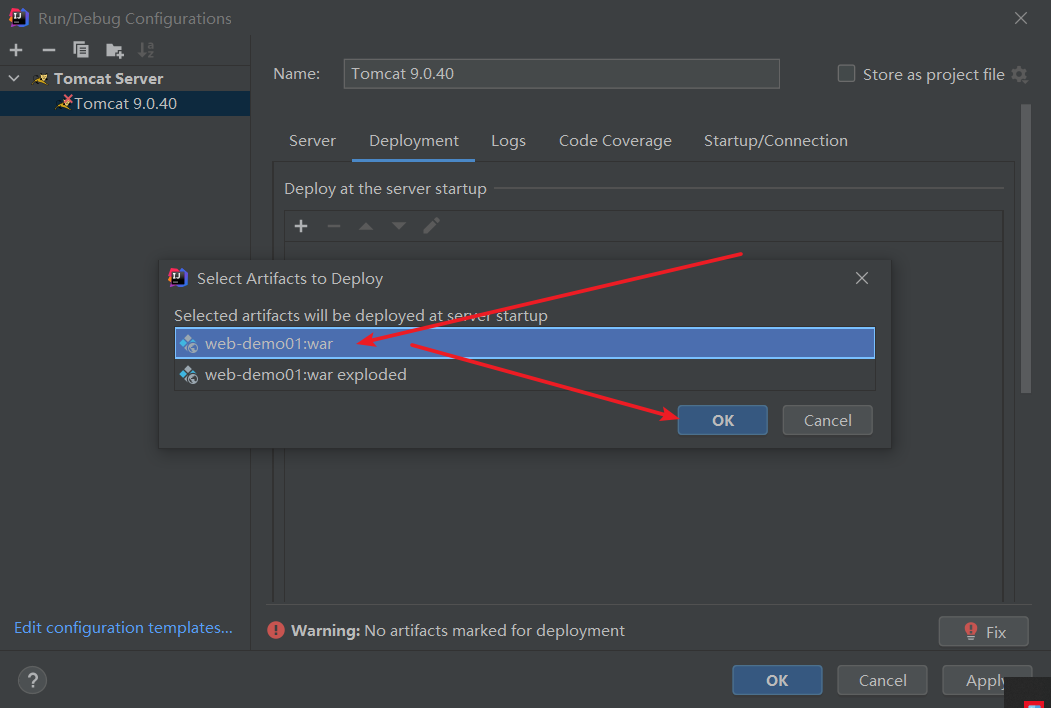
5.2、将项目添加到tomcat服务器中
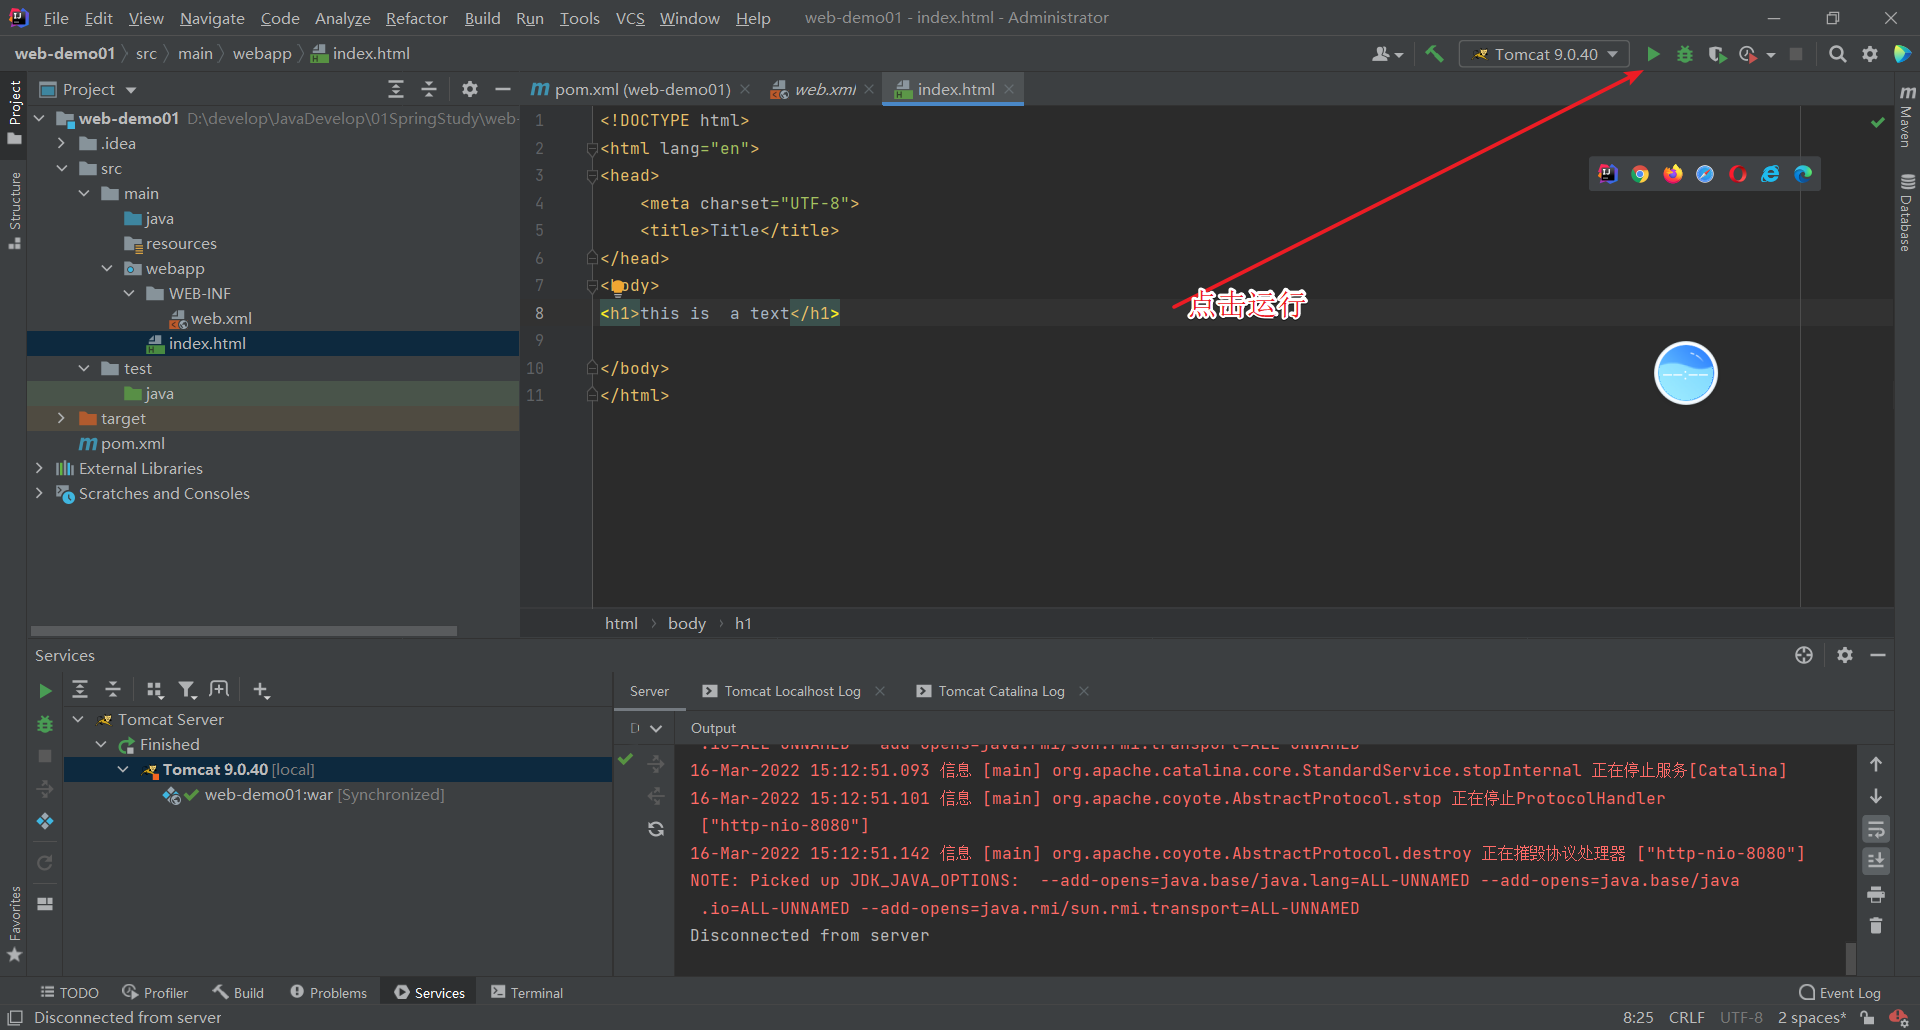
六、运行tomcat项目
七、使用浏览器打开项目