提示:提醒需要springboot和mybatis基础的道友,有bug或者不懂的欢迎骚扰
文章目录
前言
提示:以下是本篇文章正文内容,下面案例可供参考
一、springboot + mybatis
示例:spring官网:https://spring.io/
mybatis3.x官网: https://mybatis.org/mybatis-3/
二、文件配置
1.pom.xml文件配置
代码如下(示例):
<?xml version="1.0" encoding="UTF-8"?>
<project xmlns="http://maven.apache.org/POM/4.0.0" xmlns:xsi="http://www.w3.org/2001/XMLSchema-instance"
	xsi:schemaLocation="http://maven.apache.org/POM/4.0.0 https://maven.apache.org/xsd/maven-4.0.0.xsd">
	<modelVersion>4.0.0</modelVersion>
	<parent>
		<groupId>org.springframework.boot</groupId>
		<artifactId>spring-boot-starter-parent</artifactId>
		<version>2.6.4</version>
		<relativePath/> <!-- lookup parent from repository -->
	</parent>
	<groupId>com.example</groupId>
	<artifactId>demo</artifactId>
	<version>0.0.1-SNAPSHOT</version>
	<name>demo</name>
	<description>Demo project for Spring Boot</description>
	<properties>
		<java.version>1.8</java.version>
	</properties>
	<dependencies>
		<dependency>
			<groupId>org.springframework.boot</groupId>
			<artifactId>spring-boot-starter-web</artifactId>
		</dependency>
		<dependency>
			<groupId>org.mybatis.spring.boot</groupId>
			<artifactId>mybatis-spring-boot-starter</artifactId>
			<version>2.2.2</version>
		</dependency>

		<dependency>
			<groupId>mysql</groupId>
			<artifactId>mysql-connector-java</artifactId>
		</dependency>
		<dependency>
			<groupId>org.springframework.boot</groupId>
			<artifactId>spring-boot-starter-test</artifactId>
			<scope>test</scope>
		</dependency>
	</dependencies>

	<build>
		<plugins>
			<plugin>
				<groupId>org.springframework.boot</groupId>
				<artifactId>spring-boot-maven-plugin</artifactId>
			</plugin>
		</plugins>
	</build>

</project>
2.application.properties文件配置
记得修改数据库名称和password的密码
# jdbc用的是8.0以上的版本
spring.datasource.driver-class-name =com.mysql.cj.jdbc.Driver
# fun可以修改为自己的数据库名称
spring.datasource.url=jdbc:mysql://127.0.0.1:3306/fun?useUnicode=true&characterEncoding=utf-8&useSSL=false
spring.datasource.username=root
# password可以修改为自己的密码
spring.datasource.password=111
mybatis.configuration.log-impl=org.apache.ibatis.logging.stdout.StdOutImpl
三、类设计
启动类 + controller + service + mapper(dao层) + domian(POJO对象)
1.DemoApplication
package com.example.demo;

import org.mybatis.spring.annotation.MapperScan;
import org.springframework.boot.SpringApplication;
import org.springframework.boot.autoconfigure.SpringBootApplication;
import org.springframework.transaction.annotation.EnableTransactionManagement;

@SpringBootApplication
//扫描mybatis的包
@MapperScan("com.example.demo.mapper")
//开启事务控制(事务提交和回滚都可以帮我们完成)
@EnableTransactionManagement
public class DemoApplication {

	public static void main(String[] args) {
		SpringApplication.run(DemoApplication.class, args);
	}

}
2.domain层的User类
package com.example.demo.domain;

public class User {

    private  int id;

    private String phone;

    private String name;

    public int getId() {
        return id;
    }

    public void setId(int id) {
        this.id = id;
    }

    public String getPhone() {
        return phone;
    }

    public void setPhone(String phone) {
        this.phone = phone;
    }

    public String getName() {
        return name;
    }

    public void setName(String name) {
        this.name = name;
    }
}
3.Controller层的UserController类
package com.example.demo.controller;

import com.example.demo.domain.User;
import com.example.demo.service.UserService;
import org.springframework.beans.factory.annotation.Autowired;
import org.springframework.web.bind.annotation.RequestMapping;
import org.springframework.web.bind.annotation.RestController;

//返回json数据用这个,它会帮我们完成
@RestController
//访问地址: localhost:8080/api/v1/user/save
@RequestMapping("api/v1/user")
public class UserController {

    private UserService userService;
	//注解可以帮我们从spring的IOC容器中拿实例化对象
    @Autowired
    public void setUserService(UserService userService){
        this.userService = userService;
    }

	//这个插入语句的get请求方法
    @RequestMapping("save")
    public Object save(){
        User user = new User();
        user.setName("xhh");
        user.setPhone("135790");
        userService.save(user);
        return user;
    }

}
4.service层的接口UserService和类UserServiceImpl
// 接口UserService
package com.example.demo.service;

import com.example.demo.domain.User;

public interface UserService {

    int save(User user);
}
# 类UserServiceImpl

import com.example.demo.domain.User;
import com.example.demo.mapper.UserMapper;
import com.example.demo.service.UserService;
import org.springframework.beans.factory.annotation.Autowired;
import org.springframework.stereotype.Service;
import org.springframework.transaction.annotation.Transactional;

// 将类装进IOC容器里面,容器里面便会实例化
@Service
//在业务类里面添加事务控制,回归和提交事务
@Transactional
public class UserServiceImpl implements UserService {

    private UserMapper userMapper;

    @Autowired
    public void  setUserMapper(UserMapper userMapper){
        this.userMapper = userMapper;
    }

    @Override
    public int save(User user) {


//        int i = 1/ 0;   //模拟一个事务的发生,可以让事务回滚
        return userMapper.save(user);
    }
}
5.mapper层的类UserMapper
package com.example.demo.mapper;

import com.example.demo.domain.User;
import org.apache.ibatis.annotations.Insert;
import org.springframework.stereotype.Repository;

// 将类丢到spring的IOC容器里面,方便后面拿
@Repository
public interface UserMapper {
	//简单的sql语句用注解完成,复杂的可以用xml文件配置
    @Insert("insert into user (name,phone) values (#{name},#{phone})")
    int save(User user);
}
总结
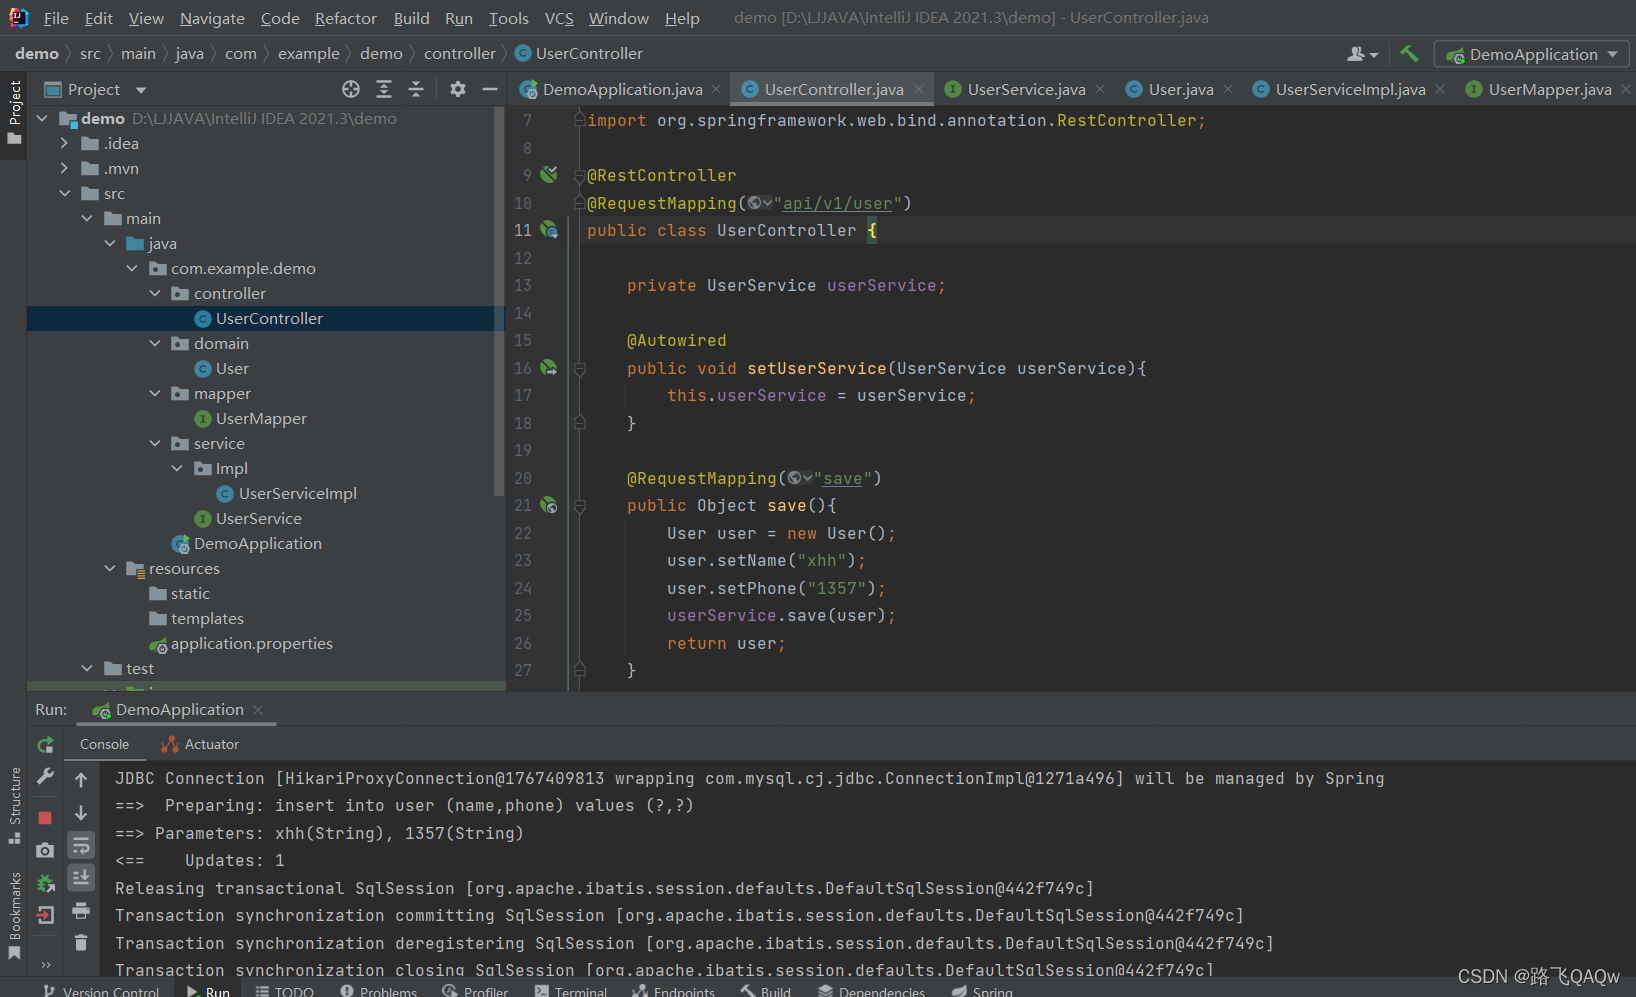
启动项目

访问该接口

数据库变化
