Spring MVC复习 —— 搭建Spring MVC项目
??摘要:这篇笔记是关于Spring MVC的复习,内容是如何搭建Spring MVC项目。
??让我们快速的搭建一个Spring MVC项目。
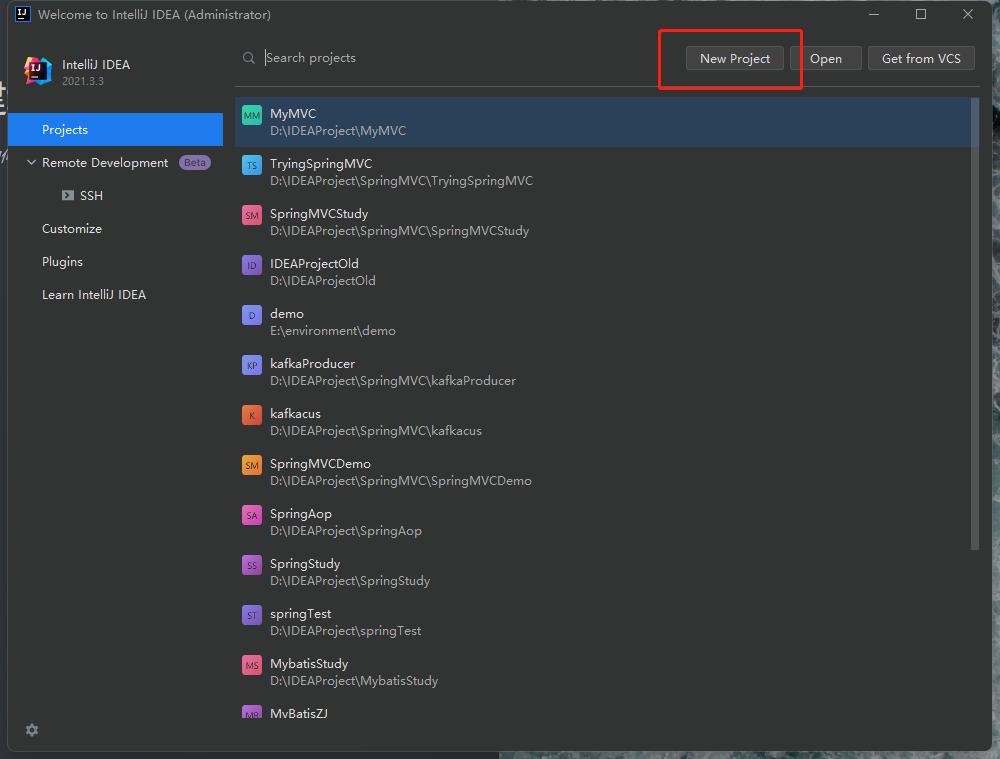
1.点击创建项目
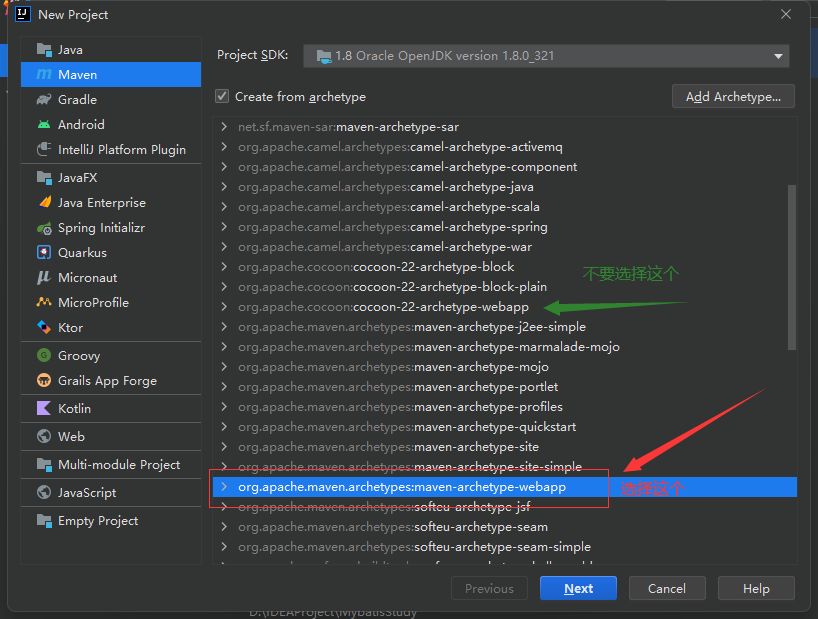
2.选择webapp模板并完成创建
??这里存在两个同名模板,我们选择下边这个:
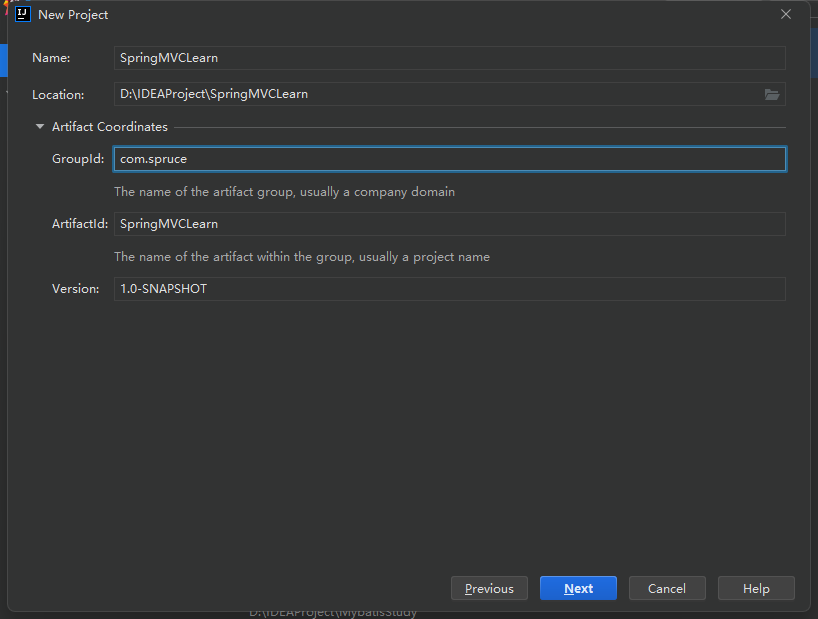
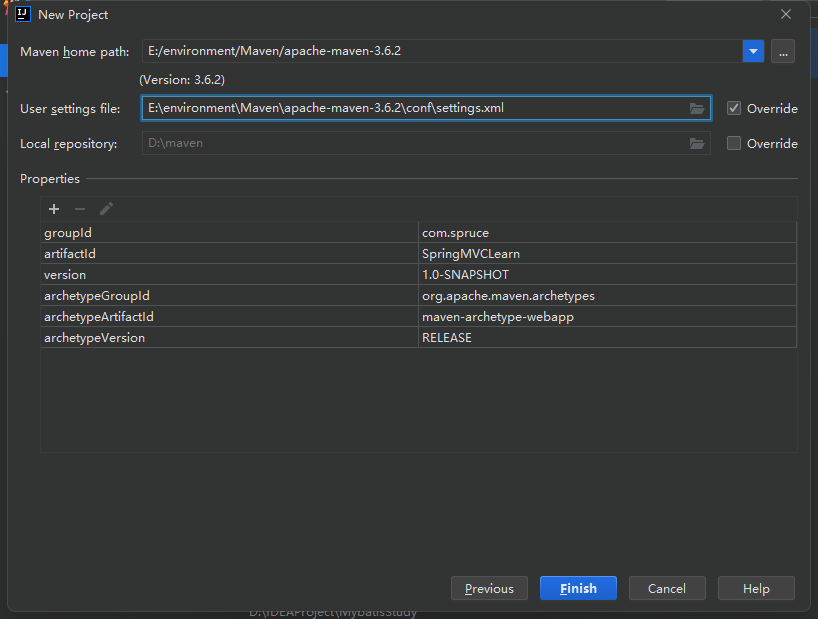
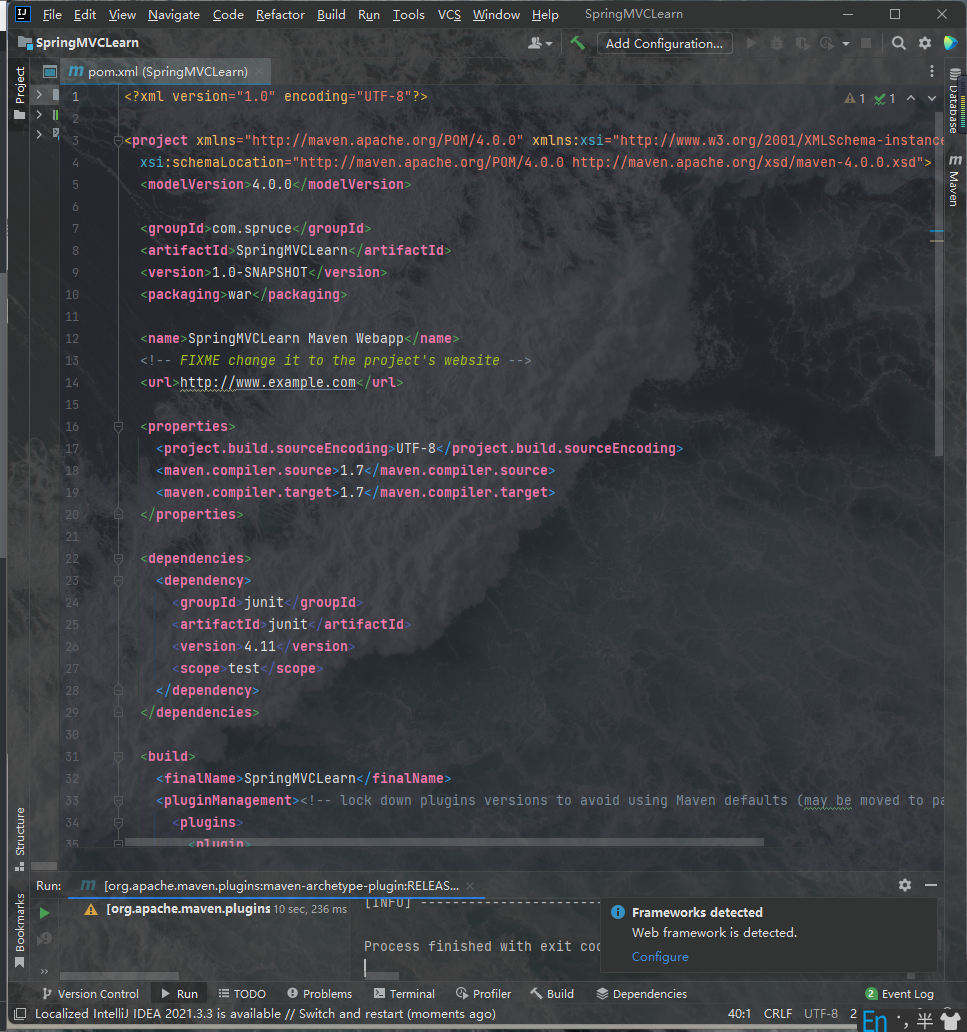
3.导入依赖jar包
??昨天在导入依赖jar包的时候我遇到一个问题,就是在导入到一半的时候网断了,关于这种情况Maven没有像迅雷和百度网盘那样的下载断点机制,因而会出现严重的错误,关于这种问题我有一种解决办法,详情见链接:Maven项目中导入坐标依赖时报(Failure to transfer…)的错的问题 - 云杉木屋 - 博客园 (cnblogs.com)。
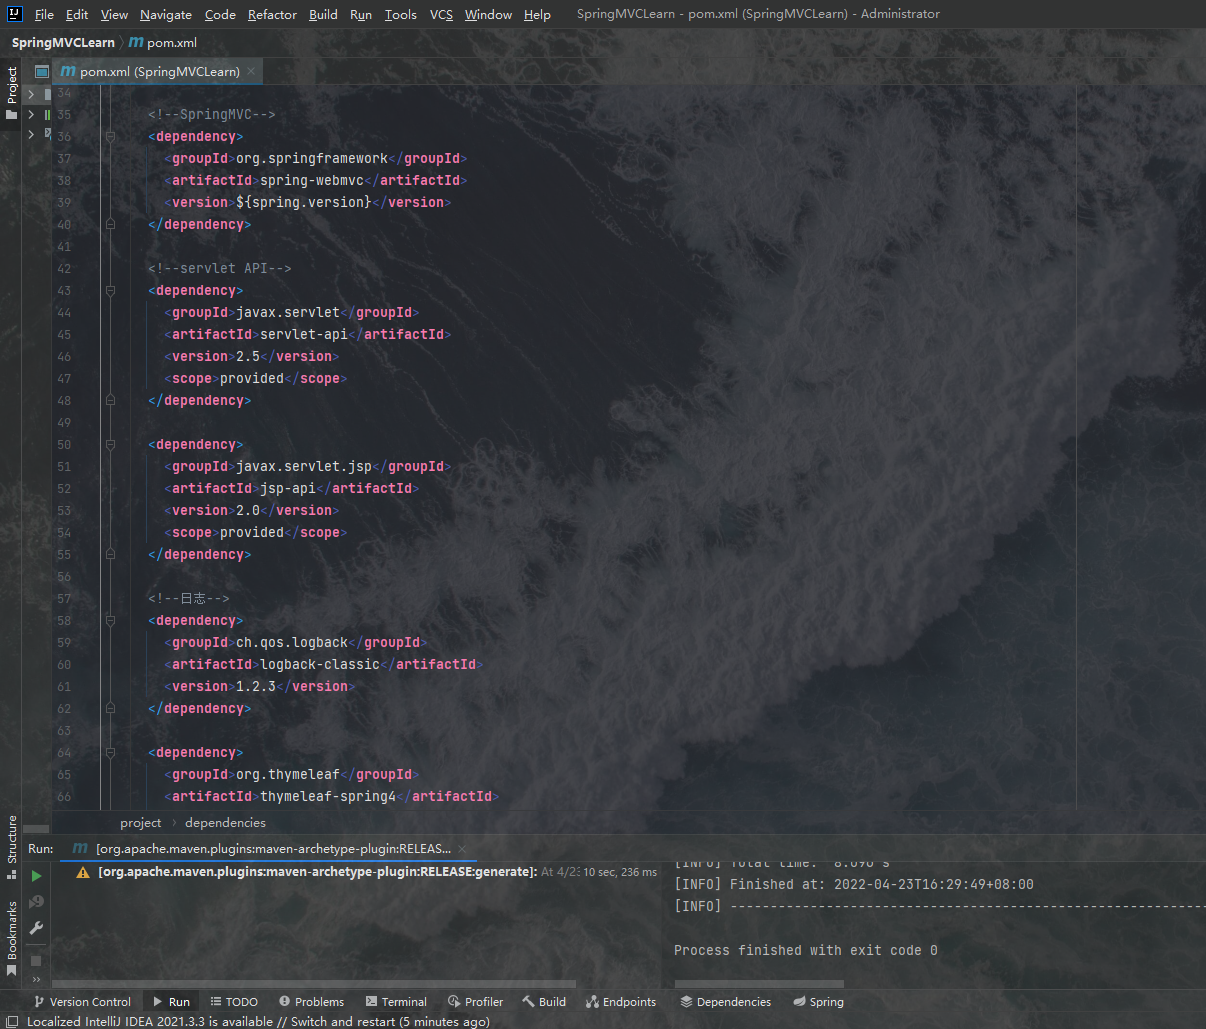
??接下来我们将下面的jar包依赖复制到我们的pom文件中:
<!--版本锁定-->
<properties>
  <spring.version>5.0.2.RELEASE</spring.version>
</properties>

<dependencies>

  <dependency>
    <groupId>org.springframework</groupId>
    <artifactId>spring-context</artifactId>
    <version>${spring.version}</version>
  </dependency>

  <dependency>
    <groupId>org.springframework</groupId>
    <artifactId>spring-web</artifactId>
    <version>${spring.version}</version>
  </dependency>

  <!--SpringMVC-->
  <dependency>
    <groupId>org.springframework</groupId>
    <artifactId>spring-webmvc</artifactId>
    <version>${spring.version}</version>
  </dependency>

  <!--servlet API-->
  <dependency>
    <groupId>javax.servlet</groupId>
    <artifactId>servlet-api</artifactId>
    <version>2.5</version>
    <scope>provided</scope>
  </dependency>

  <dependency>
    <groupId>javax.servlet.jsp</groupId>
    <artifactId>jsp-api</artifactId>
    <version>2.0</version>
    <scope>provided</scope>
  </dependency>

  <!--日志-->
  <dependency>
    <groupId>ch.qos.logback</groupId>
    <artifactId>logback-classic</artifactId>
    <version>1.2.3</version>
  </dependency>

  <dependency>
    <groupId>org.thymeleaf</groupId>
    <artifactId>thymeleaf-spring4</artifactId>
    <version>3.0.9.RELEASE</version>
  </dependency>

</dependencies>
??如图所示:
4.修改XML文档
??我们将web.xml文档替换为下面的配置信息:
<web-app version="3.0" xmlns="http://java.sun.com/xml/ns/javaee"
         xmlns:xsi="http://www.w3.org/2001/XMLSchema-instance"
         xsi:schemaLocation="http://java.sun.com/xml/ns/javaee
   http://java.sun.com/xml/ns/javaee/web-app_3_0.xsd">

 </web-app>
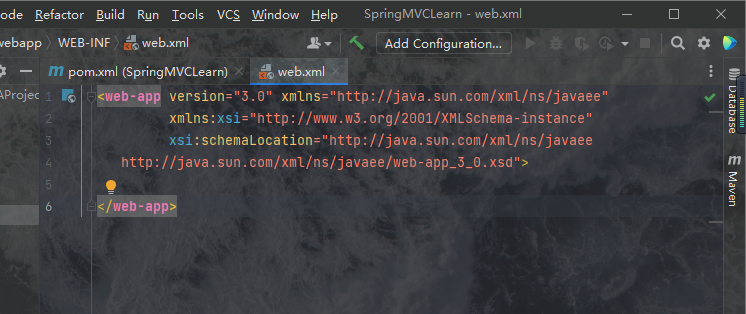
??之后我们配置过滤器,前端控制器以及初始页面等信息,我们将下面的代码粘贴进web.xml文档中:
<!--在web.xml中配置Spring提供的过滤器类 -->
<filter>
    <filter-name>encodingFilter</filter-name>
    <filter-class>org.springframework.web.filter.CharacterEncodingFilter</filter-class>
    <async-supported>true</async-supported>
    <init-param>
        <param-name>encoding</param-name>
        <param-value>UTF-8</param-value>
    </init-param>
</filter>

<filter-mapping>
    <filter-name>encodingFilter</filter-name>
    <url-pattern>/*</url-pattern>
</filter-mapping>
<!--不拦截所有是html的页面请求-->
<servlet-mapping>
    <servlet-name>default</servlet-name>
    <url-pattern>*.html</url-pattern>
</servlet-mapping>

<!--配置前端控制器,对浏览器发送的请求进行统一处理-->
<servlet>
    <servlet-name>dispatcherServlet</servlet-name>
    <servlet-class>org.springframework.web.servlet.DispatcherServlet</servlet-class>
    <!--加载springmvc.xml配置文件的位置和名称,配置的是Spring配置-->
    <init-param>
        <!--contextConfigLocation:上下文配置路径,固定值-->
        <param-name>contextConfigLocation</param-name>
        <!--classpath:类路径,值得是Java和resources文件夹-->
        <!--springmvc.xml:指的是配置文件的名称:需要配置springmvc.xml,在下面-->
        <param-value>classpath:springmvc.xml</param-value>
    </init-param>
    <!--配置启动加载-->
    <load-on-startup>1</load-on-startup>
</servlet>

<servlet-mapping>
    <servlet-name>dispatcherServlet</servlet-name>
    <url-pattern>/</url-pattern>
</servlet-mapping>

<!--开启项目时打开的页面-->
<welcome-file-list>
    <welcome-file>/index.html</welcome-file>
</welcome-file-list>
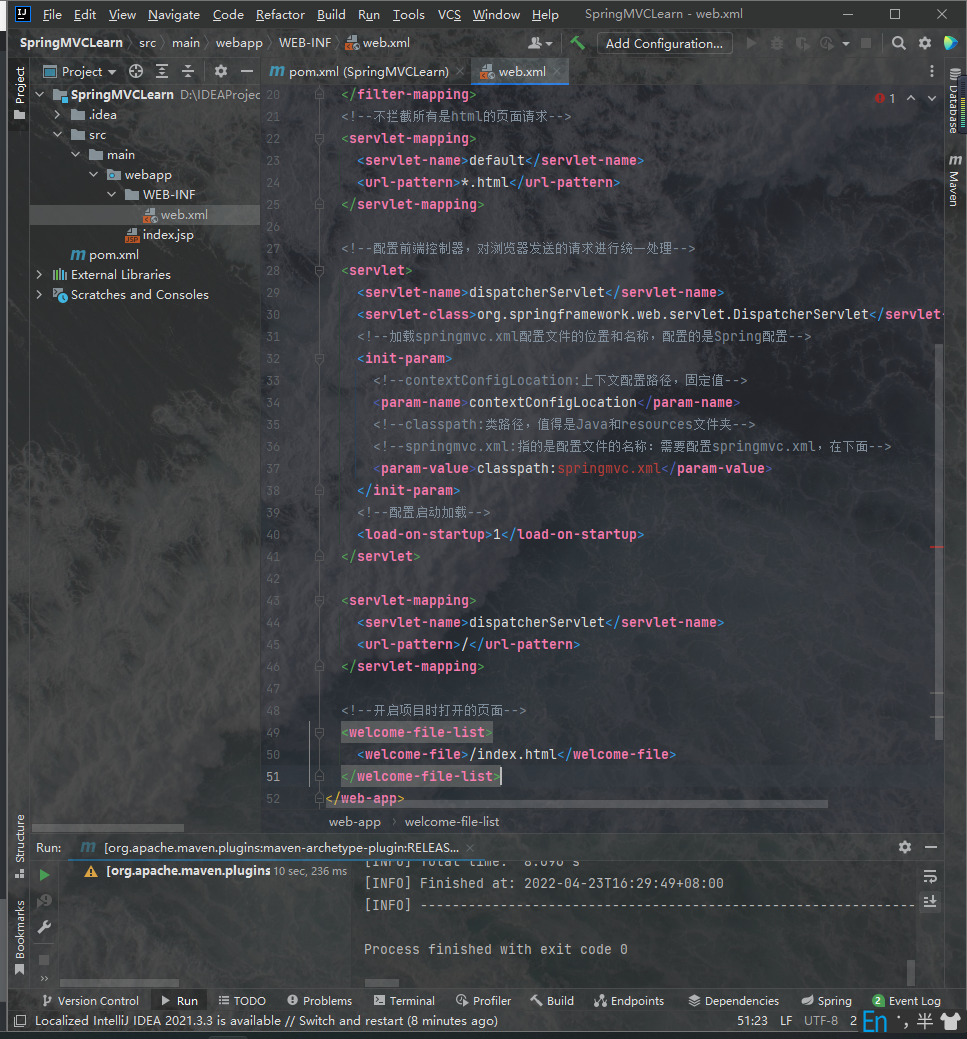
??现在这里有个报错的地方:springmvc.xml这是因为我们还没有创建这个配置文档,我们现在就配置它。
5.配置springmvc.xml
??关于这个配置文件我们其实可以给他起任意的名字,只要是在web.xml中引用时名字一样即可。现在我们在main目录下创建两个重要的目录:java和resource。
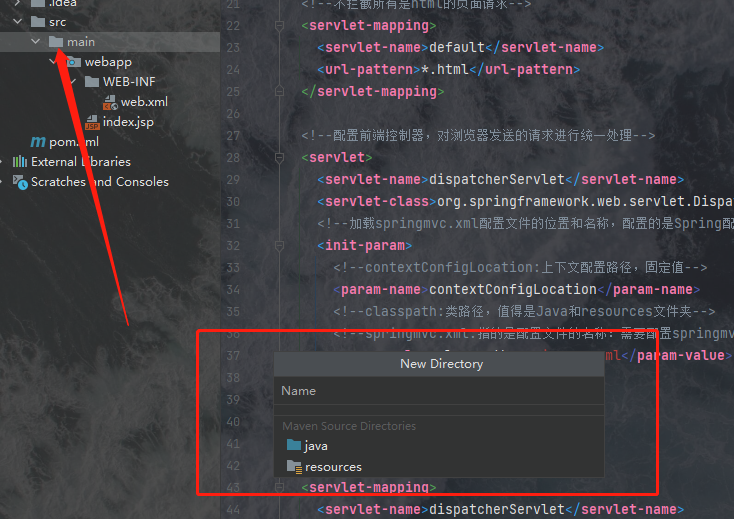
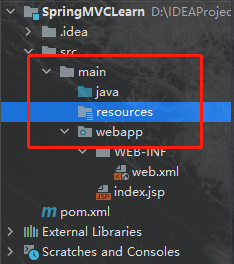
??然后我们在resource中创建一个配置文件,取名为springmvc.xml,其实取什么都行,只要和web.xml中引用一致即可:
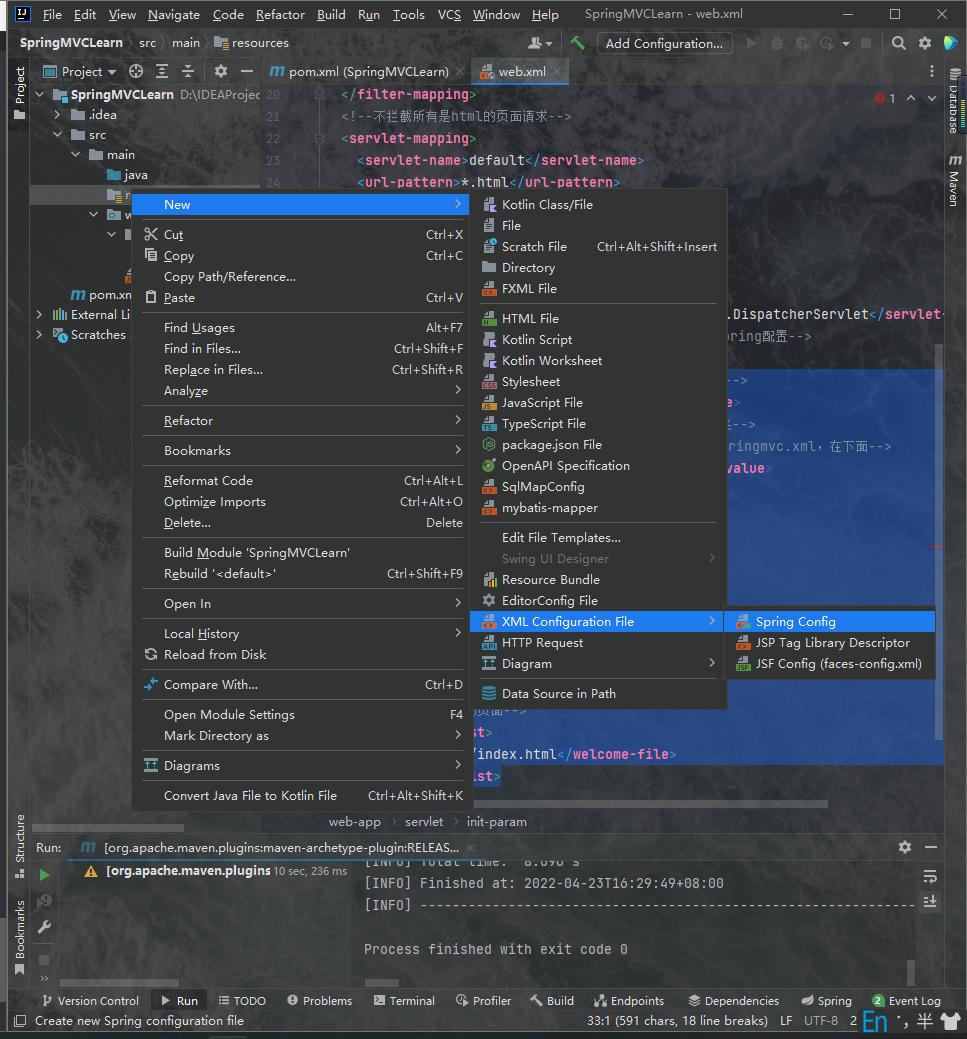
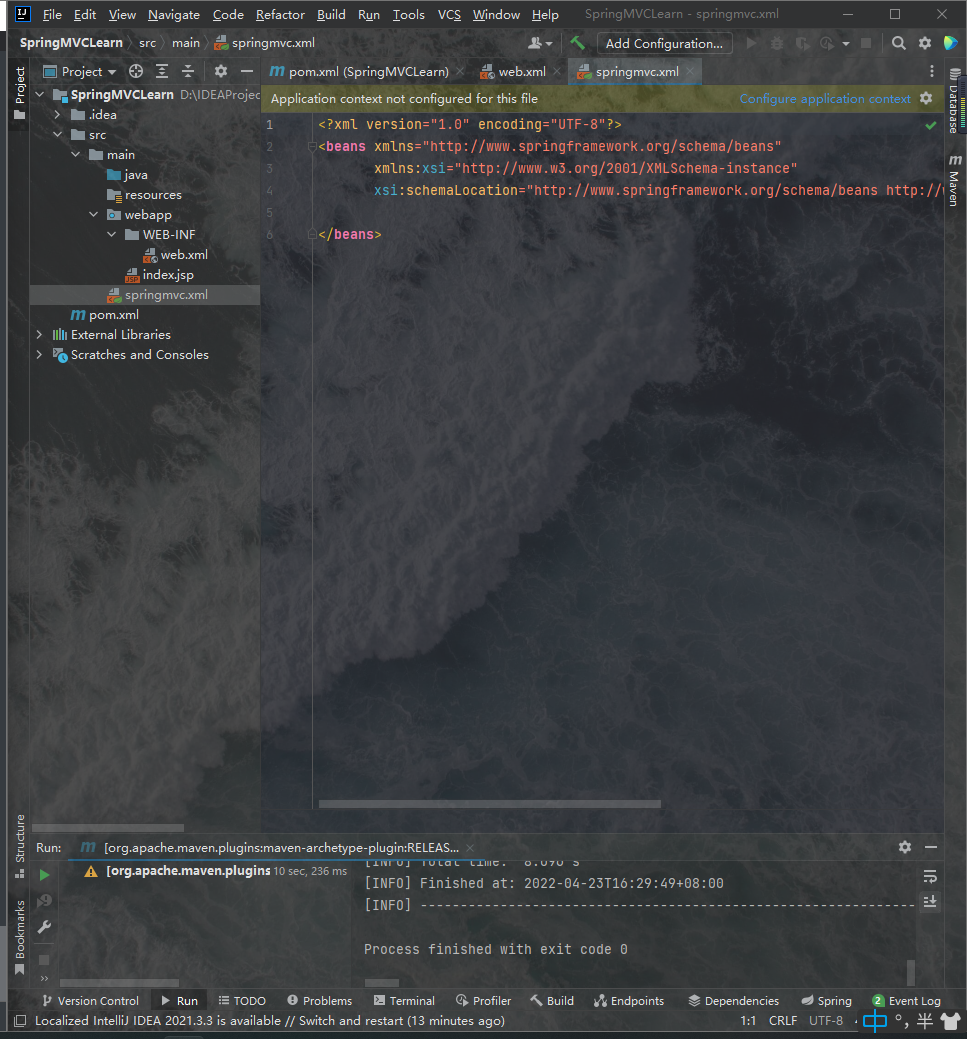
??之后我们将下面的配置信息粘贴到这个配置文件中去:
<?xml version="1.0" encoding="UTF-8"?>
<beans xmlns="http://www.springframework.org/schema/beans"
       xmlns:xsi="http://www.w3.org/2001/XMLSchema-instance"
       xmlns:context="http://www.springframework.org/schema/context"
       xmlns:mvc="http://www.springframework.org/schema/mvc"
       xsi:schemaLocation="http://www.springframework.org/schema/beans
       http://www.springframework.org/schema/beans/spring-beans.xsd
       http://www.springframework.org/schema/context
       http://www.springframework.org/schema/context/spring-context.xsd
       http://www.springframework.org/schema/mvc
       http://www.springframework.org/schema/mvc/spring-mvc.xsd">

    <!--配置spring创建容器时要扫描的包-->
    <context:component-scan base-package="com.spruce"></context:component-scan>

    <!--处理映射器-->
    <bean class="org.springframework.web.servlet.handler.BeanNameUrlHandlerMapping"/>

    <!--处理器适配器-->
    <bean class="org.springframework.web.servlet.mvc.SimpleControllerHandlerAdapter"/>

    <!--配置视图解析器-->
    <bean id="viewResolver" class="org.thymeleaf.spring4.view.ThymeleafViewResolver">
        <property name="order" value="1"/>
        <property name="characterEncoding" value="UTF-8"/>
        <property name="templateEngine" ref="templateEngine"/>
    </bean>
    <!-- templateEngine -->
    <bean id="templateEngine" class="org.thymeleaf.spring4.SpringTemplateEngine">
        <property name="templateResolver" ref="templateResolver"/>
    </bean>
    <bean id="templateResolver" class="org.thymeleaf.spring4.templateresolver.SpringResourceTemplateResolver">
        <property name="prefix" value="/html/" />
        <property name="suffix" value=".html" />
        <property name="templateMode" value="HTML5"/>
    </bean>

    <!-- 配置spring开启注解mvc的支持  默认就是开启的 ,要想让其他组件(不包含映射器、适配器、处理器)生效就必须需要配置了-->
    <mvc:annotation-driven></mvc:annotation-driven>
</beans>
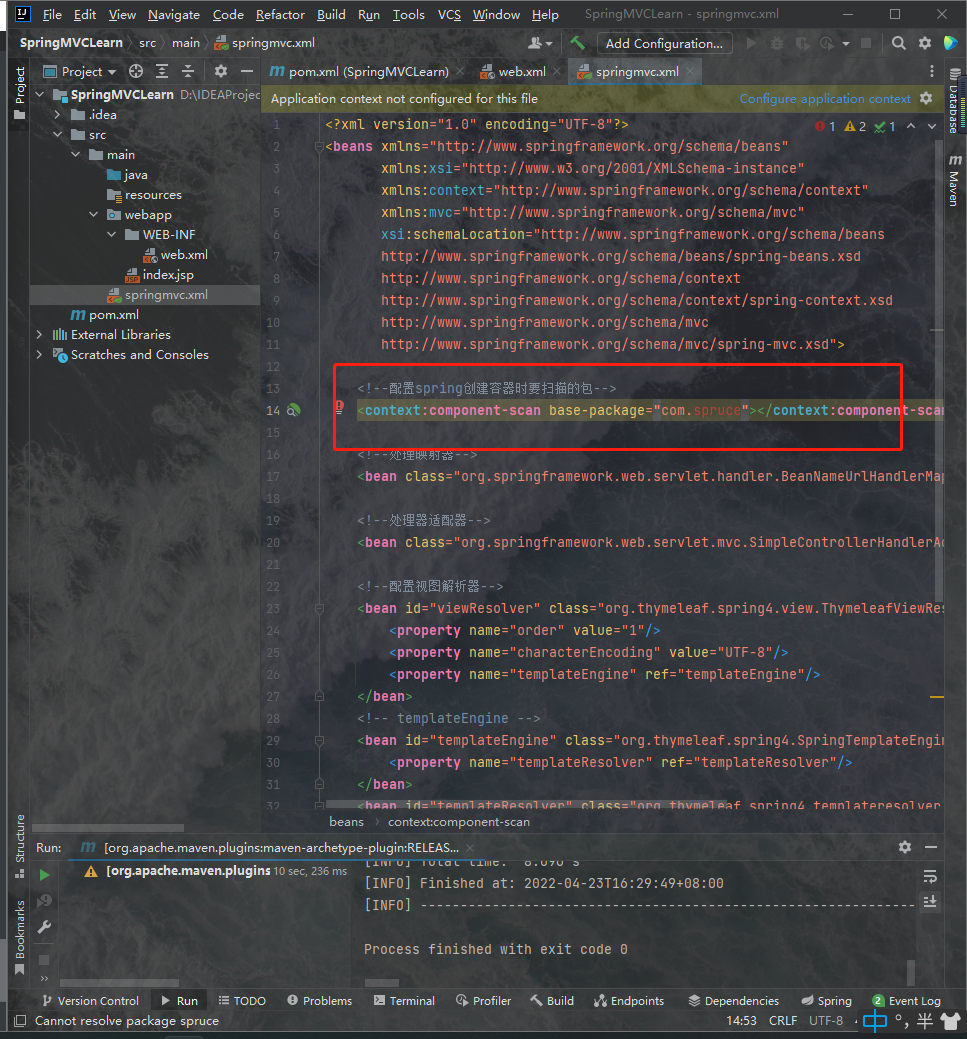
??我们注意到这里有个报错的地方,这是因为在这个位置使用的是Spring的IOC控制权反转支持,这个配置标签是用来扫描我们要被代理生成对象的包的,我们现在没创建这个包,所有报错了,因为这块配置信息是别人写的模板我拿来用了,因此会出现这种先有蛋后有鸡的错误。不管怎样我们现在配置好springmvc.xml了,我们现在赶紧创建那个包。
6.创建被代理的包以及controller层
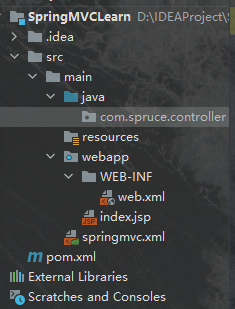
??叮叮叮叮!创建好了,就这么简单,我们现在可以观察到springmvc里边不报错了:

??现在我们可以写一些简单的代码,并实现一些简单的逻辑了。我们做测试如下:
1.在controller包中创建名为HelloController的类
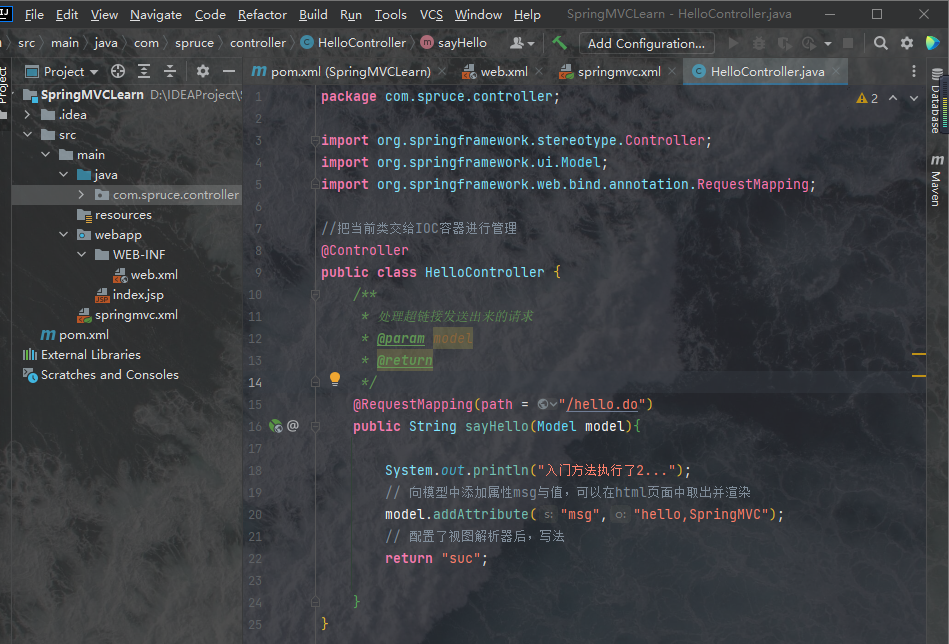
2.往里边放上如下代码,完成后效果如上图:
package com.spruce.controller;

import org.springframework.stereotype.Controller;
import org.springframework.ui.Model;
import org.springframework.web.bind.annotation.RequestMapping;

//把当前类交给IOC容器进行管理
@Controller
public class HelloController {
    /**
     * 处理超链接发送出来的请求
     * @param model
     * @return
     */
    @RequestMapping(path = "/hello.do")
    public String sayHello(Model model){

        System.out.println("入门方法执行了2...");
        // 向模型中添加属性msg与值,可以在html页面中取出并渲染
        model.addAttribute("msg","hello,SpringMVC");
        // 配置了视图解析器后,写法
        return "suc";

    }
}
3.在webapp中创建index.html并粘贴上如下代码
<html>
<head>
    <meta charset="utf-8">
    <title>入门程序</title>
</head>
<body>
<h3>入门</h3><a href="/SpringMVCLearn/hello.do" >入门程序</a>
</body>
</html>
4.在webapp下创建html目录,在里边创建suc.html并粘贴代码如下:
<!DOCTYPE html>
<html lang="en" xmlns:th="http://www.thymeleaf.org">
<head>
    <meta charset="UTF-8">

    <title>成功</title>
</head>
<body>
<h1>Hello <b th:text="${msg}"></b></h1>
</body>
<script>
</script>
</html>
??然后就好了,我们用tomcat打开它,如何在idea中配置tomcat呢,方法如下:
1.点击add Configuration...
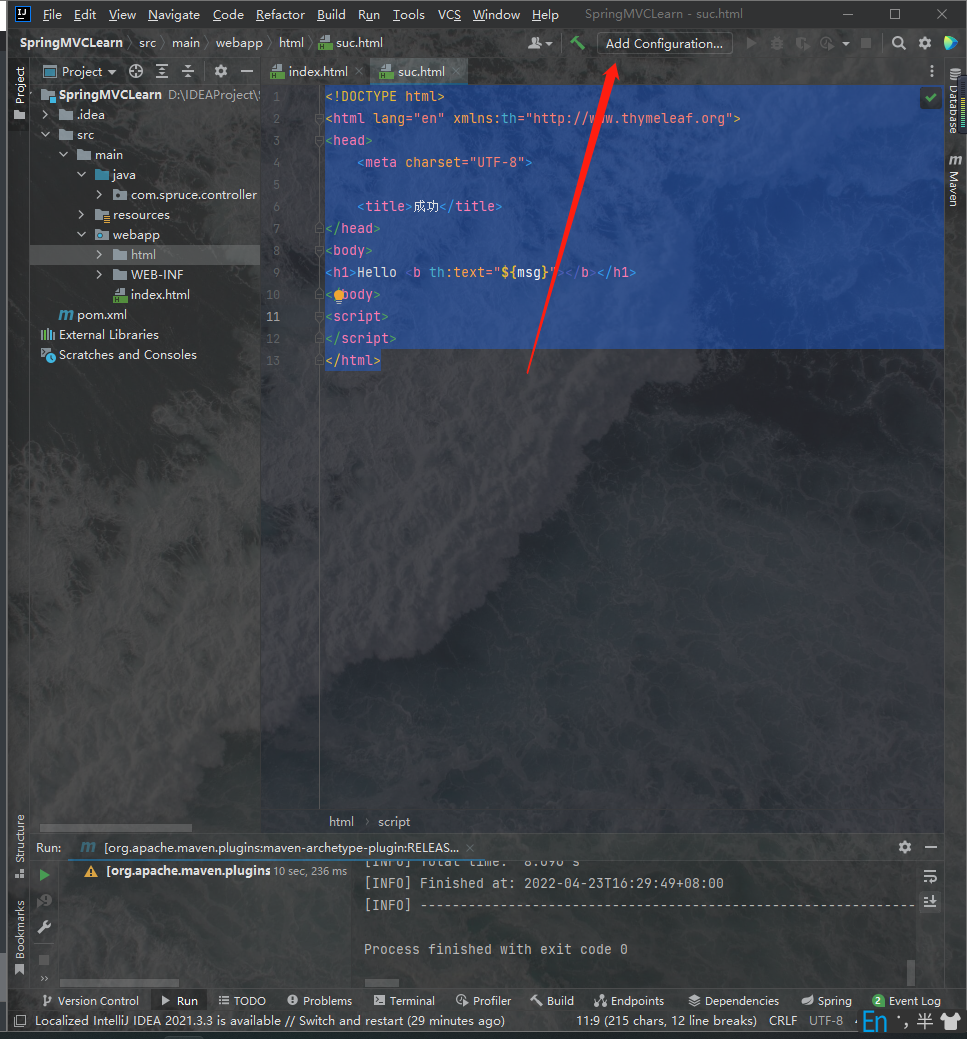
2.点击这个加号
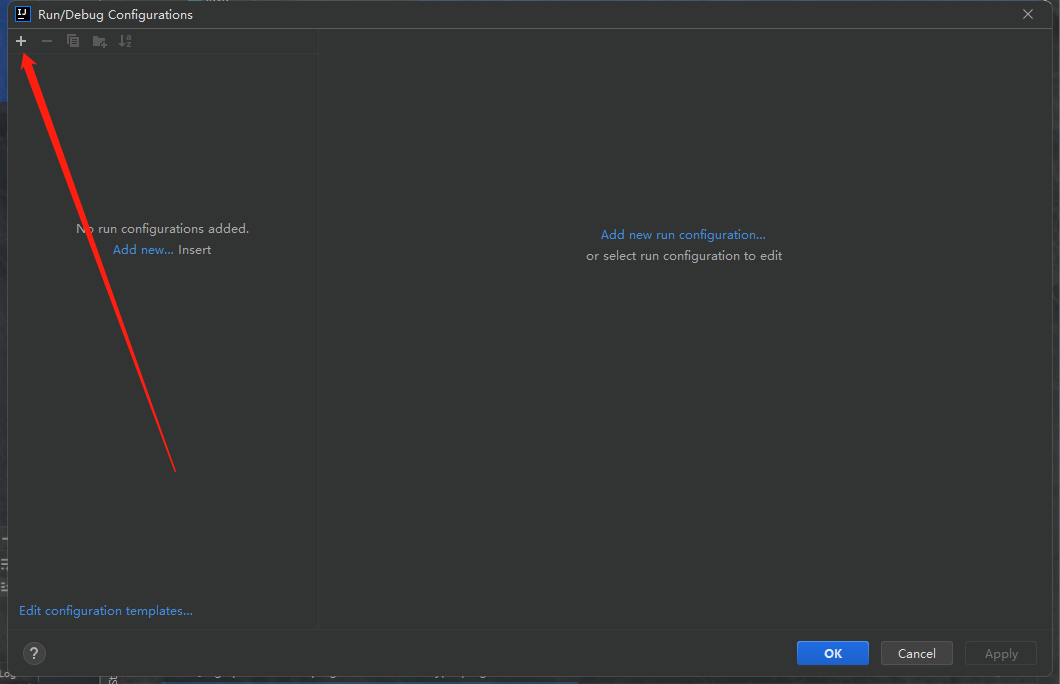
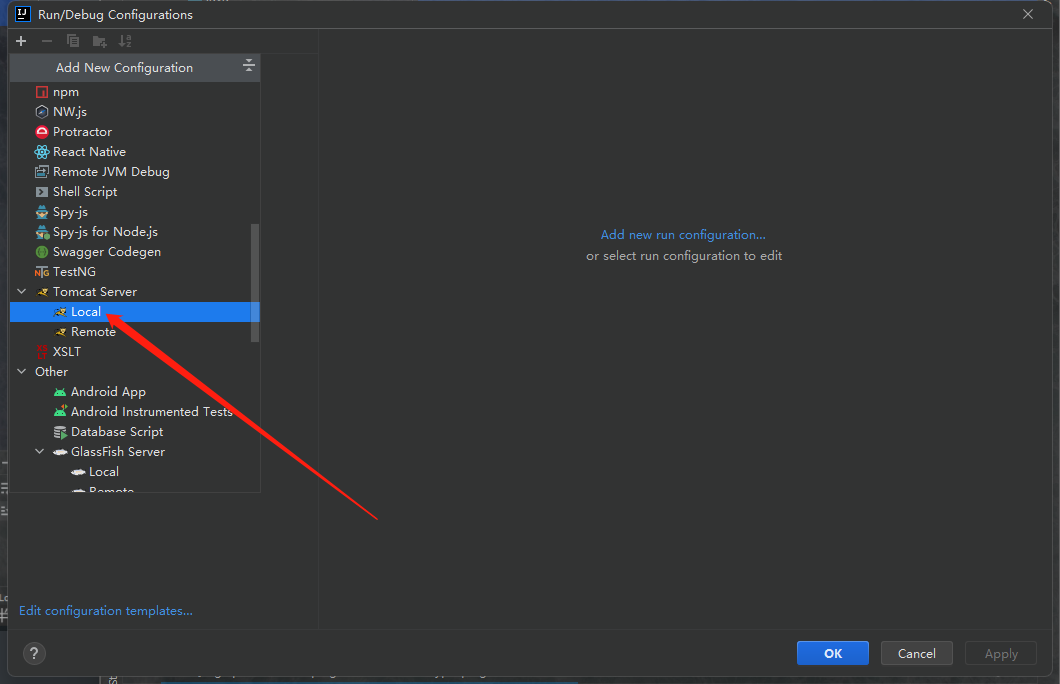
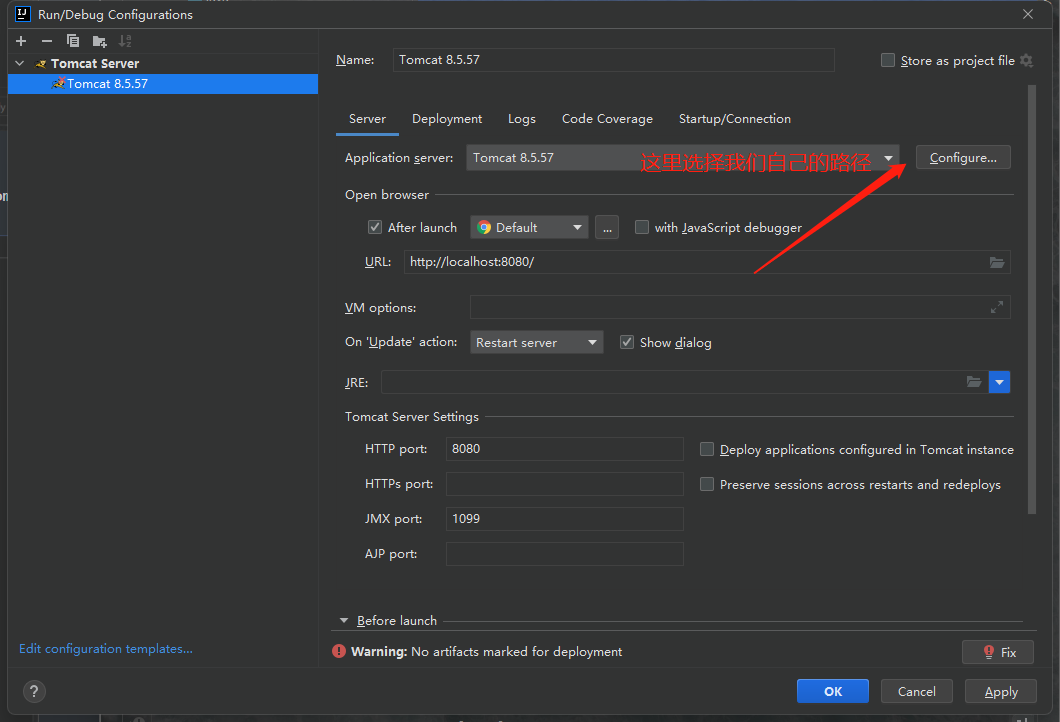
3.选择tomcat的local,路径选择我们自己下载在电脑上的那个路径(如果我们配置了系统变量Tomcat会自动检测到)
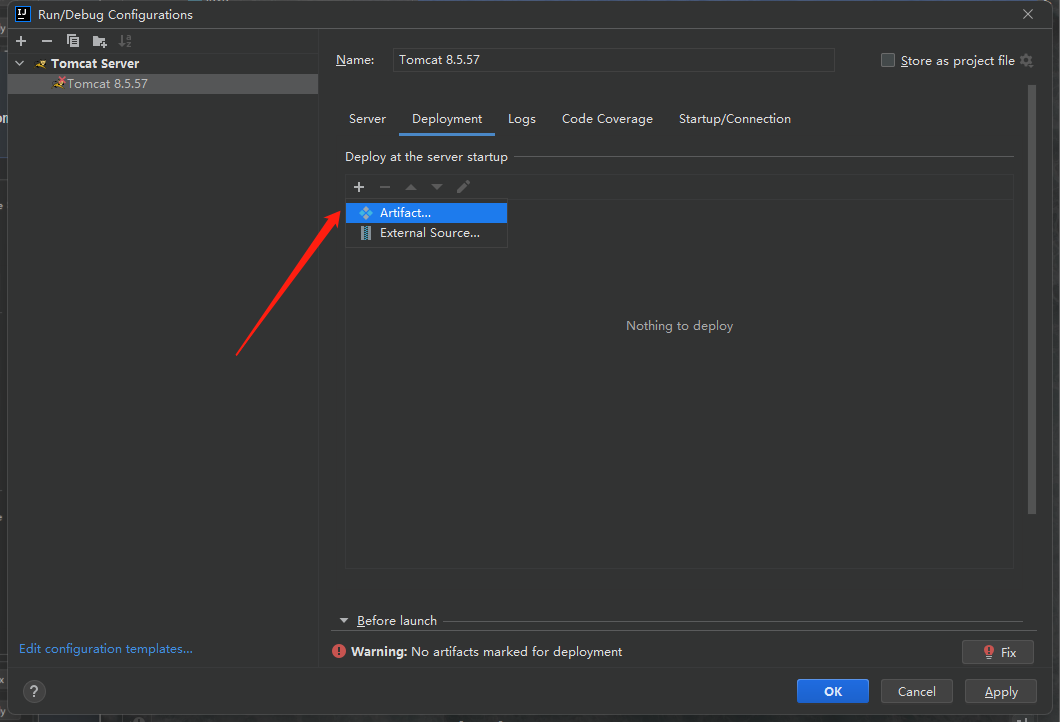
4.点击Deployment
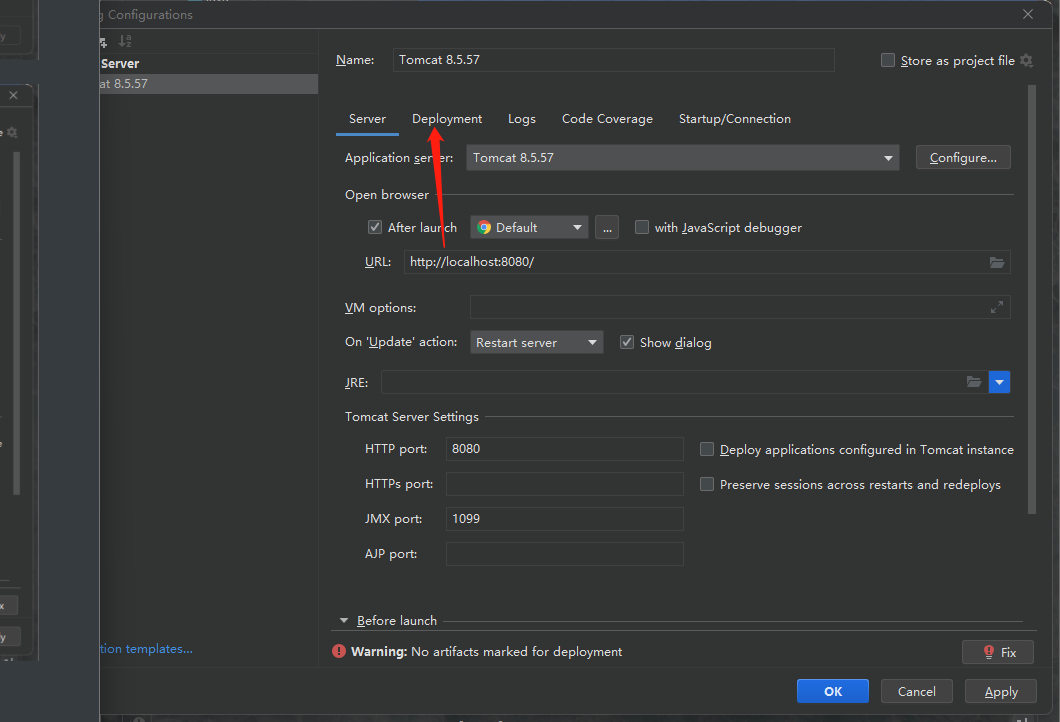
??点击这个加号选择Artifact:
??选择下边这个:
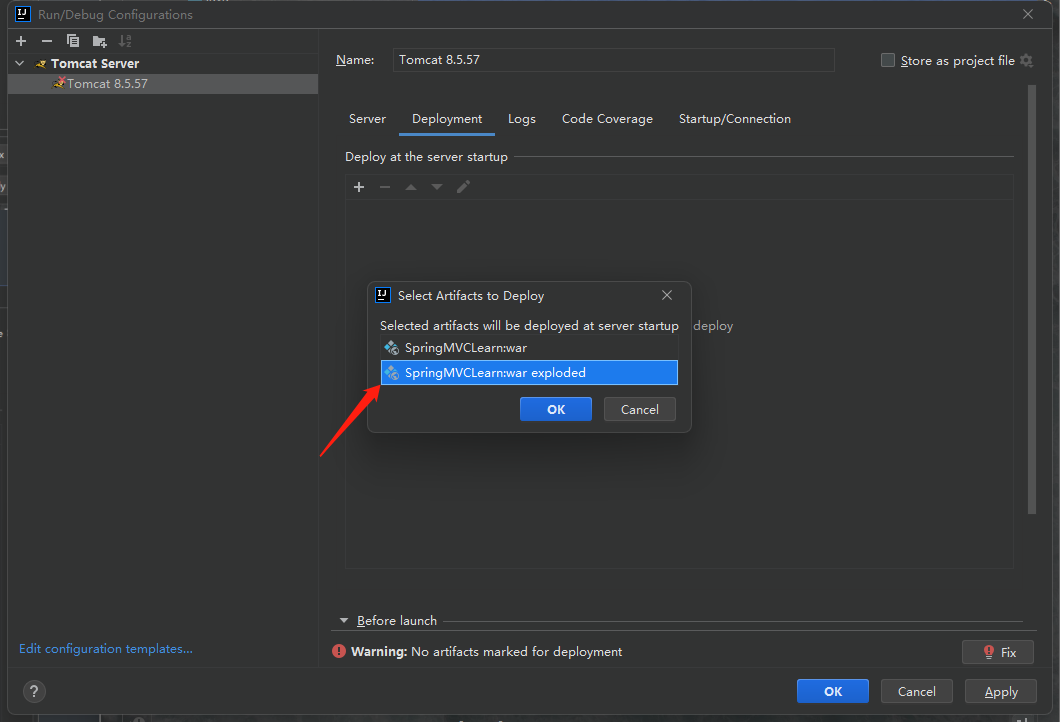
??删掉这部分:

??然后apply就好了。
7.测试
??启动Tomcat后我们先会在浏览器中弹出这样一个页面:
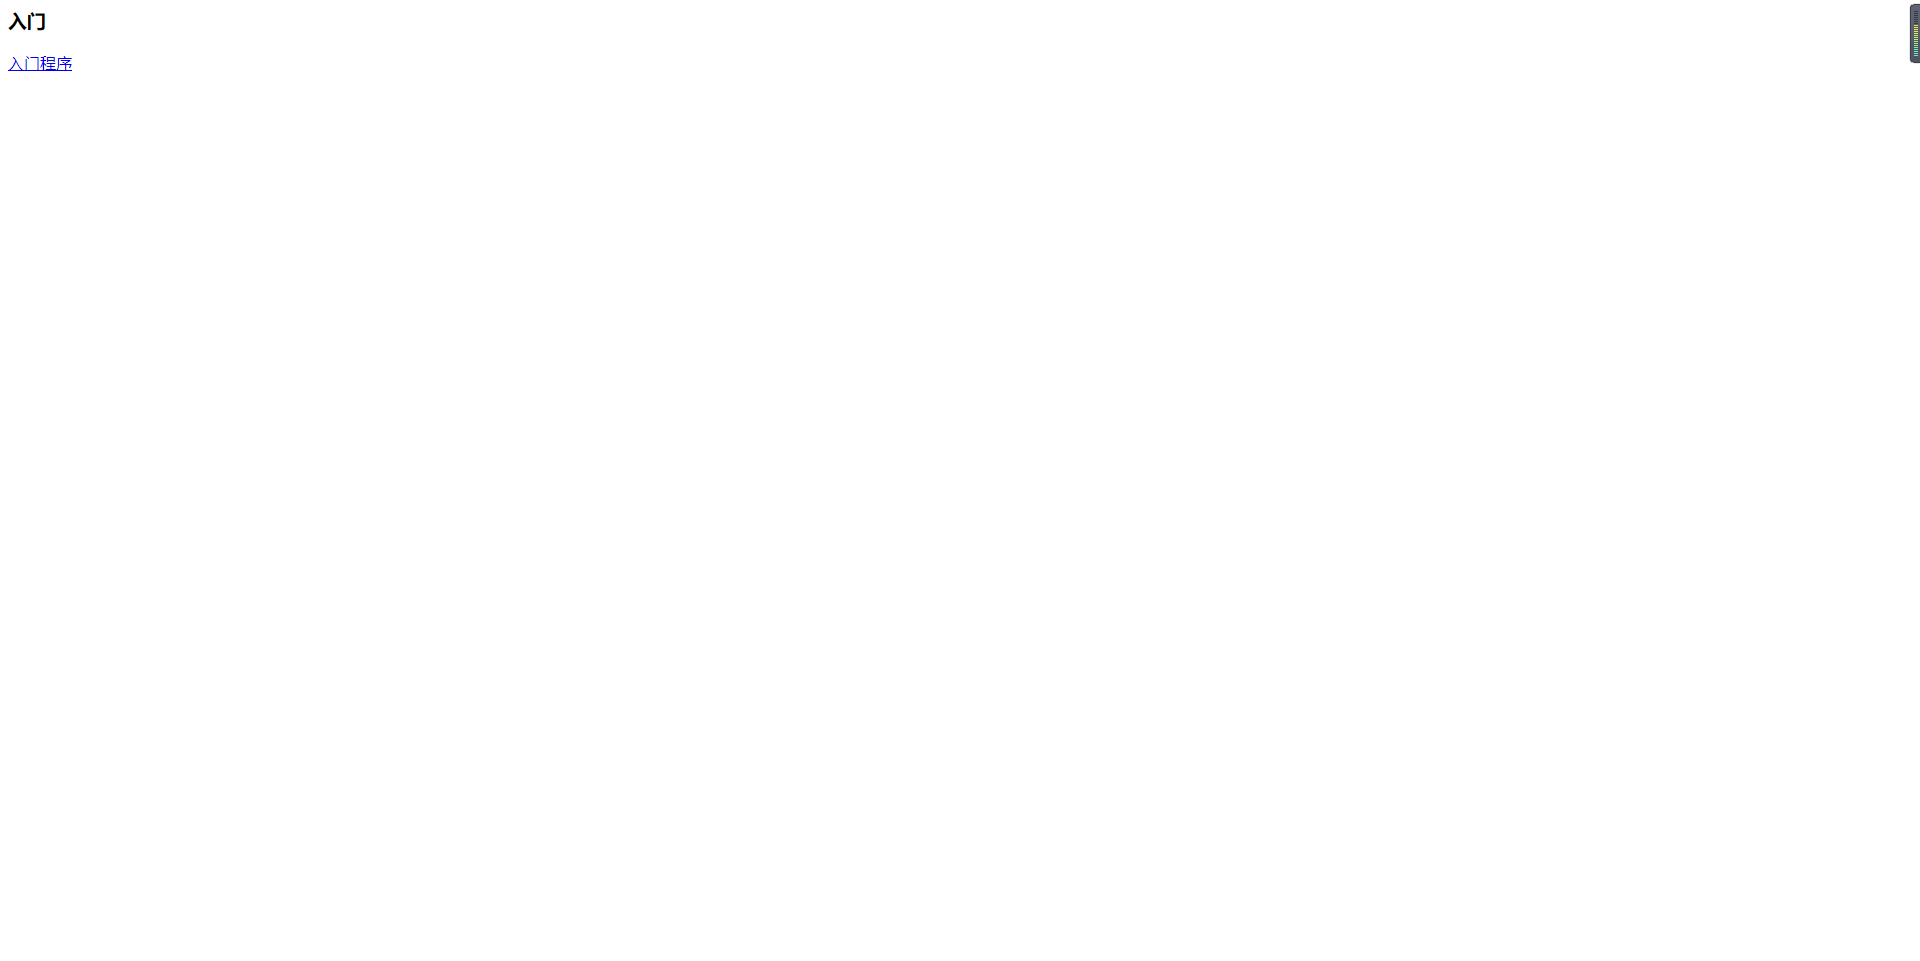
??点击这个入门程序,我们跳转到如下页面:
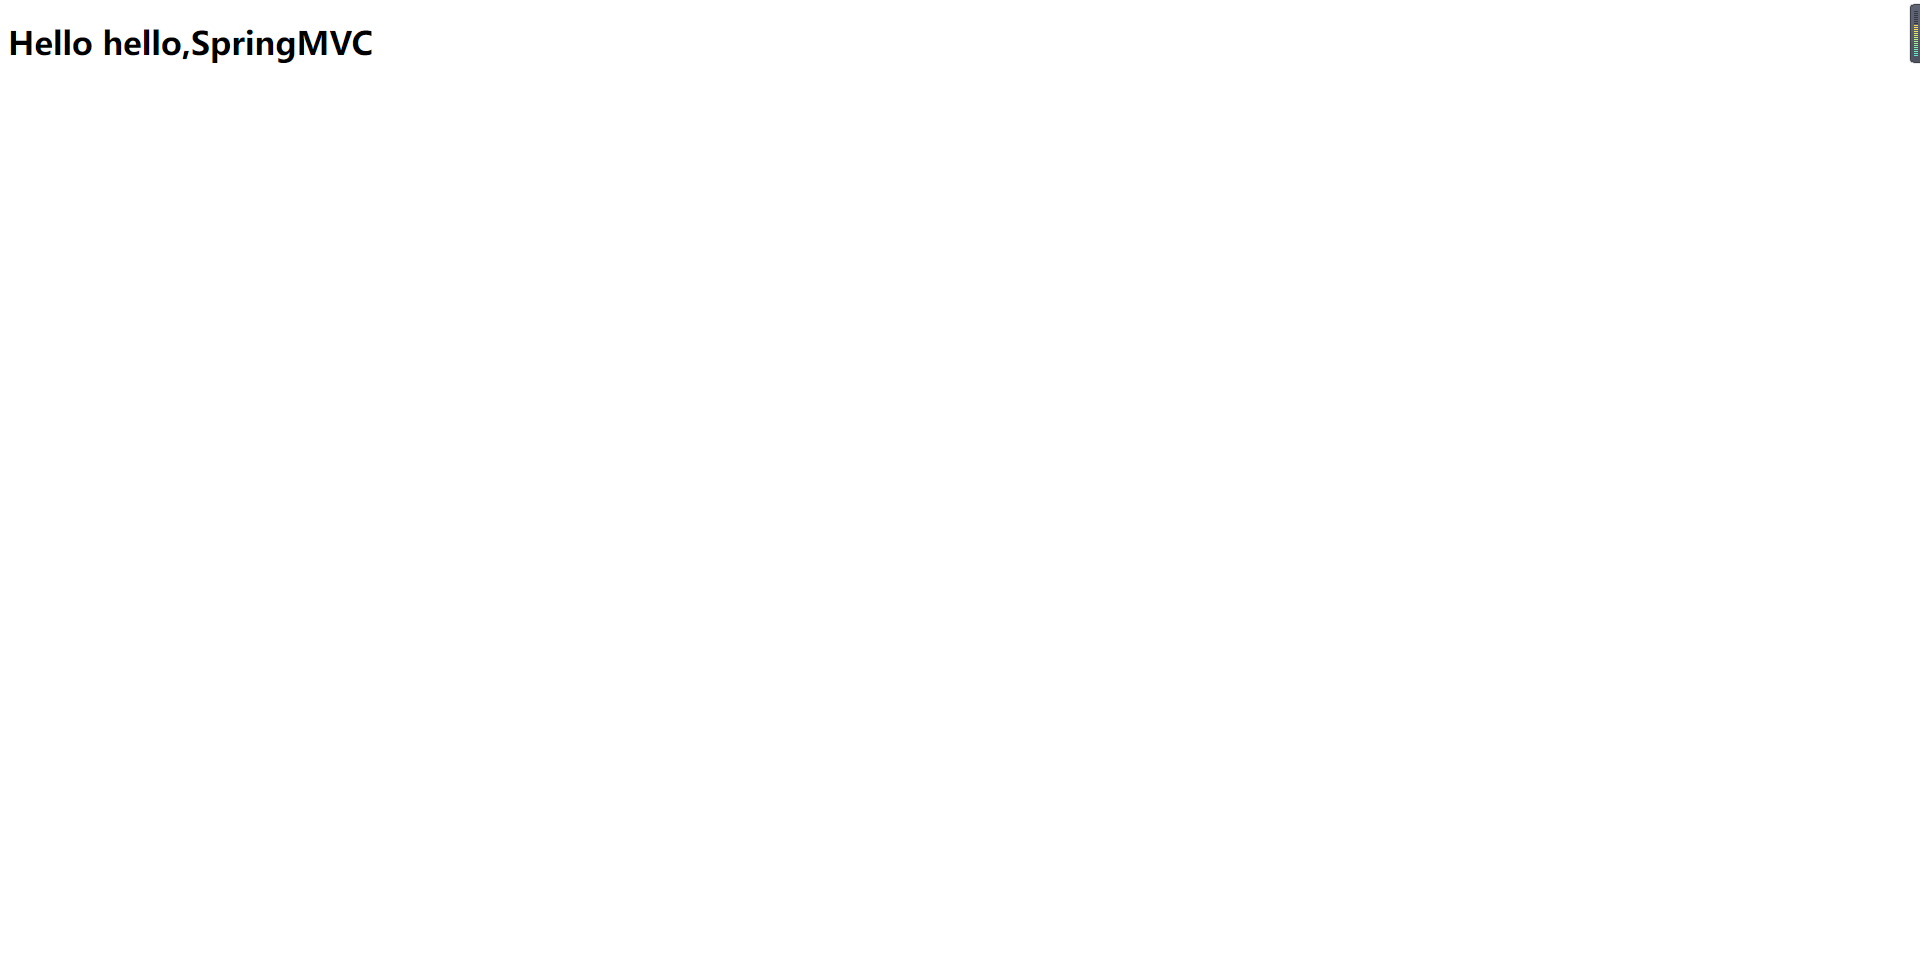
??这就意味着成功了。
