序言
又是断更的几天。
因为进度不是很多(每天早上晚上各20分钟锻炼身体),所以就攒了几天。
这期间,我主要在研究自定义注解和oss。
然后发现了token拦截器会拦截放行资源,给改了。
把验证码实现了。
自定义注解(日志的,具体的入库这些都还没做),
oss使用sts临时访问测试。
vue的话,已经学了一半了。五一假期应该就可以搞搞前端框架了
XpStart–2022.4.23
自定义注解
采用aop的方式实现注解。
Aop依赖:
<dependency>
    <groupId>org.springframework.boot</groupId>
    <artifactId>spring-boot-starter-aop</artifactId>
</dependency>
下面是我定义的注解:可作用于方法、类(属性name随便写的)
/**
 * @author 29443
 * @date 2022/4/19
 */
@Retention(RetentionPolicy.RUNTIME)
@Target({ElementType.METHOD,ElementType.TYPE})
public @interface Log {
    String name() default "xp";
}
测试类:
@RestController
@Validated
@RequiredArgsConstructor
@Log(name = "xpstart")
public class TestController {

    private final SysUserService userService;
    private final SysUserMapper sysUserMapper;

    @GetMapping("/test")
    public String test(String test) {
        List<SysUser> xp = sysUserMapper.xp();
        List<SysUser> xp1 = sysUserMapper.xp();
        userService.list();
        userService.list();
        return null;
    }
}
期间,我遇到两个问题:
- 如何获取到注解的属性字段?
- 怎样才能处理作用于类上的注解?
切面:
@Aspect
@Component
@Slf4j
public class LogAspect {

    // 将切入点抽离为方法
    @Pointcut(value = "@annotation(com.monkeylessey.annotation.Log)")
    public void point(){}

    /**
     * @annotation(log),处理作用于方法的注解
     * @param joinPoint
     * @param log
     * @param value
     * @throws NoSuchMethodException
     */
    @AfterReturning(pointcut = "@annotation(log)", returning = "value")
    public void afterReturn(JoinPoint joinPoint, Log log, Object value) throws NoSuchMethodException {
        // 打印方法参数
        Object[] args = joinPoint.getArgs();
        for (Object arg : args) {
            System.out.println(arg);
        }
        String name = log.name();
        System.out.println(name);
    }

    /**
     * @within(log),处理作用于类的注解
     * @param joinPoint
     * @param log
     */
    @AfterReturning(pointcut = "@within(log)")
    public void test(JoinPoint joinPoint, Log log) {
        System.out.println(log.name());
    }
}
1.如何获取到注解的属性字段?
我之前是这样写的:
@AfterReturning(value = "point()", returning = "value")
public void afterReturn(JoinPoint joinPoint, Object value) {
    xxxxxxx
}
其中,我使用反射拿到方法,再拿到方法上的注解,再通过注解拿到name属性的值
虽然可以,但是在拿方法的过程中,需要指定方法名和其所有的参数类型。这是不现实的。
经过一番查找,这样可以获取注解:
@AfterReturning(pointcut = "@annotation(log)", returning = "value")
    public void afterReturn(JoinPoint joinPoint, Log log, Object value) throws NoSuchMethodException {
        String name = log.name();
        System.out.println(name);
    }
原来可以指定参数
2.怎样才能处理作用于类上的注解?
我想到有时候注解挨个挨个写到方法上,有些麻烦。直接作用到类上,表示所有方法都使用这个注解。但是如何处理类上的注解呢?
又是一番查阅。
作用与方法可以pointcut = "@annotation(log)"
作用于类可以pointcut = "@within(log)"
@AfterReturning(pointcut = "@within(log)")
    public void test(JoinPoint joinPoint, Log log) {
        System.out.println(log.name());
    }
好了,后面只需要把日志入库的业务加进来就ok了
2.验证码
就记录一下如何使用:
验证码依赖:
<dependency>
    <groupId>com.github.penggle</groupId>
    <artifactId>kaptcha</artifactId>
    <version>${kaptcha.version}</version>
</dependency>
配置类:
@Configuration
public class CaptchaConfig {

    @Bean
    public DefaultKaptcha xpStartCaptcha() {
        DefaultKaptcha captcha = new DefaultKaptcha();
        Properties properties = new Properties();
        properties.setProperty("kaptcha.border", "yes");
        properties.setProperty("kaptcha.border.color", "105,179,90");
        properties.setProperty("kaptcha.textproducer.font.color", "blue");
        properties.setProperty("kaptcha.image.width", "110");
        properties.setProperty("kaptcha.image.height", "40");
        properties.setProperty("kaptcha.textproducer.font.size", "30");
        properties.setProperty("kaptcha.session.key", "code");
        properties.setProperty("kaptcha.textproducer.char.length", "4");
        properties.setProperty("kaptcha.textproducer.font.names", "宋体,楷体,微软雅黑");
        Config config = new Config(properties);
        captcha.setConfig(config);
        return captcha;
    }
}
接口:
@RestController
@RequiredArgsConstructor
public class SysLoginController {

    private final RedisUtil redisUtil;
    private final Producer captcha;

    @GetMapping("/captcha")
    public ResponseData getCaptcha() throws IOException {
        // 生成验证码id
        String captchaId = UUID.randomUUID().toString().substring(0, 10);
        String key = RedisKeyPrefixConstants.CAPTCHA + captchaId;

        // 生成验证码
        String code = captcha.createText();
        BufferedImage image = captcha.createImage(code);

        // 创建字节数组缓冲
        ByteArrayOutputStream byteArrayOutputStream = new ByteArrayOutputStream();

        // 将生成的验证码BufferedImage转为byte数组
        ImageIO.write(image, "jpg", byteArrayOutputStream);
        byte[] bytes = byteArrayOutputStream.toByteArray();

        // 将byte数组使用Base64编码
        String base64 = Base64Utils.encodeToString(bytes);

        // 将生成的验证码放入redis,默认有效2分钟
        redisUtil.saveForValueWithExpire(key, code, RedisKeyExpireConstants.CAPTCHA_EXPIRE_TIME, RedisKeyExpireConstants.CAPTCHA_TIME_UNIT);
        return ResponseData.success("获取验证码成功", new CaptchaVO(captchaId, "data:image/jpg;base64"+base64));
    }
}
后端应该生成一个验证码id和验证码一起返给前端。
前端的登录请求应该把验证码id和输入的验证码一起发过来。
验证码通过这个id存入redis。
处理登录时,用前端传的验证码id去redis取出来和输入的比对
登录时处理验证码:
因为是继承了UsernamePasswordAuthenticationFilter实现自定义登录,
所以,将验证码处理也放在了这个自定义过滤器中。
当然,也可以单独写一个过滤器处理验证码,只需要把这个过滤器放在UsernamePasswordAuthenticationFilter之前即可。
下面是我的自定义UsernamePasswordAuthenticationFilter:
public class MyUsernamePasswordFilter extends UsernamePasswordAuthenticationFilter {

    private static final String SPRING_SECURITY_FORM_Captcha_KEY = "captcha";
    private static final String SPRING_SECURITY_FORM_CaptchaID_KEY = "captchaId";

    private boolean postOnly;

    @Autowired
    private RedisUtil redisUtil;

    @Override
    public void setPostOnly(boolean postOnly) {
        this.postOnly = postOnly;
    }

    @Override
    public Authentication attemptAuthentication(HttpServletRequest request, HttpServletResponse response) throws AuthenticationException {
        // 首先判断登录请求必须是post
        if (this.postOnly &&!request.getMethod().equalsIgnoreCase("post")) {
            throw new AuthenticationServiceException("Authentication method not supported: " + request.getMethod());
        }
        // 因为前后端分离,所以要求格式必须为application/json
        if (request.getContentType().equals(MediaType.APPLICATION_JSON_VALUE)) {
            try {
                Map<String,Object> map = new ObjectMapper().readValue(request.getInputStream(), Map.class);
                String username = (String) map.get(getUsernameParameter());
                String password = (String) map.get(getPasswordParameter());
                String captcha = (String) map.get(getCaptchaParameter());
                String captchaId = (String) map.get(getCaptchaIdParameter());

                if (StringUtils.isEmpty(captcha)) {
                    // 验证码错误异常
                    System.out.println("AAAAA");
                }
                String redisCaptcha = redisUtil.getValue(RedisKeyPrefixConstants.CAPTCHA + captchaId, new String());
                if (StringUtils.isEmpty(redisCaptcha)) {
                    // 验证码过期异常
                    System.out.println("BBBBB");
                }
                else if (! redisCaptcha.equalsIgnoreCase(captcha)) {
                    // 验证码错误异常
                    System.out.println("CCCCCC");
                }
                username = username != null ? username : "";
                username = username.trim();
                password = password != null ? password : "";

                UsernamePasswordAuthenticationToken authRequest = new UsernamePasswordAuthenticationToken(username, password);
                this.setDetails(request, authRequest);
                return this.getAuthenticationManager().authenticate(authRequest);
            } catch (IOException e) {
                e.printStackTrace();
            }
        }
        // 如果不满足,执行父类的
        return super.attemptAuthentication(request, response);
    }

    private String getCaptchaIdParameter() {
        return SPRING_SECURITY_FORM_CaptchaID_KEY;
    }

    private String getCaptchaParameter() {
        return SPRING_SECURITY_FORM_Captcha_KEY;
    }
}
Oss使用STS临时访问测试
这里我跟着阿里云文档做了一遍:
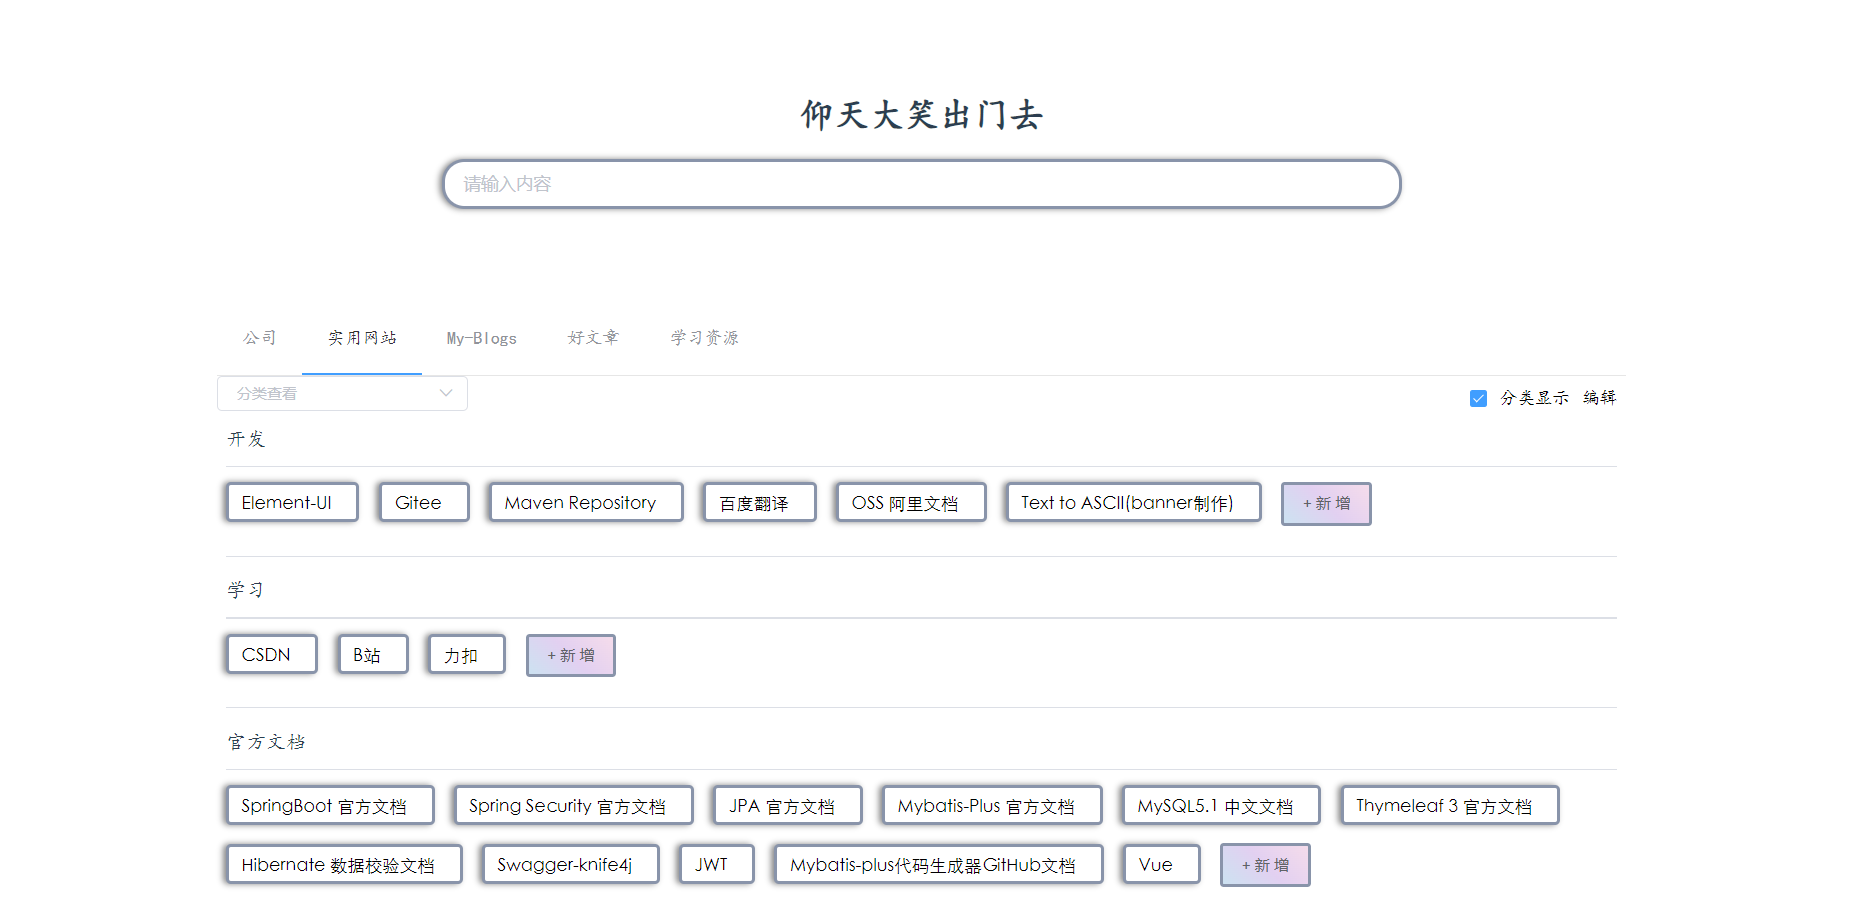
这里我想露露我自己写的导航页:虽然没啥花里胡哨,但是我真的觉得很方便。

好了,回到OSS。
这是官方的测试类,只需要把你的东西改过来就好了
import com.aliyuncs.DefaultAcsClient;
import com.aliyuncs.exceptions.ClientException;
import com.aliyuncs.http.MethodType;
import com.aliyuncs.profile.DefaultProfile;
import com.aliyuncs.profile.IClientProfile;
import com.aliyuncs.sts.model.v20150401.AssumeRoleRequest;
import com.aliyuncs.sts.model.v20150401.AssumeRoleResponse;
public class StsServiceSample {
    public static void main(String[] args) {
        // STS接入地址,例如sts.cn-hangzhou.aliyuncs.com。
        String endpoint = "<sts-endpoint>";
        // 填写步骤1生成的访问密钥AccessKey ID和AccessKey Secret。
        String AccessKeyId = "<yourAccessKeyId>";
        String accessKeySecret = "<yourAccessKeySecret>";
        // 填写步骤3获取的角色ARN。
        String roleArn = "<yourRoleArn>";
        // 自定义角色会话名称,用来区分不同的令牌,例如可填写为SessionTest。
        String roleSessionName = "<yourRoleSessionName>";
        // 以下Policy用于限制仅允许使用临时访问凭证向目标存储空间examplebucket上传文件。
        // 临时访问凭证最后获得的权限是步骤4设置的角色权限和该Policy设置权限的交集,即仅允许将文件上传至目标存储空间examplebucket下的exampledir目录。
        String policy = "{\n" +
                "    \"Version\": \"1\", \n" +
                "    \"Statement\": [\n" +
                "        {\n" +
                "            \"Action\": [\n" +
                "                \"oss:PutObject\"\n" +
                "            ], \n" +
                "            \"Resource\": [\n" +
                "                \"acs:oss:*:*:examplebucket/*\" \n" +
                "            ], \n" +
                "            \"Effect\": \"Allow\"\n" +
                "        }\n" +
                "    ]\n" +
                "}";
        try {
            // regionId表示RAM的地域ID。以华东1(杭州)地域为例,regionID填写为cn-hangzhou。也可以保留默认值,默认值为空字符串("")。
            String regionId = "";
            // 添加endpoint。适用于Java SDK 3.12.0及以上版本。
            DefaultProfile.addEndpoint(regionId, "Sts", endpoint);
            // 添加endpoint。适用于Java SDK 3.12.0以下版本。
            // DefaultProfile.addEndpoint("",regionId, "Sts", endpoint);
            // 构造default profile。
            IClientProfile profile = DefaultProfile.getProfile(regionId, AccessKeyId, accessKeySecret);
            // 构造client。
            DefaultAcsClient client = new DefaultAcsClient(profile);
            final AssumeRoleRequest request = new AssumeRoleRequest();
            // 适用于Java SDK 3.12.0及以上版本。
            request.setSysMethod(MethodType.POST);
            // 适用于Java SDK 3.12.0以下版本。
            //request.setMethod(MethodType.POST);
            request.setRoleArn(roleArn);
            request.setRoleSessionName(roleSessionName);
            request.setPolicy(policy); // 如果policy为空,则用户将获得该角色下所有权限。
            request.setDurationSeconds(3600L); // 设置临时访问凭证的有效时间为3600秒。
            final AssumeRoleResponse response = client.getAcsResponse(request);
            System.out.println("Expiration: " + response.getCredentials().getExpiration());
            System.out.println("Access Key Id: " + response.getCredentials().getAccessKeyId());
            System.out.println("Access Key Secret: " + response.getCredentials().getAccessKeySecret());
            System.out.println("Security Token: " + response.getCredentials().getSecurityToken());
            System.out.println("RequestId: " + response.getRequestId());
        } catch (ClientException e) {
            System.out.println("Failed:");
            System.out.println("Error code: " + e.getErrCode());
            System.out.println("Error message: " + e.getErrMsg());
            System.out.println("RequestId: " + e.getRequestId());
        }
    }
}
虽然跟着文档走,但还是有坑。
慢慢的还是根据错误提示给成功搞出来了。
简单写下:
第一个就是endpoint那个地方填的东西
然后就是配置跨域
等我oss全部搞好了,单独写一篇博客记录。
测试一下,能够拿到访问token

ok。
