Spring Boot Admin可以将 Actuator 中的信息进行界面化的展示,用于监控所有 Spring Boot 应用的健康状况,提供实时警报功能。
使用步骤
1.服务器
1.Maven导入依赖
必须是web应用 所以导入spring-boot-starter-web
admin版本必须和springboot一致
        <dependency>
            <groupId>org.springframework.boot</groupId>
            <artifactId>spring-boot-starter-web</artifactId>
        </dependency>
        <dependency>
            <groupId>de.codecentric</groupId>
            <artifactId>spring-boot-admin-starter-server</artifactId>
            <version>2.2.1</version>
        </dependency>
2.启动类添加注解:@EnableAdminServer
3.yml配置服务端口
server.port=8888
4.启动项目,访问配置的8888端口
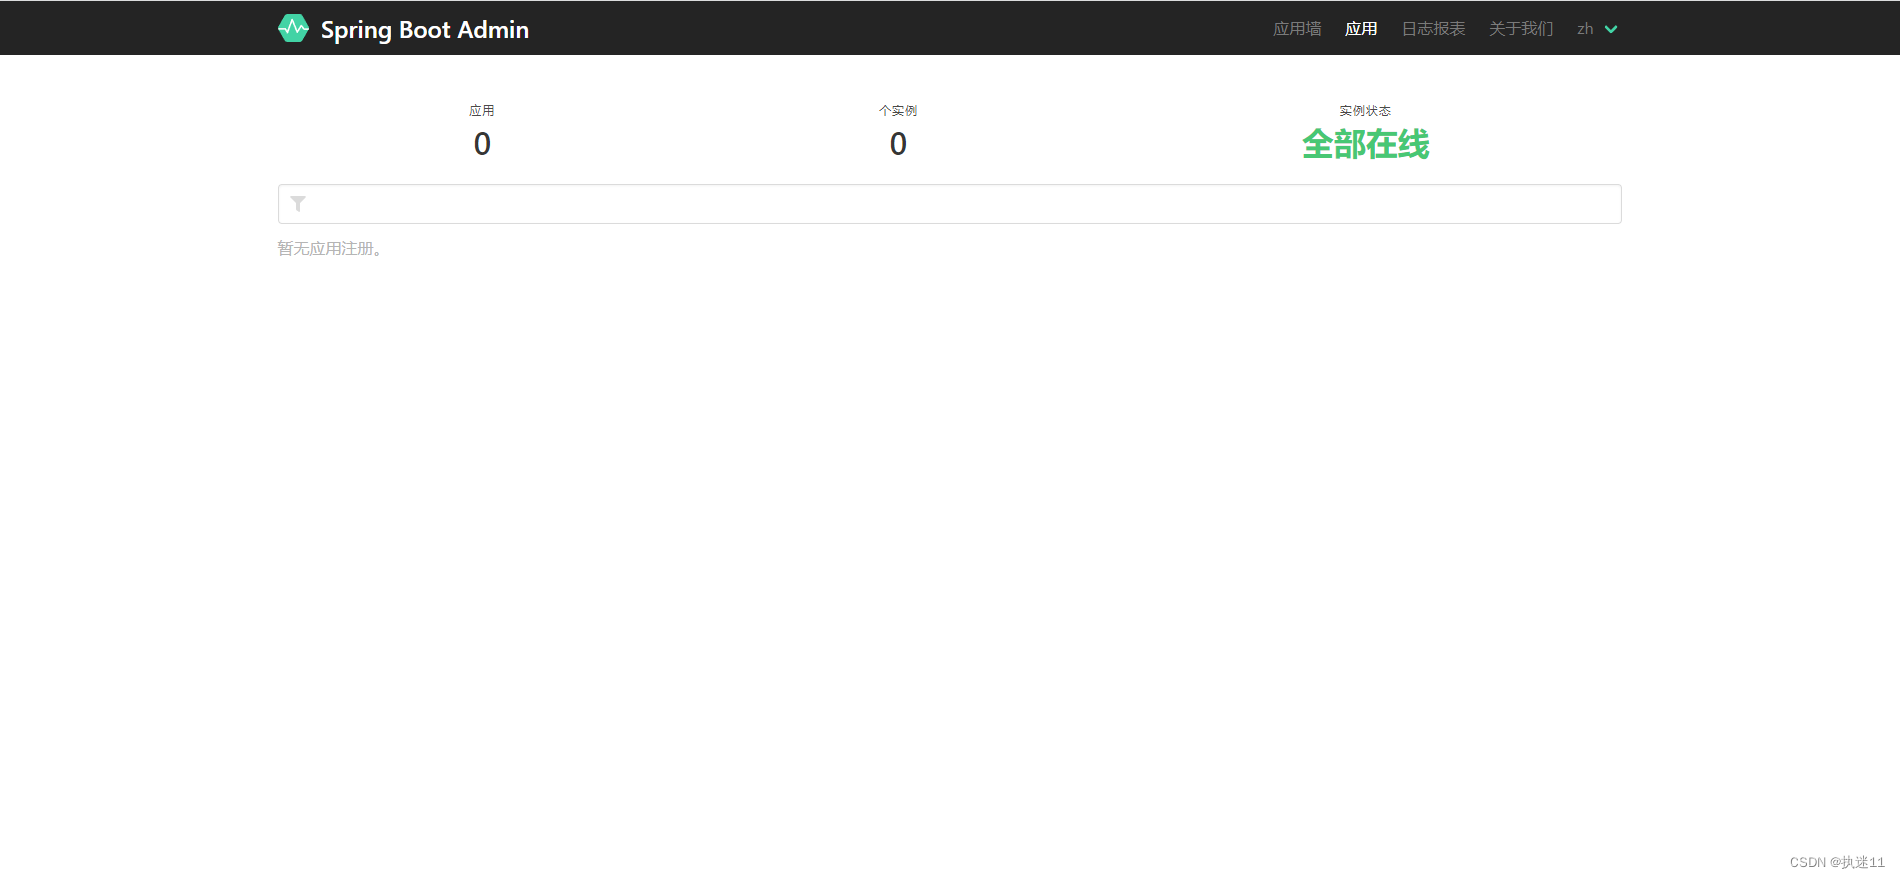
可以看到可视化界面,因为还没有客户端注册进来,所以应用数为0.
2.客户端
1.Maven导入依赖
        <dependency>
            <groupId>org.springframework.boot</groupId>
            <artifactId>spring-boot-starter-web</artifactId>
        </dependency>
        <dependency>
            <groupId>de.codecentric</groupId>
            <artifactId>spring-boot-admin-starter-client</artifactId>
        </dependency>
2.yml配置admin服务器地址和本机端口
server:
  port: 9999
spring:
  boot:
    admin:
      client:
        url: http://localhost:8888
此时再访问admin服务器:


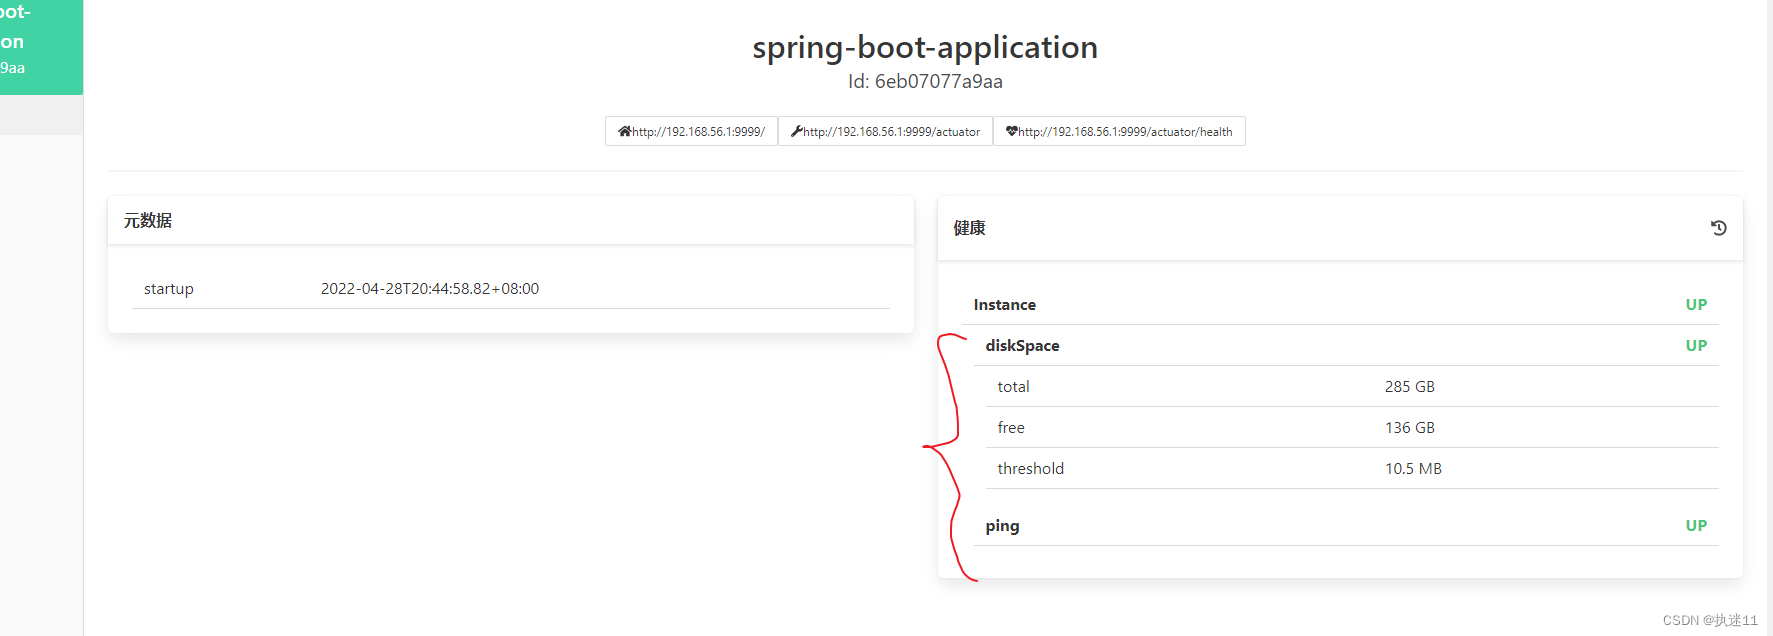
3.展示health信息
yml配置:
management:
  endpoint:
    health:
      show-details: always
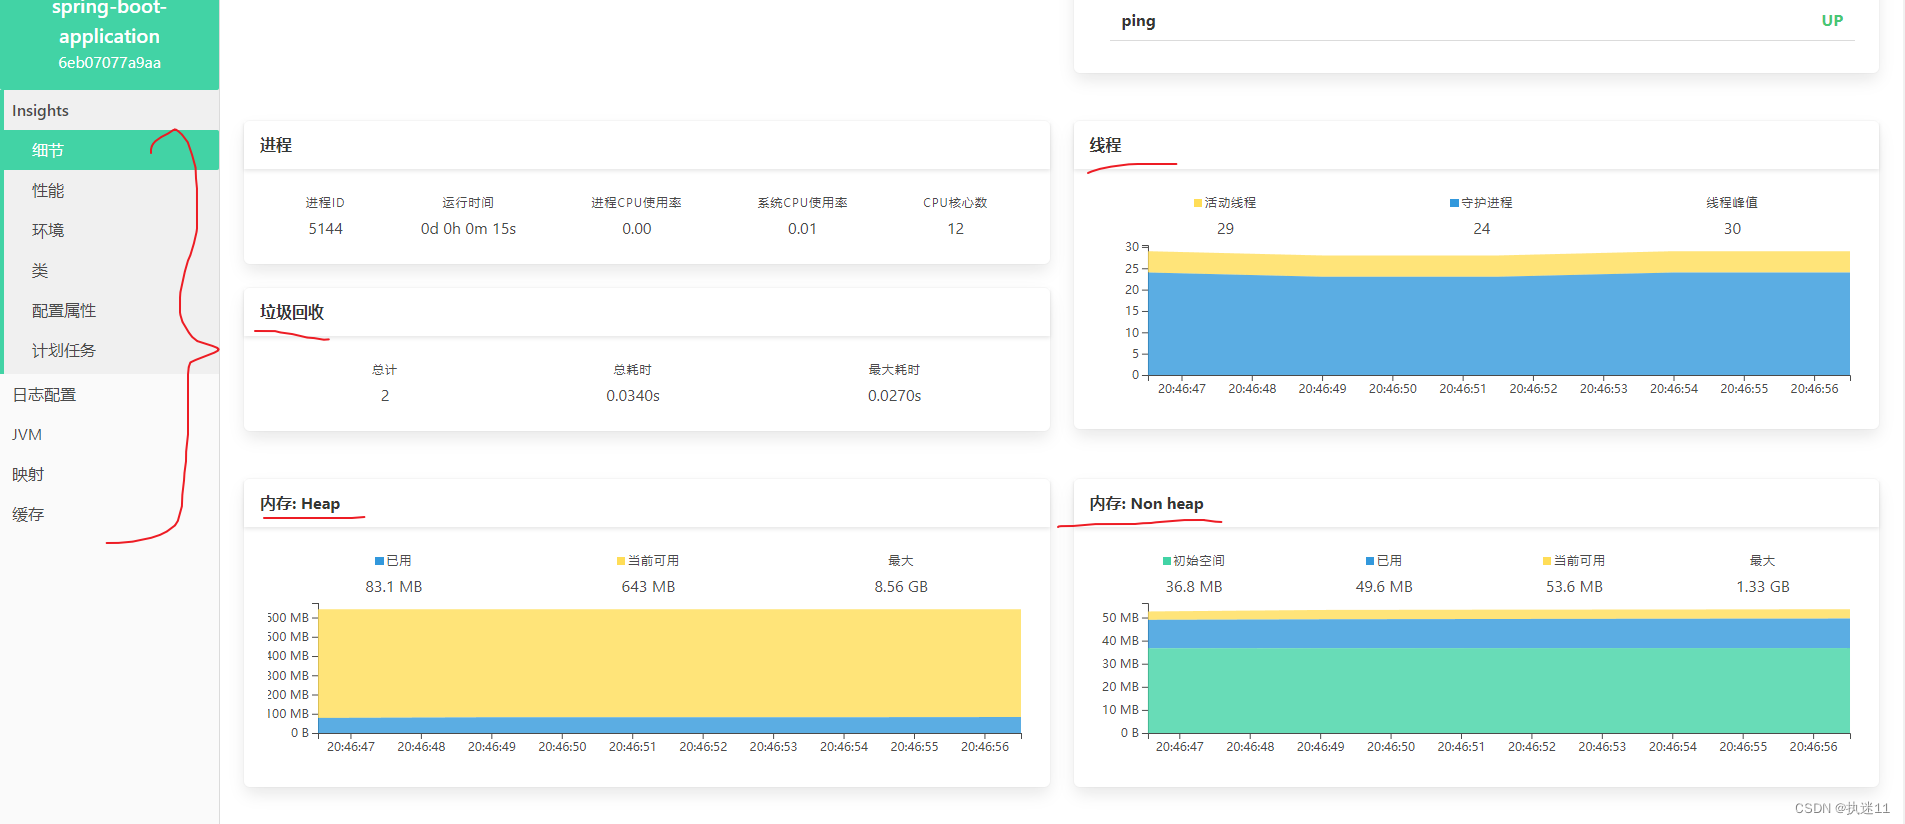
4.展示所有信息
# #可以控制哪个不显示
management:
  endpoint:
    health:
      show-details: always
##展示所有信息
  endpoints:
    web:
      exposure:
        include: "*"
3.整合 SpringSecurity
1.Maven引入依赖
        <dependency>
            <groupId>org.springframework.boot</groupId>
            <artifactId>spring-boot-starter-security</artifactId>
        </dependency>
2.指定账号密码
spring.security.user.name=admin
spring.security.user.password=admin
3.config配置
/**
 * @Author: lzp
 * @Description:
 * @Date Create in 21:02 2022/4/28
 * @Modified By:
 */
@Configuration
public class SecurityConfig extends WebSecurityConfigurerAdapter {
    private final String adminContextPath;

    public SecurityConfig(AdminServerProperties adminServerProperties) {
        this.adminContextPath = adminServerProperties.getContextPath();
    }

    @Override
    protected void configure(HttpSecurity http) throws Exception {
        SavedRequestAwareAuthenticationSuccessHandler successHandler = new SavedRequestAwareAuthenticationSuccessHandler();
        successHandler.setTargetUrlParameter( "redirectTo" );

        http.authorizeRequests()
                .antMatchers( adminContextPath + "/assets/**" ).permitAll()
                .antMatchers( adminContextPath + "/login" ).permitAll()
                .anyRequest().authenticated()
                .and()
                .formLogin().loginPage( adminContextPath + "/login" ).successHandler( successHandler ).and()
                .logout().logoutUrl( adminContextPath + "/logout" ).and()
                .httpBasic().and()
                .csrf().disable();
    }
}
4.启动项目
输入账号密码可以进入界面
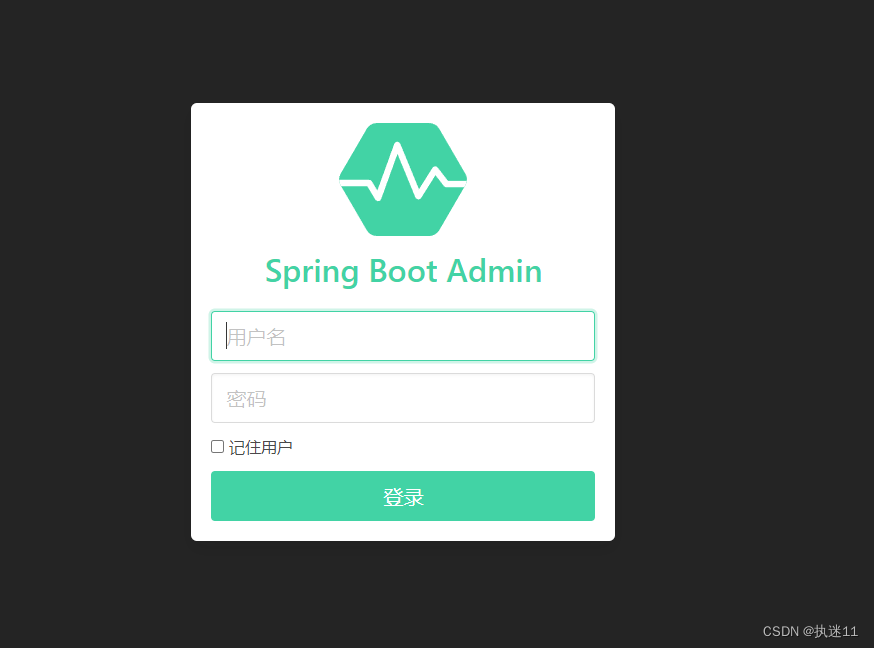
5.客户端需要配置账号和密码才可以被监控
spring:
  boot:
    admin:
      client:
        url: http://localhost:8888
        username: admin
        password: admin
4.邮件配置
1.客户端Maven引入依赖
        <dependency>
            <groupId>org.springframework.boot</groupId>
            <artifactId>spring-boot-starter-mail</artifactId>
        </dependency>
2.yml配置
spring:
  mail:
    host: smtp.qq.com # 发件人使用的qq邮箱服务
    username: 624753336@qq.com
    # 授权码,不是密码,在qq邮箱设置‐账号里面有生成授权码
    password: yxuabccitdmsbfib
  boot:
    admin:
      client:
        url: http://localhost:8888
        username: admin
        password: admin
      notify:
        mail:
#          # 发件人
          from: 624753336@qq.com
          # 收件人,多个中间用,分隔
          to: 624753336@qq.com
授权码在qq邮箱 设置 账户里边 点击这个按钮可以获取

3.测试
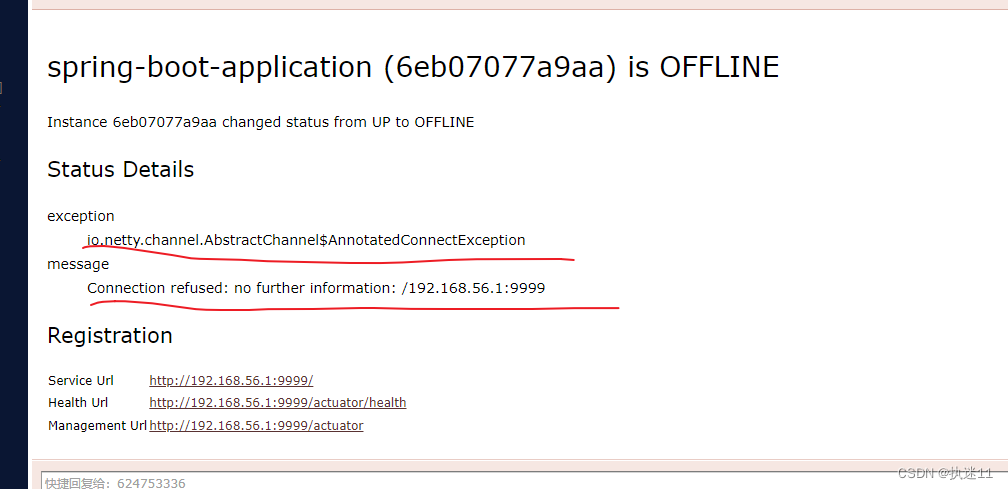
启动客户端,启动服务器,可以监控到服务正常运行,此时关闭客户端 可以收到邮件。
