Spring全家桶-Spring Security之多用户管理
Spring Security是一个能够为基于Spring的企业应用系统提供声明式的安全访问控制解决方案的安全框架。它提供了一组可以在Spring应用上下文中配置的Bean,充分利用了Spring IoC(控制反转),DI(依赖注入)和AOP(面向切面编程)功能,为应用系统提供声明式的安全访问控制功能,减少了为企业系统安全控制编写大量重复代码的工作。
为什么需要多用户?
Spring Security默认中的用户是单一的用户,系统自带或者通过配置进行设置默认的用户名和密码,但是身为一个系统,总不会只有一个人去使用并且这个用户还是固定在系统的中🤔。并且角色也不是只有一个角色。如果我们需要修改,还需要修改配置文件,并且还要重启应用。这样用起来很不方便,那我们就需要多用户,并且还需要通过不同的用户的角色进行管理配置。
一、通过内存管理多用户
Spring Security为我们提供了相应的接口进行操作,我们只需要实现一个自定义的UserDetailsService接口即可。
通过InMemoryUserDetailsManager进行多用户管理
搭建环境
`我们没有通过其他的相关jar包的依赖,因此也不用导入新的jar包`
pom.xml
<dependencies>
        <dependency>
            <groupId>org.springframework.boot</groupId>
            <artifactId>spring-boot-starter-security</artifactId>
        </dependency>

        <dependency>
            <groupId>org.springframework.boot</groupId>
            <artifactId>spring-boot-starter-web</artifactId>
        </dependency>
    </dependencies>
创建配置类WebSecurityConfig
@EnableWebSecurity
public class WebSecurityConfig extends WebSecurityConfigurerAdapter {
    @Override
    protected void configure(HttpSecurity http) throws Exception {
        http.authorizeRequests().antMatchers("/books/**").hasAnyRole("ADMIN")
                .antMatchers("/user/**").hasAnyRole("ADMIN","USER")
                .antMatchers("/").permitAll()
                .and().formLogin().loginPage("/login.html").permitAll().and().csrf().disable();
    }
}
创建BookController
@RestController
@RequestMapping("/books/")
public class BookController {
    @GetMapping("index")
    public String index(){
        return "index";
    }
    @GetMapping("list")
    public String list(){
        return "list";
    }

}
创建IndexController
@RestController
public class IndexController {
    @GetMapping("/")
    public String index(){
        return "index";
    }
}
创建UserController
@RestController
@RequestMapping("/user/")
public class UserController {
    @GetMapping("index")
    public String index(){
        return "index";
    }
    @GetMapping("list")
    public String list(){
        return "index";
    }
}
在启动类中声明一个bean
 @Bean
 public UserDetailsService userDetailsService(){
        InMemoryUserDetailsManager inMemoryUserDetailsManager = new InMemoryUserDetailsManager();
        //创建admin,角色为admin
        inMemoryUserDetailsManager.createUser(User.withUsername("admin").password("admin").roles("ADMIN").build());
        //创建user用户,角色为user
        inMemoryUserDetailsManager.createUser(User.withUsername("user").password("user").roles("USER").build());
        inMemoryUserDetailsManager.createUser(User.withUsername("user1").password("user1").roles("USER").build());
        //返回
        return inMemoryUserDetailsManager;
    }
登陆页和之前的一样即可
启动的时候,我们访问http://localhost:8080访问,将显示主页。因为主页我们设置的权限是开放的权限,不需要登陆。
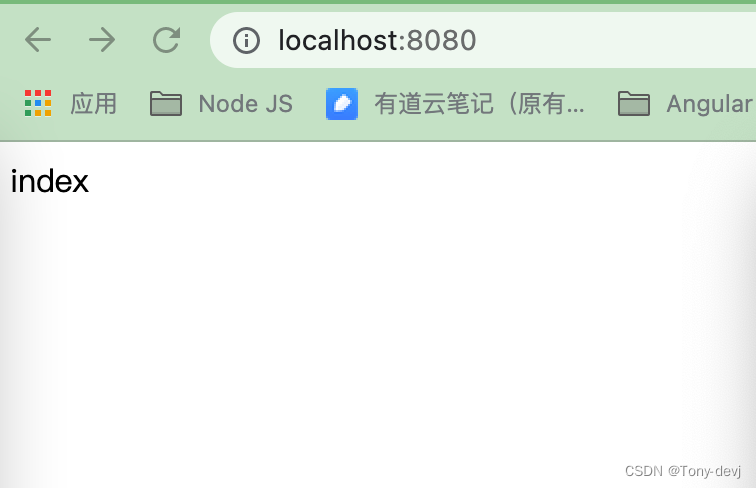
当我们访问user或者books的时候就需要登陆了。

登陆一下试试。
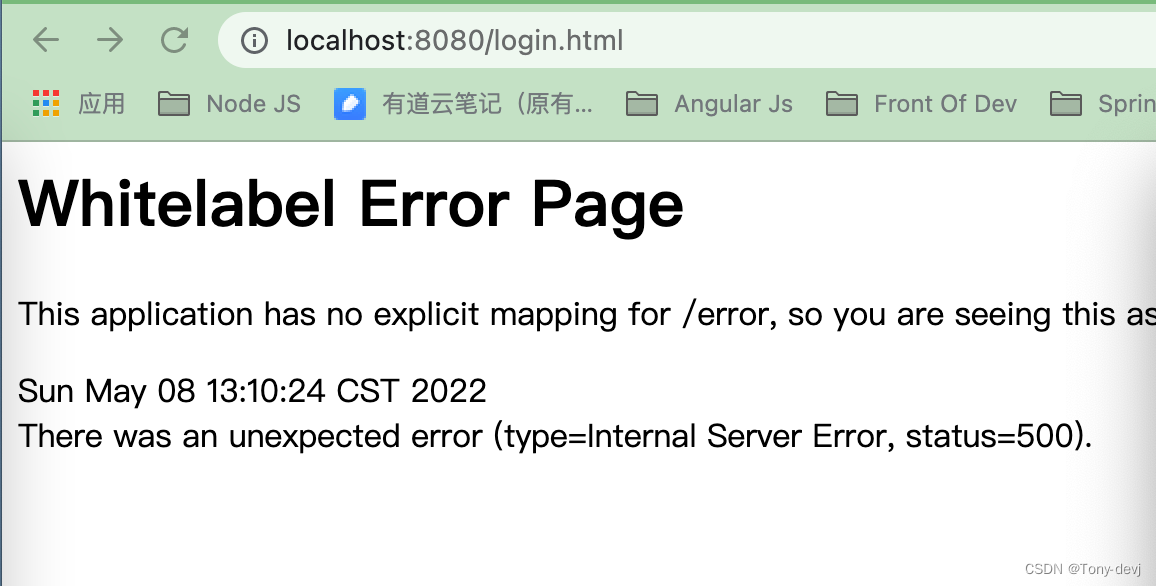
报错了,什么鬼?报如下错误:
java.lang.IllegalArgumentException: There is no PasswordEncoder mapped for the id "null"
	at org.springframework.security.crypto.password.DelegatingPasswordEncoder$UnmappedIdPasswordEncoder.matches(DelegatingPasswordEncoder.java:254) ~[spring-security-crypto-5.6.2.jar:5.6.2]
	at org.springframework.security.crypto.password.DelegatingPasswordEncoder.matches(DelegatingPasswordEncoder.java:202) ~[spring-security-crypto-5.6.2.jar:5.6.2]
	at org.springframework.security.authentication.dao.DaoAuthenticationProvider.additionalAuthenticationChecks(DaoAuthenticationProvider.java:76) ~[spring-security-core-5.6.2.jar:5.6.2]
	at org.springframework.security.authentication.dao.AbstractUserDetailsAuthenticationProvider.authenticate(AbstractUserDetailsAuthenticationProvider.java:147) ~[spring-security-core-5.6.2.jar:5.6.2]
这个是DelegatingPasswordEncoder抛出来的异常。
private class UnmappedIdPasswordEncoder implements PasswordEncoder {
        private UnmappedIdPasswordEncoder() {
        }
        public String encode(CharSequence rawPassword) {
            throw new UnsupportedOperationException("encode is not supported");
        }
        public boolean matches(CharSequence rawPassword, String prefixEncodedPassword) {
            String id = DelegatingPasswordEncoder.this.extractId(prefixEncodedPassword);
            throw new IllegalArgumentException("There is no PasswordEncoder mapped for the id \"" + id + "\"");
        }
    }
官方spring说,需要进行密码进行加密,因为没有设置密码加密的策略。因此我们需要修改用户创建的地方,将密码设置的时候,指定密码加密策略。
@Bean
    public UserDetailsService userDetailsService(){
        InMemoryUserDetailsManager inMemoryUserDetailsManager = new InMemoryUserDetailsManager();
        inMemoryUserDetailsManager.createUser(User.withUsername("admin").password(new BCryptPasswordEncoder().encode("admin")).roles("ADMIN").build());
        inMemoryUserDetailsManager.createUser(User.withUsername("user").password(new BCryptPasswordEncoder().encode("user")).roles("USER").build());
        inMemoryUserDetailsManager.createUser(User.withUsername("user1").password(new BCryptPasswordEncoder().encode("user1")).roles("USER").build());
        return inMemoryUserDetailsManager;
    }
同时在WebSecurityConfig中添加如下信息:
@Autowired
    private UserDetailsService userDetailsService;
    @Override
    protected void configure(AuthenticationManagerBuilder auth) throws Exception {
        auth.userDetailsService(userDetailsService).passwordEncoder(new BCryptPasswordEncoder());
    }
我们重启项目再登陆试试:
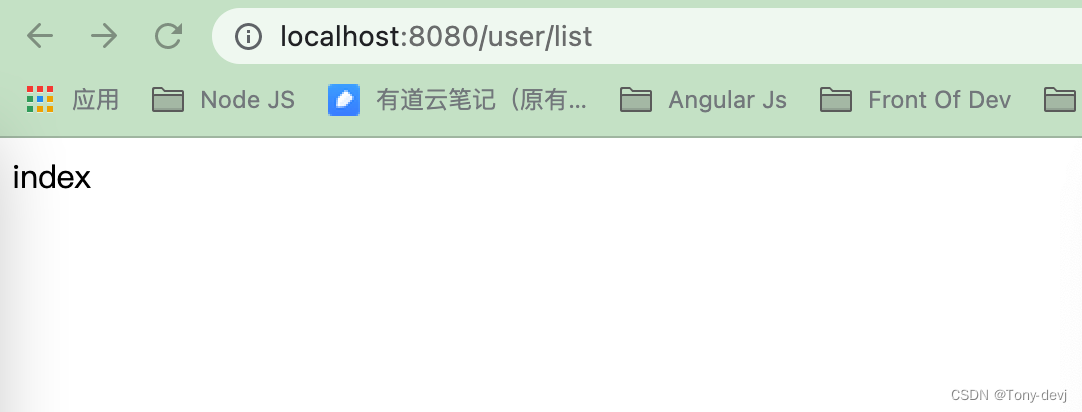
证明是登陆成功,并且是根据不同的权限进行访问。
我们用user没有权限的时候,应该为报403的错误。
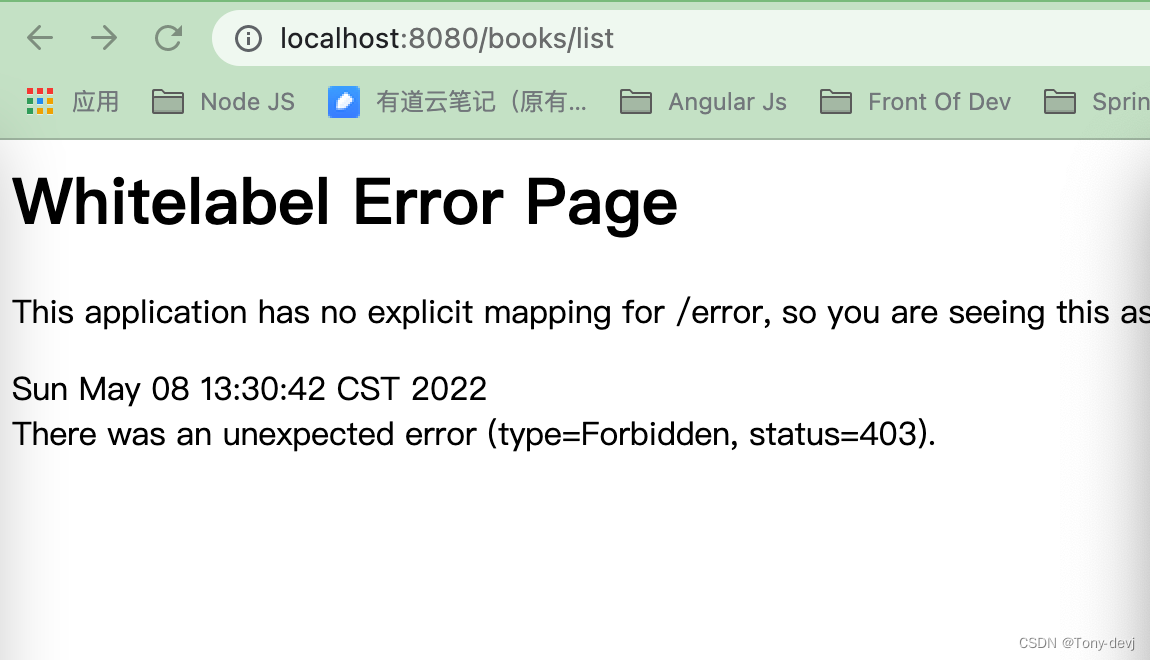
现在内存维护多用户就到这了
二、通过数据库管理多用户
通过JdbcUserDetailsManager进行多用户管理
JdbcUserDetailsManager帮助我们以JDBC的方式对接数据库和Spring Security, 它设定了一个默认的数据库模型
搭建环境
因为我们需要使用jdbc和数据库(选用mysql),因此我们多引入两个包:1.spring-boot-starter-jdbc 2.mysql-connector-java,完整的POM:
<dependency>
    <groupId>org.springframework.boot</groupId>
    <artifactId>spring-boot-starter-security</artifactId>
</dependency>

<dependency>
    <groupId>org.springframework.boot</groupId>
    <artifactId>spring-boot-starter-web</artifactId>
</dependency>

<dependency>
    <groupId>org.springframework.boot</groupId>
    <artifactId>spring-boot-starter-jdbc</artifactId>
</dependency>

<dependency>
    <groupId>mysql</groupId>
    <artifactId>mysql-connector-java</artifactId>
</dependency>
创建数据库脚本
#创建数据库
create database `spring-security-learn`;
use `spring-security-learn`;
#创建用户表
create table users(
	username varchar(50) not null primary key,
	`password` varchar(500) not null,
	enabled boolean not null
	);
#创建权限表
create table authorities (
	username varchar(50) not null,
	authority varchar(50) not null,
	constraint fk_authorities_users foreign key(username) references users(username)
	);
#创建一个索引
create unique index ix_auth_username on authorities (username,authority);
以上是Spring Security提供的user的ddl语句,在/org/springframework/security/core/userdetails/jdbc/users.ddl中,不同的数据库进行相应的调整即可
修改application.yml
因为我们使用的jdbc的操作,因此我们需要在配置文件中添加数据库相应的链接信息和用户信息。完整的配置如下:
server:
  port: 8080
spring:
  datasource:
    password: 自己的数据库密码
    username: 自己的数据库用户名
    url: jdbc:mysql:///spring-security-learn?characterEncoding=UTF-8&serverTimezone=Asia/Shanghai
    driver-class-name: com.mysql.cj.jdbc.Driver
jdbc:mysql:///spring-security-learn在使用localhost:3306的情况下,这个可以省略不写。
创建程序入口JdbcUserApplication
代码如下:
public class JdbcUserApplication {

    @Autowired
    private DataSource dataSource;

    public static void main(String[] args) {
        SpringApplication.run(JdbcUserApplication.class,args);
    }

    @Bean
    public UserDetailsService userDetailsService(){
        JdbcUserDetailsManager jdbcUserDetailsManager = new JdbcUserDetailsManager();
        jdbcUserDetailsManager.setDataSource(dataSource);
        //启动之后需要先删除当前数据或只使用userExists()方法进行判断用户是否存在,我们这里就直接删除了
        jdbcUserDetailsManager.deleteUser("admin");
        jdbcUserDetailsManager.deleteUser("user");
        jdbcUserDetailsManager.deleteUser("user1");
		//创建用户
        jdbcUserDetailsManager.createUser(User.withUsername("admin").password(new BCryptPasswordEncoder().encode("admin")).roles("ADMIN").build());
        jdbcUserDetailsManager.createUser(User.withUsername("user").password(new BCryptPasswordEncoder().encode("user")).roles("USER").build());
        jdbcUserDetailsManager.createUser(User.withUsername("user1").password(new BCryptPasswordEncoder().encode("user1")).roles("USER").build());
        return jdbcUserDetailsManager;
    }
这里启动程序的时候,就会将用户写入到数据库中。应为User.ddl是将username作为主键的,如果用户已经存在的情况下进行运行的话,数据库会报重复主键的错误。其他的代码和内存中的一致,这里就不一一贴出来了。之后运行项目,会和前面内存的现实一样。
二、代码分析
我们上面看到,两种方式都是通过UserDetailService进行处理。
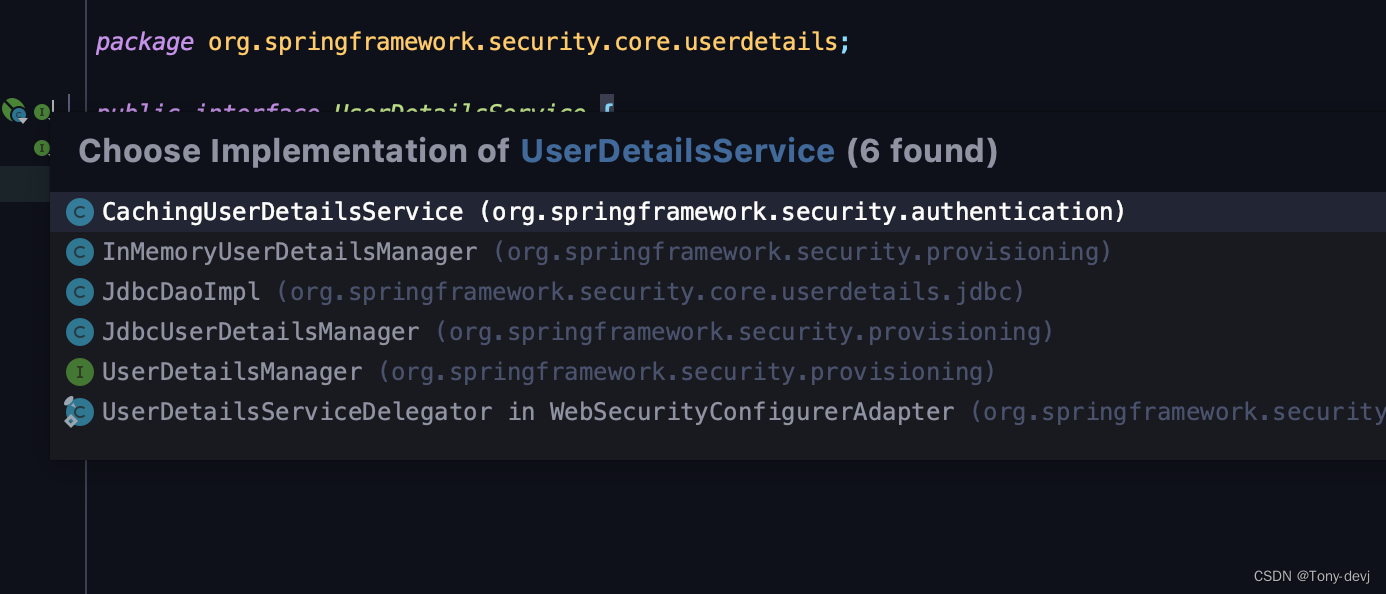
UserDetailService的Cache,InMemory,jdbc等实现方式,包括我们后面自定义的方式也是可以的,和这几种方式一样的方式即可。
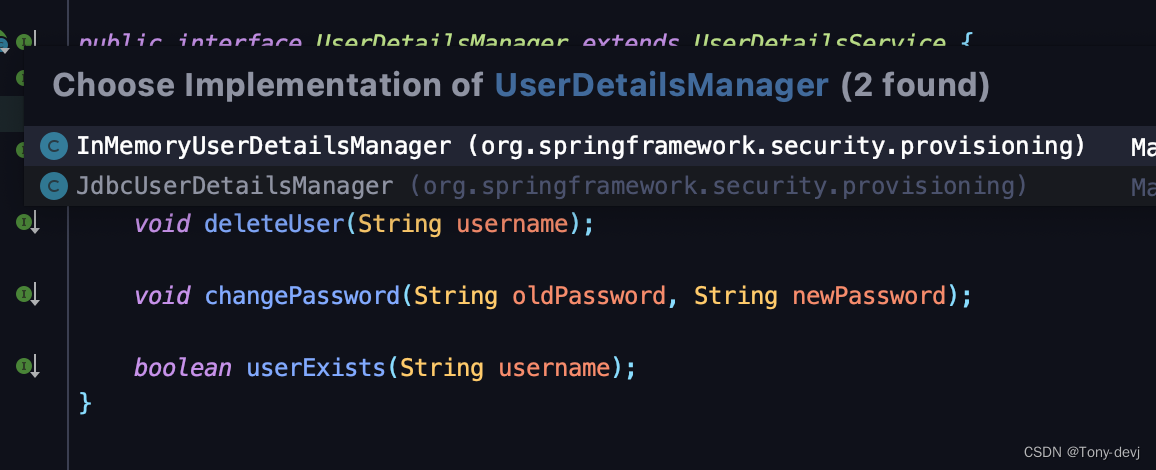
内存进行管理多用户和数据库管理都是实现了UserDetailManager的接口,这个接口提供的创建,删除,修改,用户是否存在等方法。
//创建用户
 void createUser(UserDetails user);
 //修改用户
 void updateUser(UserDetails user);
 //删除用户
 void deleteUser(String username);
 //修改密码
 void changePassword(String oldPassword, String newPassword);
 //用户是否存在
 boolean userExists(String username);
InMemoryUserDetailsManager的实现:
//创建用户
public void createUser(UserDetails user) {
        Assert.isTrue(!this.userExists(user.getUsername()), "user should not exist");
        //向Map中put数据,创建一个UserDetail对象
        this.users.put(user.getUsername().toLowerCase(), new MutableUser(user));
    }

    public void deleteUser(String username) {
    	//Map移除用户
        this.users.remove(username.toLowerCase());
    }

    public void updateUser(UserDetails user) {
        Assert.isTrue(this.userExists(user.getUsername()), "user should exist");
        //修改用户是直接设置新的用户
        this.users.put(user.getUsername().toLowerCase(), new MutableUser(user));
    }

    public boolean userExists(String username) {
        return this.users.containsKey(username.toLowerCase());
    }

    public void changePassword(String oldPassword, String newPassword) {
    	//从上下文中获取当前认证的用户
        Authentication currentUser = SecurityContextHolder.getContext().getAuthentication();
        if (currentUser == null) {
            throw new AccessDeniedException("Can't change password as no Authentication object found in context for current user.");
        } else {
            String username = currentUser.getName();
            this.logger.debug(LogMessage.format("Changing password for user '%s'", username));
            if (this.authenticationManager != null) {
                this.logger.debug(LogMessage.format("Reauthenticating user '%s' for password change request.", username));
                this.authenticationManager.authenticate(new UsernamePasswordAuthenticationToken(username, oldPassword));
            } else {
                this.logger.debug("No authentication manager set. Password won't be re-checked.");
            }

            MutableUserDetails user = (MutableUserDetails)this.users.get(username);
            Assert.state(user != null, "Current user doesn't exist in database.");
            user.setPassword(newPassword);
        }
    }

    public UserDetails updatePassword(UserDetails user, String newPassword) {
        String username = user.getUsername();
        MutableUserDetails mutableUser = (MutableUserDetails)this.users.get(username.toLowerCase());
        //修改查询到用户用户密码
        mutableUser.setPassword(newPassword);
        return mutableUser;
    }
内存存储用户是通过Map进行处理。
private final Map<String, MutableUserDetails> users = new HashMap();
JdbcUserDetailsManager的实现是通过JdbcDaoSupport进行获取JdbcTemplate进行数据库操作。
public final void setDataSource(DataSource dataSource) {
        if (this.jdbcTemplate == null || dataSource != this.jdbcTemplate.getDataSource()) {
            this.jdbcTemplate = this.createJdbcTemplate(dataSource);
            this.initTemplateConfig();
        }
    }

    protected JdbcTemplate createJdbcTemplate(DataSource dataSource) {
        return new JdbcTemplate(dataSource);
    }

    @Nullable
    public final DataSource getDataSource() {
        return this.jdbcTemplate != null ? this.jdbcTemplate.getDataSource() : null;
    }

    public final void setJdbcTemplate(@Nullable JdbcTemplate jdbcTemplate) {
        this.jdbcTemplate = jdbcTemplate;
        this.initTemplateConfig();
    }
总结
Spring Security支持各种来源的用户数据, 包括内存、 数据库、 LDAP等。 它们被抽象为一个UserDetailsService接口, 任何实现了UserDetailsService 接口的对象都可以作为认证数据源。 在这种设计模式下, Spring Security显得尤为灵活。
