一、jstack 查看运行情况,如图
jstack是java虚拟机自带的一种堆栈跟踪工具。
11666是java 进程 pid
jstack -l 11666
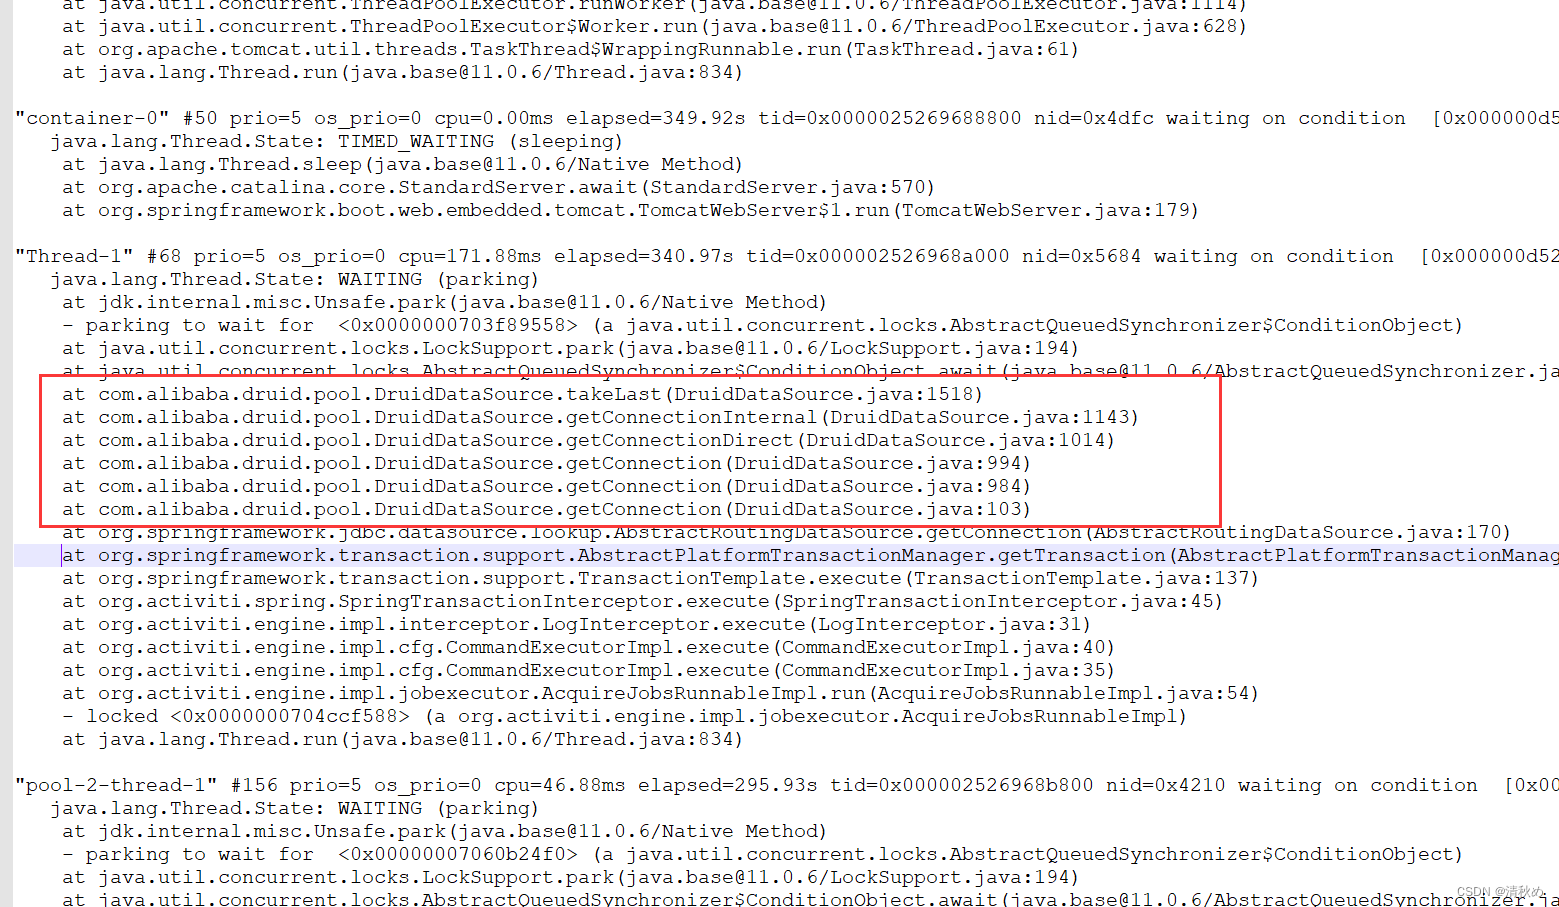
排查发现数据库连接池出现问题了
at com.alibaba.druid.pool.DruidDataSource.takeLast(DruidDataSource.java:1518)
	at com.alibaba.druid.pool.DruidDataSource.getConnectionInternal(DruidDataSource.java:1143)
	at com.alibaba.druid.pool.DruidDataSource.getConnectionDirect(DruidDataSource.java:1014)
	at com.alibaba.druid.pool.DruidDataSource.getConnection(DruidDataSource.java:994)
	at com.alibaba.druid.pool.DruidDataSource.getConnection(DruidDataSource.java:984)
	at com.alibaba.druid.pool.DruidDataSource.getConnection(DruidDataSource.java:103)
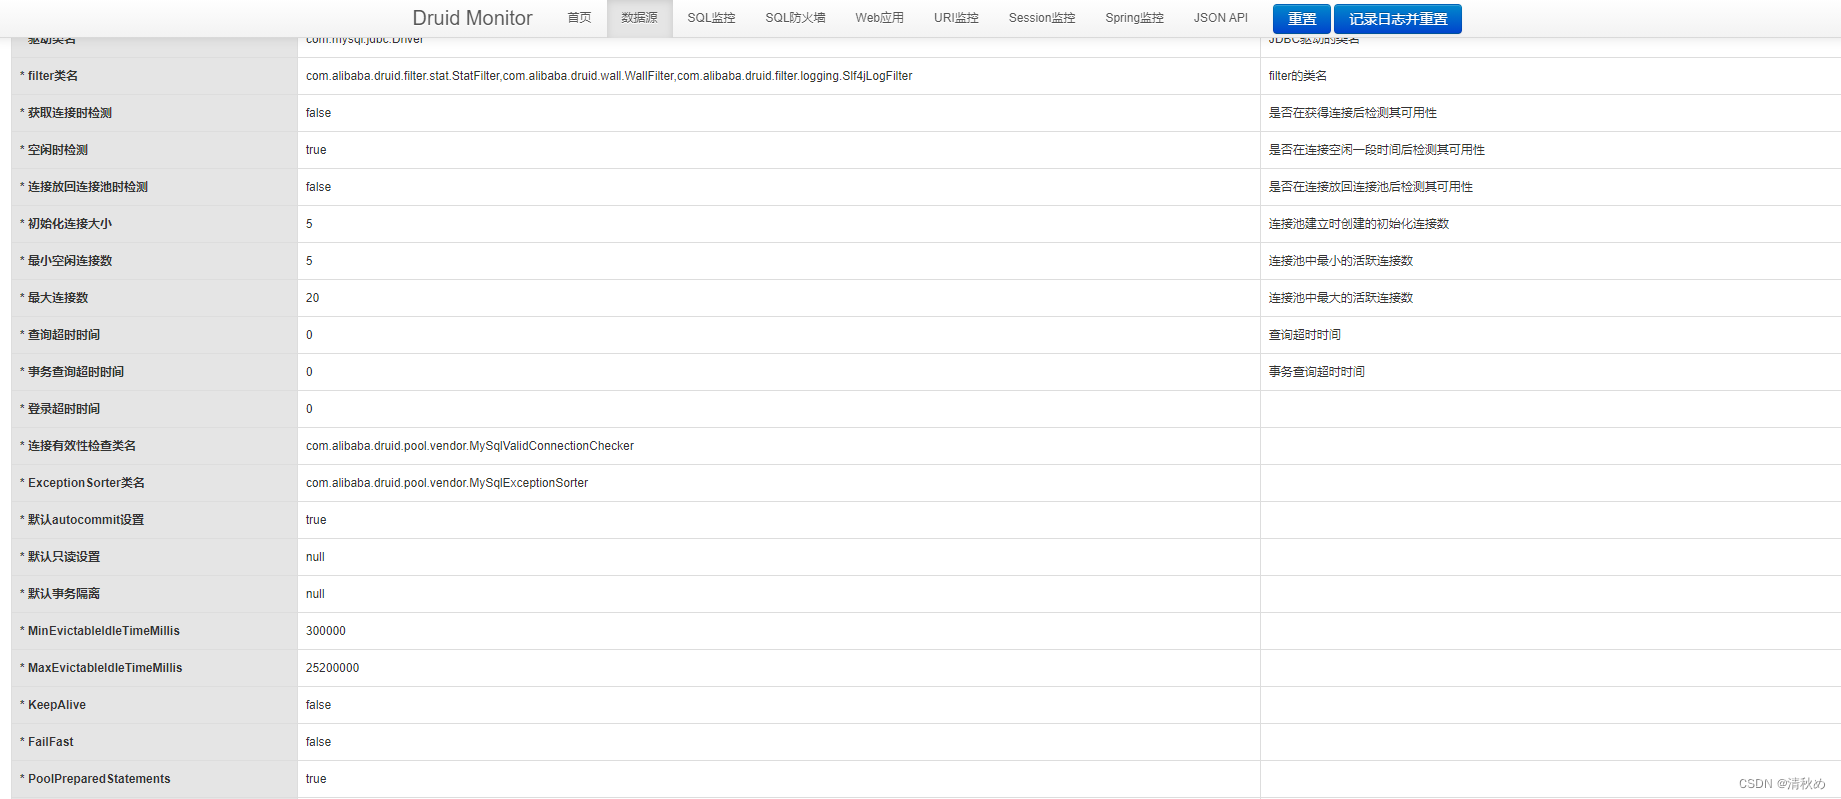
二、利用druid监控或者 jconsole 查看连接池的状态
需要配置application.yml或者写组件
1.druid监控配置
datasource:
    druid:
      stat-view-servlet:
        enabled: true
        loginUsername: admin
        loginPassword: 123456
        allow:
      web-stat-filter:
        enabled: true
import com.alibaba.druid.pool.DruidDataSource;
import com.alibaba.druid.support.http.StatViewServlet;
import com.alibaba.druid.support.http.WebStatFilter;
import org.springframework.boot.context.properties.ConfigurationProperties;
import org.springframework.boot.web.servlet.FilterRegistrationBean;
import org.springframework.boot.web.servlet.ServletRegistrationBean;
import org.springframework.context.annotation.Bean;
import org.springframework.context.annotation.Configuration;

import javax.sql.DataSource;
import java.util.Arrays;
import java.util.HashMap;
import java.util.Map;
import javax.servlet.Filter;


/**
 * @descriptions:
 * @author: LZH
 * @date: 2022/5/16/016 14:37
 * @version: 1.0
 */
@Configuration
public class DruidConfig {
    @ConfigurationProperties(prefix = "spring.datasource")
    @Bean
    public DataSource druid() {
        return new DruidDataSource();
    }

    /* 配置一个Druid监控
         1.配置一个druid的后台  管理servlet
         2.配置一个druid的filter
      */
//  1.配置一个druid的后台  管理servlet
    @Bean
    public ServletRegistrationBean statViewServlet() {
//        注意:请求是/druid/*
        ServletRegistrationBean<StatViewServlet> bean = new ServletRegistrationBean<>(new StatViewServlet(), "/druid/*");
        Map<String, String> initParam = new HashMap<>();
        initParam.put(StatViewServlet.PARAM_NAME_USERNAME, "admin");
        initParam.put(StatViewServlet.PARAM_NAME_PASSWORD, "123456");
//        如果不写,则默认所有ip都可以访问
        initParam.put(StatViewServlet.PARAM_NAME_ALLOW, "");
        initParam.put(StatViewServlet.PARAM_NAME_DENY, "192.168.10.11");
        bean.setInitParameters(initParam);
        return bean;
    }

    //     2.配置一个druid的filter
    @Bean
    public FilterRegistrationBean webStatFilter() {
        FilterRegistrationBean<Filter> bean = new FilterRegistrationBean<>();
        bean.setFilter(new WebStatFilter());

        Map<String, String> initParams = new HashMap<>();
        initParams.put(WebStatFilter.PARAM_NAME_EXCLUSIONS, "*.js,*.css,/druid/*");
        bean.setInitParameters(initParams);
//        设置拦截请求
        bean.setUrlPatterns(Arrays.asList("/*"));
        return bean;
    }

}
2.jconsole
找到java安装目录,如 C:\Program Files\Java\jdk-11.0.6\bin
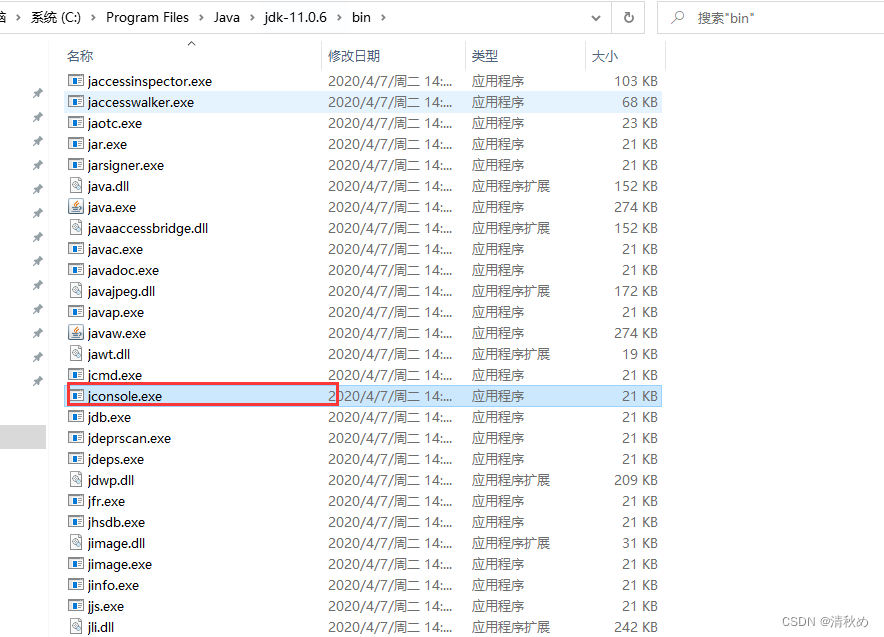
打开后选择已经运行的java程序找到MBean
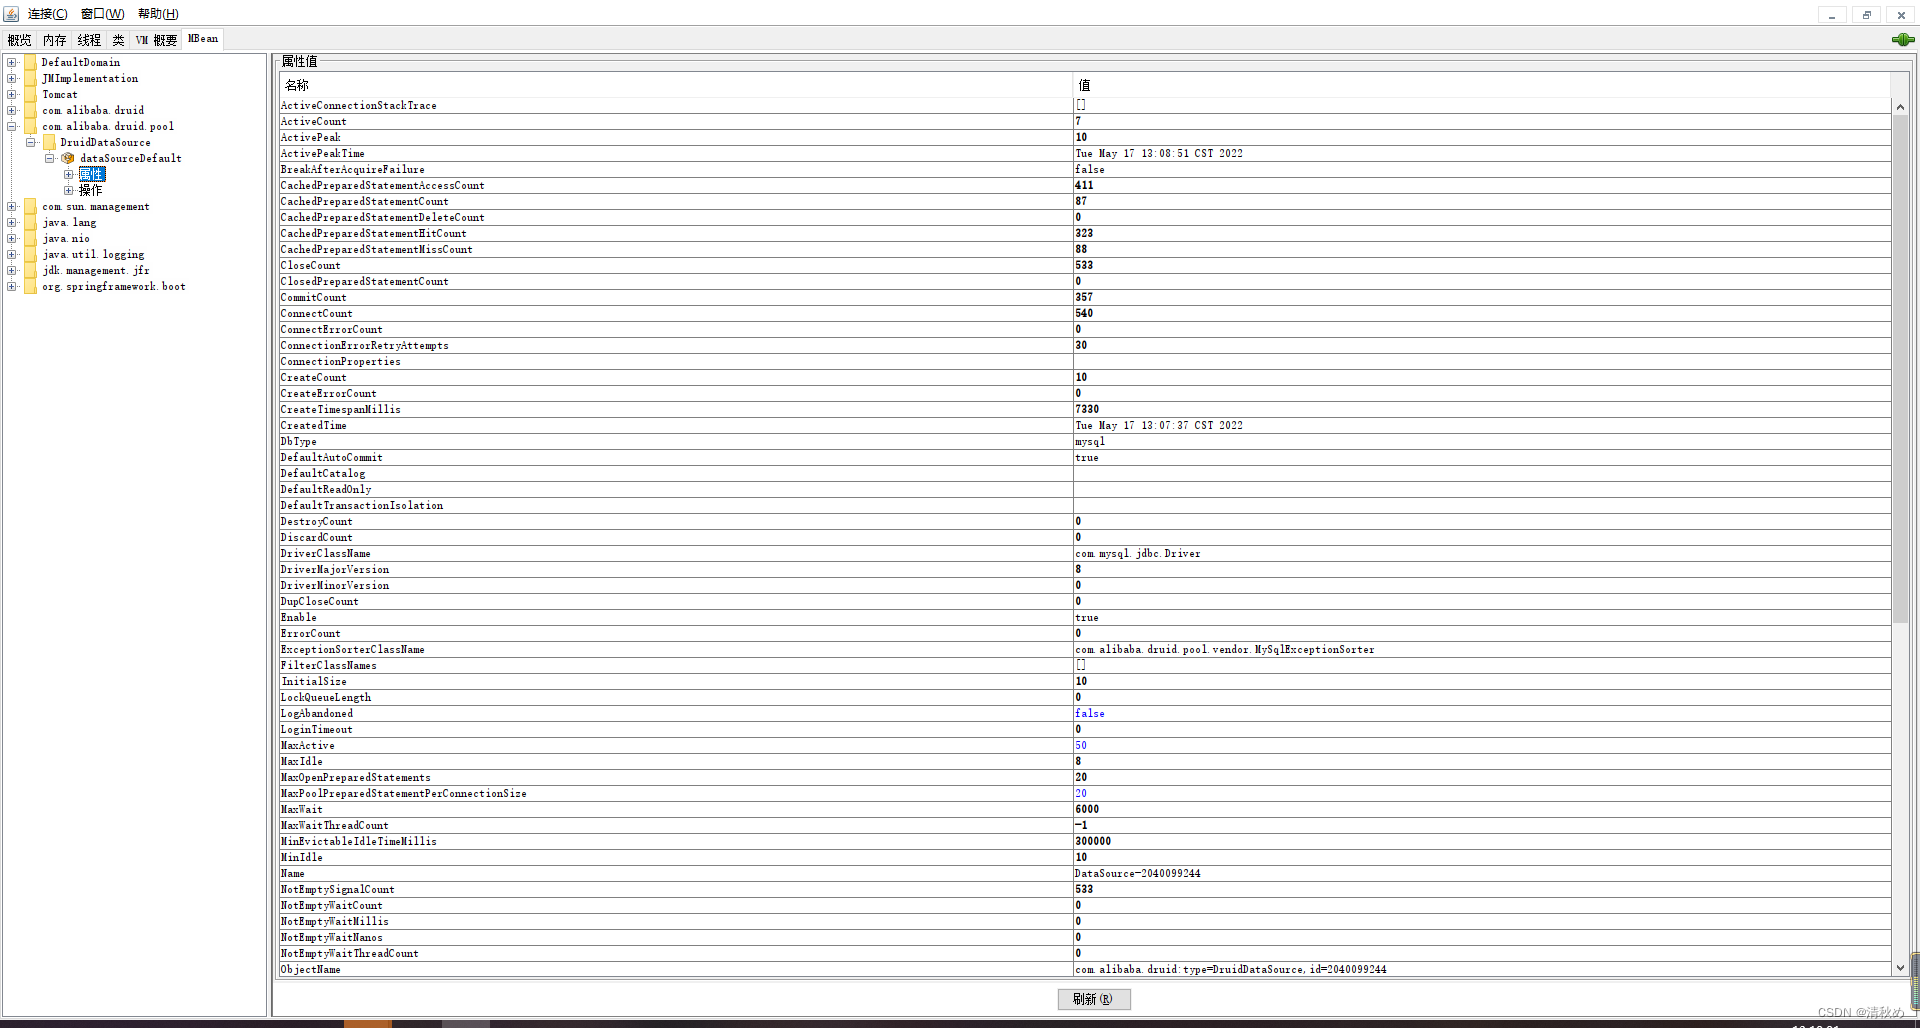
三、配置连接数大小以及等待时间
1. DataSourceAutoConfiguration
由于系统原因,已经默认有了 DataSourceExtraProperties相关的配置我们对此重新覆盖了一下
package xxx;

import com.alibaba.druid.pool.DruidDataSource;
import xxx.QueryInterceptor;
import xxx.SaveInterceptor;
import xxx.DynamicDataSource;
import com.github.pagehelper.PageInterceptor;
import org.apache.ibatis.mapping.DatabaseIdProvider;
import org.apache.ibatis.mapping.VendorDatabaseIdProvider;
import org.apache.ibatis.plugin.Interceptor;
import org.mybatis.spring.SqlSessionFactoryBean;
import org.mybatis.spring.SqlSessionTemplate;
import org.mybatis.spring.mapper.MapperScannerConfigurer;
import org.springframework.beans.factory.annotation.Qualifier;
import org.springframework.boot.autoconfigure.condition.ConditionalOnClass;
import org.springframework.boot.context.properties.ConfigurationProperties;
import org.springframework.boot.context.properties.EnableConfigurationProperties;
import org.springframework.context.annotation.Bean;
import org.springframework.context.annotation.Configuration;
import org.springframework.context.annotation.Primary;
import org.springframework.core.io.Resource;
import org.springframework.core.io.support.PathMatchingResourcePatternResolver;
import org.springframework.core.io.support.ResourcePatternResolver;
import org.springframework.jdbc.core.JdbcTemplate;

import javax.sql.DataSource;
import java.io.IOException;
import java.util.*;

@EnableConfigurationProperties({DataSourceExtraProperties.class})
@Configuration
public class DataSourceAutoConfiguration {
    public DataSourceAutoConfiguration() {
    }

    @Primary
    @ConditionalOnClass({DruidDataSource.class})
    @ConfigurationProperties(prefix = "spring.datasource")
    @Bean(
            initMethod = "init",
            destroyMethod = "close"
    )
/*
    public DruidDataSource dataSourceDefault(DataSourceProperties dataSourceProperties) {
        return (DruidDataSource)dataSourceProperties.initializeDataSourceBuilder().type(DruidDataSource.class).build();
    }

*/
    public DruidDataSource dataSourceDefault() {
        return new DruidDataSource();
    }

    @Bean
    public DynamicDataSource dataSource(DataSourceExtraProperties dataSourceExtraProperties, DataSource dataSourceDefault) {
        DynamicDataSource dynamicDataSource = new DynamicDataSource();
        Map<Object, Object> targetDataSources = new HashMap(1);
        targetDataSources.put("dataSourceDefault", dataSourceDefault);
        dynamicDataSource.setTargetDataSources(targetDataSources);
        dynamicDataSource.setDefaultDbtype(dataSourceExtraProperties.getDbType());
        return dynamicDataSource;
    }

    @Bean(
            name = {"jdbcTemplate"}
    )
    public JdbcTemplate jdbcTemplate(@Qualifier("dataSource") DataSource dataSource) {
        return new JdbcTemplate(dataSource);
    }

    public PageInterceptor pageInterceptor() {
        PageInterceptor pageInterceptor = new PageInterceptor();
        Properties properties = new Properties();
        properties.setProperty("autoRuntimeDialect", "true");
        properties.setProperty("rowBoundsWithCount", "true");
        pageInterceptor.setProperties(properties);
        return pageInterceptor;
    }

    @Bean
    public QueryInterceptor queryInterceptor() {
        return new QueryInterceptor();
    }

    @Bean
    public SaveInterceptor saveInterceptor() {
        return new SaveInterceptor();
    }

    @Bean(
            name = {"abSqlSessionFactory"}
    )
    public SqlSessionFactoryBean sqlSessionFactory(@Qualifier("dataSource") DataSource dataSource, SaveInterceptor saveInterceptor) {
        SqlSessionFactoryBean sqlSessionFactoryBean = new SqlSessionFactoryBean();
        sqlSessionFactoryBean.setDataSource(dataSource);
        sqlSessionFactoryBean.setMapperLocations(this.resolveMapperLocations("classpath*:com/xx/*/mapping/*.xml", "classpath*:com/xx/*/*/mapping/*.xml"));
        sqlSessionFactoryBean.setPlugins(new Interceptor[]{this.pageInterceptor(), this.queryInterceptor(), saveInterceptor});
        DatabaseIdProvider databaseIdProvider = new VendorDatabaseIdProvider();
        Properties mysqlp = new Properties();
        mysqlp.setProperty("MySQL", "mysql");
        mysqlp.setProperty("Oracle", "oracle");
        databaseIdProvider.setProperties(mysqlp);
        sqlSessionFactoryBean.setDatabaseIdProvider(databaseIdProvider);
        return sqlSessionFactoryBean;
    }

    private Resource[] resolveMapperLocations(String... locations) {
        ResourcePatternResolver resourceResolver = new PathMatchingResourcePatternResolver();
        List<Resource> resources = new ArrayList();
        String[] var4 = locations;
        int var5 = locations.length;

        for(int var6 = 0; var6 < var5; ++var6) {
            String mapperLocation = var4[var6];

            try {
                Resource[] mappers = resourceResolver.getResources(mapperLocation);
                resources.addAll(Arrays.asList(mappers));
            } catch (IOException var9) {
            }
        }

        return (Resource[])resources.toArray(new Resource[resources.size()]);
    }

    @Bean({"abMapperScannerConfigurer"})
    public MapperScannerConfigurer mapperScannerConfigurer() {
        MapperScannerConfigurer mapperScannerConfigurer = new MapperScannerConfigurer();
        mapperScannerConfigurer.setSqlSessionFactoryBeanName("abSqlSessionFactory");
        mapperScannerConfigurer.setBasePackage("com.xx.**.dao");
        return mapperScannerConfigurer;
    }

    @Bean({"abSqlSessionTemplate"})
    public SqlSessionTemplate sqlSessionTemplate(@Qualifier("abSqlSessionFactory") SqlSessionFactoryBean sqlSessionFactory) throws Exception {
        return new SqlSessionTemplate(sqlSessionFactory.getObject());
    }
}
2. application.yml
spring:
  datasource:
    driver-class-name: com.mysql.jdbc.Driver
    url: xxx
    username: xx
    password: xx
    dbType: mysql
    initial-size: 10
    min-idle: 10
    max-active: 50
    # 配置获取连接等待超时的时间
    max-wait: 6000
    # 配置间隔多久才进行一次检测,检测需要关闭的空闲连接,单位是毫秒
    timeBetweenEvictionRunsMillis: 60000
    # 配置一个连接在池中最小生存的时间,单位是毫秒
    minEvictableIdleTimeMillis: 300000
    validationQuery: SELECT 1 FROM DUAL
    testWhileIdle: true
    testOnBorrow: false
    testOnReturn: false
    # 打开PSCache,并且指定每个连接上PSCache的大小
    poolPreparedStatements: true
    maxPoolPreparedStatementPerConnectionSize: 20
总结
1.我们先利用 jstack 排查问题找出是:
数据库连接池的连接长时间没有释放,导致后续的请求过来了但是查询数据库的连接还在等待导致系统卡死的问题
2.利用 vconsole 的监控去配置 datasource 的属性发现一直不生效,开始寻找解决方案,参考如下
springboot配置druid数据源不生效问题
3.由于出现上述问题多半是并发造成的,我们对此进行模拟并发请求测试是否真正解决问题
进入你的网页程序f12打开找到network找一个后台请求,最好是数据量大一点的,如图
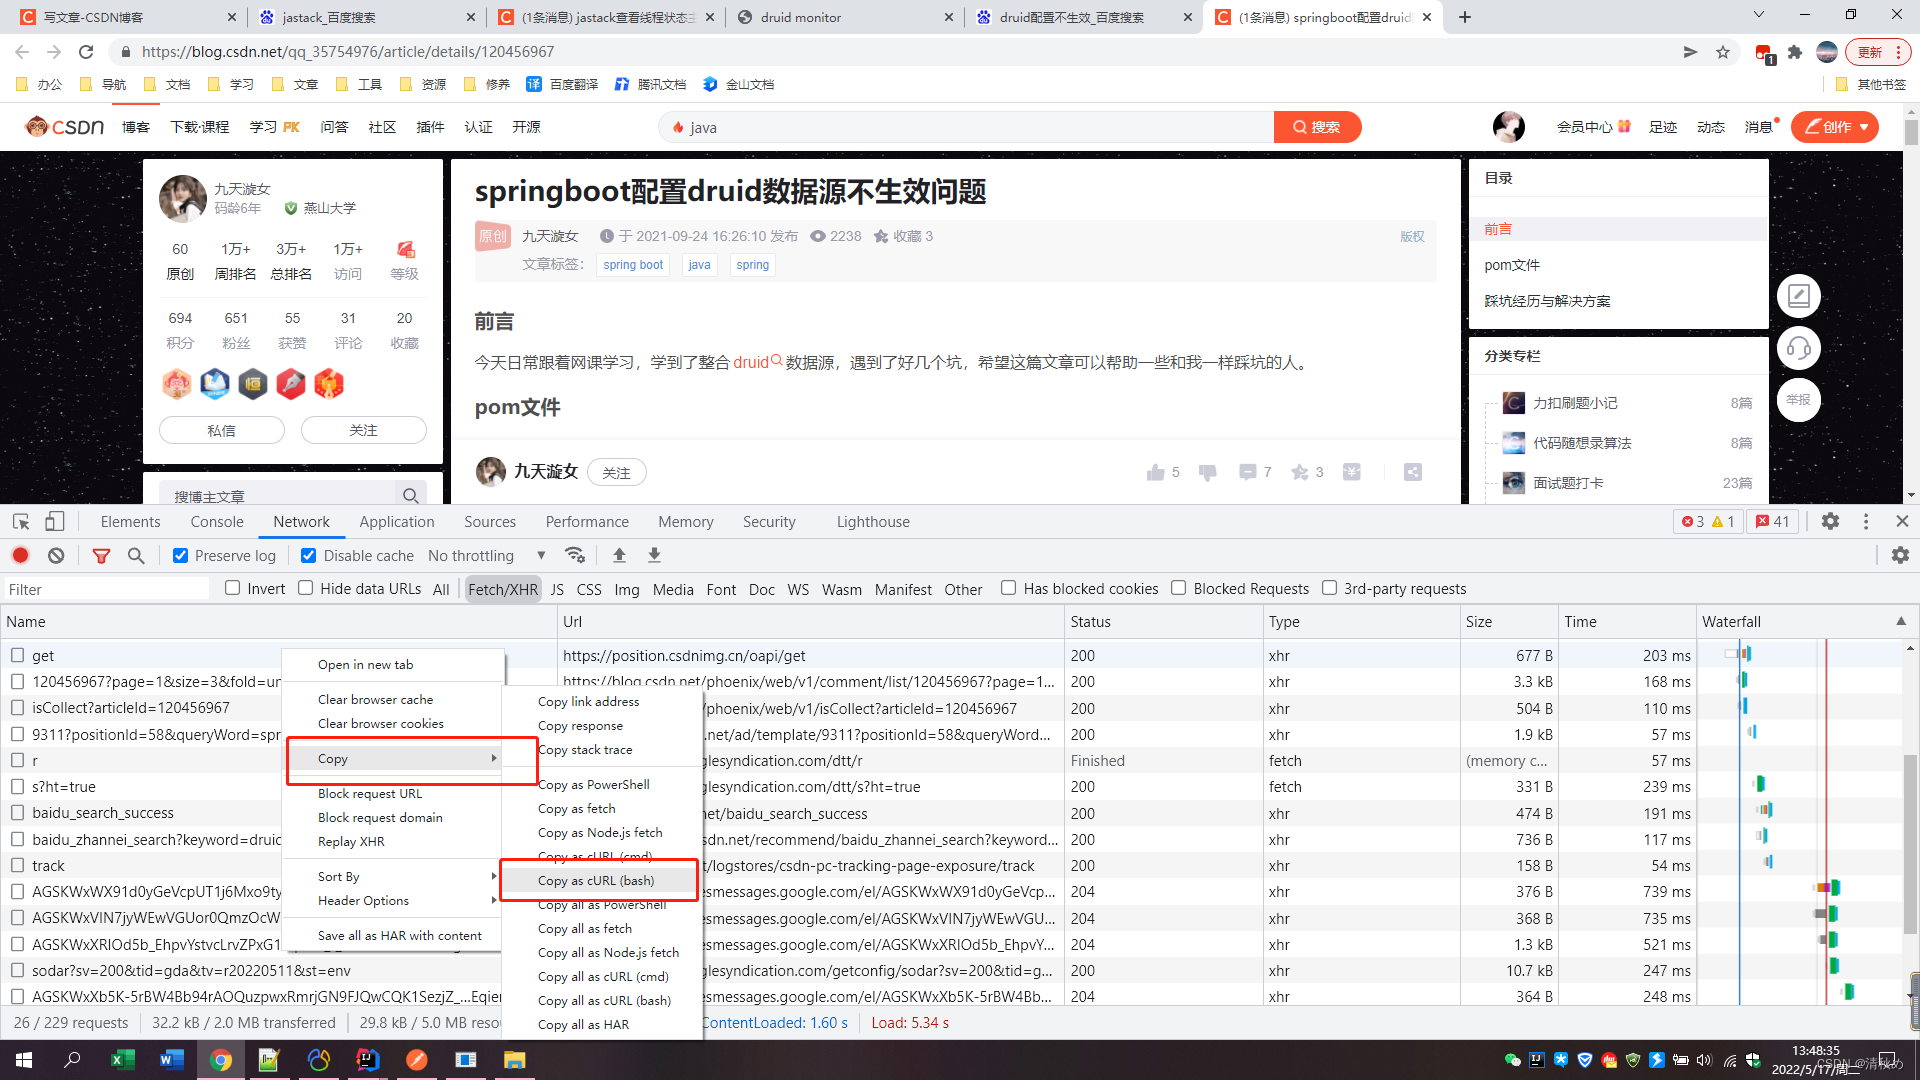
linux中 vi a.sh把复制的东西粘贴
curl 'https://position.csdnimg.cn/oapi/get' \
  -H 'authority: position.csdnimg.cn' \
  -H 'pragma: no-cache' \
  -H 'cache-control: no-cache' \
  -H 'sec-ch-ua: "Chromium";v="94", "Google Chrome";v="94", ";Not A Brand";v="99"' \
  -H 'accept: application/json, text/javascript, */*; q=0.01' \
  -H 'content-type: application/json' \
  -H 'sec-ch-ua-mobile: ?0' \
  -H 'user-agent: Mozilla/5.0 (Windows NT 10.0; Win64; x64) AppleWebKit/537.36 (KHTML, like Gecko) Chrome/94.0.4606.71 Safari/537.36' \
  -H 'sec-ch-ua-platform: "Windows"' \
  -H 'origin: https://blog.csdn.net' \
  -H 'sec-fetch-site: cross-site' \
  -H 'sec-fetch-mode: cors' \
  -H 'sec-fetch-dest: empty' \
  -H 'referer: https://blog.csdn.net/qq_35754976/article/details/120456967' \
  -H 'accept-language: zh-CN,zh;q=0.9,zh-TW;q=0.8,en-US;q=0.7,en;q=0.6' \
  --compressed
保存退出然后执行以下命令测试并发,windows可以找工具或者postman队列执行(postman参考该链接)
# 并发测试接口实用性  a.sh里面是curl数据
for i in {1..100}
do
    sh a.sh >/dev/null &
done
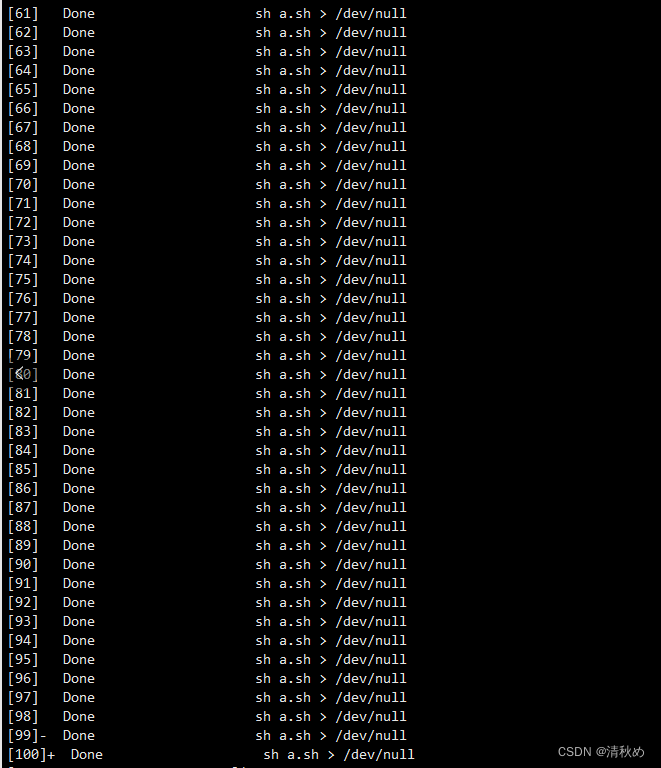
下图代表成功,然后再次访问程序是否还会卡死的现象
