在Java开发中,一般最常用的开发工具大概就是IDEA了。但IDEA也有一些缺点,比如占用内存大、打开速度慢等。所以就想到,如果使用VS Code来开发一些中小型的Spring Boot项目,体验想必还是不错的。本文记录了在VS Code中进行Spring Boot开发的步骤。
1. 安装VS Code插件
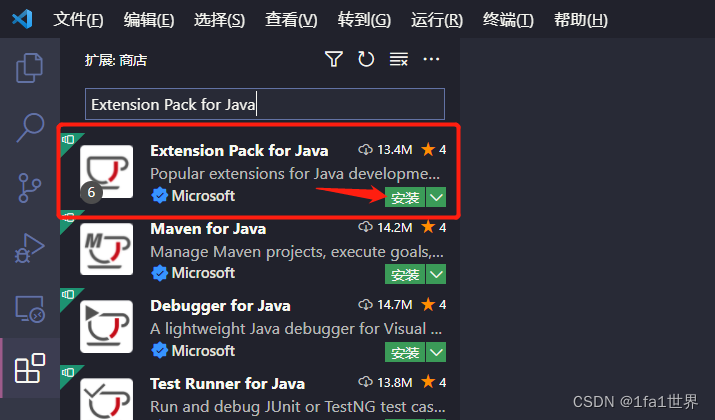
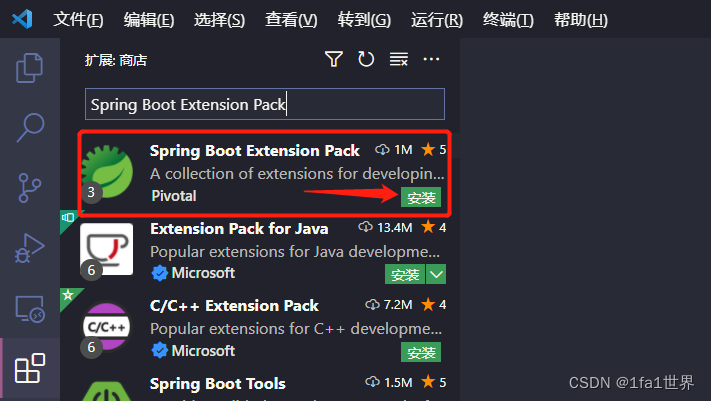
首先需要在VS Code中安装两个插件:Extension Pack for Java和Spring Boot Extension Pack。打开VS Code之后,点击左侧的扩展,然后在搜索框中搜索并安装。
2. 创建Spring Boot工程
打开VS Code,按快捷键Ctrl + Shift + P打开命令面板,输入Spring Initializr: Create a Maven Project,选中之后填写项目信息,最后选择项目保存的位置,按Enter键创建项目。

3. 添加Spring Boot依赖
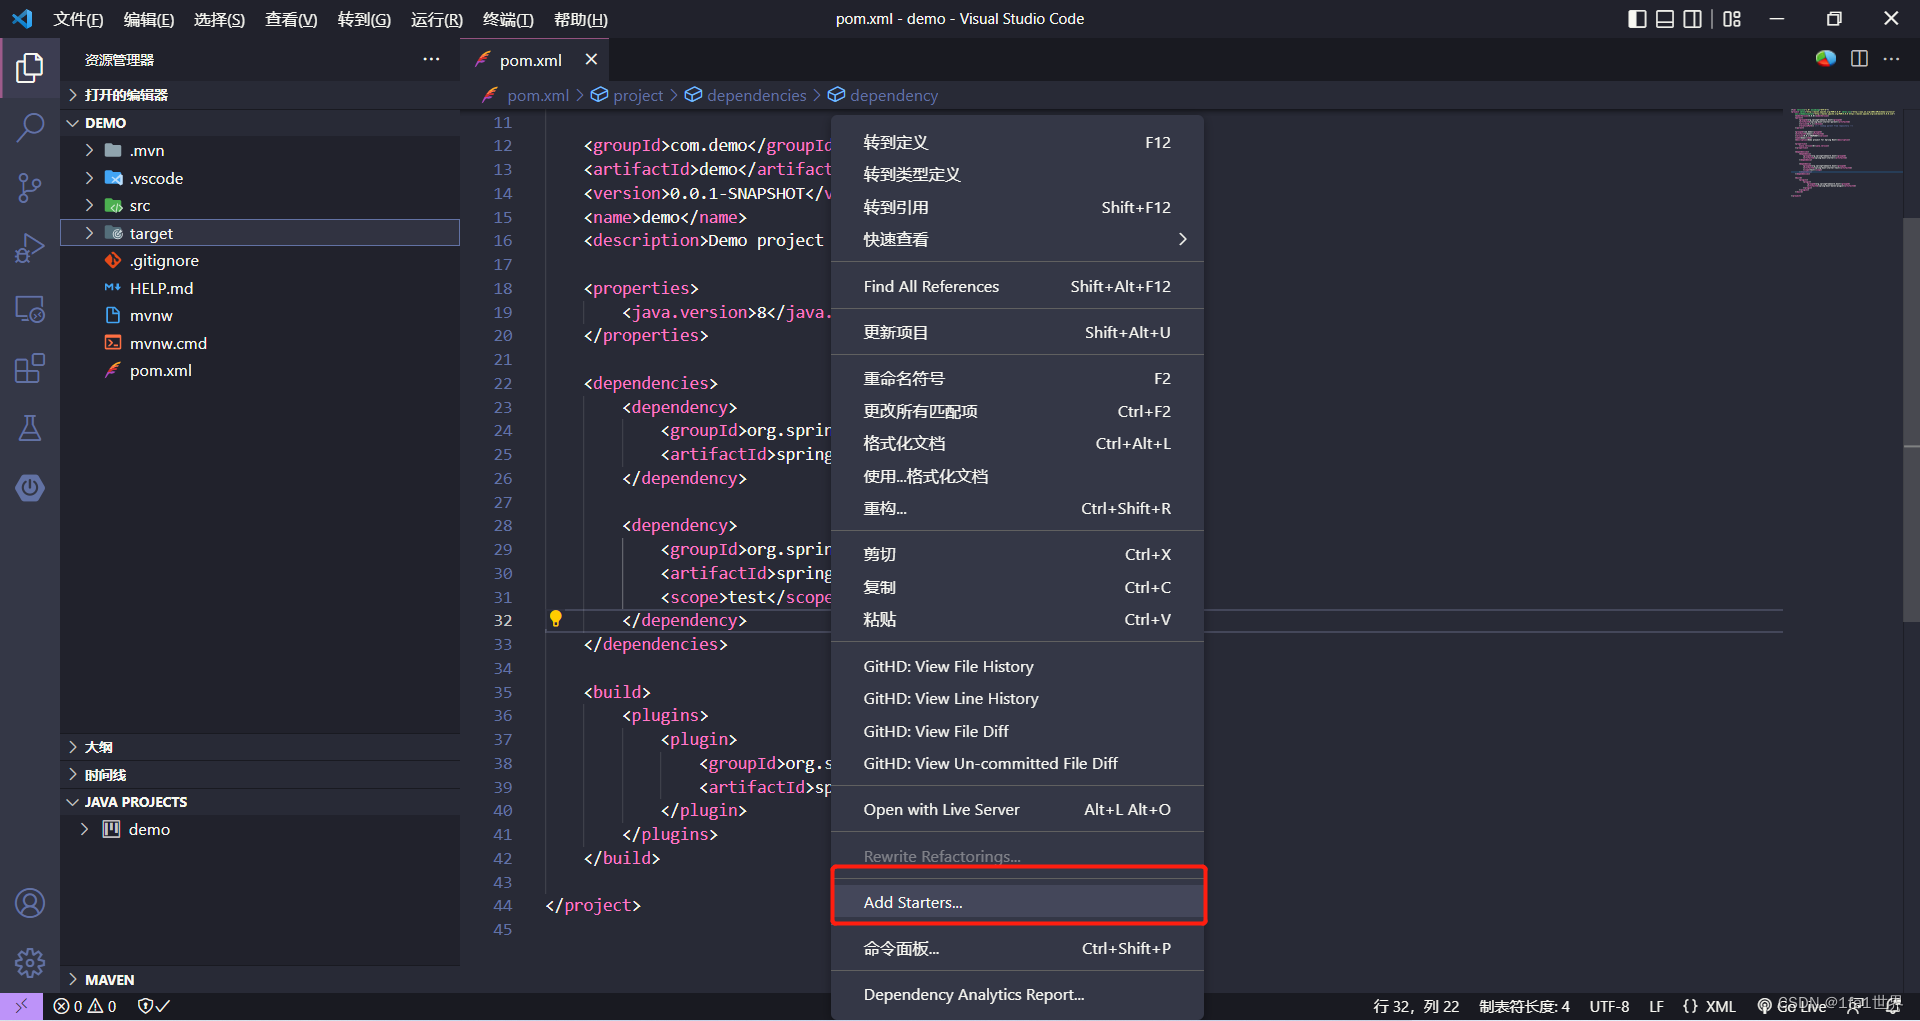
在VS Code中添加Spring Boot依赖还是比较简单的,打开pom.xml文件,鼠标右键选择Add Starters...,搜索依赖添加即可。
4. 运行Spring Boot工程
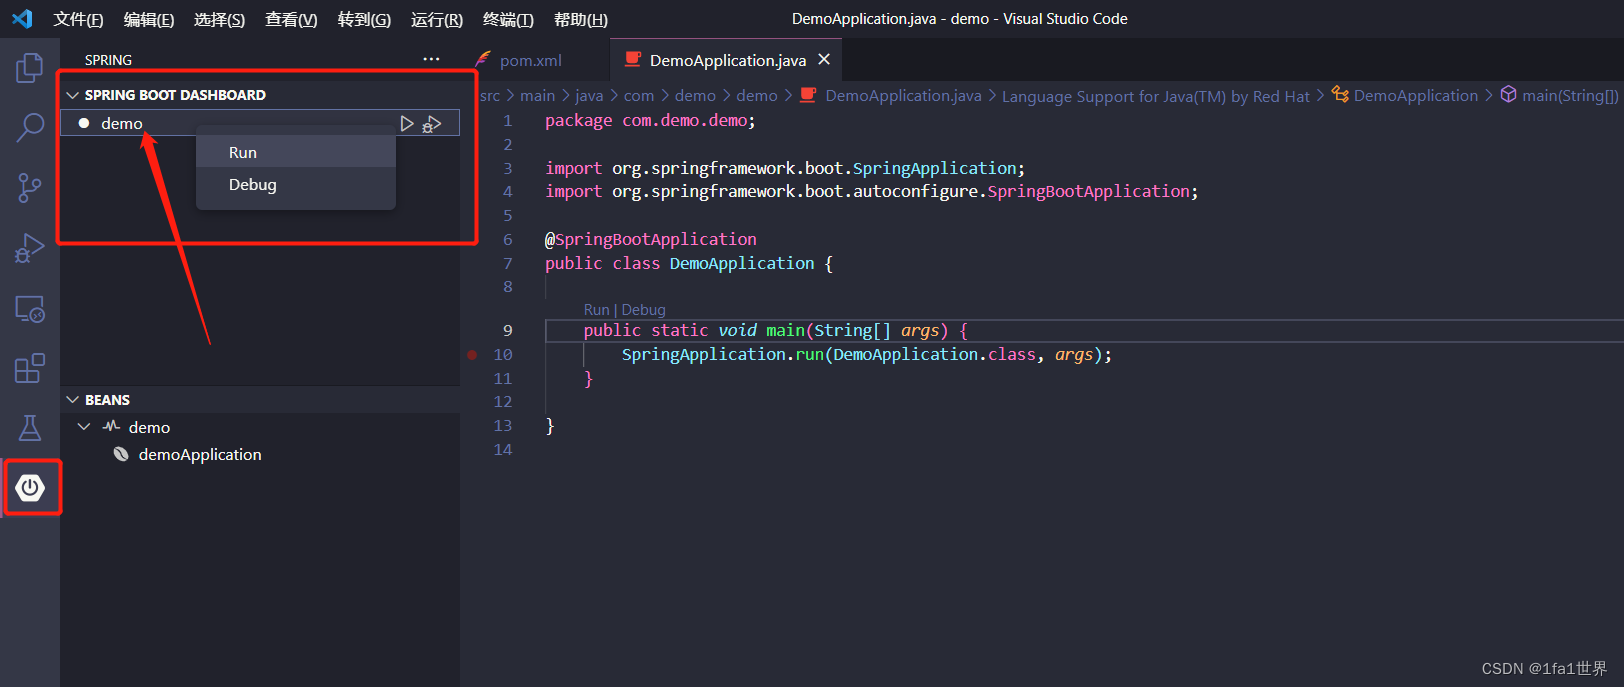
点击左侧Spring选项,然后选择Spring Boot Dashboard中的项目名称,鼠标右键点击Run,项目就运行起来了。
参考链接
https://code.visualstudio.com/docs/java/java-spring-boot