基于Ant DesignPro实现通过SpringBoot后台加载自定义菜单-SpringBoot后端部分
- 此文章主要实现基于Ant DesignPro脚手架快速构建一个后台管理系统的前端后,需要实现通过SpringBoot后台来加载自定义的菜单功能
- 修改布局-服务器端加载自定义菜单的实现 参照
1、官方文档ProLayout - 高级布局
2、CSDN-renlmmm的文章 ant design pro v5 动态菜单- 前端代码仓库地址:https://gitee.com/duyanjun/ant-design-promc.git
- 后端代码仓库地址:https://gitee.com/duyanjun/mcboot.git
一、AntDesign Pro安装过程
二、基于Ant DesignPro实现通过SpringBoot后台加载自定义菜单-前端部分
三、基于Ant DesignPro实现通过SpringBoot后台加载自定义菜单-SpringBoot后端部分
一、通过Ant DesignPro构建前端,并修改布局
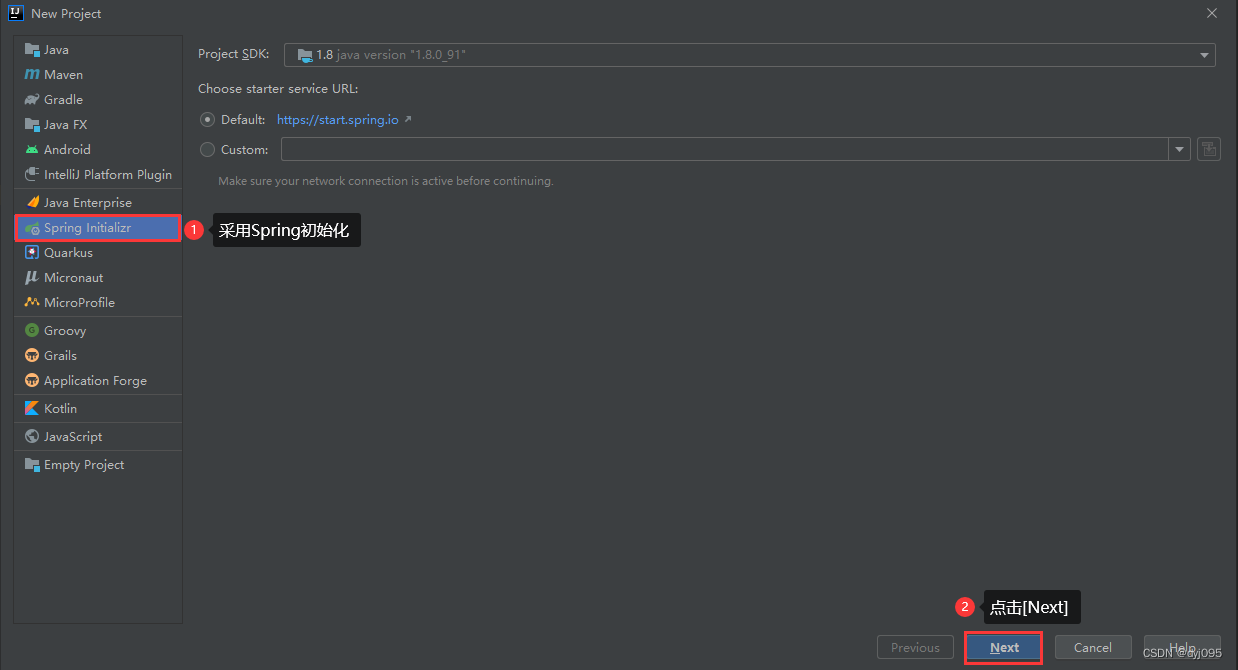
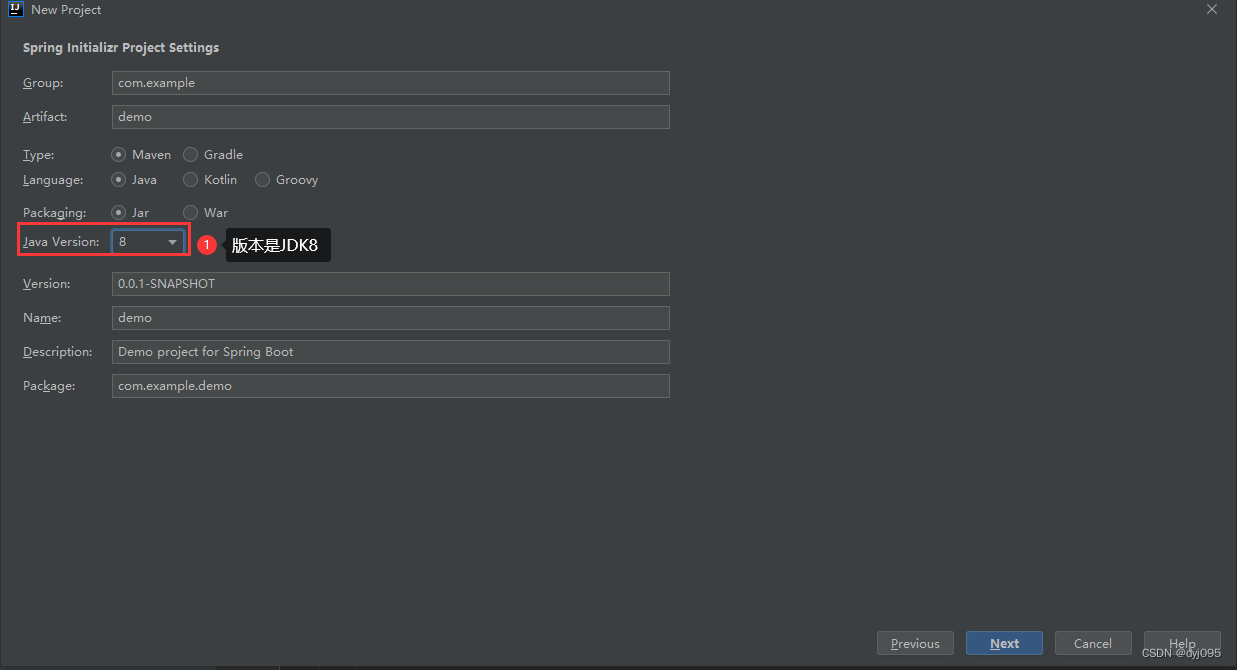
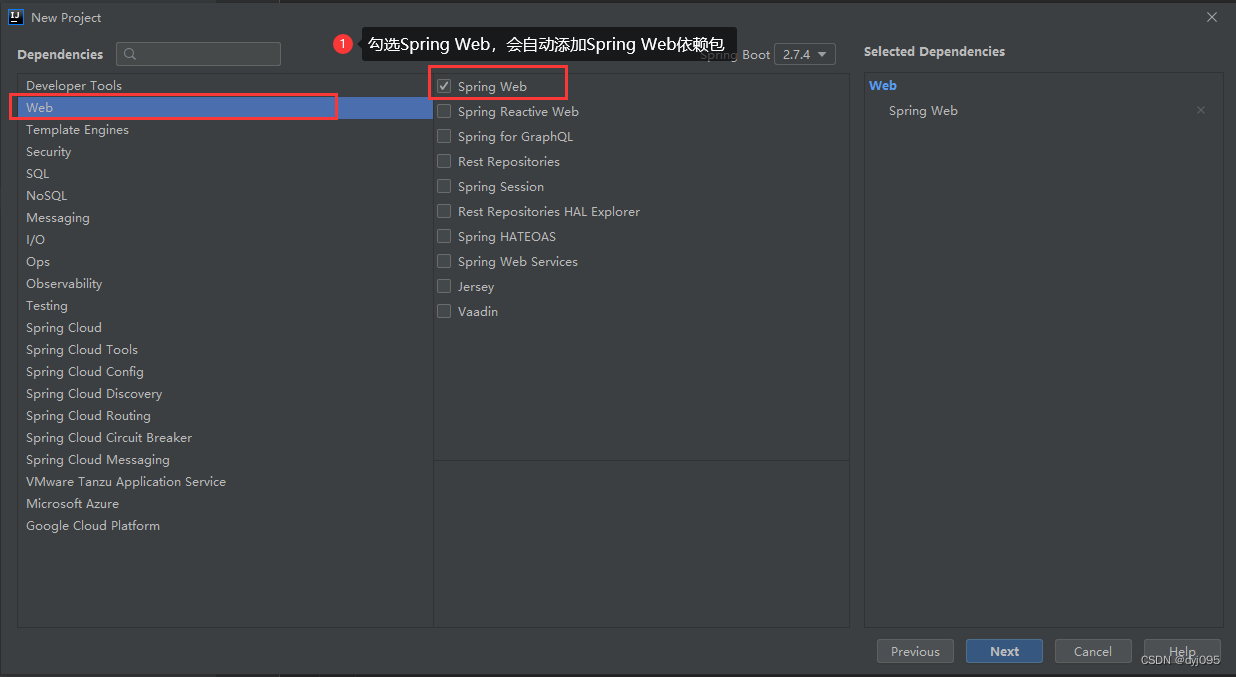
二、创建SpringBoot项目
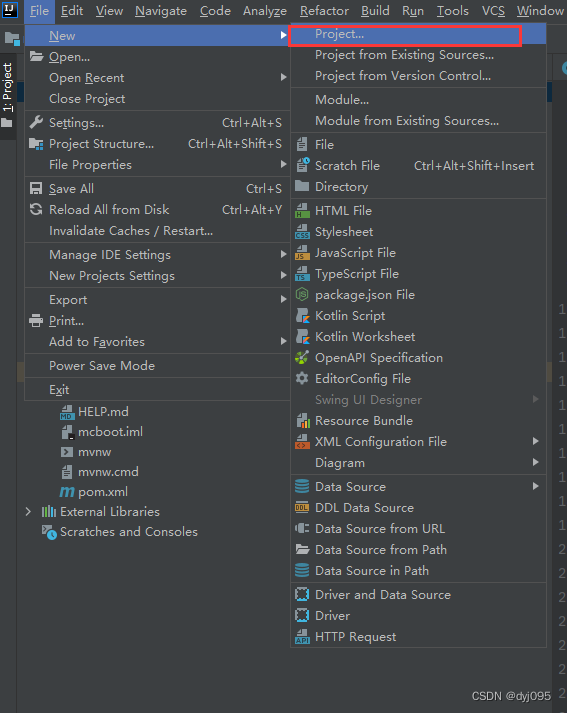
1. File->New->Project
2.编辑pom.xml,添加需要的依赖
<?xml version="1.0" encoding="UTF-8"?>
<project xmlns="http://maven.apache.org/POM/4.0.0" xmlns:xsi="http://www.w3.org/2001/XMLSchema-instance"
         xsi:schemaLocation="http://maven.apache.org/POM/4.0.0 https://maven.apache.org/xsd/maven-4.0.0.xsd">
    <modelVersion>4.0.0</modelVersion>
    <parent>
        <groupId>org.springframework.boot</groupId>
        <artifactId>spring-boot-starter-parent</artifactId>
        <version>2.5.5</version>
        <relativePath/>
    </parent>
    <groupId>cn.chinaelink.im</groupId>
    <artifactId>mcboot</artifactId>
    <version>0.0.1-SNAPSHOT</version>
    <name>mcboot</name>
    <description>Demo project for Spring Boot</description>
    <properties>
        <java.version>1.8</java.version>
    </properties>
    <dependencies>
        <dependency>
            <groupId>org.springframework.boot</groupId>
            <artifactId>spring-boot-starter-web</artifactId>
        </dependency>
        <dependency>
            <groupId>org.springframework.boot</groupId>
            <artifactId>spring-boot-starter-test</artifactId>
            <scope>test</scope>
        </dependency>
        <!-- 热部署加入的引用,1.spring-boot-devtools-->
        <dependency>
            <groupId>org.springframework.boot</groupId>
            <artifactId>spring-boot-devtools</artifactId>
        </dependency>
        <!--json需要的依赖 -->
        <dependency>
            <groupId>net.sf.json-lib</groupId>
            <artifactId>json-lib-ext-spring</artifactId>
            <version>1.0.2</version>
        </dependency>

        <dependency>
            <groupId>org.projectlombok</groupId>
            <artifactId>lombok</artifactId>
            <optional>true</optional>
        </dependency>
        <!--重点:模板引擎,用于显示网页需要的依赖 -->
        <dependency>
            <groupId>org.springframework.boot</groupId>
            <artifactId>spring-boot-starter-thymeleaf</artifactId>
        </dependency>
    </dependencies>

    <build>
        <plugins>
            <plugin>
                <groupId>org.springframework.boot</groupId>
                <artifactId>spring-boot-maven-plugin</artifactId>
                <configuration>
                    <includeSystemScope>true</includeSystemScope>
                </configuration>
            </plugin>
        </plugins>
    </build>
</project>
3.编辑application.properties
#配置管理服务端口号,默认为8080
server.port=8080
#服务访问路径
server.servlet.context-path=/

# 输出的log文件名
logging.file.name=mc
# 输出的文件的路径
logging.file.path=./logs/mc/
# 限制日志文件的大小
logging.file.max-size=10MB
# 日志的保存天数
logging.file.max-history=7

# 输出级别
logging.level.root=warn
logging.level.cn.com.hxyl.filebs=debug

# xml配置文件
logging.config=classpath:logback-spring.xml

#关闭缓存
spring.thymeleaf.cache=false
spring.thymeleaf.prefix=classpath:/static/
server.tomcat.threads.max=100
server.tomcat.threads.min-spare=30

#开启项目热部署
spring.devtools.restart.enabled=true
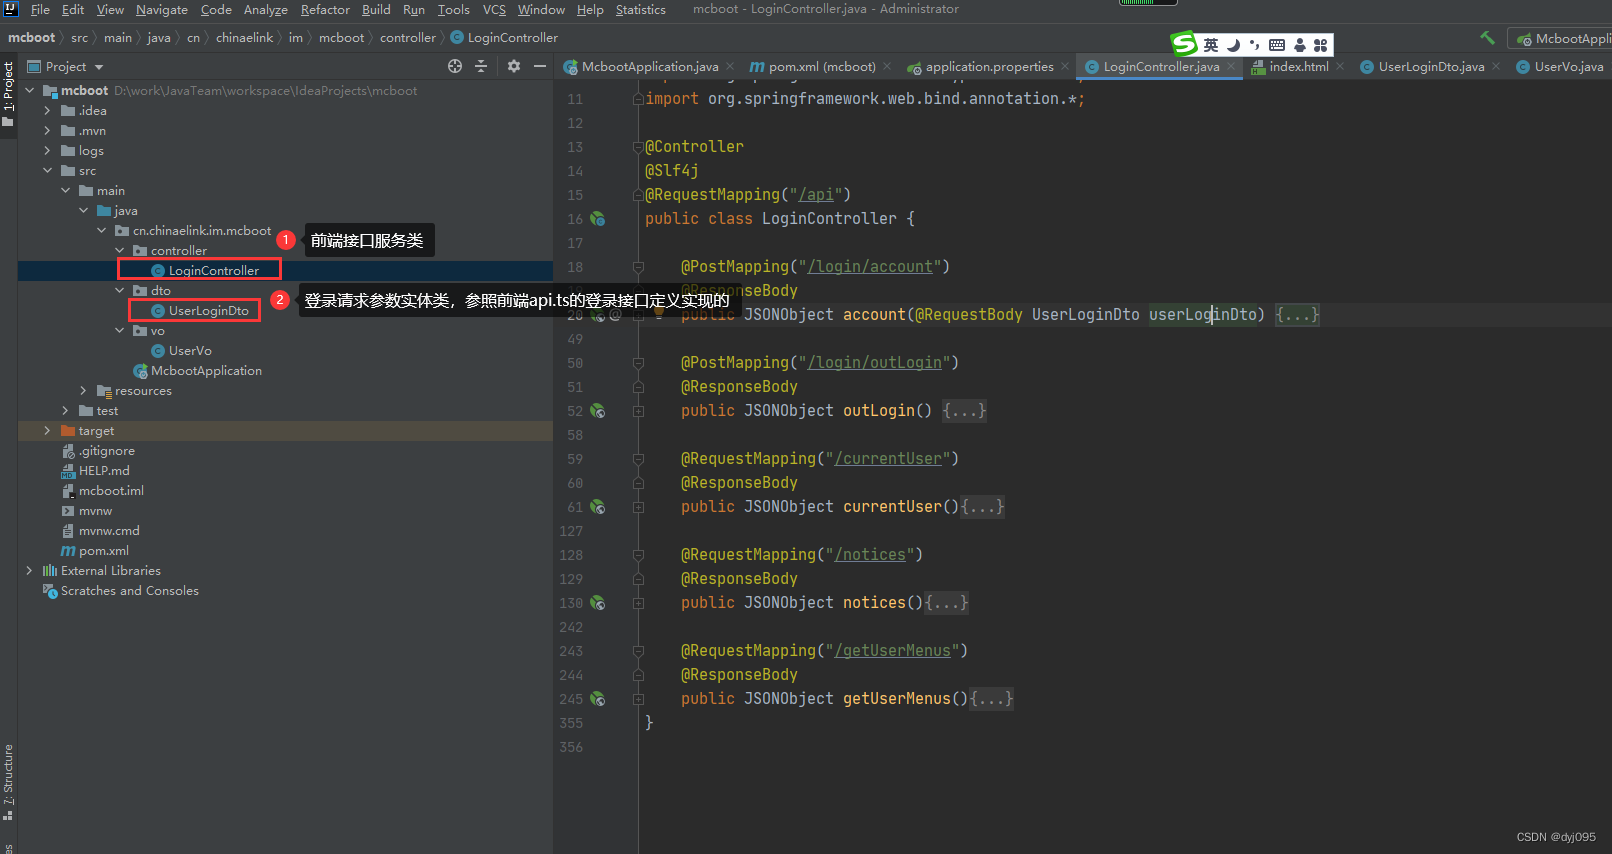
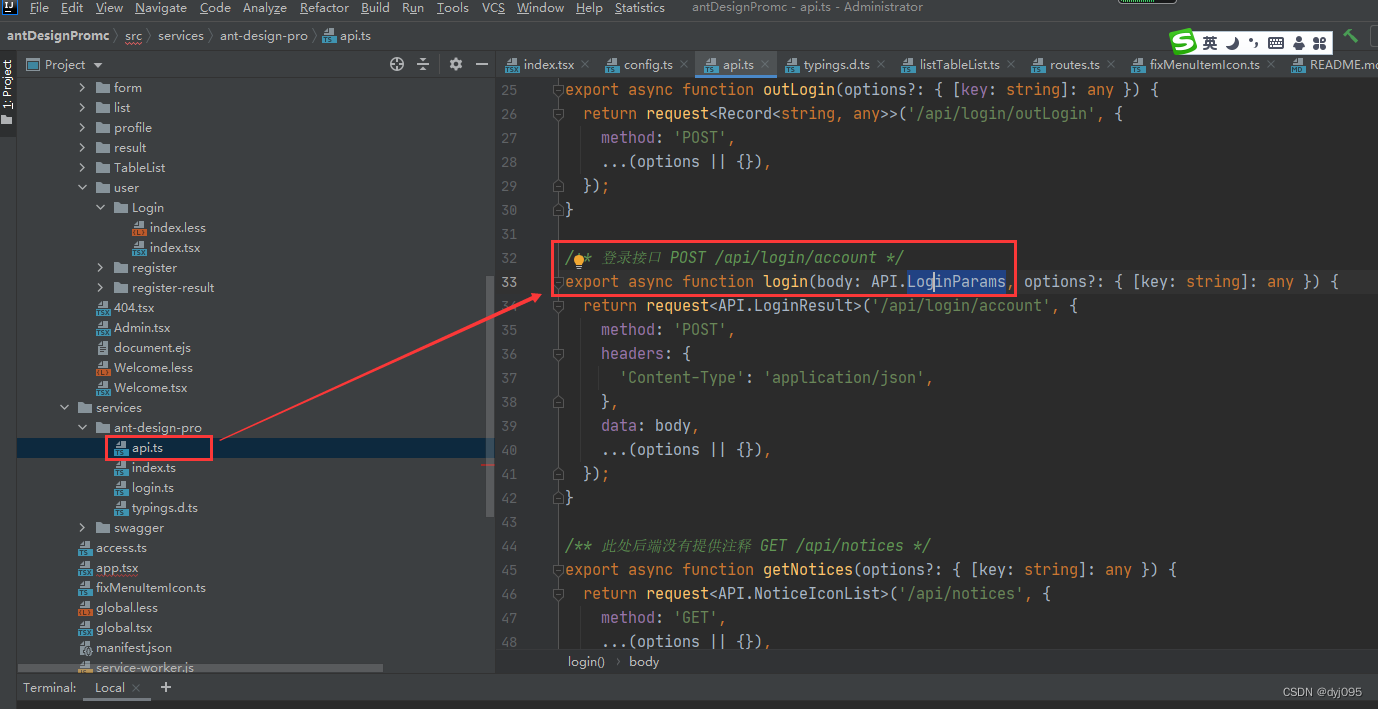
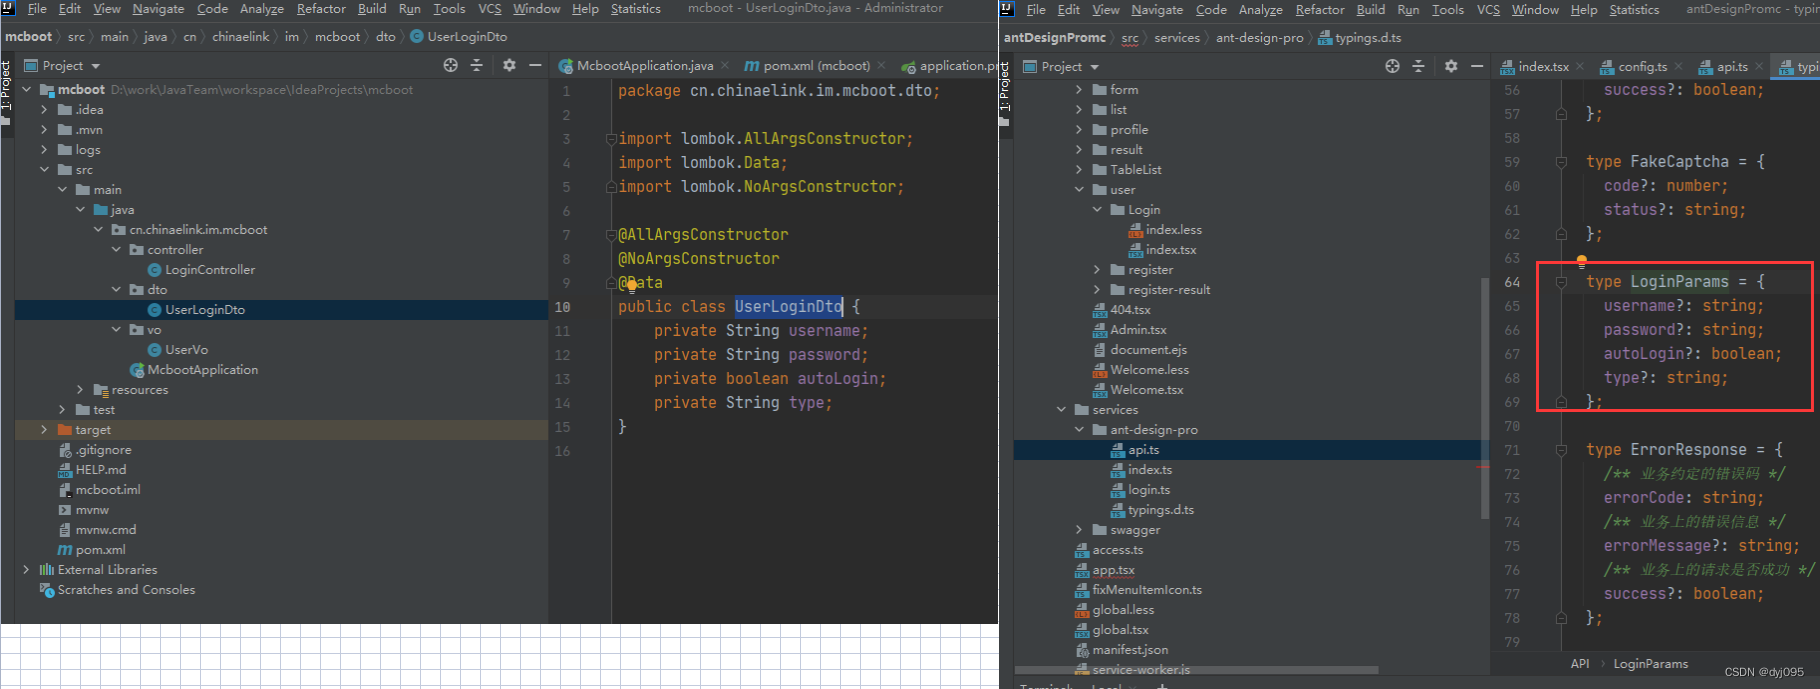
4.创建LoginController,实现必要的前端需要的接口
5.编译前端代码
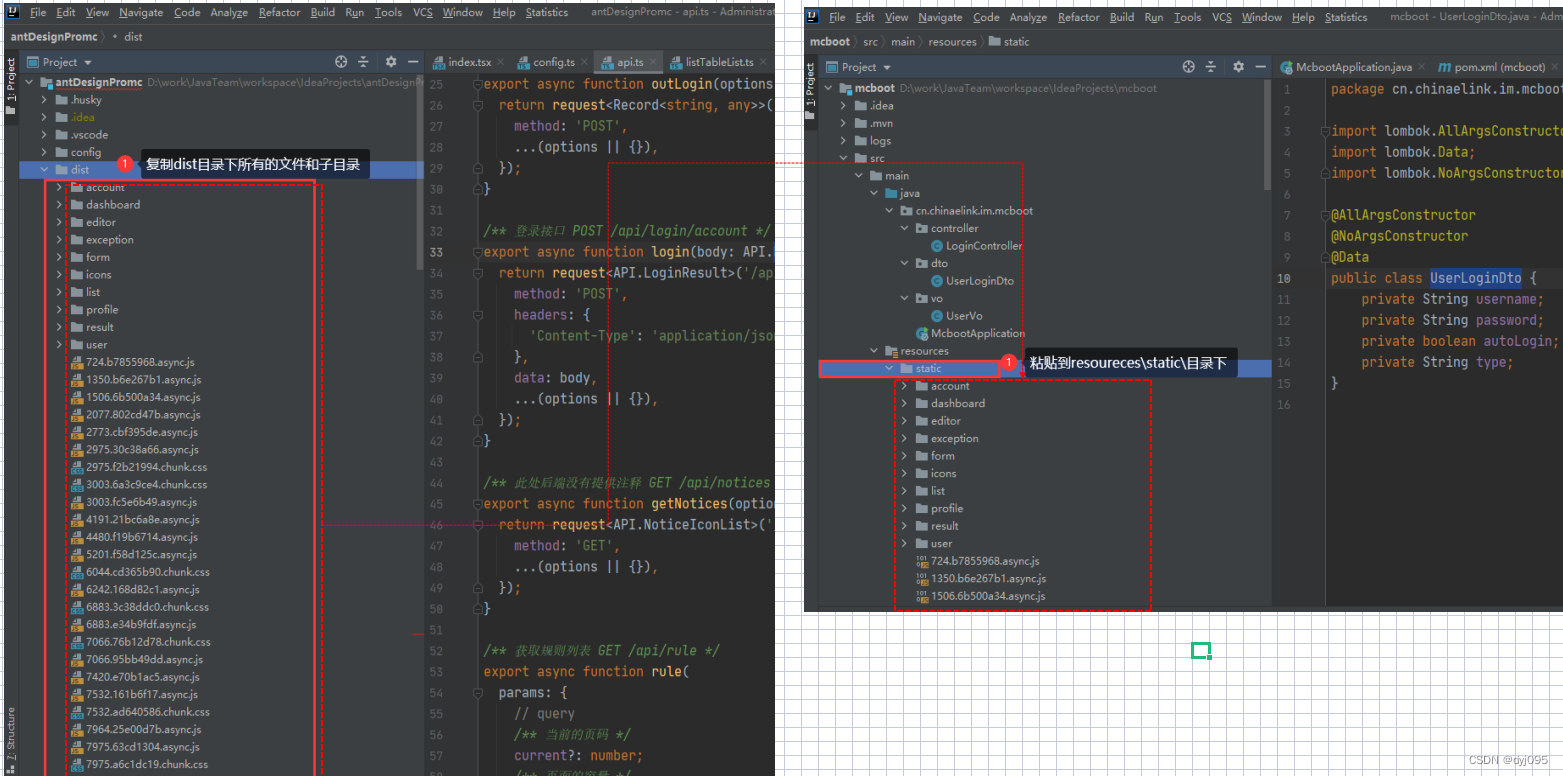
yarn run build

6.将编译好的文件复制到SpringBoot工程中
将下图所示编译好的前端代码(左图所示dist\目录下的文件)复制到SpringBoot工程中
三、启动服务访问页面
代码已上传至Gitee https://gitee.com/duyanjun/mcboot.git