Դ���������
git@gitee.com:mryangjianxin/puzzle-verification-code.git
����,����Ҫ�˽�һ��ƴͼ��֤����ʱ��ô��ɵ�
- һ��������ͼƬ
- һ����ͼƬ�ϵ����ֲ�,������������Ҫ����λ��,������Ҫ�ƶ��ġ��顰
- һ�����Բ������顰�Ļ�����
- �õ�һ�����е�ͼƬ
<!DOCTYPE html>
<html lang="en">
<head>
<meta charset="UTF-8">
<meta http-equiv="X-UA-Compatible" content="IE=edge">
<meta name="viewport" content="width=device-width, initial-scale=1.0">
<title>ƴͼ��֤��ʵ��</title>
<link rel="stylesheet" href="css/VerificationCode.css" type="text/css">
</head>
<body>
<div id="captcha"></div>
</body>
<script type="text/javascript" src="js/VerificationCode.js"></script>
</html>
body {
display: flex;
justify-content: center;
align-items: center;
min-height: 100vh;
}
#captcha {
--width: 400px;
--height: 260px;
display: block;
width: var(--width);
height: var(--height);
border-radius: 4px;
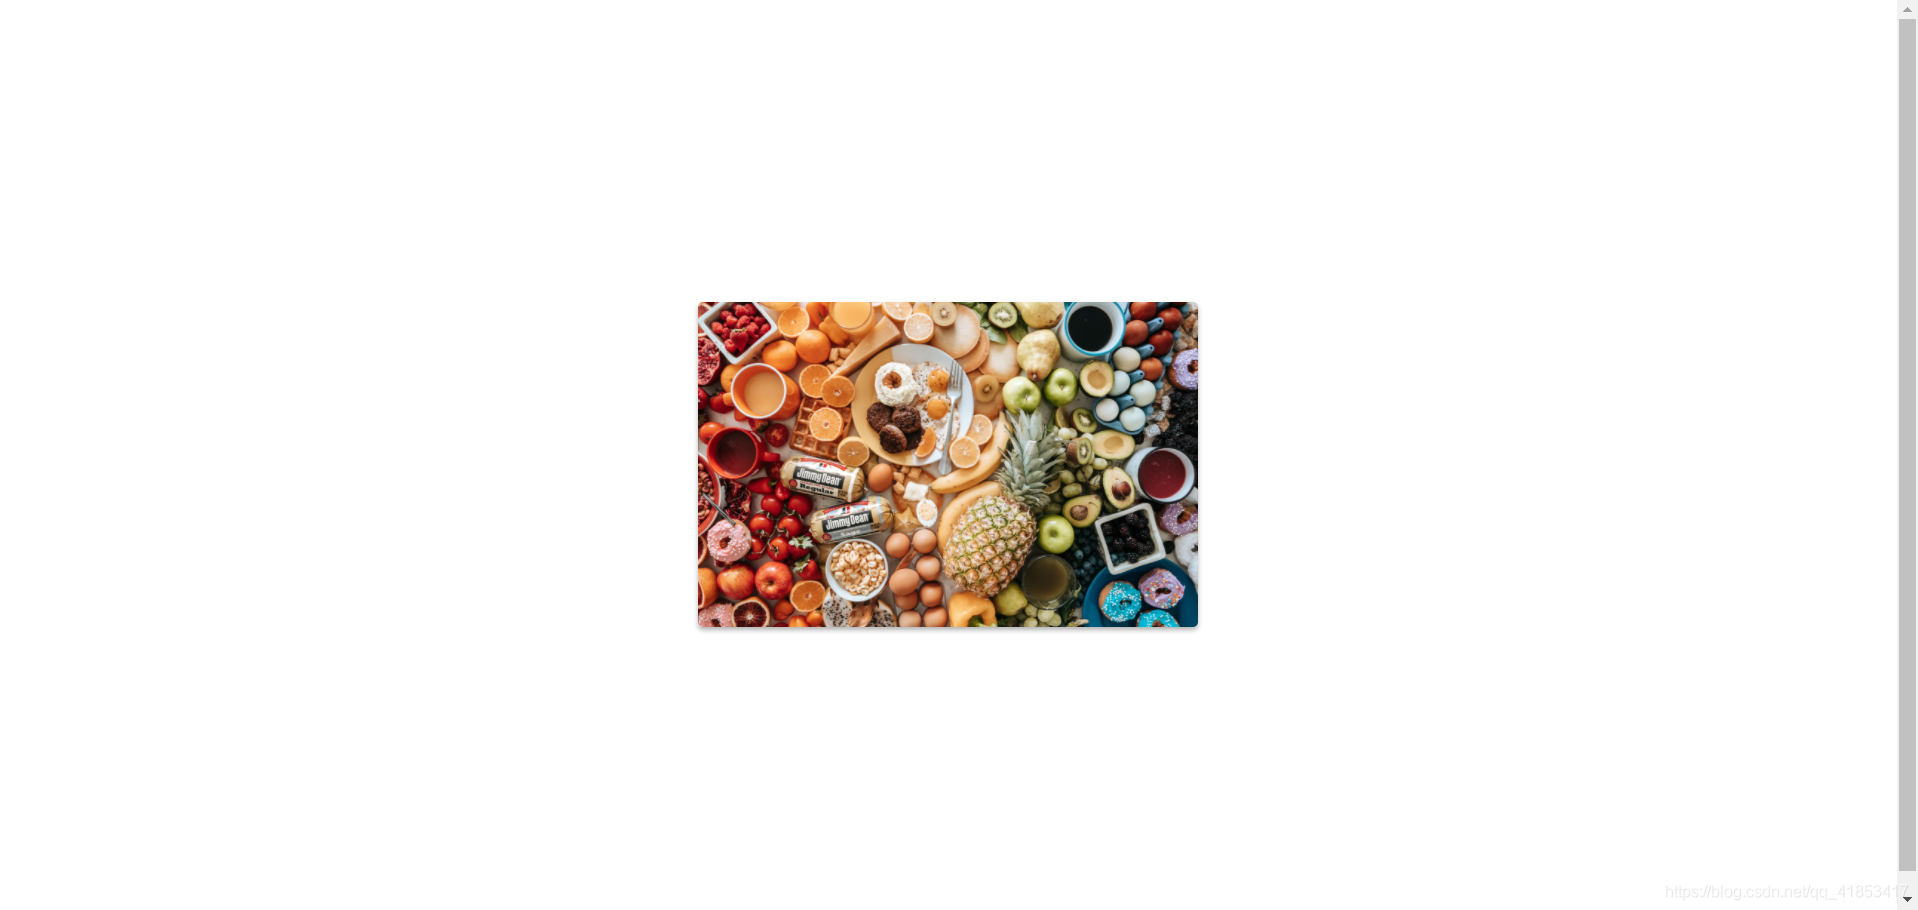
background-image: url(https://images.unsplash.com/photo-1606787366850-de6330128bfc?ixlib=rb-1.2.1&ixid=MnwxMjA3fDB8MHxwzaG90by1wYWdlfHx8fGVufDB8fHx8&auto=format&fit=crop&w=2700&q=80);
background-size: cover;
background-position: center;
position: relative;
box-shadow: 0px 2px 4px rgba(0, 0, 0, .3);
}
�������:
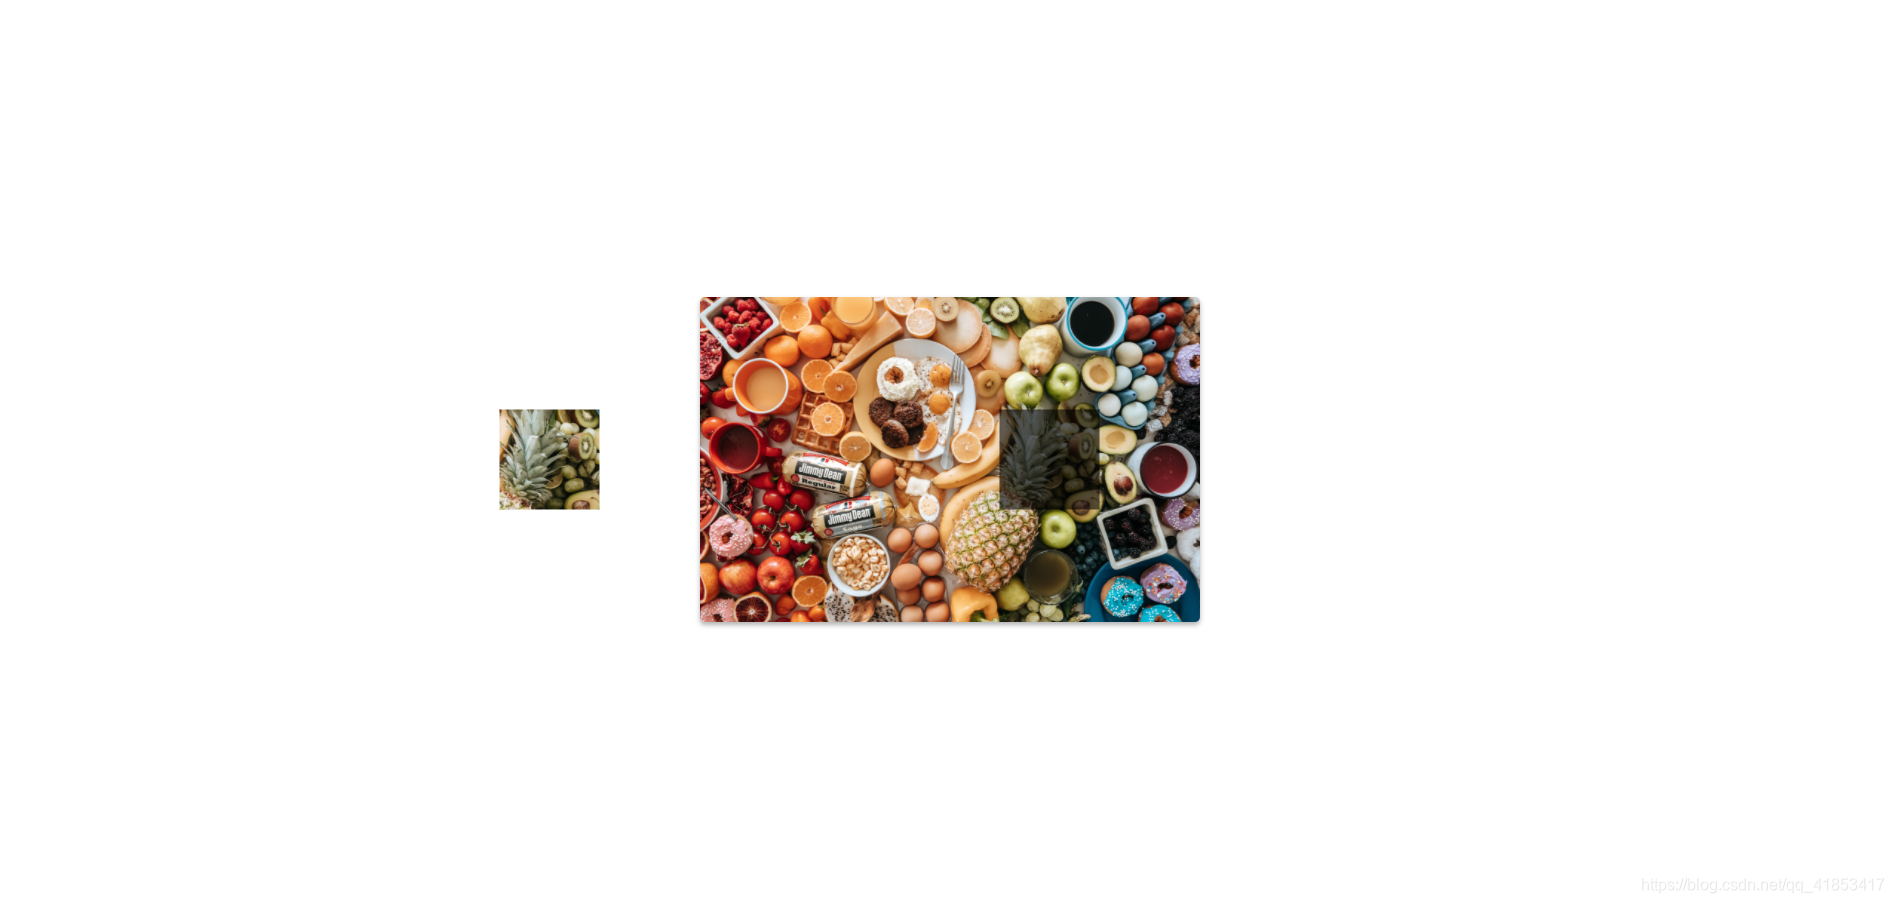
- ���� Pseudo Element αԪ�ش���һ��ȱ��
inset() ???? ������һ��ͼ�κ���,����ָ��ij�ֻ���ͼ�����͡�inset()�������ڶ�����Ρ�
calc() ??????�� CSS �������������� CSS ����ֵʱִ��һЩ���㡣
-webkit ??? ���־ͽ��������˽��ǰ,�������������CSS���Ե�һ����ǰ֧��
ackground-blend-mode ���Զ���ÿ��������(��ɫ��/��ͼ��)�Ļ��ģʽ��
#captcha {
--puzzle-width: 80px;
--puzzle-height: 80px;
}
#captcha::before,
#captcha::after {
position: absolute;
content: 'ƴͼ';
display: block;
width: inherit;
height: inherit;
background-image: inherit;
/* background-color: red; */
background-size: inherit;
background-position: inherit;
clip-path: inset(calc((var(--height) - var(--puzzle-height)) / 2)
/* 90px */
var(--puzzle-width)
/* 90px */
calc((var(--height) - var(--puzzle-height)) / 2)
/* 90px */
calc(var(--width) - var(--puzzle-width) * 2)
/* 230px */
);
/* -webkit ˽��ǰ */
-webkit-clip-path: inset(
/* �������ڷ�����С */
calc((var(--height) - var(--puzzle-height)) / 2)
/* 90px */
/* �����ڷ�����С */
var(--puzzle-width)
/* 90px */
/* �������ڷ�����С */
calc((var(--height) - var(--puzzle-height)) / 2)
/* 90px */
/* �����ڷ�����С */
calc(var(--width) - var(--puzzle-width) * 2)
/* 230px */
);
}
#captcha::after {
transform: translatex(calc((var(--width)*-1)))
}
#captcha::before {
background-color: rgba(0, 0, 0, .6);
background-blend-mode: multiply;
}
- ʵ�ֹ�����
��ʵ�ֹ�����ʱ����ʹ�õ�����ԭ���Ļ��������������鼶Ԫ��,ע��:�������ﲻʹ��αԪ����ʵ��ԭ������Javascript�в���ֱ�Ӽ���α��Ԫ�ص��¼�,��Ϊ�˺�������ʹ��javascript��������
clamp() �����������ǰ�һ��ֵ������һ����������֮��,�����ֵ������Сֵ�����ֵ�ķ�Χʱ,����Сֵ�����ֵ֮��ѡ��һ��ֵʹ�á���������������:��Сֵ����ѡֵ�����ֵ��
  <div id="captcha">
    <div id="handle">
      <span></span>
    </div>
  </div>
ע��:��������ʹ����clamp()����,�����˰�ť�����ֵ����Сֵ,���Ƿ��������ƶ��Ŀ�Ҳ�������ƶ���,���ǾͿ���ʹ��ͬһ��ֵ����,�����Ϳ��Դﵽ��ť��ƴͼ��ͬ��
#captcha {
  --moved: 0px;
}
#captcha::after {
  transform: translatex(calc((var(--width)*-1)))
}
��Ϊ
#captcha::after {
  transform: translatex(clamp(calc(var(--width) * -1),
        calc((var(--width) * -1) + var(--moved)),
        calc(var(--puzzle-width))));
}
/* ������ */
#handle {
width: calc(var(--width) + var(--puzzle-width) * 2);
height: 30px;
border-radius: 18px;
background-color: #eee;
position: absolute;
bottom: -50px;
left: calc(var(--puzzle-width) * 2 * -1);
box-shadow: inset 0px 0px 12px rgba(0, 0, 0, .2);
border: 3px solid #ccc;
}
/* �϶��İ�ť */
#handle span {
display: block;
width: var(--puzzle-width);
height: inherit;
border-radius: inherit;
background-color: #fff;
box-shadow: inset 0px 0px 6px rgba(0, 0, 0, .25), 0px 2px 4px rgba(0, 0, 0, .3);
position: absolute;
cursor: move;
transform: translatex(clamp(0px,
var(--moved),
calc(var(--width) + var(--puzzle-width))));
}
�������� --moved ֵʱ,�ͻ�������¼����
- ����JavaScript��,���ĨCmoved ��ֵ
const captcha = document.querySelector('#captcha')
const handle = document.querySelector('#handle')
const button = document.querySelector('#handle span')
//���ʱ
button.addEventListener('mousedown', (e) => {��
}
//�ƶ�ʱ
window.addEventListener('mousemove', (e) => {
}
//����ʱ
window.addEventListener('mouseup', (e) => {
}
������������Ҫ����һ��flag (shouldMove),���ж����Ƿ��ڵ��״̬
Element.getBoundingClientRect() ��������Ԫ�صĴ�С����������ӿڵ�λ�á�
setProperty() ������������һ���µ� CSS ����,ͬʱҲ������ CSS ���������Ѵ��ڵ����ԡ�
let shouldMove = false

button.addEventListener('mousedown', (e) => {
  shouldMove = true
})

window.addEventListener('mouseup', (e) => {
  if (shouldMove) {}
}
�������յ�JavaScript����
let shouldMove = false
const captcha = document.querySelector('#captcha')
const handle = document.querySelector('#handle')
const button = document.querySelector('#handle span')
//���ʱ
button.addEventListener('mousedown', (e) => {
shouldMove = true
})
//�ƶ�ʱ
window.addEventListener('mousemove', (e) => {
if (shouldMove) {
const offsetLeft = handle.getBoundingClientRect().left
const buttonWidth = button.getBoundingClientRect().width
// �α��Xλ��,������������ߵ�λ��,�ڼ�ȥ��ť���ȳ�2(��2��ԭ��������ĵ��趨����ť���м�λ��)
captcha.style.setProperty('--moved', `${e.clientX - offsetLeft - buttonWidth / 2}px`)
}
})
// ����ʱ
window.addEventListener('mouseup', (e) => {
if (shouldMove) {
//��ȡ��������뿪ʱ�����϶��ĸ�����
const finalOffset = e.clientX - handle.getBoundingClientRect().left
// console.log(finalOffset);
if (finalOffset >= 430 && finalOffset <= 450) {
// pass
captcha.classList.add('passed')
} else {
// failed
captcha.style.setProperty('--moved', '0px')
}
shouldMove = false
}
})
������ƴͼ��������ʱ,���Ǿ�Ҫ��ƴͼ ��ƴ�ӡ� ��ͼƬ��,Ҳ���������ֲ�����ȸ�Ϊ0
#captcha.passed::before,
#captcha.passed::after,
#captcha.passed #handle {
  opacity: 0;
}
- �Ż�,����ص�Ч��
�������Ƿ���,��ť��ƴͼ���ƶ���ƴ��ʱ���ǷDz��ظ���Ӳ
������Ϊ #handle span ���� transition ʱ,���ֲ����������ϵ�������
#handle span {
	transition: .25s all ease-in-out;
}
�������ǿ���ͨ��active ,���ڵ���ȥʱ�趨״̬ΪtransitionΪnone
#captcha:active #handle span {
  transition: none;
}
ͬʱҲ�趨��#captcha::after��
#captcha::after{
	transition: .25s all ease-in-out;
}
#captcha:active::after {
  transition: none;
}