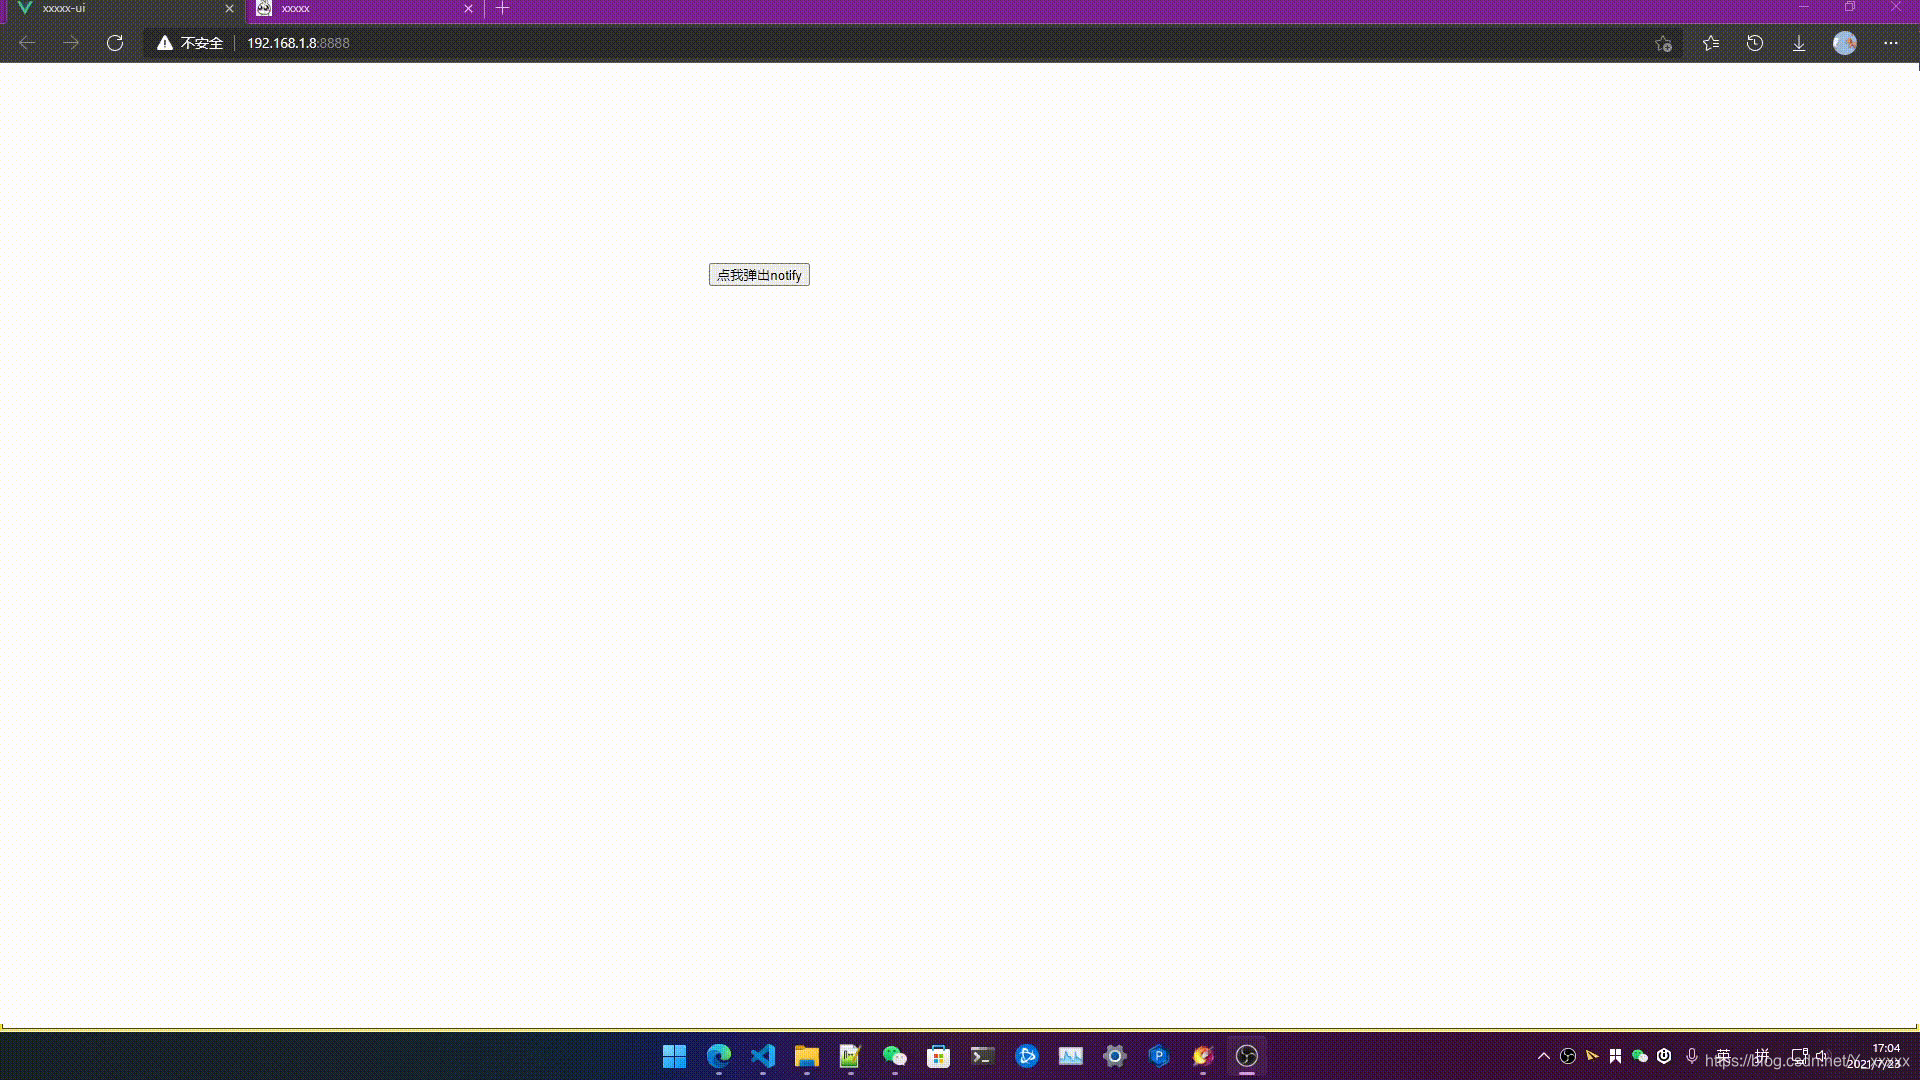
先看效果

组件样式参考element-ui
需要源码点我跳转gitee
组件部分
项目结结构如图
xxxxx-ui
|--src
|---components
|----common
|-----notify
|------index.js
|------Notify.vue
Notify.vue
<transition name="notify-Fade" appear>
    <!-- 整个notify 的容器  主要控制他来显示/隐藏-->
    <div class="XNotify" v-if="notifyFlag">
      <!-- 最左侧的图标类型 支持:error/info/warning/success -->
      <i :class="[`XNotifyTipIcon-${type} iconfont icon-${type}`]"></i>
      <!-- 显示的内容 -->
      <div class="XNotifyMain">
        <!-- 标题 -->
        <div class="XNotifyTitle">{{ title }}</div>
        <!-- 信息 -->
        <div class="XNotifyContent">{{ message }}</div>
        <!-- 右上角的关闭按钮 -->
        <i class="iconfont icon-close XNotifyClose" @click="handleCloseNotify">
        </i>
      </div>
    </div>
</transition>
<script>
    export default {
        data() {
            return {
            notifyFlag: true, //控制显示隐藏notify
            title: "", //显示的标题
            message: "", //显示的内容
            duration: 0, //延迟,默认0为一直显示,如果需要多久消失就写多少毫秒
            type: "info", //notify类型
            };
        },
        methods: {
            // 点击关闭按钮直接隐藏notify
            handleCloseNotify() {
            this.notifyFlag = false;
            },
        },
        created() {
            // 监听延迟,如果是0 则一直显示,如果设置了显示时间则延迟时间将时间设置给settimeout,让定时器关闭notify
            if (this.duration !== 0) {
            setTimeout(() => {
                this.notifyFlag = false;
            }, this.duration);
            }
        },
  };
</script>
<style lang="scss">
...
</style>
在 index.js 中
/*
 * @Description:
 * @Version: 2.0
 * @Autor: Seven
 * @Date: 2021-07-23 15:33:27
 * @LastEditors: Seven
 * @LastEditTime: 2021-07-23 17:41:52
 */
// 导入vue
import Vue from "vue";
//导入notify组件
import notifyComp from "./Notify.vue";
//使用vue组件 构造器创建 notifyConstructor
const notifyConstructor = Vue.extend(notifyComp);
// 创建div并且将className 设置为notifyContainerWrapper,他将作为所有notify的父盒子
let notifyEle = document.createElement("div");
notifyEle.className = "notifyContainerWrapper";

/**
  导出instance 实力, 在main.js中, 通过:
  import notify from "./components/common/notify/index";
  Vue.prototype.$notify = notify;
  导入并且注册到vue 的原型上,这样可以通过this.$notify({
    type:"success",
    ...
  })来直接使用
*/

export default function notify(opts) {
  // 通过上面创建的组件构造器创建出组件对象 这里的opts 就是在this.$notify({title:"标题"})中的对象,他将会合并到data中
  const instance = new notifyConstructor({
    data: opts,
  });
  // 将notifyEle  也就是我们的父盒子挂载到页面上,此时, 就可以在页面找到一个名字叫notifyContainerWrapper的div了
  document.body.appendChild(notifyEle);
  // 将组件对象挂载到notifyContainerWrapper元素上
  instance.$mount();
  notifyEle.appendChild(instance.$el);
  return instance;
}
使用
在 main.js 中导入
import notify from "./components/common/notify/index";
Vue.prototype.$notify = notify;
在 app.vue 中使用
<template>
    ...
        <button @click="handleBtnClick">点我弹出notify</button>
    ...
</template>
<script>
    export default {
        methods: {
            handleBtnClick() {
            this.$notify({
                title: "成功提示框",
                message: `成功提示框,试试点右上角的关闭!`,
                duration: 0,
                type: "success",
            });
            this.$notify({
                title: "消息提示框",
                message: `消息提示框,我在4500ms后自动消失`,
                duration: 4500,
                type: "info",
            });
            this.$notify({
                title: "警告提示框",
                message: `消息提示框,我在2000ms后自动消失`,
                duration: 2000,
                type: "warning",
            });
            this.$notify({
                title: "警告提示框",
                message: `消息提示框,我不会自动消失`,
                duration: 0,
                type: "error",
            });
            },
        },
    };
</script>
attribute
| 参数 | 说明 | 类型 | 可选值 | 默认值 |
|---|---|---|---|---|
| title | 显示通知的标题 | string | - | - |
| message | 显示通知的具体内容 | string | - | - |
| duration | 显示通知的消失时间,0 表示不自动消失 | number | - | 0ms |
| type | 显示通知的类型 | string | success / info / warning / error | info |