1.父组件给子组件传递数据
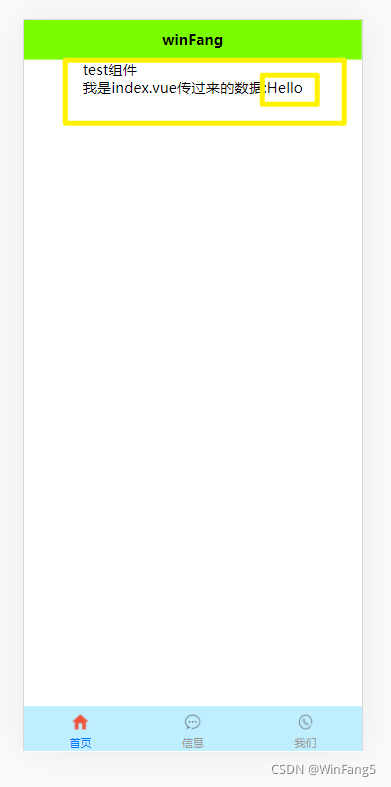
效果图

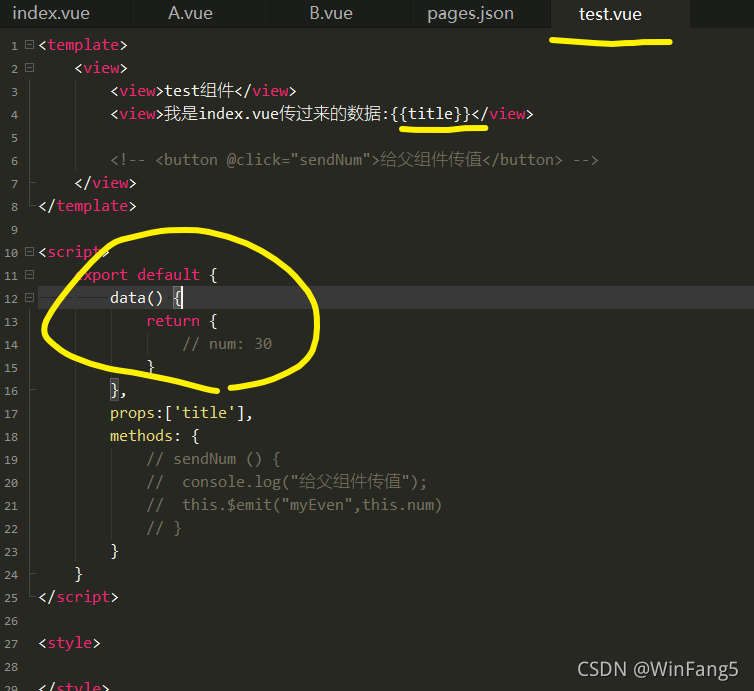
我圈的大圈是子组件,Hello是父组件传过来的,从下面这张图可以知道我的子组件test.vue里的data没有title这个数据。

实现步骤:
先在父组件index.vue把title数据传给子组件test.vue

我已经在父组件注册好了子组件Test,直接在标签里用 :title=“title"就可以吧title数据传给子组件了,第一个title是在子组件用的时候的名称,”:“就是"v-bind”,没有用的话,只会把字符串“title”传给子组件,就不会把title的数据Hello传给子组件。
下面就是在子组件来接收一下

绿色的就是用来接收父组件传过来的数据,
黄色的就是使用该数据。
ok
2.子组件给父组件传值
先在子组件写代码
先写数据,num:30
写个按钮来开始给父组件传递数据
用方法来控制按钮,
this.$emit(“myEven”,this.num)是给父组件传递事件和数据的,第一个是事件,第二个是数据num:30

下面到父组件index.vue了

这里用上刚才子组件传过来的自定义事件myEven,注意的是,这样数据也过来了。
然后到写getNum事件。

记得要把数据拿过来,就是getNum(num)中的num。
然后让data中的num=传过来的num。
最后template中用起来

ok
看看效果
这是还没点击按钮的

点击按钮后

3.A子组件修改B子组件数据
先写B子组件

写好数据num:0
在template展现数据
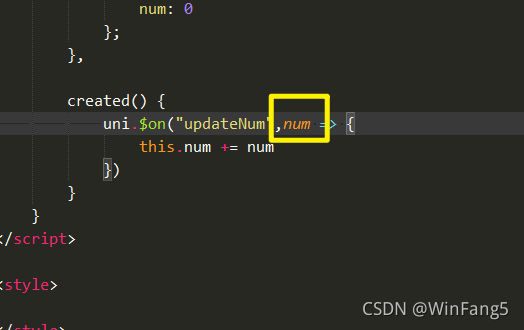
写个监听全局的自定义事件
uni.$on(“updateNum”,num => {
})中的updateNum就是自定义事件的名称,num是事件回调函数。
ok
B子组件已经写好
uni.$on()的官网介绍:https://uniapp.dcloud.io/collocation/frame/communication?id=on
到A子组件

写个按钮来控制
并监听点击
在methods写监听事件函数
通过uni.
e
m
i
t
(
)
来
触
发
上
面
B
子
组
件
的
u
n
i
.
emit()来触发上面B子组件的uni.
emit()来触发上面B子组件的uni.on的自定义事件updateNum,并向它传入参数10,
B子组件就通过num来接收到参数

ok
uni.$emit()官网介绍:点击跳转