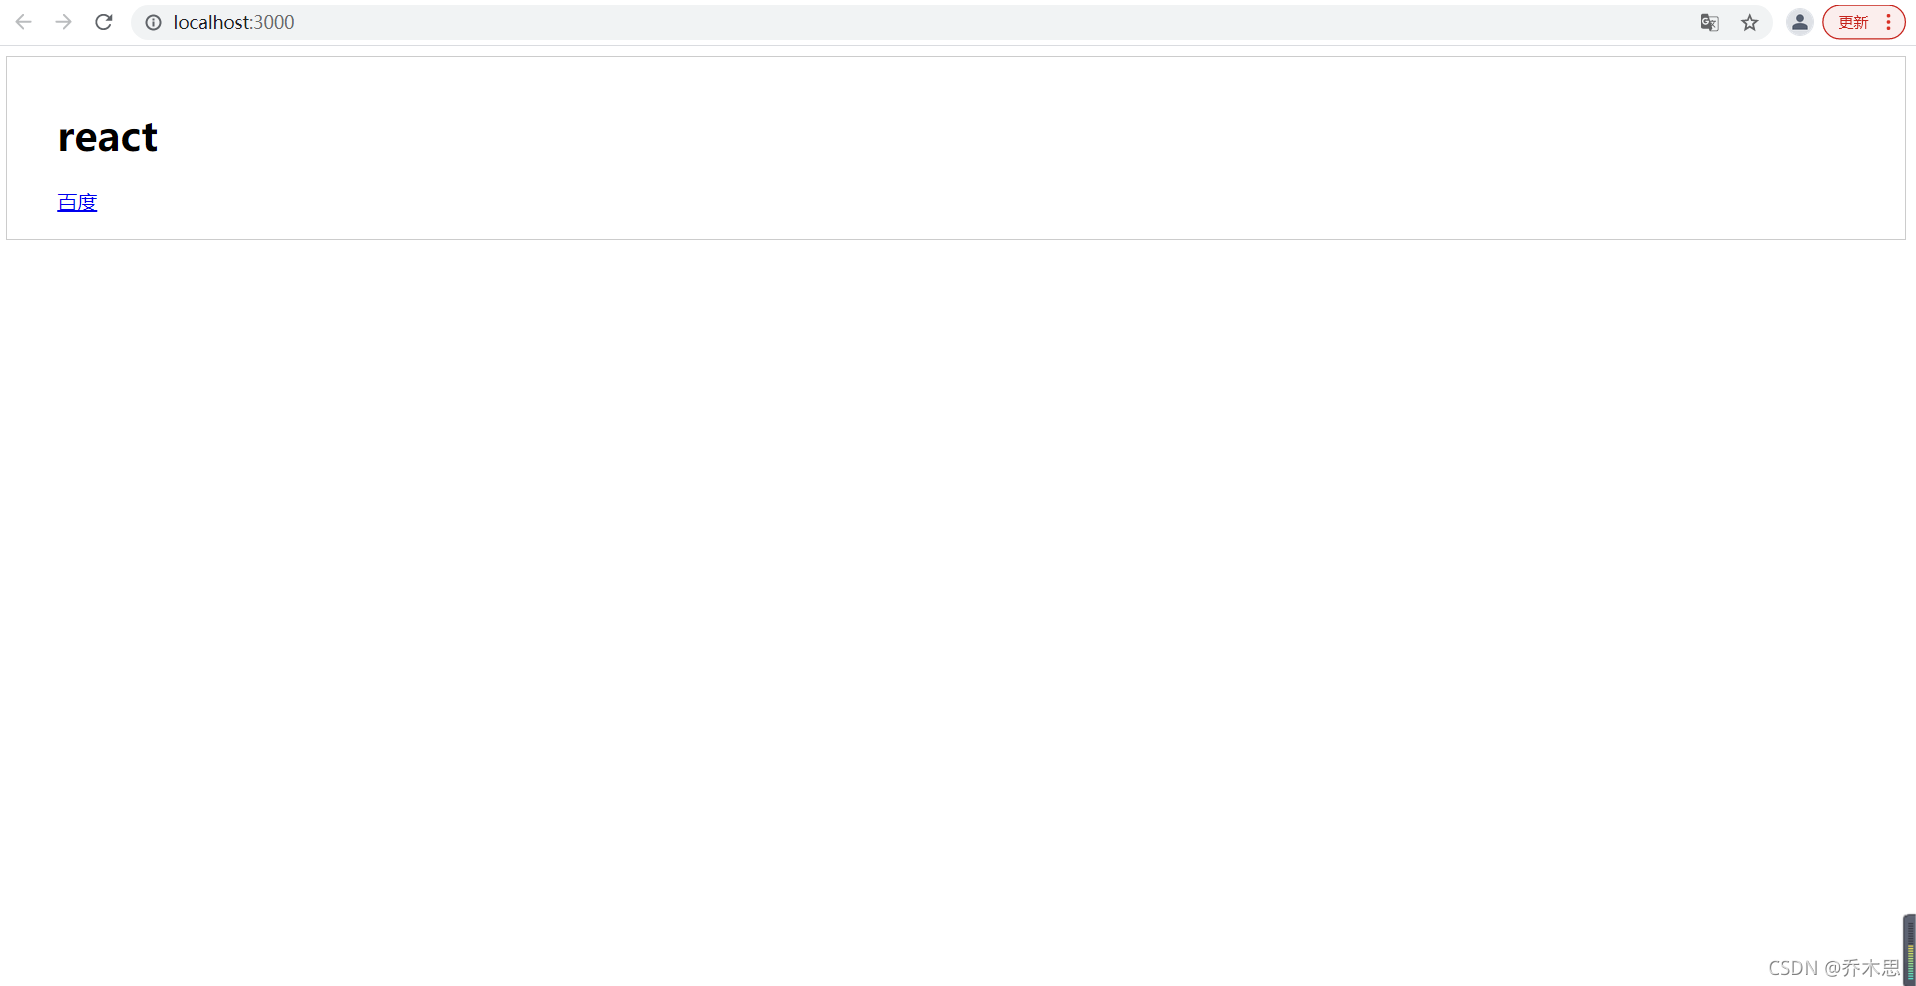
先来看一些简单的代码
import React from 'react';
import ReactDOM from 'react-dom';
import './index.css';

const jsx = (
  <div className="border">
    <h1> react </h1>
    <a href="http://www.baidu.com"> 百度 </a>
  </div>
)

ReactDOM.render(
  jsx,
  document.getElementById('root')
);
效果展示
首先要确认自己react的版本是不是17版本
console.log(React.version)
接下来开始要写ReactDOM.render函数
index.js
import ReactDOM from './react/react-dom'; // 自己创建的文件
import './index.css';

const jsx = (
  <div className="border">
    <h1> react </h1>
    <a href="http://www.baidu.com"> 百度 </a>
  </div>
)

ReactDOM.render(
  jsx,
  document.getElementById('root')
);
./react/react-dom
// vnode 虚拟dom对象
// node 真是dom节点
function render(vnode, container) {
    console.log(vnode); // 首先打印一下vnode
}

export default {
    render
}
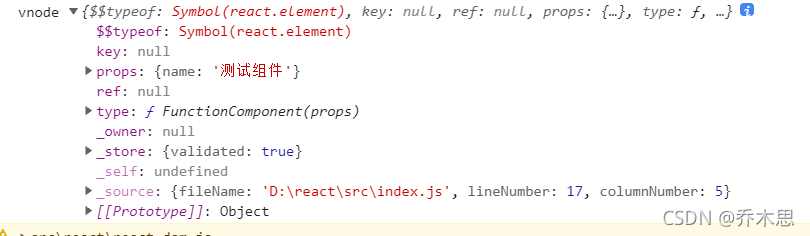
可以看到以下信息
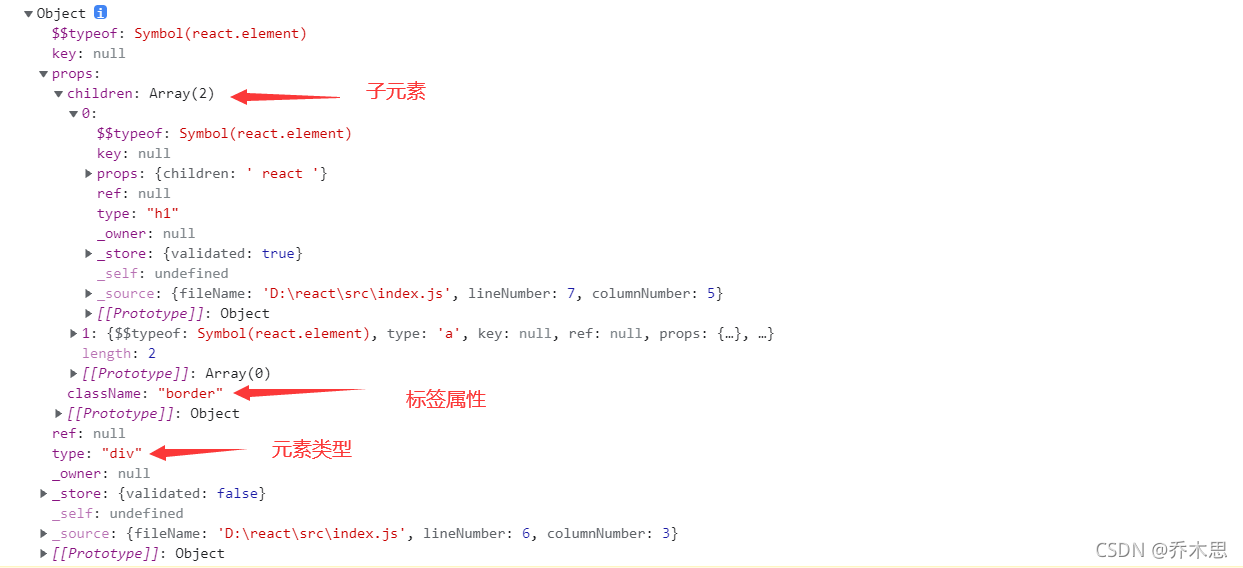
react已经帮我们将jsx转换成虚拟dom,所以接下来我们就需要将虚拟dom渲染到页面上就可以了。
根据需求,可以得到我们需要一个render函数,主要进行下面两个操作
- 将虚拟dom转换成真机dom节点
- 将真实dom节点插入到指定元素中
// vnode 虚拟dom对象
// node 真是dom节点
function render(vnode, container) {
    // 生成真实dom
    const node = createNode(vnode);
    // 将生成的dom插入指定元素
    container.appendChild(node);
}

export default {
    render
}
接下来我们就需要实现createNode函数
function createNode(vnode) {
    // 需要判断元素类型
    let node;
    // 由打印的vnode可得,type是区分元素类型的依据
    const { type } = vnode;
    if (typeof type === 'string') { // 例如  'div' 'h1' 'p'
        // 普通标签
        node = updateHostComponent(vnode);
    } else {
        // 文本节点
        node = updateTextComponent(vnode);
    }

    return node;
}
所以接下来我们还需要实现updateHostComponent, updateTextComponent两个函数
function updateHostComponent(vnode) {
    const { type } = vnode; // type: 例如  'div' 'h1' 'p'
    const node = document.createElement(type); // 创建原生标签
    return node;
}

function updateTextComponent(vnode) {
    const node = document.createTextNode(vnode);
    return node;
}
效果如下图
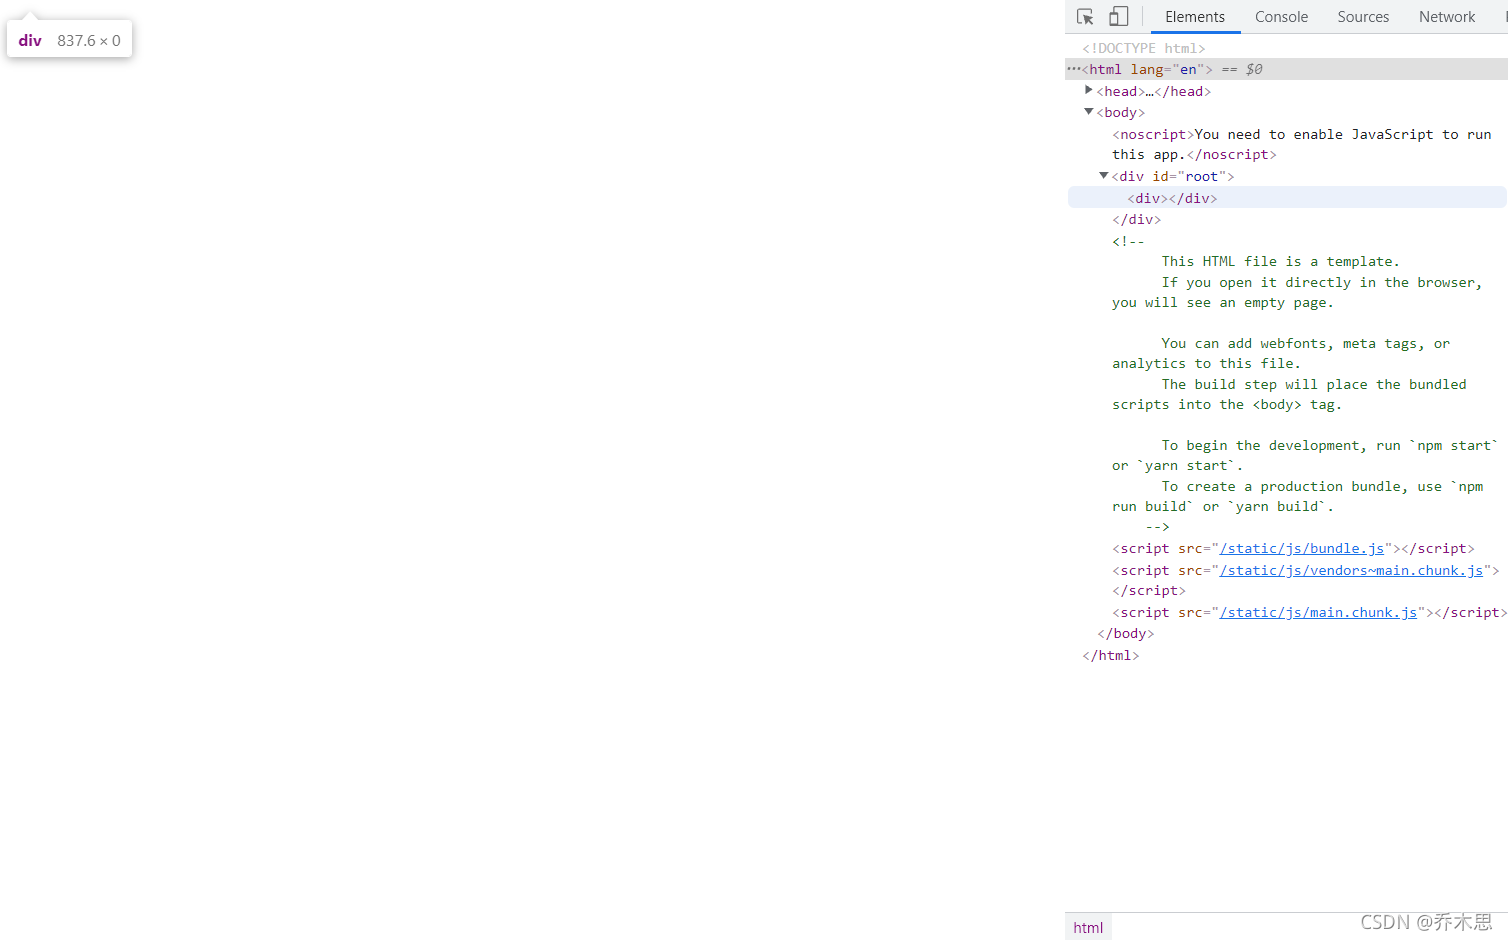
可以看到div已经生成,但是没有class属性,也没有里面的子元素,是因为我们只生成了div插入到页面中,对于vnode的props(详情请看一开始打印的vnode)没有进行处理,所以我们需要在updateHostComponent函数里面对props进行处理
function updateHostComponent(vnode) {
    const { type, props } = vnode; // type: 例如  'div' 'h1' 'p'
    const node = document.createElement(type); // 创建原生标签
    // 因为props中由标签的属性和子元素需要处理,所以需要一个专门处理props的函数
    reconcileChildren(node, props.children); // 在这里调用,先在这里写上需要一个这样的方法,后面再实现
    return node;
}
// 实现方法
function reconcileChildren(parentNode, children) {
    // 由于children会有字符串、数组等,所以为了方便遍历,使用小技巧
    const newChildren = Array.isArray(children) ? children : [ children ];
    for(let i = 0; i < newChildren.length; i ++) {
        const child = newChildren[i];
        // 接下来要做的事情就是
        // 1.将vnode生成node
        // 2.将node插入到父节点
        // 该方法就是要实现的render函数,在这里直接调render即可
        render(child, parentNode)
    }
}
然后再在updateHostComponent函数中调用
效果展示
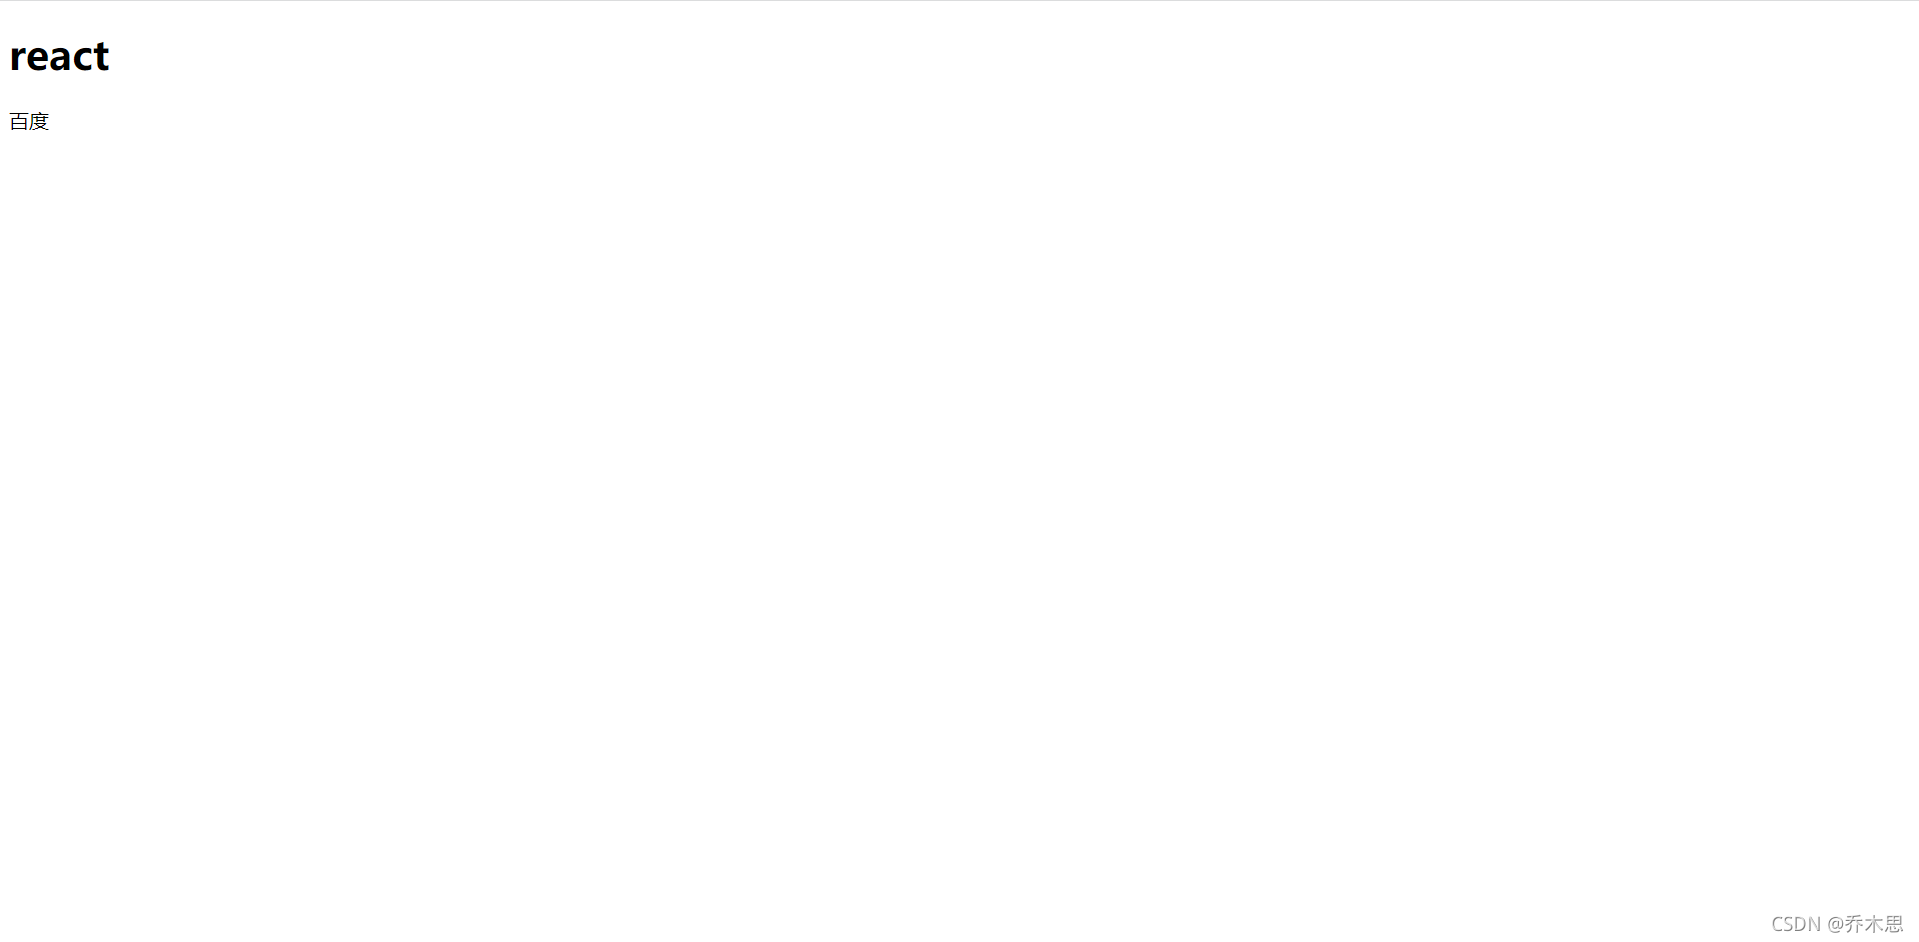
可以看到文本已经出现在在div中,但是样式并没有出现,通过审查元素的方法可以看到,a标签的href和div的class并不存在,是因为我们没有对属性进行处理
,所以我们需要一个新的方法,专门处理元素的属性,原函数updateHostComponent更改为
function updateHostComponent(vnode) {
    const { type, props } = vnode; // type: 例如  'div' 'h1' 'p'
    const node = document.createElement(type); // 创建原生标签
    // 处理元素属性,需要实现的函数
    updateNodeAttr(node, props)
    // 因为props中由标签的属性和子元素需要处理,所以需要一个专门处理props的函数
    reconcileChildren(node, props.children);
    return node;
}
实现updateNodeAttr函数
function updateNodeAttr(node, props) {
    Object.keys(props)
        .filter(k => k !== 'children') // children不能作为元素的属性,因为children由很多类型,比如function,class, null
        .forEach(k => { node[k] = props[k] })
}
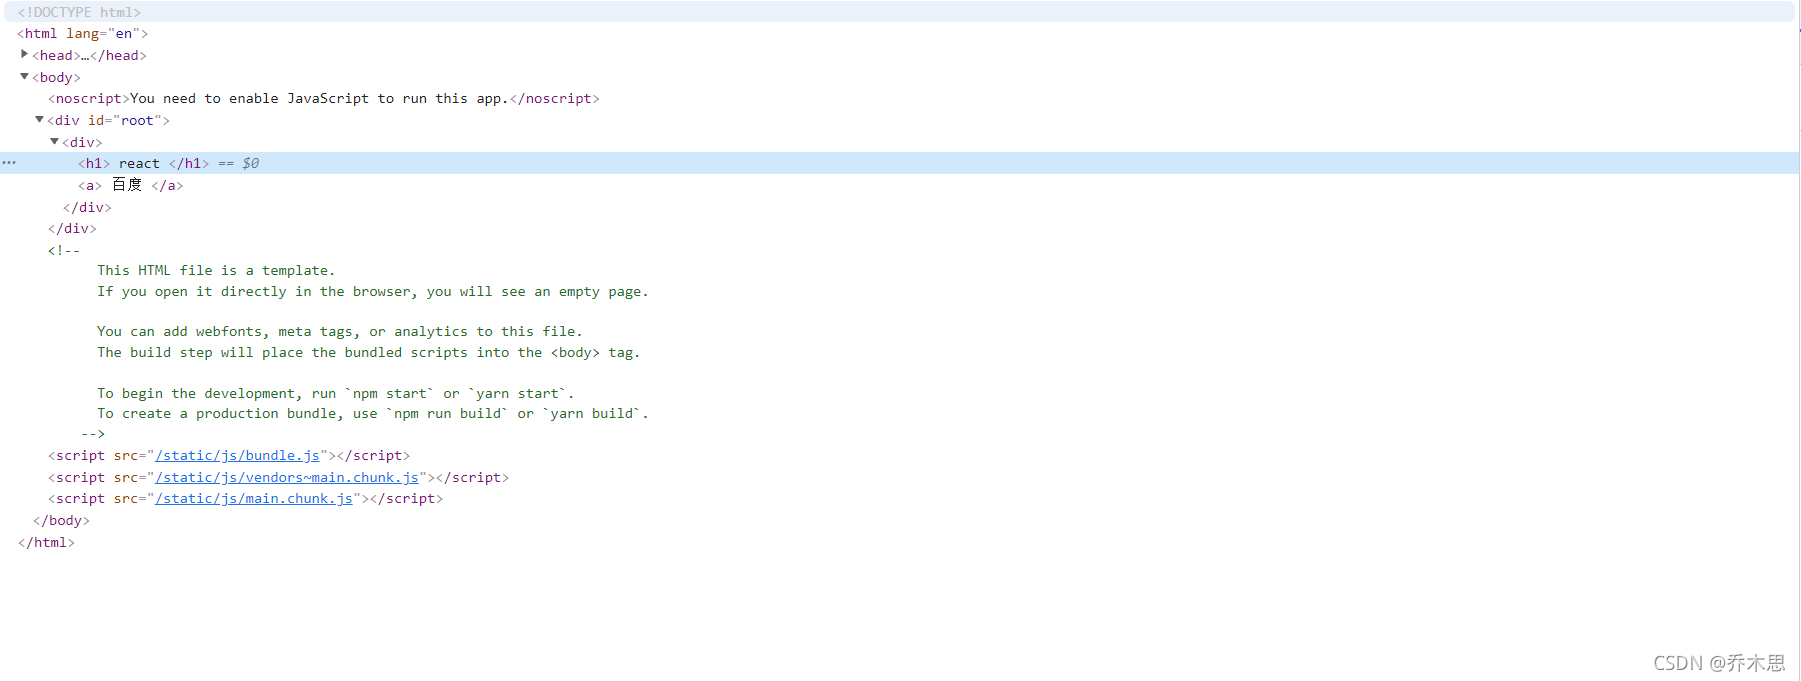
现在可以看到页面效果已经实现的和一开始的页面一样

接下来我们来尝试函数式组件的渲染
function FunctionComponent(props) {
  return (
    <div className="border">
      函数式组件 - { props.name }
    </div>
  )
}

const jsx = (
  <div className="border">
    <h1> react </h1>
    <a href="http://www.baidu.com"> 百度 </a>
    <FunctionComponent name={'测试组件'}/>
  </div>
)

ReactDOM.render(
  jsx,
  document.getElementById('root')
);
渲染结果

原因:在createNode函数中,我们对元素类型进行判断,不是string的都会被当作文本节点插入,但是观测函数式组件的类型
所以我们需要修改createNode函数
function createNode(vnode) {
    // 需要判断元素类型
    let node;
    // 由打印的vnode可得,type是区分元素类型的依据
    const { type } = vnode;
    if (typeof type === 'string') { // 例如  'div' 'h1' 'p'
        // 普通标签
        node = updateHostComponent(vnode);
    } else if (typeof type === 'function') {
        node = updateFunctionComponent(vnode);
    } else {
        // 文本节点
        node = updateTextComponent(vnode);
    }

    return node;
}

function updateFunctionComponent(vnode) {
    const { type, props } = vnode;
    const vvnode = type(props); // 执行函数得到虚拟节点,因为函数式组件return了jsx对象,执行函数就可以拿到
    const node = createNode(vvnode);
    return node;
}
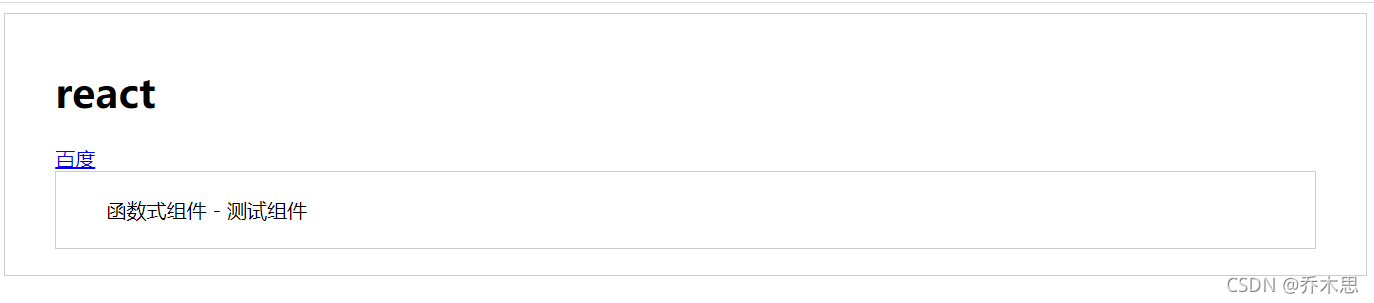
查看渲染结果,可以看到函数式组件已经渲染
接下来实现类组件
首先创建一个Component函数
function Component(props) {
    this.props = props;
}

export default Component;
创建类组件并引用到页面
class ClassComponent extends Component {
  render() {
    return (
      <div className="border">
        类组件 - { this.props.name }
      </div>
    )
  }
}


const jsx = (
  <div className="border">
    <h1> react </h1>
    <a href="http://www.baidu.com"> 百度 </a>
    <FunctionComponent name={'测试组件'}/>
    <ClassComponent name={'测试类组件'}/>
  </div>
)

ReactDOM.render(
  jsx,
  document.getElementById('root')
);
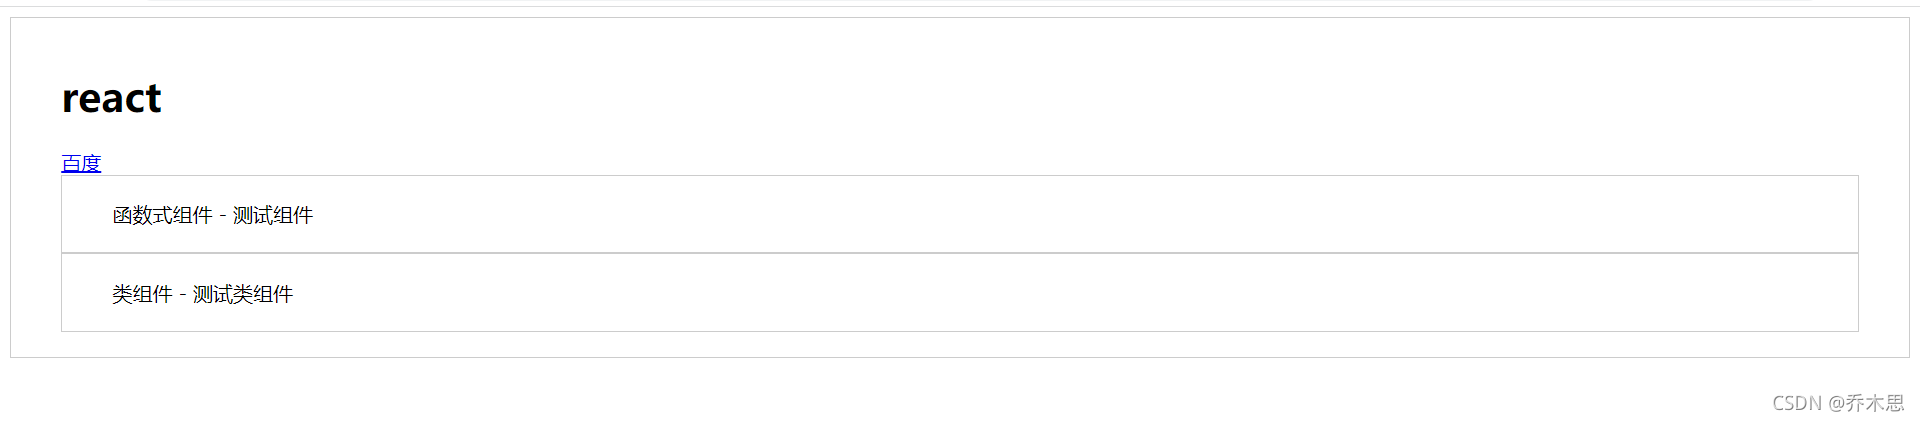
页面显示
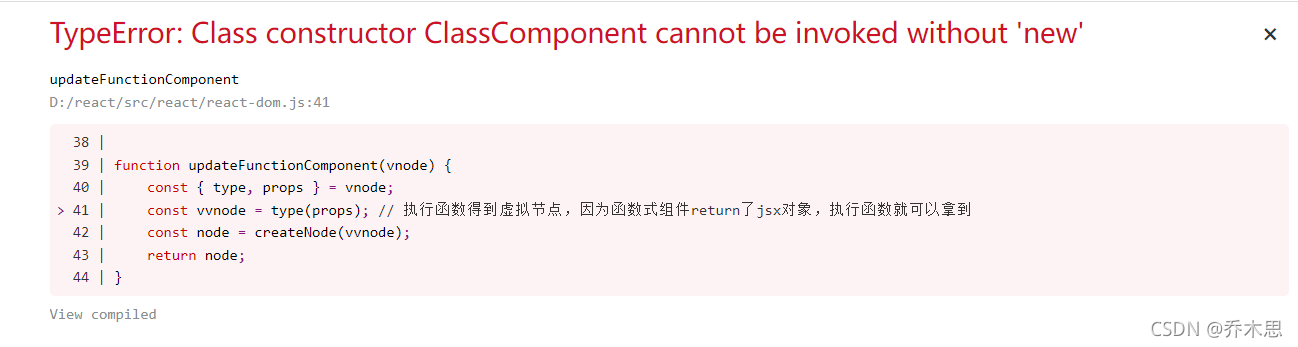
类组件必须要实例化才可以,所以在Component中增加和函数式组件的区别
function Component(props) {
    this.props = props;
}

Component.prototype.isReactComponent = {}; // 和函数式组件的区别,源码中有这样的代码,之所以没有用布尔值式历史遗留问题,借鉴的其他语言

export default Component;

// 再次修改createNode函数,支持类组件的渲染
function createNode(vnode) {
    // 需要判断元素类型
    let node;
    // 由打印的vnode可得,type是区分元素类型的依据
    const { type } = vnode;
    if (typeof type === 'string') { // 例如  'div' 'h1' 'p'
        // 普通标签
        node = updateHostComponent(vnode);
    } else if (typeof type === 'function') {
        // node = updateFunctionComponent(vnode);
        node = type.prototype.isReactComponent
            ? updateClassComponent(vnode)  // 类组件渲染
            : updateFunctionComponent(vnode) // 函数式组件渲染
    } else {
        // 文本节点
        node = updateTextComponent(vnode);
    }

    return node;
}

function updateClassComponent(vnode) {
    // 类组件需要先实例化,然后拿到render函数的返回值就可以了
    const { type, props } = vnode;
    const instance = new type(props);
    const vvnode = instance.render();
    const node = createNode(vvnode);
    return node;
}
最终效果
最终目录
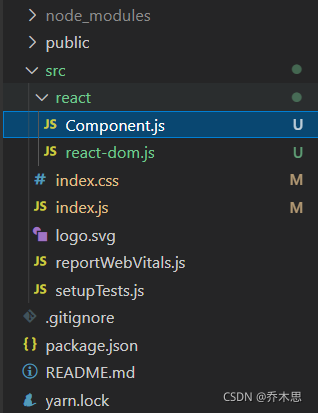
Component.js
function Component(props) {
    this.props = props;
}

Component.prototype.isReactComponent = {}; // 和函数式组件的区别,之所以没有用布尔值式历史遗留问题,借鉴的其他语言

export default Component;
react-dom.js
// vnode 虚拟dom对象
// node 真是dom节点

function render(vnode, container) {
    // 生成真实dom
    const node = createNode(vnode);
    // 将生成的dom插入指定元素
    container.appendChild(node);
}

function createNode(vnode) {
    // 需要判断元素类型
    let node;
    // 由打印的vnode可得,type是区分元素类型的依据
    const { type } = vnode;
    if (typeof type === 'string') { // 例如  'div' 'h1' 'p'
        // 普通标签
        node = updateHostComponent(vnode);
    } else if (typeof type === 'function') {
        // node = updateFunctionComponent(vnode);
        node = type.prototype.isReactComponent
            ? updateClassComponent(vnode)  // 类组件渲染
            : updateFunctionComponent(vnode) // 函数式组件渲染
    } else {
        // 文本节点
        node = updateTextComponent(vnode);
    }

    return node;
}

function updateHostComponent(vnode) {
    const { type, props } = vnode; // type: 例如  'div' 'h1' 'p'
    const node = document.createElement(type); // 创建原生标签
    // 处理元素属性
    updateNodeAttr(node, props)
    // 因为props中由标签的属性和子元素需要处理,所以需要一个专门处理props的函数
    reconcileChildren(node, props.children);
    return node;
}

function updateFunctionComponent(vnode) {
    const { type, props } = vnode;
    const vvnode = type(props); // 执行函数得到虚拟节点,因为函数式组件return了jsx对象,执行函数就可以拿到
    const node = createNode(vvnode);
    return node;
}

function updateClassComponent(vnode) {
    // 类组件需要先实例化,然后拿到render函数的返回值就可以了
    const { type, props } = vnode;
    const instance = new type(props);
    const vvnode = instance.render();
    const node = createNode(vvnode);
    return node;
}

function updateNodeAttr(node, props) {
    Object.keys(props)
        .filter(k => k !== 'children') // children不能作为元素的属性,因为children由很多类型,比如function,class, null
        .forEach(k => { node[k] = props[k] })
}

function updateTextComponent(vnode) {
    const node = document.createTextNode(vnode);
    return node;
}

function reconcileChildren(parentNode, children) {
    // 由于children会有字符串、数组等,所以为了方便遍历,使用小技巧
    const newChildren = Array.isArray(children) ? children : [ children ];
    for(let i = 0; i < newChildren.length; i ++) {
        const child = newChildren[i];
        // 接下来要做的事情就是
        // 1.将vnode生成node
        // 2.将node插入到父节点
        // 该方法就是要实现的render函数,在这里直接调render即可
        render(child, parentNode)
    }

}

export default {
    render
}
index.js
// import React from 'react';
import ReactDOM from './react/react-dom'; // 自己创建的文件
import Component from './react/Component';
import './index.css';

function FunctionComponent(props) {
  return (
    <div className="border">
      函数式组件 - { props.name }
    </div>
  )
}

class ClassComponent extends Component {
  render() {
    return (
      <div className="border">
        类组件 - { this.props.name }
      </div>
    )
  }
}

const jsx = (
  <div className="border">
    <h1> react </h1>
    <a href="http://www.baidu.com"> 百度 </a>
    <FunctionComponent name={'测试组件'}/>
    <ClassComponent name={'测试类组件'}/>
  </div>
)

ReactDOM.render(
  jsx,
  document.getElementById('root')
);
注
- react中对于render函数可以接受三个参数,但本次只实现了两个
- react对vnode的children做了很多判断,比如说undefined,null,数组,函数,字符串等,本次主要实现出现场景较多的判断
- 感谢编码梦想家视频,视频地址:https://www.bilibili.com/video/BV1UX4y1V78x