项目【官网】第四天–首页的编写
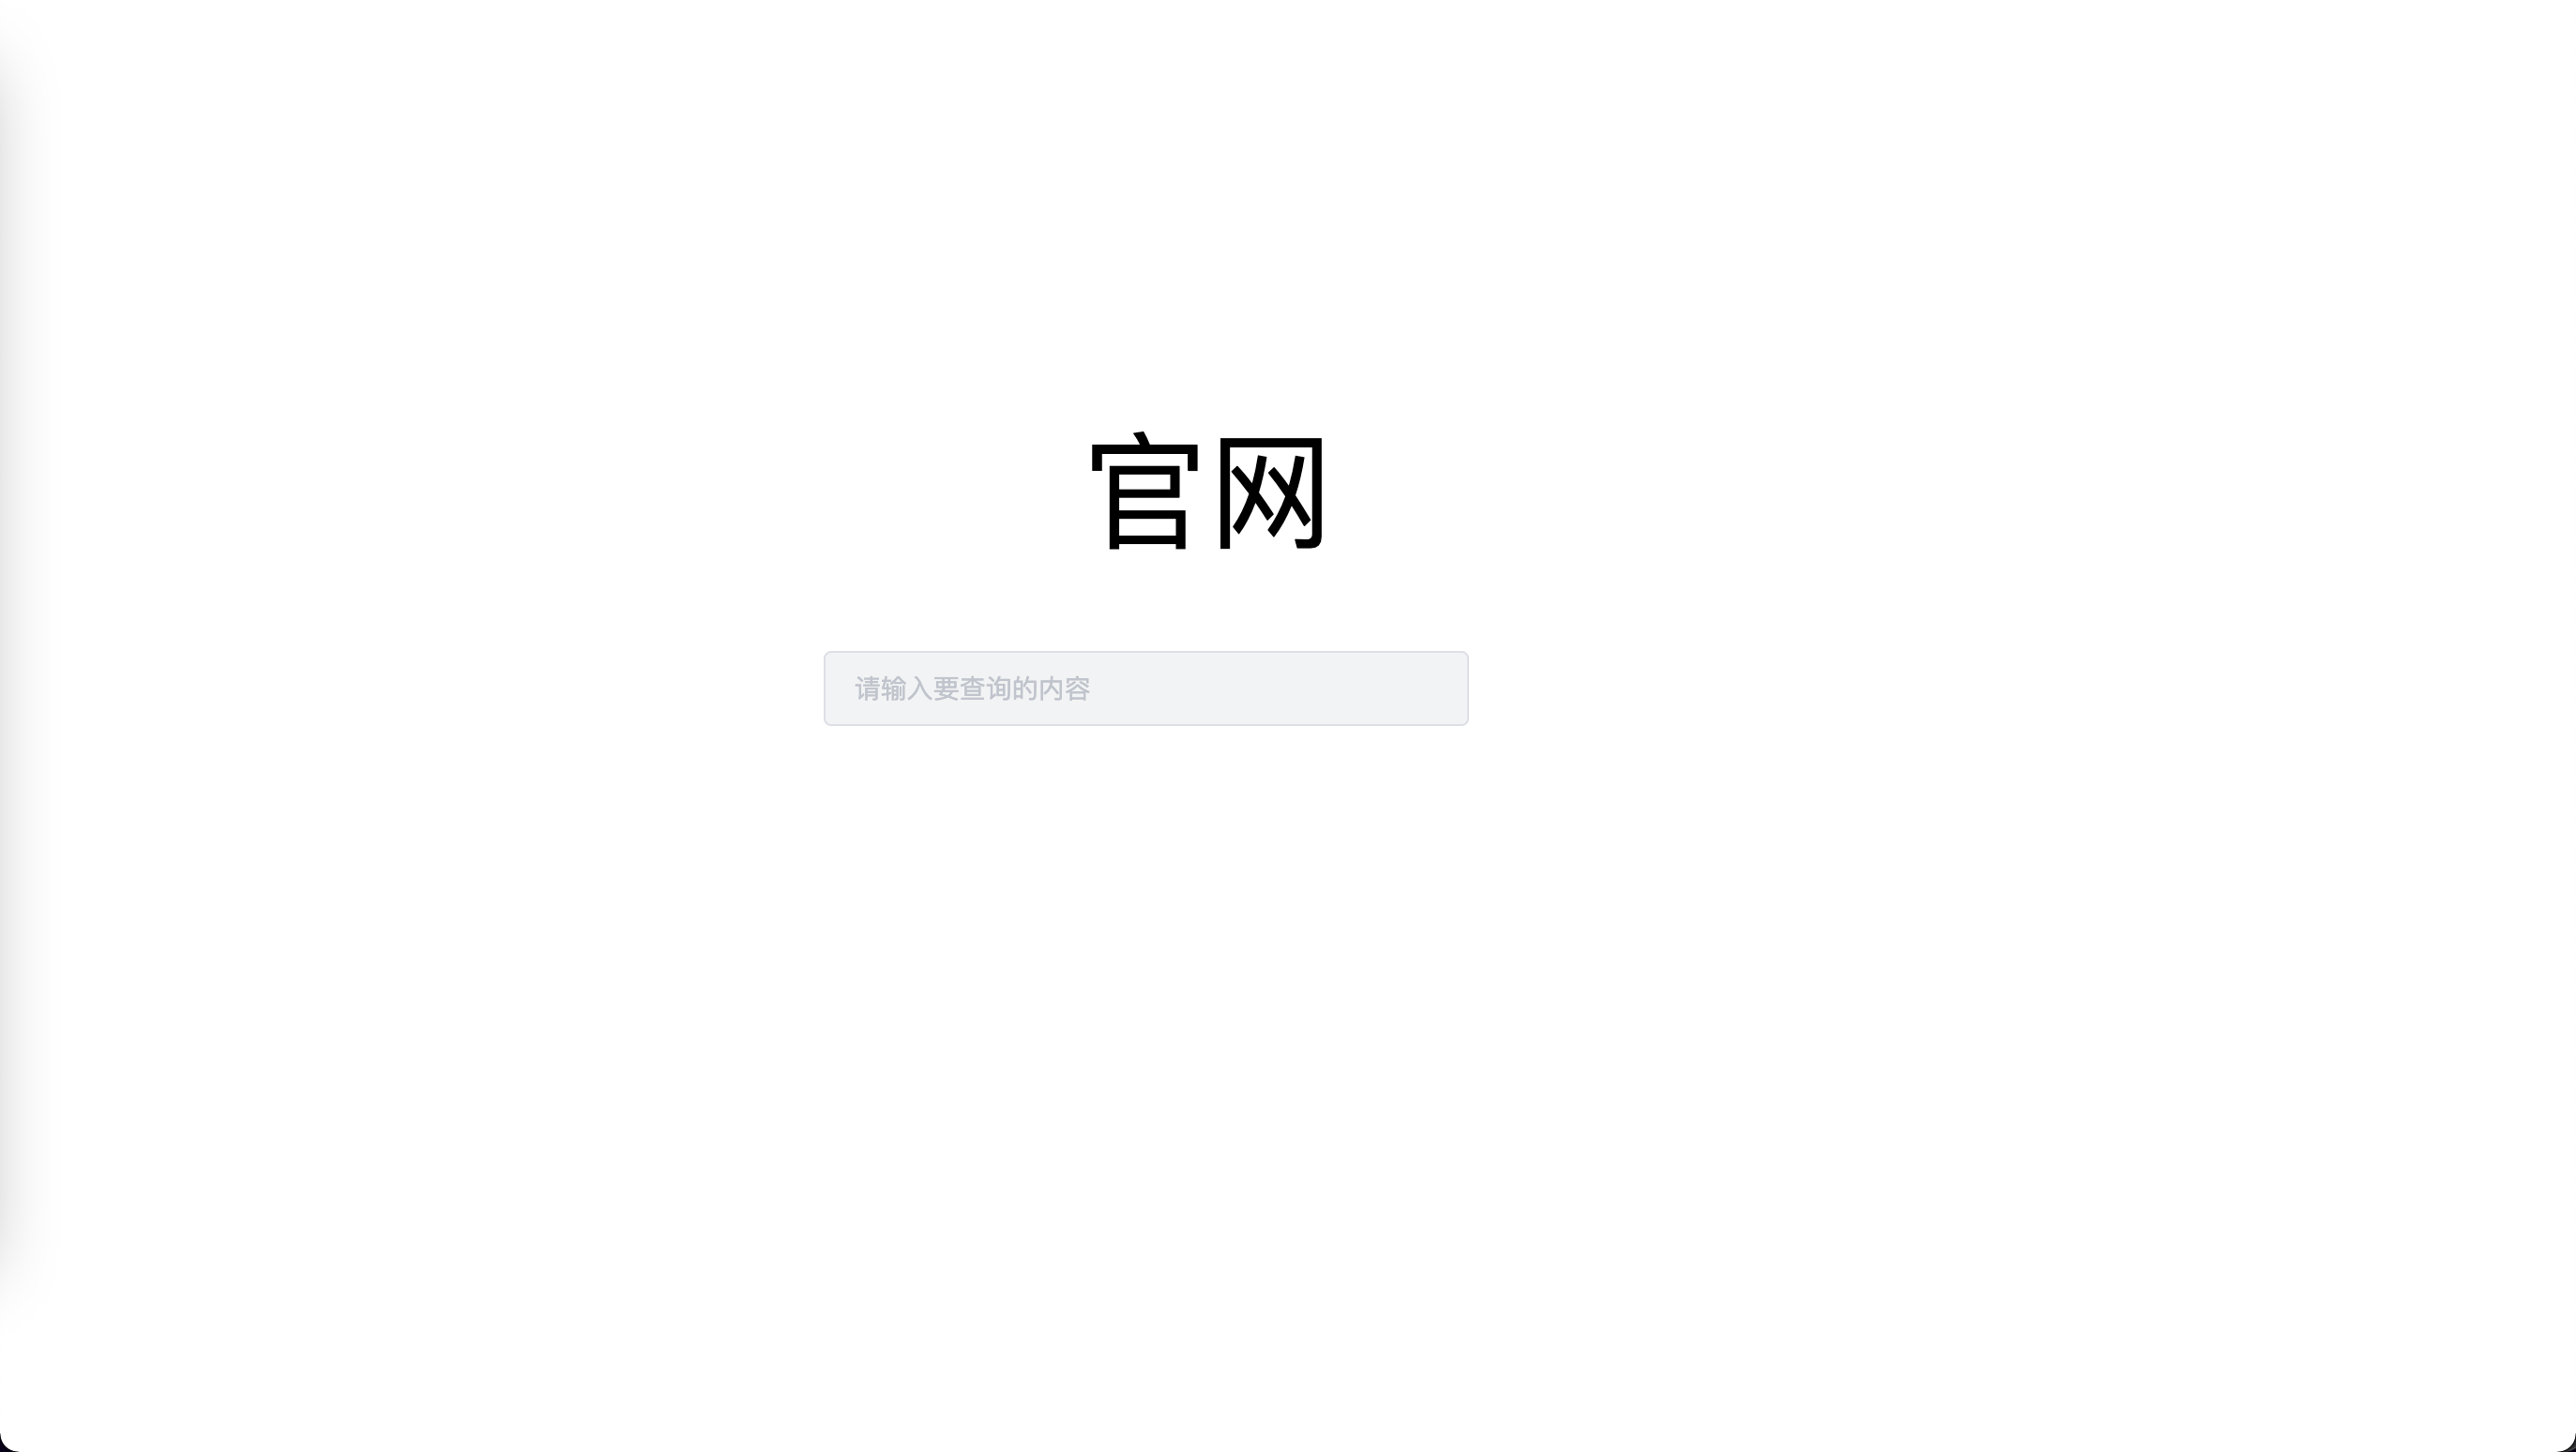
第一步:【官网】两个字的编写
<span class="el_table_font" >官网</span>
然后设置样式
.el_table_font {
  text-decoration: none;
  position: fixed;
  top: 28%;
  left: 42%;
  font-size: 420%;
  font-family: "方正舒体","YouYuan","华文隶书", "FZShuTi","微软雅黑";
}
页面效果

第二步输入框
<el-input
      style="position: fixed;width: 25%;top: 45%;left: 32%"
      placeholder="请输入要查询的内容"
      v-model="input"
      clearable
      small
    >
    </el-input>

第三步: 搜索按钮
		<el-row>
        <el-button style="position: fixed ;top: 45%;left: 58%" type="primary" icon="el-icon-search" >搜索</el-button>
    </el-row>
[外链图片转存失败,源站可能有防盗链机制,建议将图片保存下来直接上传(img-vzxTD79h-1641567104402)(/Users/shoplazza/Library/Application Support/typora-user-images/image-20220107223117162.png)]
这样效果就差别多了,但是还有加东西
第四步: 遮罩层
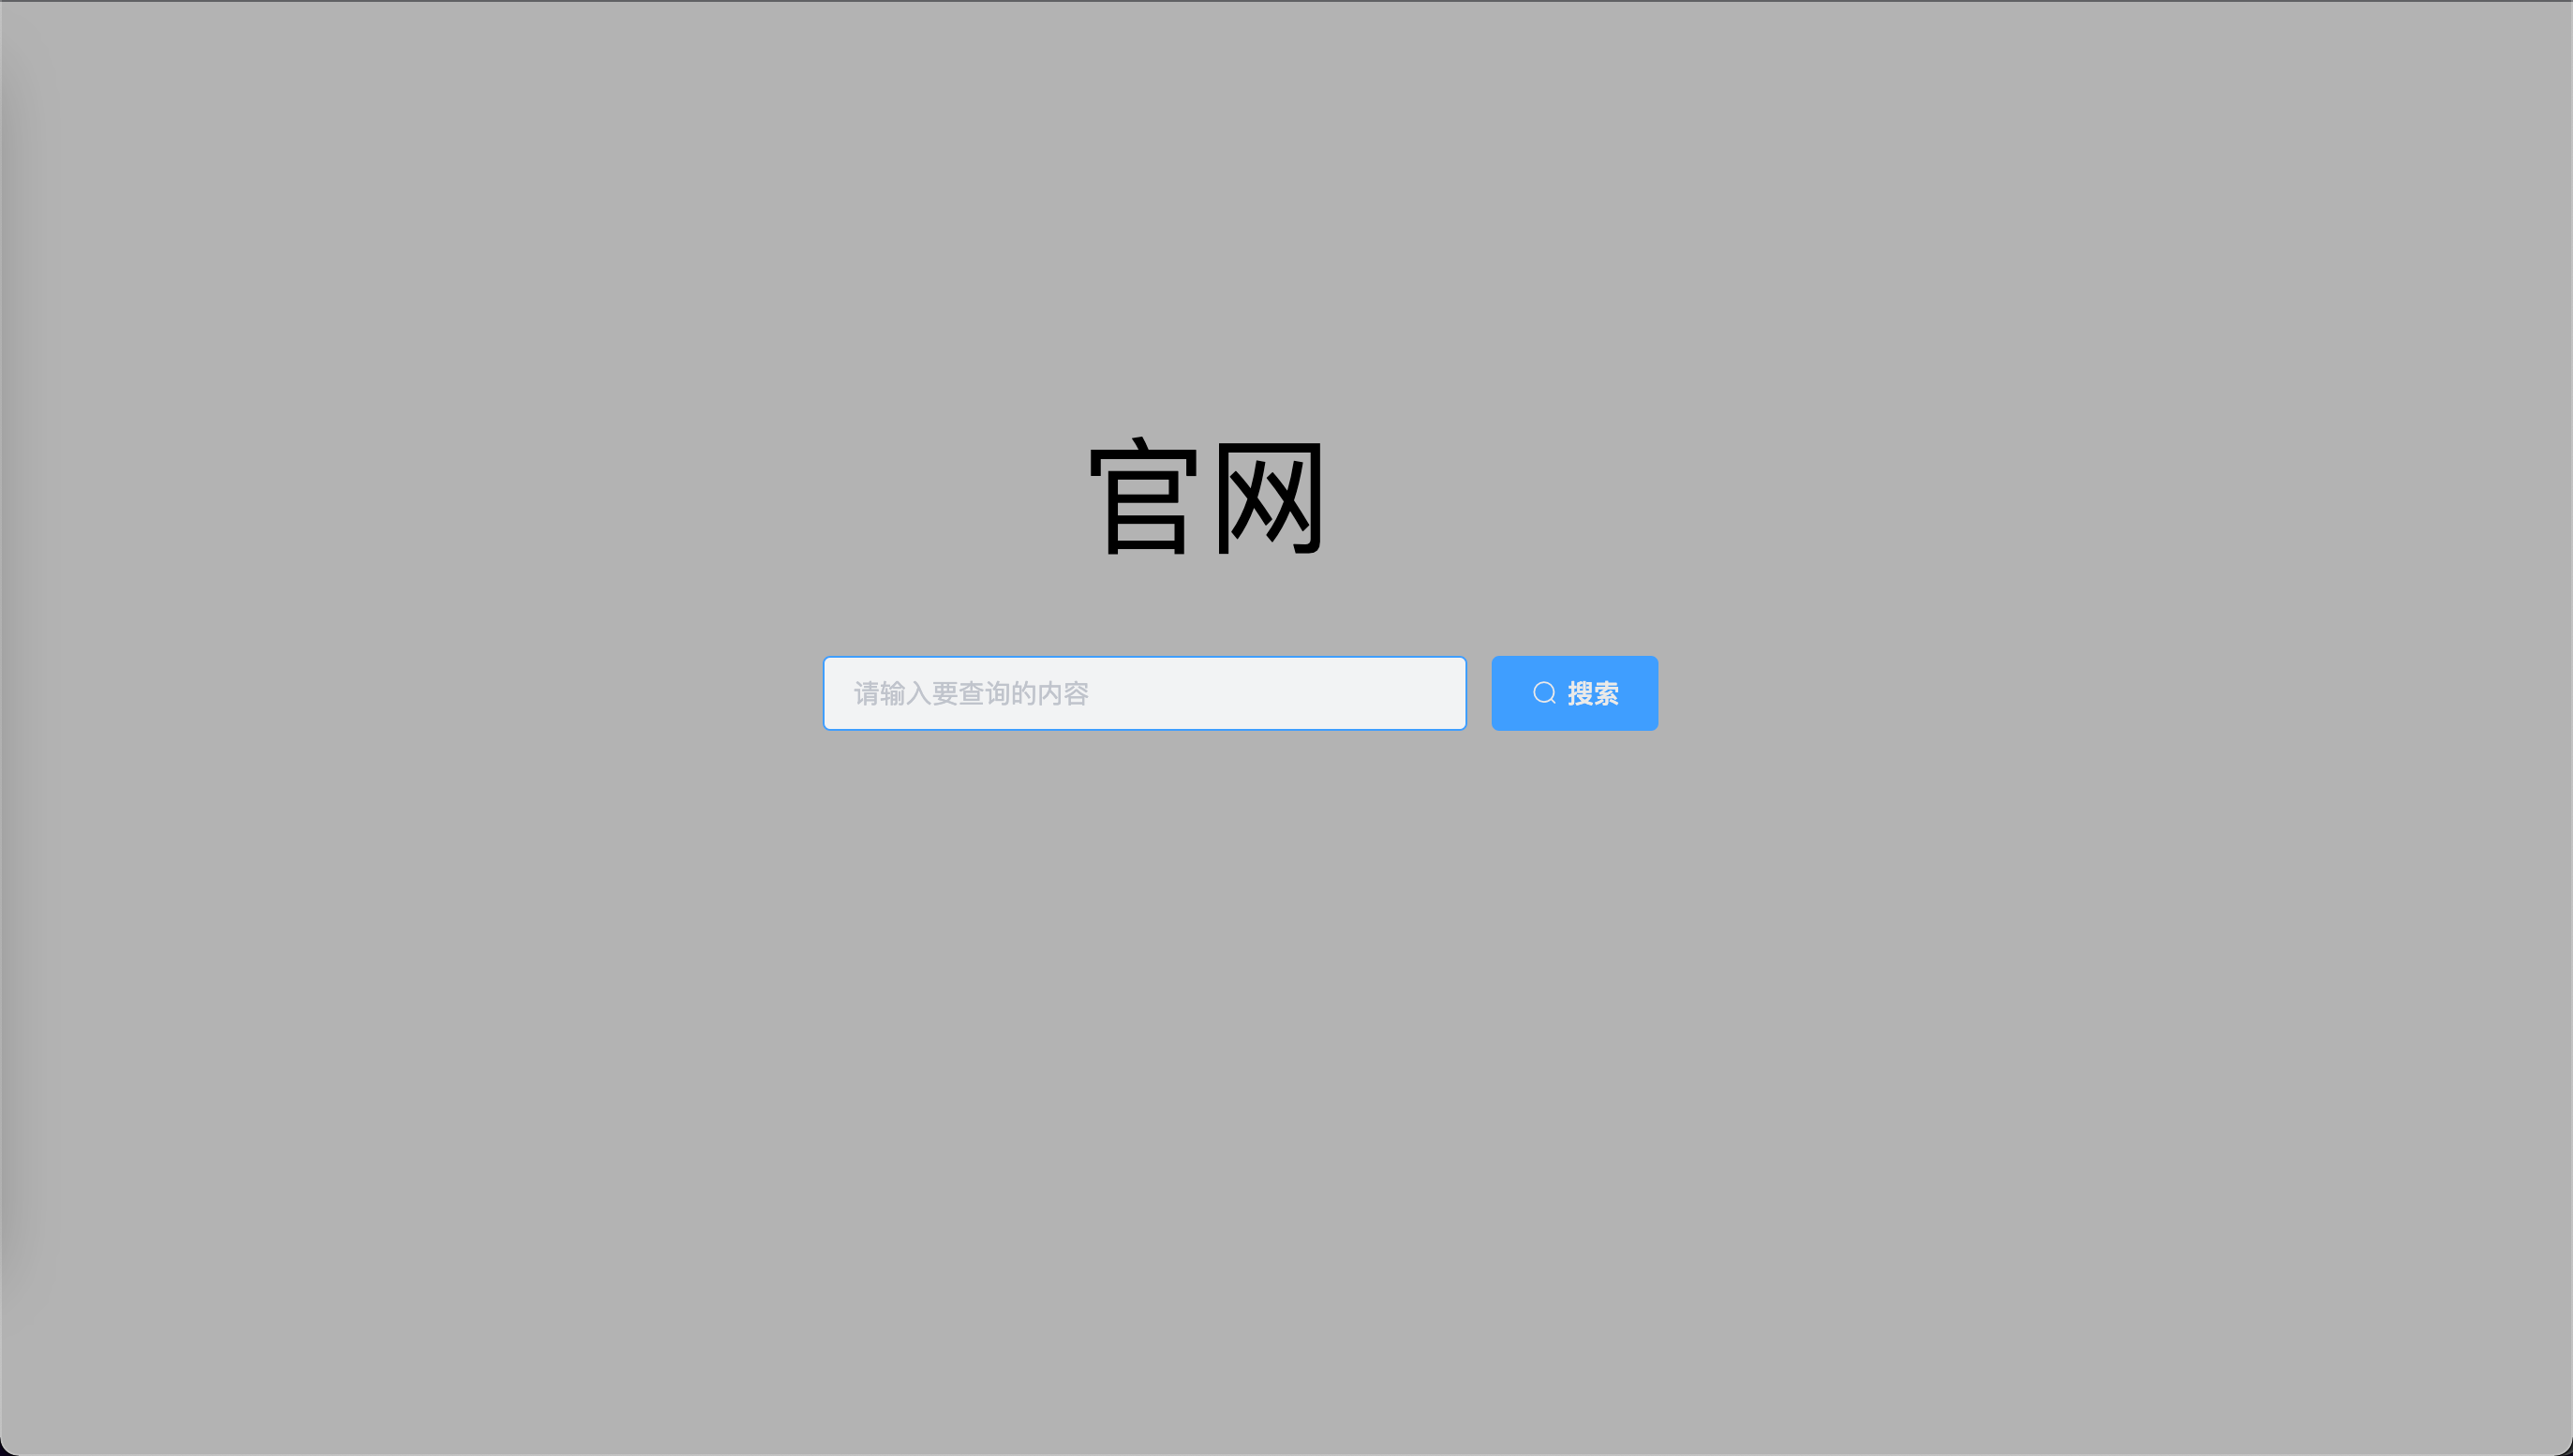
遮罩层就是,加一次灰色透明的一层,当点击输入框时,就显示遮罩层,然后输入框和按钮在遮罩层上面
效果

我的办法是:
- 加一个透明的div,
- 然后用z-index进行分层,
- 设置一个变量ture false判断是否显示, module: false
- 输入框焦点事件和失去焦点事件
//加一个透明div
		<div v-if=this.module class="mask">

    </div>
    .mask{
  z-index: 5;
  background-color: rgb(0,0,0,0);
  opacity: 0.3;
  position: fixed;
  top: 0;
  left: 0;
  width: 100%;
  height: 100%;
	}
//z-index分层
//官网在底层
.el_table_font {
  text-decoration: none;
  position: fixed;
  top: 28%;
  left: 42%;
  font-size: 420%;
  font-family: "方正舒体","YouYuan","华文隶书", "FZShuTi","微软雅黑";
  z-index: 4;
}
//输入框在上层
		<el-input
      style="position: fixed;width: 25%;top: 45%;left: 32%;z-index: 6"
      placeholder="请输入要查询的内容"
      v-model="input"
      clearable
      small
      @focus="kl"
      @blur="bl"
    >
    </el-input>
    <el-row>
      <router-link
        :to="{
        path: 'home',
        query: { input: this.input, }
        }"
      >
        <el-button style="position: fixed ;top: 45%;left: 58%;z-index:6 " type="primary" icon="el-icon-search" >搜索</el-button>
      </router-link>
    </el-row>

    //事件
    kl (){
      this.module = true
    },
    bl (){
      this.module=false
    }
第五步:点击按钮
点击搜索按钮后可以跳转到下一个展示页面
- 新建一个Home.vue
- 添加路由
- 用router-link包裹button
- 需要携带输入框的内容到Home.vue
		<router-link
        :to="{
        path: 'home',
        query: { input: this.input, }
        }"
      >
        <el-button style="position: fixed ;top: 45%;left: 58%;z-index:6 " type="primary" icon="el-icon-search" >搜索</el-button>
      </router-link>
第六步:输入框回车事件
效果就是输入框回车就可以跳转Home.vue,不需要点击按钮(参照浏览器搜索的效果,少了点击直接回车减少操作时间)
    <el-input
      style="position: fixed;width: 25%;top: 45%;left: 32%;z-index: 6"
      placeholder="请输入要查询的内容"
      v-model="input"
      clearable
      small
      @keyup.enter.native="inputEnter"
      @focus="kl"
      @blur="bl"
    >
    </el-input>

    inputEnter () {
      this.$router.push( {path : '/home',query : {input : this.input} } )
    },
首页就写完了,还有写细节还没写好,技术还没到
总体代码
<template>
  <div>
    <span class="el_table_font" >官网</span>
    <el-input
      style="position: fixed;width: 25%;top: 45%;left: 32%;z-index: 6"
      placeholder="请输入要查询的内容"
      v-model="input"
      clearable
      small
      @keyup.enter.native="inputEnter"
      @focus="kl"
      @blur="bl"
    >
    </el-input>
    <el-row>
      <router-link
        :to="{
        path: 'home',
        query: { input: this.input, }
        }"
      >
        <el-button style="position: fixed ;top: 45%;left: 58%;z-index:6 " type="primary" icon="el-icon-search" >搜索</el-button>
      </router-link>
    </el-row>
    <div v-if=this.module class="mask">

    </div>

  </div>
</template>

<script>
export default {
  name: 'Main',
  data () {
    return {
      input: '',
      module: false
    }
  },
  created () {
  },
  methods: {
    inputEnter () {
      this.$router.push( {path : '/home',query : {input : this.input} } )
    },
    kl (){
      this.module = true
    },
    bl (){
      this.module=false
    }
  }
}
</script>

<style scoped lang="less">
@height: calc(100vh-60px);
/deep/.body {
  height: 100vh;
  background: #ffffff;
}
.el-input__inner {
  background-color: #fefefe ;
}
.el_table_font {
  text-decoration: none;
  position: fixed;
  top: 28%;
  left: 42%;
  font-size: 420%;
  font-family: "方正舒体","YouYuan","华文隶书", "FZShuTi","微软雅黑";
  z-index: 4;
}
.mask{
  z-index: 5;
  background-color: rgb(0,0,0,0);
  opacity: 0.3;
  position: fixed;
  top: 0;
  left: 0;
  width: 100%;
  height: 100%;
}

/deep/ .el-input__inner {
  background-color: #f2f3f4;
}
/deep/ .el-divider--horizontal {
  margin: 0px;
}
</style>