通过前面的建表,我们可以找到对应的字段如下图:

实现账单新增接口
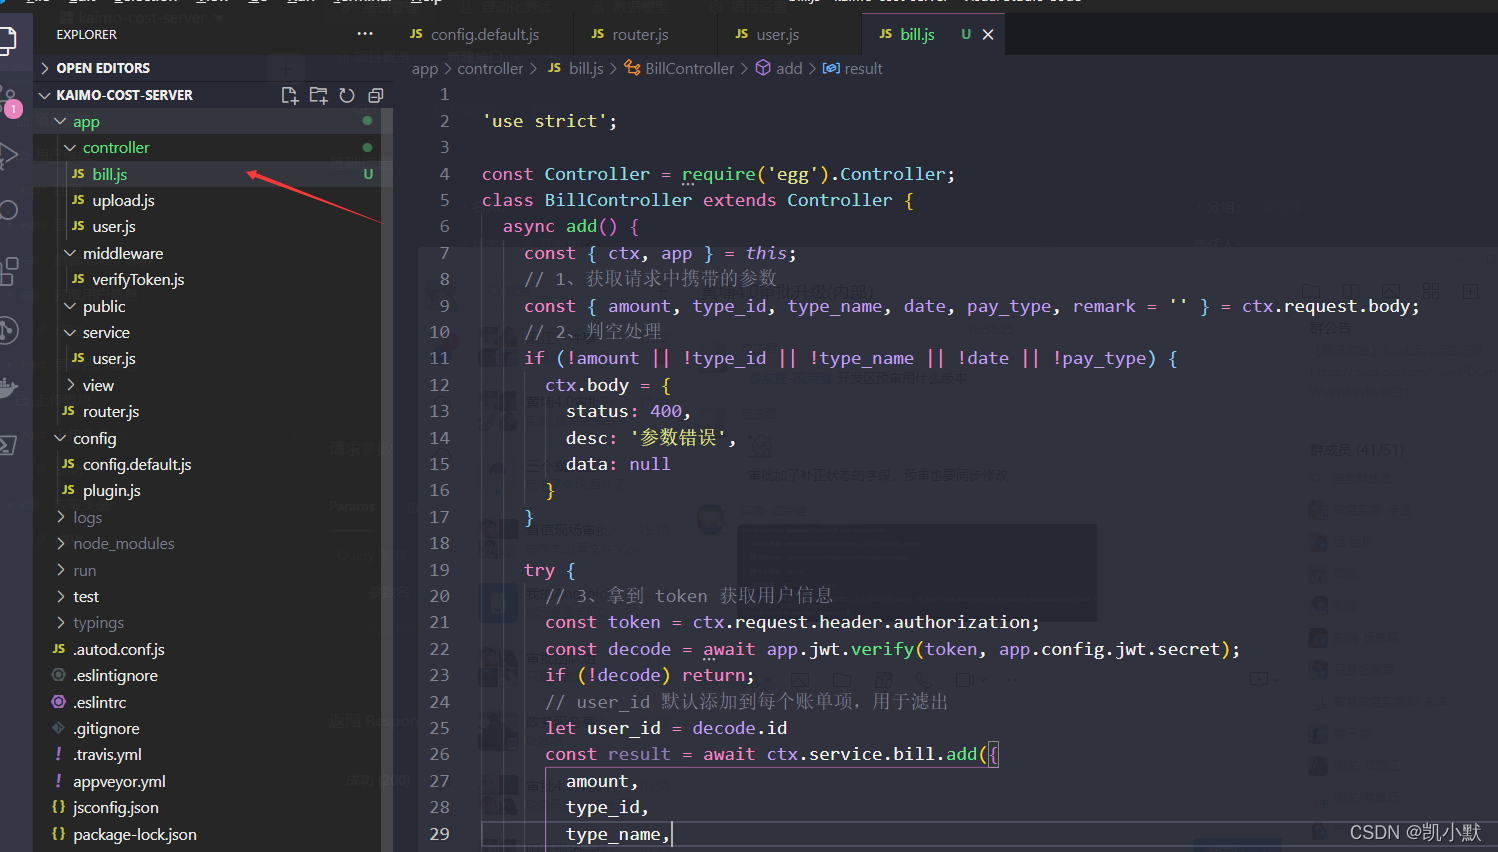
1、在控制层新建bill.js

'use strict';

const Controller = require('egg').Controller;
class BillController extends Controller {
  async add() {
    const { ctx, app } = this;
    // 1、获取请求中携带的参数
    const { amount, type_id, type_name, date, pay_type, remark = '' } = ctx.request.body;
    // 2、判空处理
    if (!amount || !type_id || !type_name || !date || !pay_type) {
      ctx.body = {
        status: 400,
        desc: '参数错误',
        data: null
      }
    }

    try {
      // 3、拿到 token 获取用户信息
      const token = ctx.request.header.authorization;
      const decode = await app.jwt.verify(token, app.config.jwt.secret);
      if (!decode) return;
      // user_id 默认添加到每个账单项,用于滤出
      let user_id = decode.id
      const result = await ctx.service.bill.add({
        amount,
        type_id,
        type_name,
        date,
        pay_type,
        remark,
        user_id
      });
      ctx.body = {
        status: 200,
        desc: '请求成功',
        data: null
      }
    } catch (error) {
      ctx.body = {
        status: 500,
        desc: '系统错误',
        data: null
      }
    }
  }
}

module.exports = BillController;
2、在服务层添加bill.js

'use strict';

const Service = require('egg').Service;

class BillService extends Service {
  async add(params) {
    const { app } = this;
    try {
      // 往 bill 表中,插入一条账单数据
      const result = await app.mysql.insert('bill', params);
      return result;
    } catch (error) {
      console.log(error);
      return null;
    }
  }
}
module.exports = BillService;
3、添加路由
// 添加账单
router.post('/api/bill/add', verify_token, controller.bill.add);

测试新增账单接口
上面我们已经写好了新增的逻辑,接下来我们用 apifox 测试一下:
1、先在 apifox 新建接口
点击新建接口之后,填写好相关信息

2、添加参数测试
我们先登录拿到token

然后填写需要的参数,记得把请求改成post,不然会报错

3、检查数据库是否有新增

发现有数据,测试成功,并且用户也对应上了。