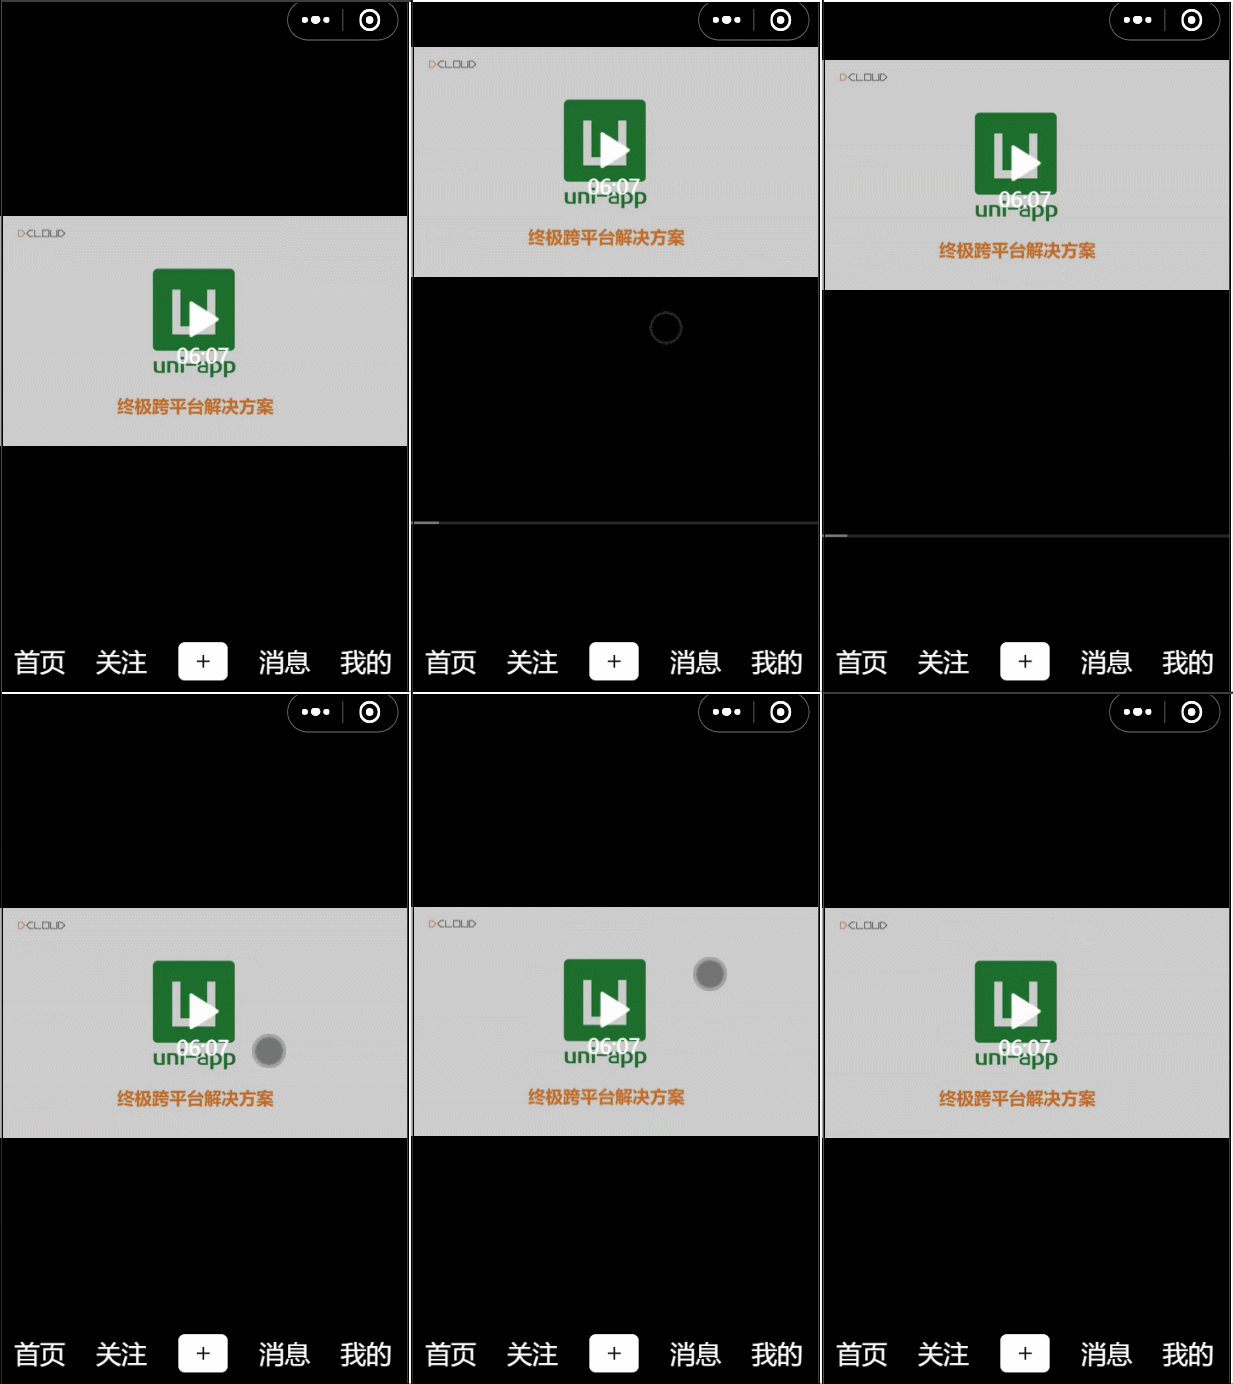
1、创建视频列表
①在 components 下新建 video-list.vue 文件来编写视频列表
<template>
	<view class="videoList">
		<view class="video-box">
			<swiper class="swiper" :vertical="true">
				<swiper-item>
					<view class="swiper-item">
						<videoPlayer></videoPlayer>
					</view>
				</swiper-item>
				<swiper-item>
					<view class="swiper-item">
						<videoPlayer></videoPlayer>
					</view>
				</swiper-item>
				<swiper-item>
					<view class="swiper-item">
						<videoPlayer></videoPlayer>
					</view>
				</swiper-item>
			</swiper>
		</view>
	</view>
</template>

<script>
	import videoPlayer from './videoPlayer.vue'
	export default {
		components: {
			videoPlayer
		},
		name: "video-list",
		data() {
			return {

			};
		}
	}
</script>

<style>
	.videoList {
		width: 100%;
		height: 100%;
	}

	.video-box {
		width: 100%;
		height: 100%;
	}

	.swiper {
		width: 100%;
		height: 100%;
	}

	.swiper-item {
		width: 100%;
		height: 100%;
	}
</style>
②导入 index.vue,步骤同之前,不写了
<template>
	<view class="content">
		<firstNav></firstNav>
		<videoList></videoList>
		<tab></tab>
	</view>
</template>

......

<style>
	.content{
		width: 100%;
		height: 100%;
	}
</style>
③创建视频播放组件 videoPlayer,之前已在 video-list 中引入了
videoPlayer.vue
<template>
	<view class="videoPlayer">
		<video class="video" :src="videoSrc"></video>
	</view>
</template>

<script>
	export default {
		name: "videoPlayer",
		data() {
			return {
				videoSrc: 'https://img.cdn.aliyun.dcloud.net.cn/guide/uniapp/%E7%AC%AC1%E8%AE%B2%EF%BC%88uni-app%E4%BA%A7%E5%93%81%E4%BB%8B%E7%BB%8D%EF%BC%89-%20DCloud%E5%AE%98%E6%96%B9%E8%A7%86%E9%A2%91%E6%95%99%E7%A8%8B@20181126-lite.m4v'
			};
		}
	}
</script>

<style>
	.videoPlayer {
		width: 100%;
		height: 100%;
	}

	.video {
		width: 100%;
		height: 100%;
	}
</style>
④App.vue 中增加样式
html,body{
	width: 100%;
	height: 100%;
}
效果:

2、视频列表改为动态数据
①短视频每个播放地址都应该不同,因此修改 video-list.vue
<template>
	<view class="videoList">
		<view class="video-box">
			<swiper class="swiper" :vertical="true">
				<swiper-item v-for="item of list" :key="item.id">
					<view class="swiper-item">
						<videoPlayer :video="item"></videoPlayer>
					</view>
				</swiper-item>
			</swiper>
		</view>
	</view>
</template>

<script>
	import videoPlayer from './videoPlayer.vue'
	export default {
		components: {
			videoPlayer
		},
		name: "video-list",
		data() {
			return {
				list: [{
						id: 1,
						src: 'http://clips.vorwaerts-gmbh.de/big_buck_bunny.mp4'
					},
					{
						id: 2,
						src: 'http://vjs.zencdn.net/v/oceans.mp4'
					},
					{
						id: 3,
						src: 'https://media.w3.org/2010/05/sintel/trailer.mp4'
					}
				]
			};
		}
	}
</script>

<style>
	.videoList {
		width: 100%;
		height: 100%;
	}

	.video-box {
		width: 100%;
		height: 100%;
	}

	.swiper {
		width: 100%;
		height: 100%;
	}

	.swiper-item {
		width: 100%;
		height: 100%;
		z-index: 19;
	}
</style>
可以看到代码中用了 for 循环,循环了包含 3 个视频的 list,然后给 videoPlayer 传入了一个参数 video,值就是视频地址
另外因为上边效果图中看到,视频全屏后挡住了导航栏,所以这里给 .swiper-item 设置一个 z-index:19
②videoPlayer 中接收传值
<template>
	<view class="videoPlayer">
		<video class="video" :controls="false" :loop="true" :src="video.src"></video>
	</view>
</template>

<script>
	export default {
		props:['video'],
		name: "videoPlayer",
		data() {
			return {
			};
		}
	}
</script>
......
③修改导航的z-index
修改 first-nav.vue 中导航的样式,增加 z-index = 20,同时去掉背景颜色
.firstNav{
	......
	//background: #000000;
	z-index: 20;//只要比19大,就显示在视频列表上方
}
④去掉 tabbar 的背景颜色
修改 .tab-box 样式去掉 background 即可
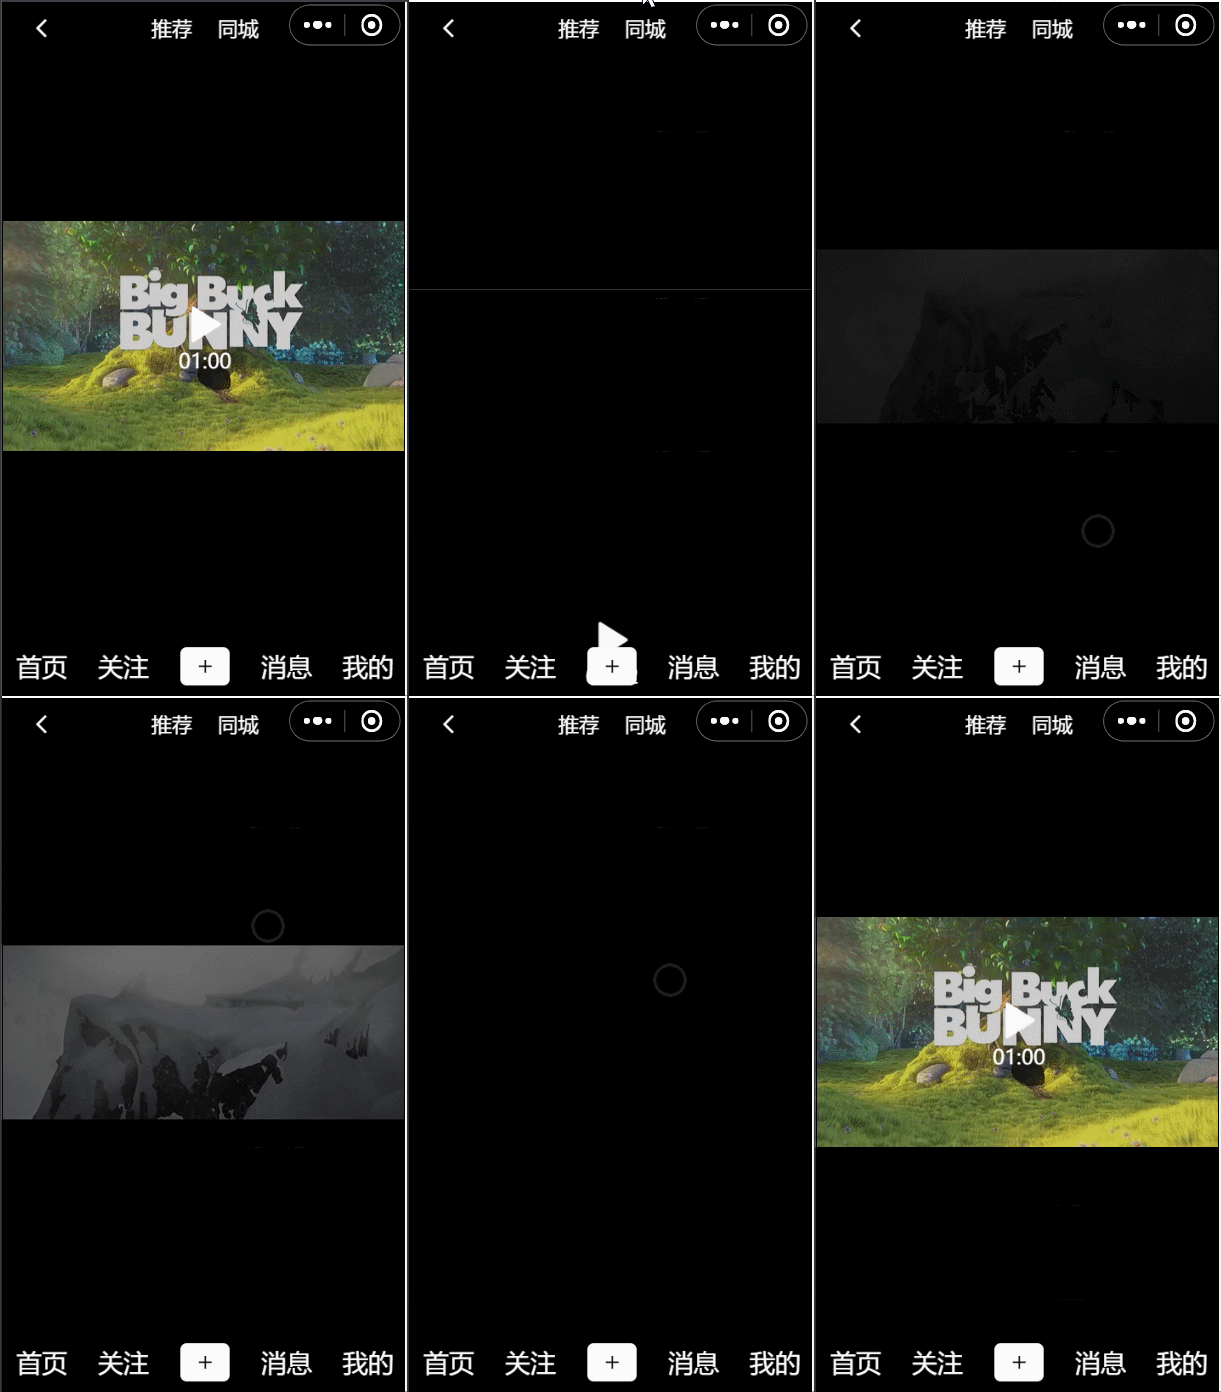
查看效果:

3、模拟请求post
①编写video.json数据,放入apche download文件夹下
video.json
{
	"list": [{
			"id": 1,
			"src": "",
			"author": "张三",
			"title": "我爱学习",
			"loveNumber": 11,
			"commentNumber": 22,
			"shareNumber": 33
		},
		{
			"id": 2,
			"src": "",
			"author": "李四",
			"title": "天天向上",
			"loveNumber": 44,
			"commentNumber": 55,
			"shareNumber": 66
		}
	]
}
开启 apche,请求 http://127.0.0.1:8080/downloads/video.json 看是否能拿到数据
②进行网络请求,修改 index.vue
data() {
	return {
		list:[]
	}
},
onLoad() {
	this.getVideos()
},
methods: {
	getVideos(){
		uni.request({
			url:"http://127.0.0.1:8080/downloads/video.json",
			success: (res) => {
				this.list = res.data.list;
				console.log(this.list);
			}
		})
	}
}
③父组件向子组件传值
现在需要把 index.vue 中的 list 传给 video-list.vue
<videoList :videoList="list"></videoList>
④子组件接收值
<script>
	import videoPlayer from './videoPlayer.vue'
	export default {
		props: ["myList"],
		components: {
			videoPlayer
		},
		name: "video-list",
		data() {
			return {
				list:[]
			};
		},
		watch: {
			myList() {
				this.list = this.myList;
				console.log(myList);
			}
		}
	}
</script>