实战案例:表白墙
用CSS,HTML和JS中一些比较基础 的知识设计一个简单 的表白墙,其中css样式比较简单,有兴趣的同学可发挥想象自行修改。表白墙发送的内容会以div标签的方式生成在下方。
注意:该表白墙上的数据并不具备持久性,只能保存在当前网页中,一旦页面刷新或者关闭了,这里的数据就没了。如果想要长久的保存数据,可以将这些数据提交到服务器上,然后由服务器将数据储存在文件或者数据库中。但本文介绍的是和JS前端等有关的 知识,数据库或者其他知识这里不展开了
<!DOCTYPE html>
<html lang="en">
<head>
    <meta charset="UTF-8">
    <title>Title</title>
</head>
<body>
<div class="container">

<!--    设置标题-->
    <h1> 表白墙</h1>
    <p>输入后点击提交,会将信息显示在墙上</p>

    <div class="row">
        <span>谁</span>
        <input type="text" class="edit">
    </div>
    <div class="row">
        <span>对谁</span>
        <input type="text" class="edit">
    </div>
   <div class="row">
       <span>说什么</span>
       <input type="text" class="edit">
   </div>
    <div>
        <input type="button" value="提 交" id="submit">
    </div>
<!--    每次点击提交,都会在下面新增一个row,里面放置用户输入的话-->
</div>
<script>
    let submitButton=document.querySelector('#submit');
    submitButton.onclick=function () {
        //1.先获取到输入框中的内容
        let edits=document.querySelectorAll('.edit');
      let from=edits[0].value;
      let to=edits[1].value;
      let  message=edits[2].value;
        console.log(from+"对"+to+"说"+message);
        if(from =='' || to=='' || message==''){
            //对用户输入做一个简单的校验,验证当前输入是否是合法的提交
            return;
        }
        //2.根据内容构造 HTML 元素  (.row 里面包含用户输入的话);
        let row=document.createElement('div');
        row.className = 'row';
        row.innerHTML=from+' 对 '+to+' 说 '+message;
        //3.把这个新的元素添加到Dom树上
        let container=document.querySelector('.container');
        container.appendChild(row);
        //4.清空原来的输入框
        for(let i=0;i<edits.length;i++){
            edits[i].value='';
        }
    }
</script>
<style>
    * {
        margin:0;
        padding: 0;
        box-sizing: border-box;
    }
    .container{
        width: 400px;
        margin: 0 auto;
    }
    h1{
        text-align: center;
        padding: 20px 0;
        color:red;
    }
    p{
        text-align: center;
        color:#666;
        padding: 10px 0;
        font-size: 14px;
    }
    .row{
        height: 50px;
        display: flex;
        justify-content: center;
        align-items: center;
    }
    span{
        width: 90px ;
        font-size: 20px;
        color: black;
    }
    input{
        width: 310px;
        height: 40px;

    }

    #submit{
        width: 400px;
        color: white;
        background-color: orange;
        border: none;
        border-radius: 14px;
        font-size: 18px;
    }
    #submit:active{
        background-color: blue;
    }

    .edit{
        font-size: 18px;
        padding-left: 5px;
    }
</style>
</body>
</html>
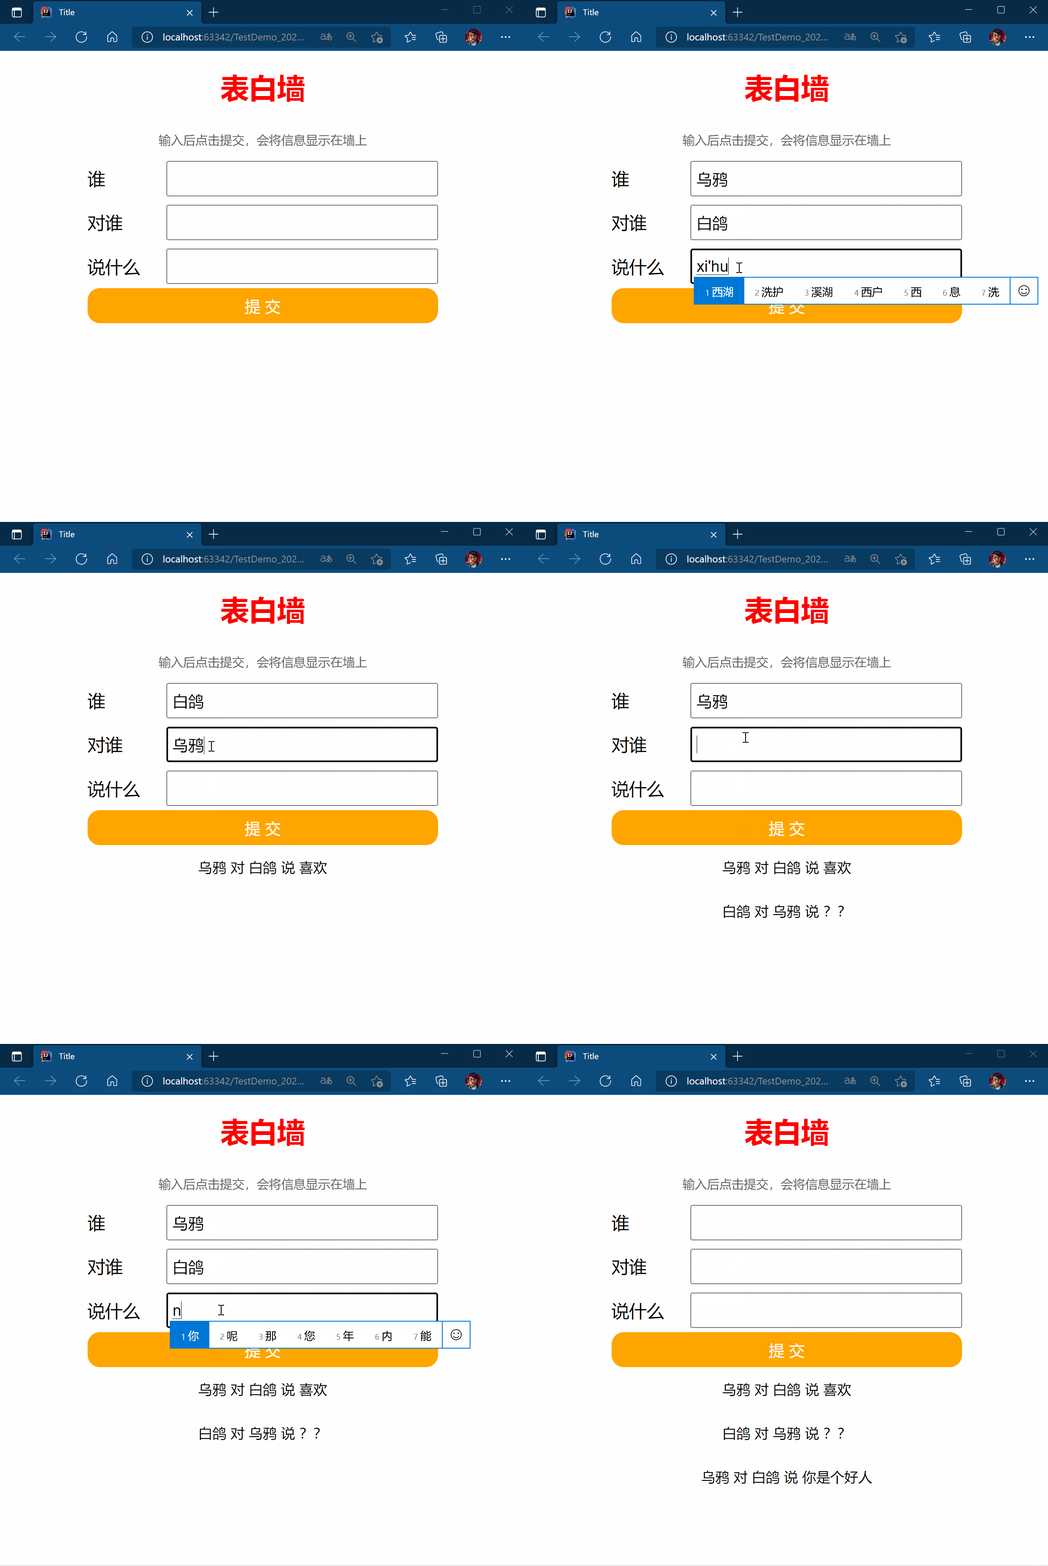
运行效果:

备忘录
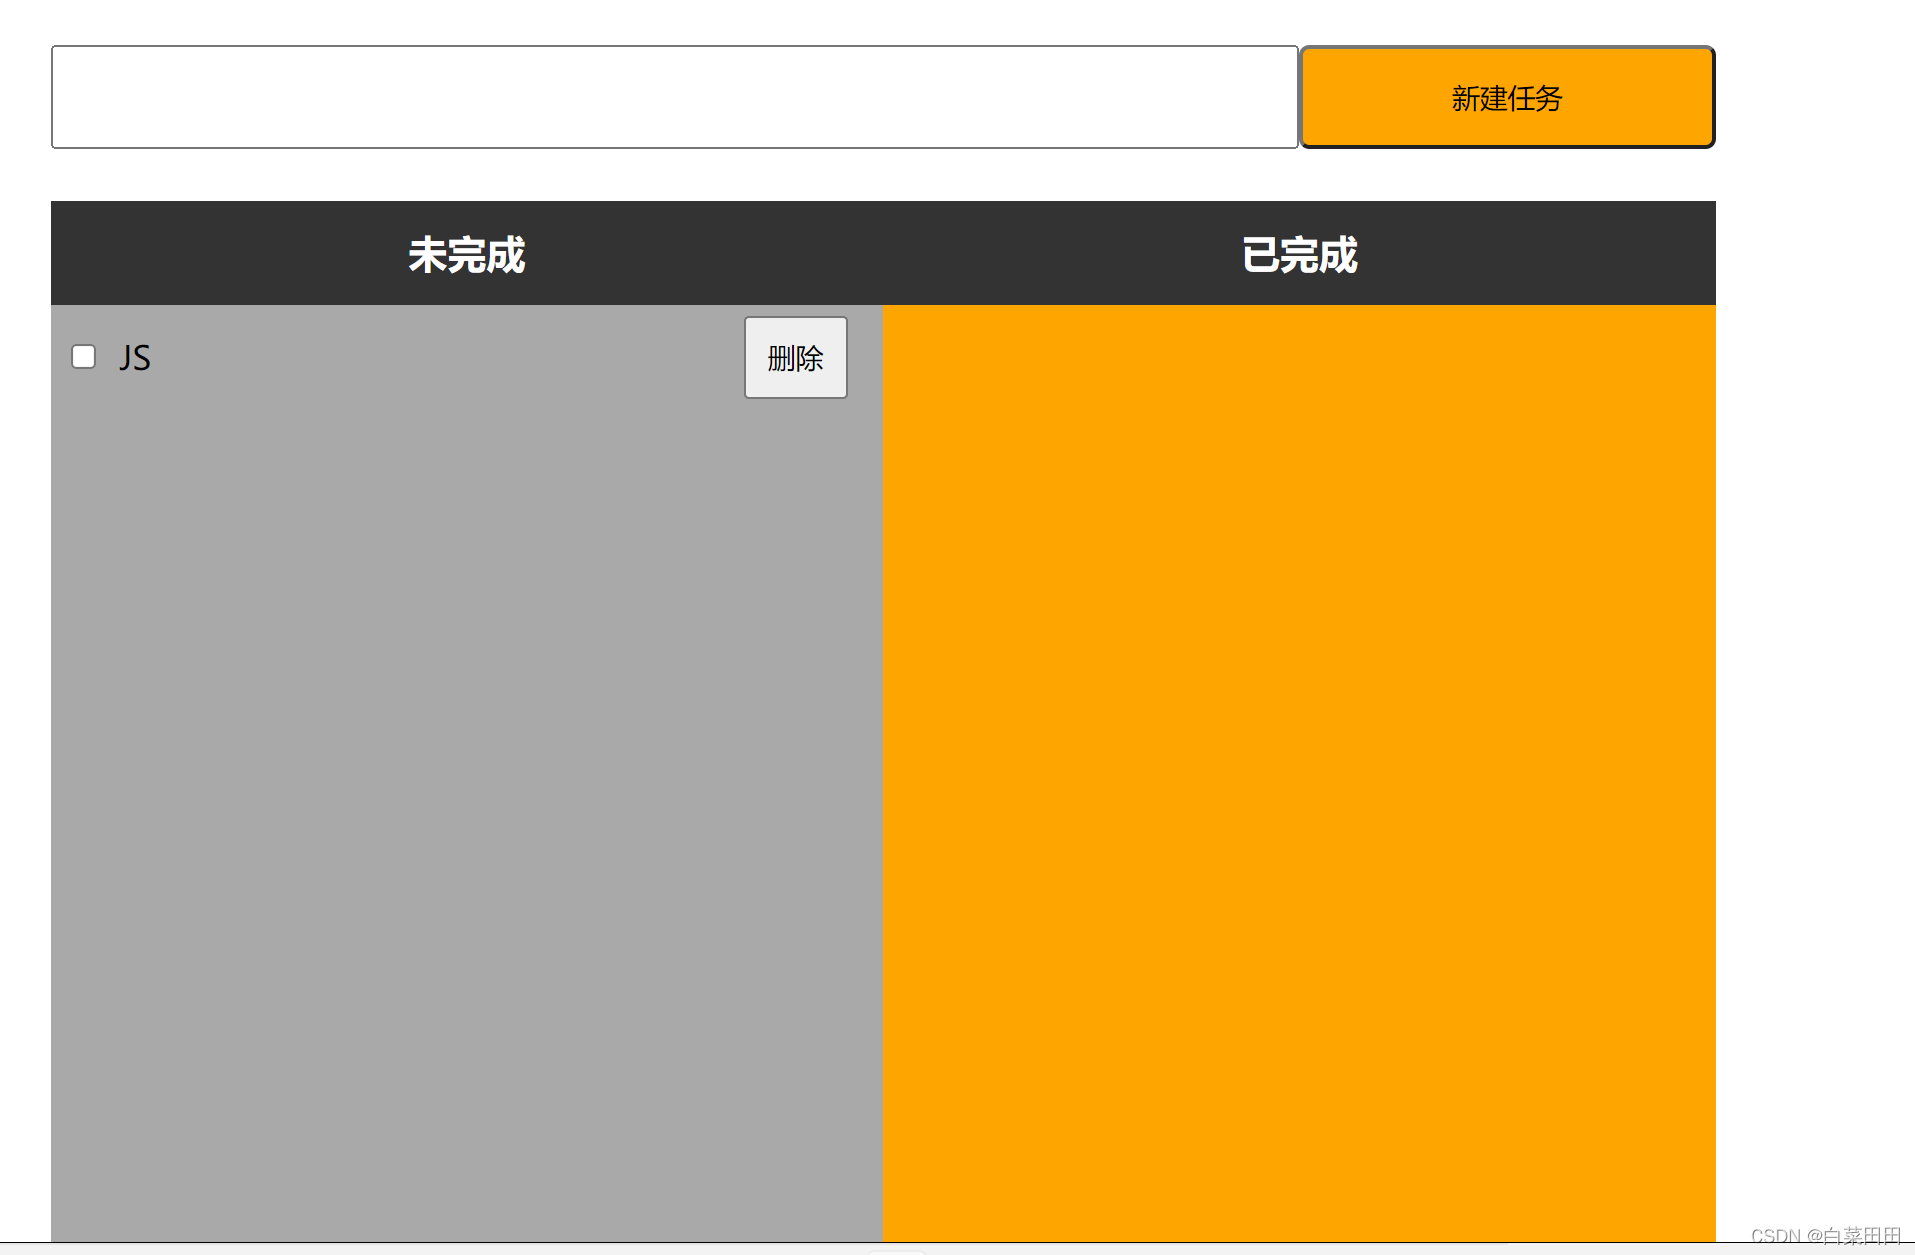
效果图:

<!DOCTYPE html>
<html lang="en">
<head>
    <meta charset="UTF-8">
    <title>备忘录</title>
</head>
<body>
         <!--创建输入框和新建任务按钮-->
    <div class="nav">
        <input type="text">
        <button>新建任务</button>
    </div>
       <!-- 下面包含了左右两个内容区域 -->
      <div class="container">
         <!--  左侧结构 -->
          <div class="todo">
              <h3>未完成</h3>
<!--     举例子         -->
<!--              <div class="row">-->
<!--                  <input type="checkbox">-->
<!--                  <span>吃饭</span>-->
<!--                  <button>删除</button>-->

<!--              </div>-->
          </div>
          <!-- 右侧结构 -->
          <div class="done">
             <h3>已完成</h3>
          </div>
      </div>

         <style>
             *{
                 margin:0;
                 padding:0;
                 box-sizing: border-box;
             }
             .nav{
                 /*background-color: red;*/
                 width:800px;
                 height:100px;
                 margin: 0 auto;
                 display: flex;
                 align-items: center;
             }

             /* 任务的输入框*/
             .nav input{
                 height: 50px;
                 width: 600px;
             }
             .nav button{
                 height: 50px;
                 width: 200px;
                 background-color: orange;
                 border-radius: 5px;
                 color:black;
                 /*//border: none;*/
             }
             .container{
                 background-color: orange;
                 width:800px;
                 height: 800px;
                 margin: 0 auto;
                 display: flex;
             }

             .container h3{
                 height: 50px;
                 text-align: center;
                 line-height: 50px;
                 background-color: #333;
                 color:white;
             }
             .todo{
                background-color: darkgray;
                 width: 400px;
                 height: 100%;
             }
             .done{
                 /*background-color: blue;*/
                 width:50%;
                 height: 100%;
             }
             .row{
                 height: 50px;
                 display: flex;
                 align-items: center;
             }

             .row input{
                 /*设置上下外边距为0 左右外边距为10px*/
                 margin:0 10px;

             }
             .row span{
                 width:300px;
             }
             .row button{
                 width:50px;
                 height:40px;

             }

         </style>

         <script>
             //实现新建任务功能

             //1.获取新增按钮
             let addTaskButton=document.querySelector('.nav button');

             //2.给新增按钮注册一个点击事件
             addTaskButton.onclick=function () {
                 //3.获取输入框中的内容
                 let input=document.querySelector('.nav input');
                 let taskContent=input.value;
                 if(taskContent==''){
                     console.log('当前任务为空,无法新增任务!');
                     return ;
                 }
                 //1.4 根据任务内容创建元素(类似于上面的div)
                 let row=document.createElement('div');
                 row.className='row';
                 let checkbox=document.createElement('input');
                 checkbox.type='checkbox';
                 let span=document.createElement('span');
                 span.innerHTML=taskContent;
                 let button=document.createElement('button');
                 button.innerHTML='删除';

                 //将上面创建的对象挂到DOM树上
                 row.appendChild(checkbox);
                 row.appendChild(span);
                 row.appendChild(button);
                 let todo=document.querySelector('.todo');
                 todo.appendChild(row);

                 //清空输入框
                 input.value='';

                 //实现 已完成功能,针对 checkbox 新增一个点击事件处理函数
                 checkbox.onclick=function () {
                     //  row对象 是创建出的选项
                     //  根据row的状态判断是否加入完成事件中。
                     if(checkbox.checked){
                         //选中状态,把row放到done里面
                         let target=document.querySelector('.done');
                         target.appendChild(row);
                     }else{
                         //未选中状态 把row放入todo
                         let target=document.querySelector('.todo');
                         target.appendChild(row);
                     }
                 }

                 //实现删除功能
                 //针对删除按钮增加一个点击事件

                 button.onclick=function () {
                     let parent=row.parentNode;
                     parent.removeChild(row);
                 }
             }
         </script>
</body>
</html>

上面这段代码的作用就是由JS直接生成一个HTML片段。

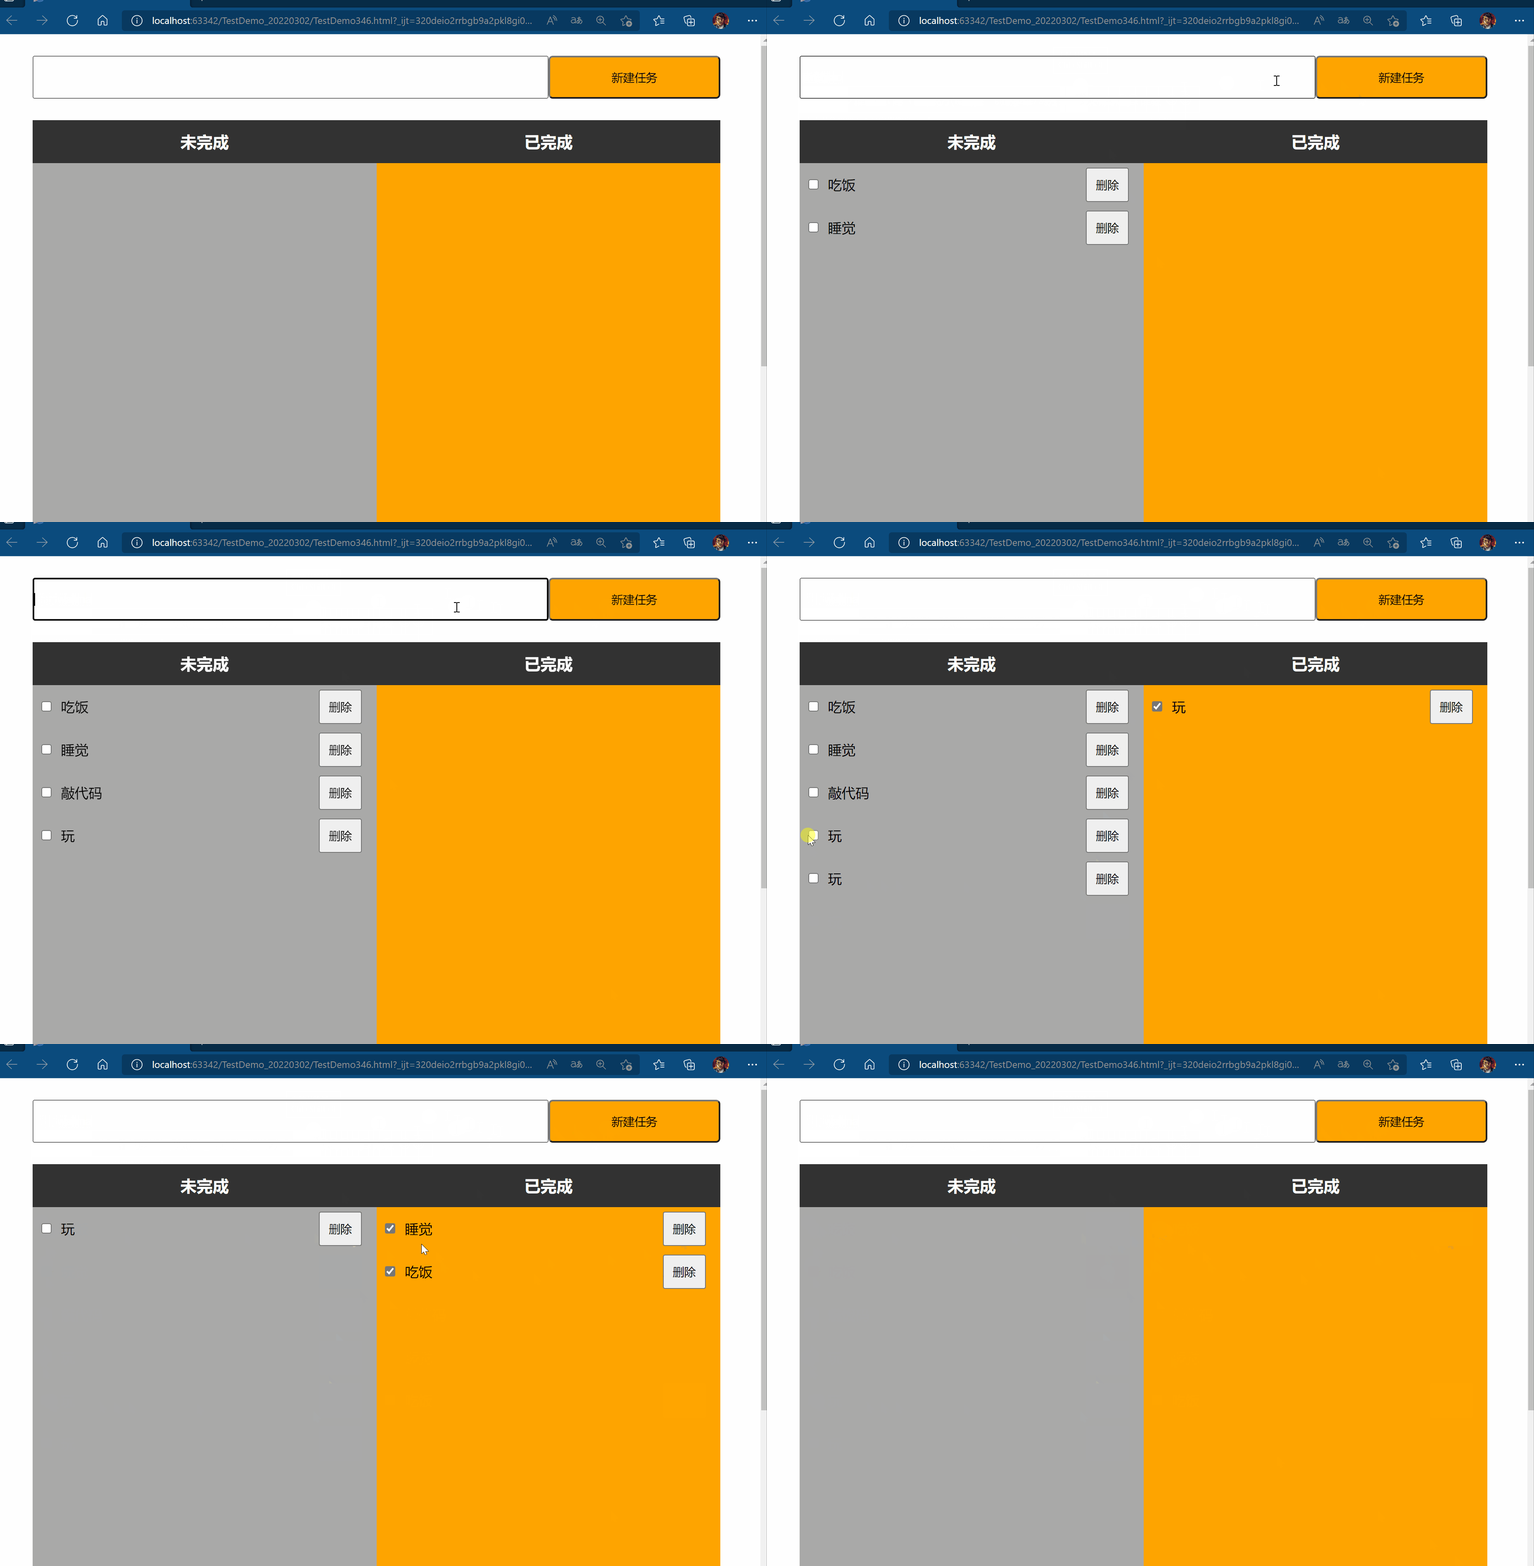
运行效果:
