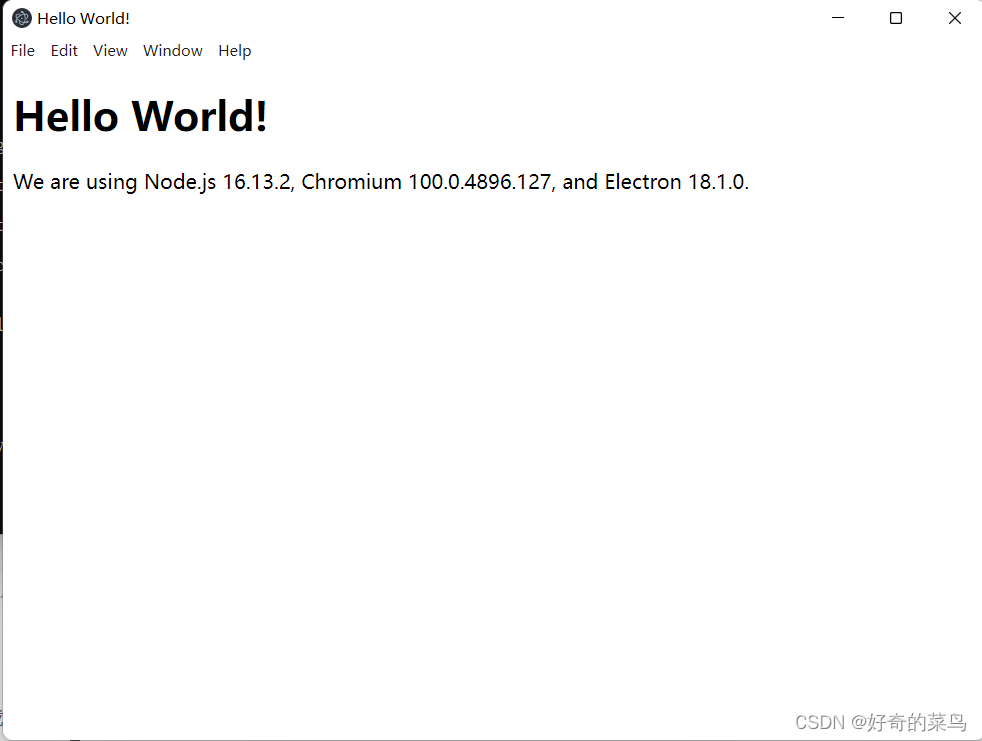
官方教程:https://www.electronjs.org/docs/latest/tutorial/quick-start?
环境搭建:1.Electron开发环境搭建
极速体验:?
# 克隆这仓库
$ git clone https://github.com/electron/electron-quick-start
# 进入仓库
$ cd electron-quick-start
# 安装依赖库并运行应用
$ npm install && npm start
?
自己编写
一、HelloWorld界面编写
1、新建工作目录:F:\study\electron\helloworld
2、使用编辑器(VScode)打开工作目录新建index.html文件
3、编写界面内容
html:5<!DOCTYPE html>
<html lang="en">
<head>
<meta charset="UTF-8">
<meta http-equiv="X-UA-Compatible" content="IE=edge">
<meta name="viewport" content="width=device-width, initial-scale=1.0">
<title>HelloWorld</title>
</head>
<body>
HelloWorld
</body>
</html>二、编写main.js,引入electron工作
var electron = require('electron') //引入electron组件

var app = electron.app //引入组件app

var BrowserWindow = electron.BrowserWindow //窗口引用

var mainWindow = null //申明打开窗口

app.on('ready', () => { //app初始化参数
    mainWindow = new BrowserWindow({ windth: 800, height: 800 })
    mainWindow.loadFile('index.html') //打开窗口加载的页面
    mainWindow.on('close', () => { //窗口关闭时,释放页面
        mainWindow = null
    })
})
三、初始化项目
npm init --yes
?四、运行项目
electron .

项目目录结构

