很多时候,我们可能只是为了简单实现几张图或者些简单场景。但是可能是对游戏引擎不熟悉也可能是觉得为了个小东西引个引擎很没必要。这个时候就特别需要一个灵活轻便的工具包可能来完成这件事,今天就特别写一个。
该渲染器使用起来非常简单,他帮助开发者完成两大机制
1、节点分层,开发者可以先操作 docu 元素一样操作节点
2、自动渲染,开发者不必关心,图像何时渲染,在哪里渲染
不过该渲染器并没有实现具体的渲染操作,而是直接把 canvas.getContext("2d") 对象开放给开发者,让其自由发挥。这个渲染器需要开发者对 canvas API 有一定了解
使用教程如下
/创建舞台
let stage = new CanvasRender(document.body.querySelector("canvas"));
对,就这么一行代码就搞定了渲染器,他会自动渲染。剩下的就是在舞台中添加节点即可
渲染器中提供了一个基础类【Container?】,所有节点皆需继承这个类,才能被渲染器识别
如下
class Sprite extends Container {
    constructor(url, x, y, w, h) {
        super()
        this.load = false;
        this.img = new Image();
        this.x = x;
        this.y = y;
        this.w = w;
        this.h = h;
        this.img.crossOrigin = "*";
        this.img.onload = () => this.load = true;
        this.img.src = url;
    }
    // 这和方法就是具体渲染什么到场景中的操作。具体有开发者自己写
    // 这个方法是自动调用的,不用管
    draw(gb) {
        if(this.load) gb.drawImage(this.img, this.x, this.y, this.w, this.h);
    }
}
// 创建一个背景
let bg = new Sprite("./350.jpg", 0, 0, 700, 350);
/// 添加背景节点到场景中
stage.appendChild(bg);
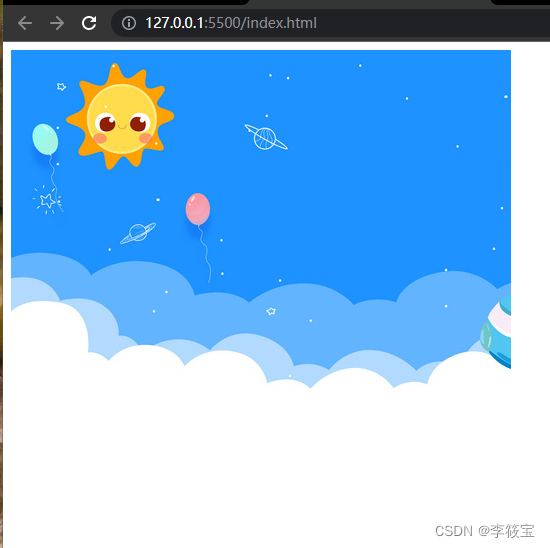
代码写到这里页面就可以出现一个背景了?

该基础类【Container?】还可以作为容器节点存在
// 创建一个背景
let bg = new Sprite("./350.jpg", 0, 0, 700, 350);
// 创建球
let qiu1 = new Sprite(atlas.getFrameUrl("asd/1.png"), 100, 100, 100, 100);
// 创建球
let qiu2 = new Sprite(atlas.getFrameUrl("asd/7.png"), 100, 200, 100, 100);
// 创建一个容器
let qius = new Container();
/// 添加背景节点到场景中
stage.appendChild(bg);
/// 添加球1节点到球组中
qius.appendChild(qiu1);
/// 添加球2节点到球组中
qius.appendChild(qiu2);
/// 添加一组球节点到场景中
stage.appendChild(qius);
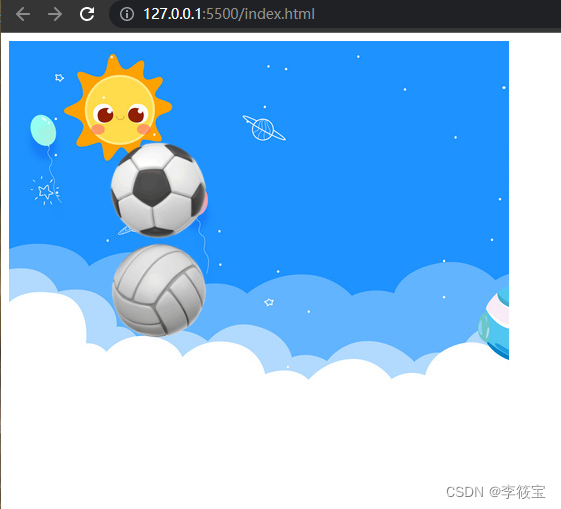
这样场景就会变成这样

此外基础类中还提供一些节点的基础方法
// 把自己删掉
qiu1.remove();
// 隐藏或显示,如果节点下有子节点则连同子节点也会隐藏
qiu1.display = true;
// 调整层级,这个值越大显示的越靠前。默认按照 appendChild 的顺序显示,最后 appendChild 显示在最前面
qiu1.index = 99;
怎么样!?是不是很简单,下边就是全部的代码
/*
 * @Author: Summer
 * @LastEditors: Summer
 * @Description:
 * @Date: 2022-04-21 16:11:02 +0800
 * @LastEditTime: 2022-04-28 15:29:14 +0800
 * @FilePath: \test\index2.js
 */

class EventClass extends Event {
    constructor(type, data) {
        super(type);
        this.data = data;
    }
}

// 渲染节点基类
class Container extends EventTarget {
    id = crypto.randomUUID();
    started = false;
    index = 1; // 层级,越大越靠前
    children = [];
    parent = null;
    display = true;
    x = 0;
    y = 0;
    w = 0;
    h = 0;

    on = this.addEventListener;
    once(type, callback) { this.addEventListener(type, callback, { once: true }) }
    emit(type, data) { this.dispatchEvent(new EventClass(type, data)) }

    appendChild(node) {
        node.parent = this;
        node.index = this.children.length + 1;
        this.children.push(node);
    }
    remove() {
        if (this.parent) for (let i = 0, l = this.parent.children.length; i < l; i++)
            if (this.parent.children[i] == this) {
                this.parent.children.splice(i, 1); break;
            }
    }
    start() {
        // 第一次加载时
    }
    /**
     * 渲染方法
     * @param {*} gb getContext("2d")
     */
    draw(gb) {
        // 具体怎么渲染,自己决定
        // 这套工具只保证了渲染的层级
    }
}
/**
 * 舞台
 */
class CanvasRender extends Container {
    static STATUS = { Play: 1, Pause: 0 };
    statuc = CanvasRender.STATUS.Pause;
    constructor(canvas) {
        super()
        this.w = canvas.width;
        this.h = canvas.height;
        this.canvas = canvas
        this.gb = this.canvas.getContext("2d");
        this.play(); // 启动渲染
    }
    render() {
        if (this.statuc == CanvasRender.STATUS.Play) {
            this.gb.clearRect(0, 0, this.canvas.width, this.canvas.height)
            let stack = [this];
            while (stack.length) { // 利用深度优先搜索确保层级正确
                let node = stack.pop();
                if (!node.started) { node.canvas = this.canvas; node.start(); node.started = true; }
                if (node.display) {
                    node.children.sort((a, b) => b.index - a.index).forEach(ele => stack.push(ele));
                    node.draw(this.gb);
                }
            }
            requestAnimationFrame(this.render.bind(this));
        }
    }

    play() { this.statuc = CanvasRender.STATUS.Play; this.render(); return this; }
    pause() { this.statuc = CanvasRender.STATUS.Pause; return this; }
}
