上一篇有记录到使用jenkins实现自动化部署web项目,这篇讲一下如何使用codin部署
1.创建项目
首先注册一个coding账号并创建一个项目

2.录入凭证
通过上图点击左下角的项目设置进入页面,点击左下角开发者选择》凭证管理》录入凭证

凭证名称:随便填个
root:填写服务器的root
密码:填写服务器的密码
3.制作仓库
这一步的目的是打包后的压缩包自动上传到该目录
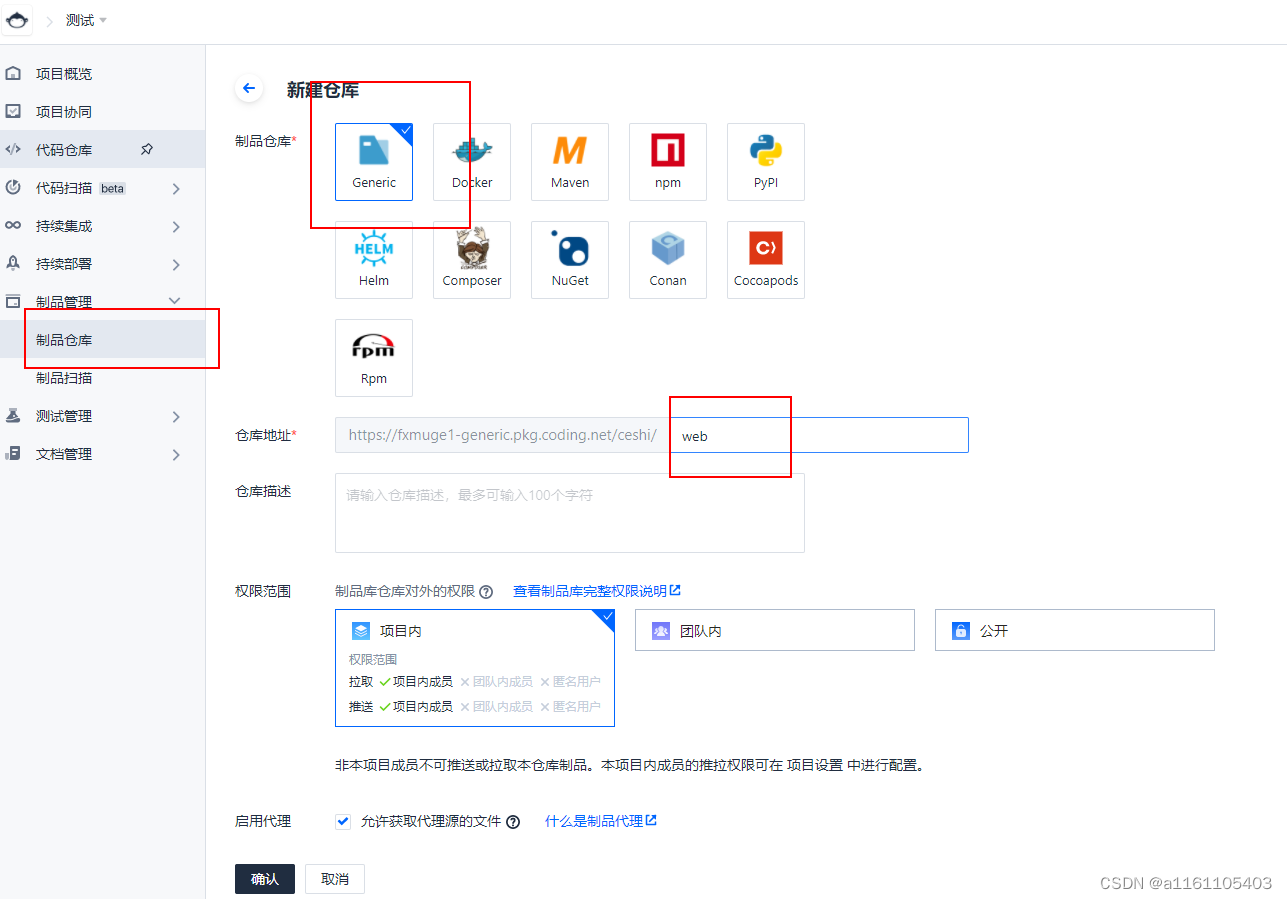
地址:web 可以写别的,只是个名称,用来指定仓库
4.构建计划
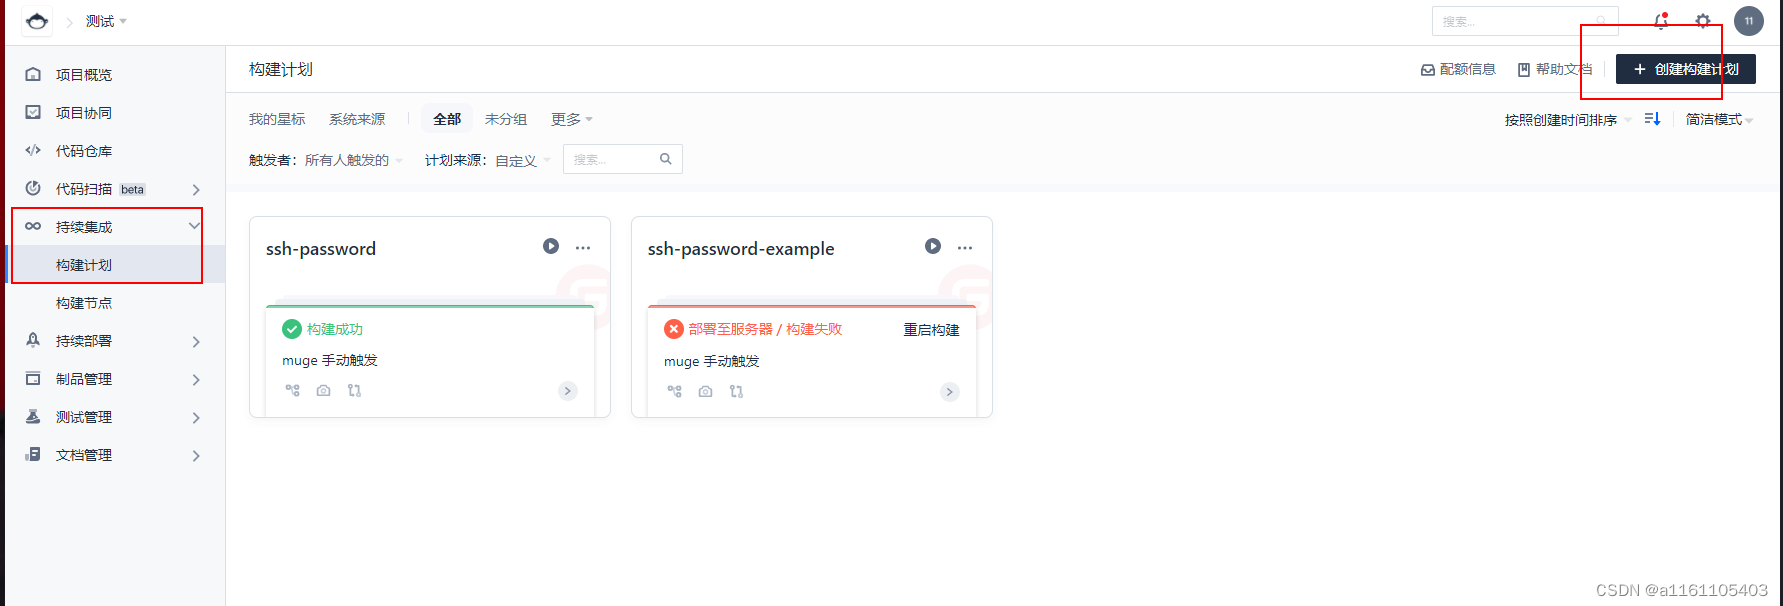


点击确定后就可以进行相应配置了,也可以从外边进入设置,如题
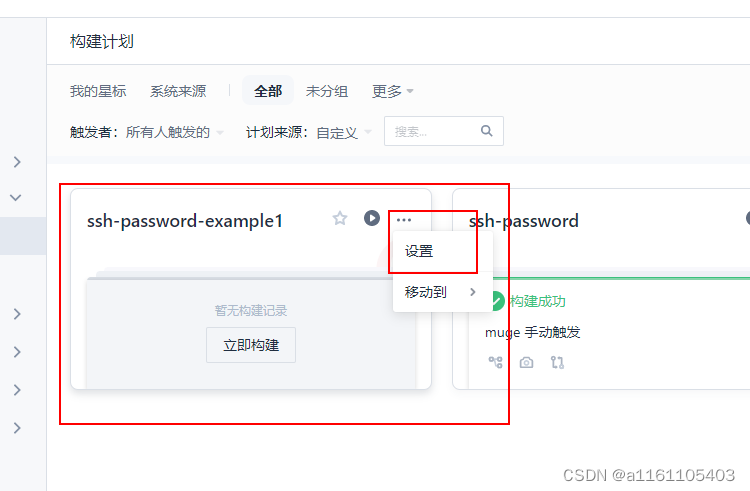
5.构建配置(重点)
当前还是选择默认即可
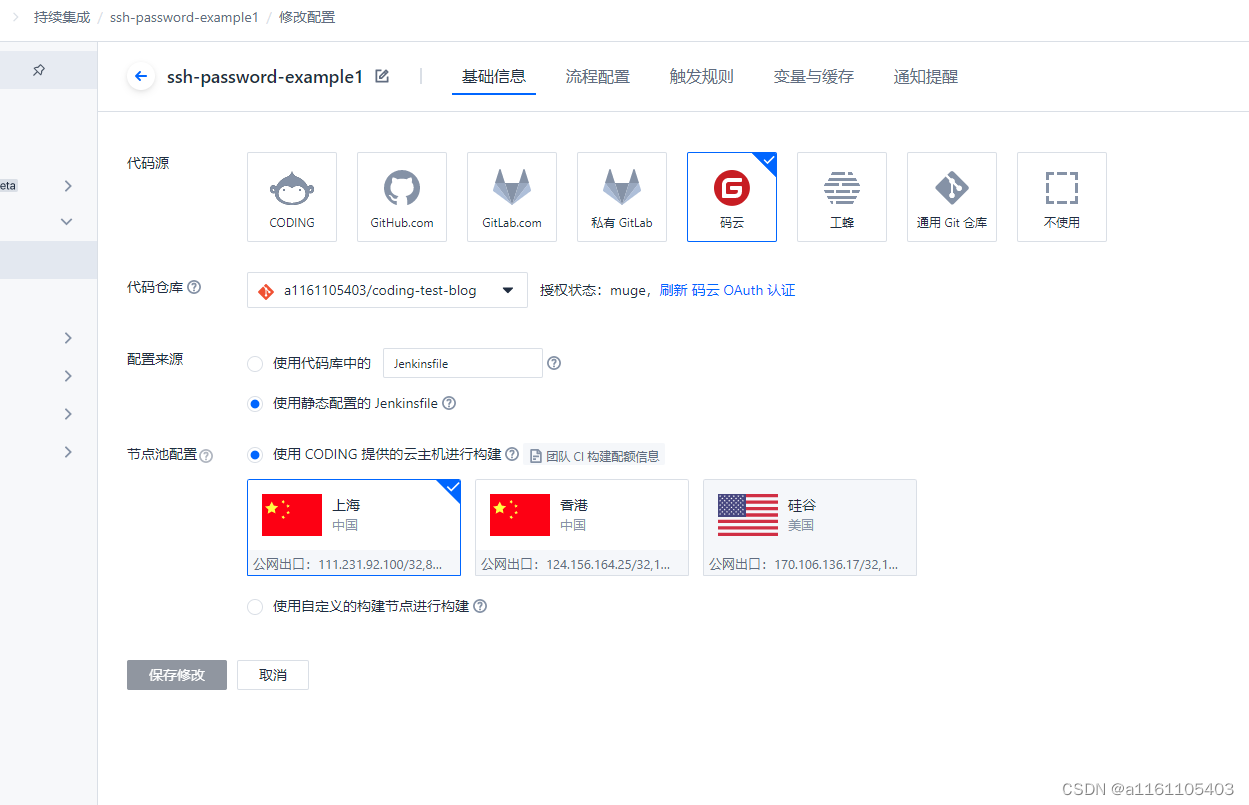
接下来重点的地方来了

这里的配置参数可以实现打包动态化,也就是说传入什么参数,比如ip、端口、分支等,就会实现动态打包,而不是局限于某个ip或者分支,这里设置的变量会在文本编辑器中使用
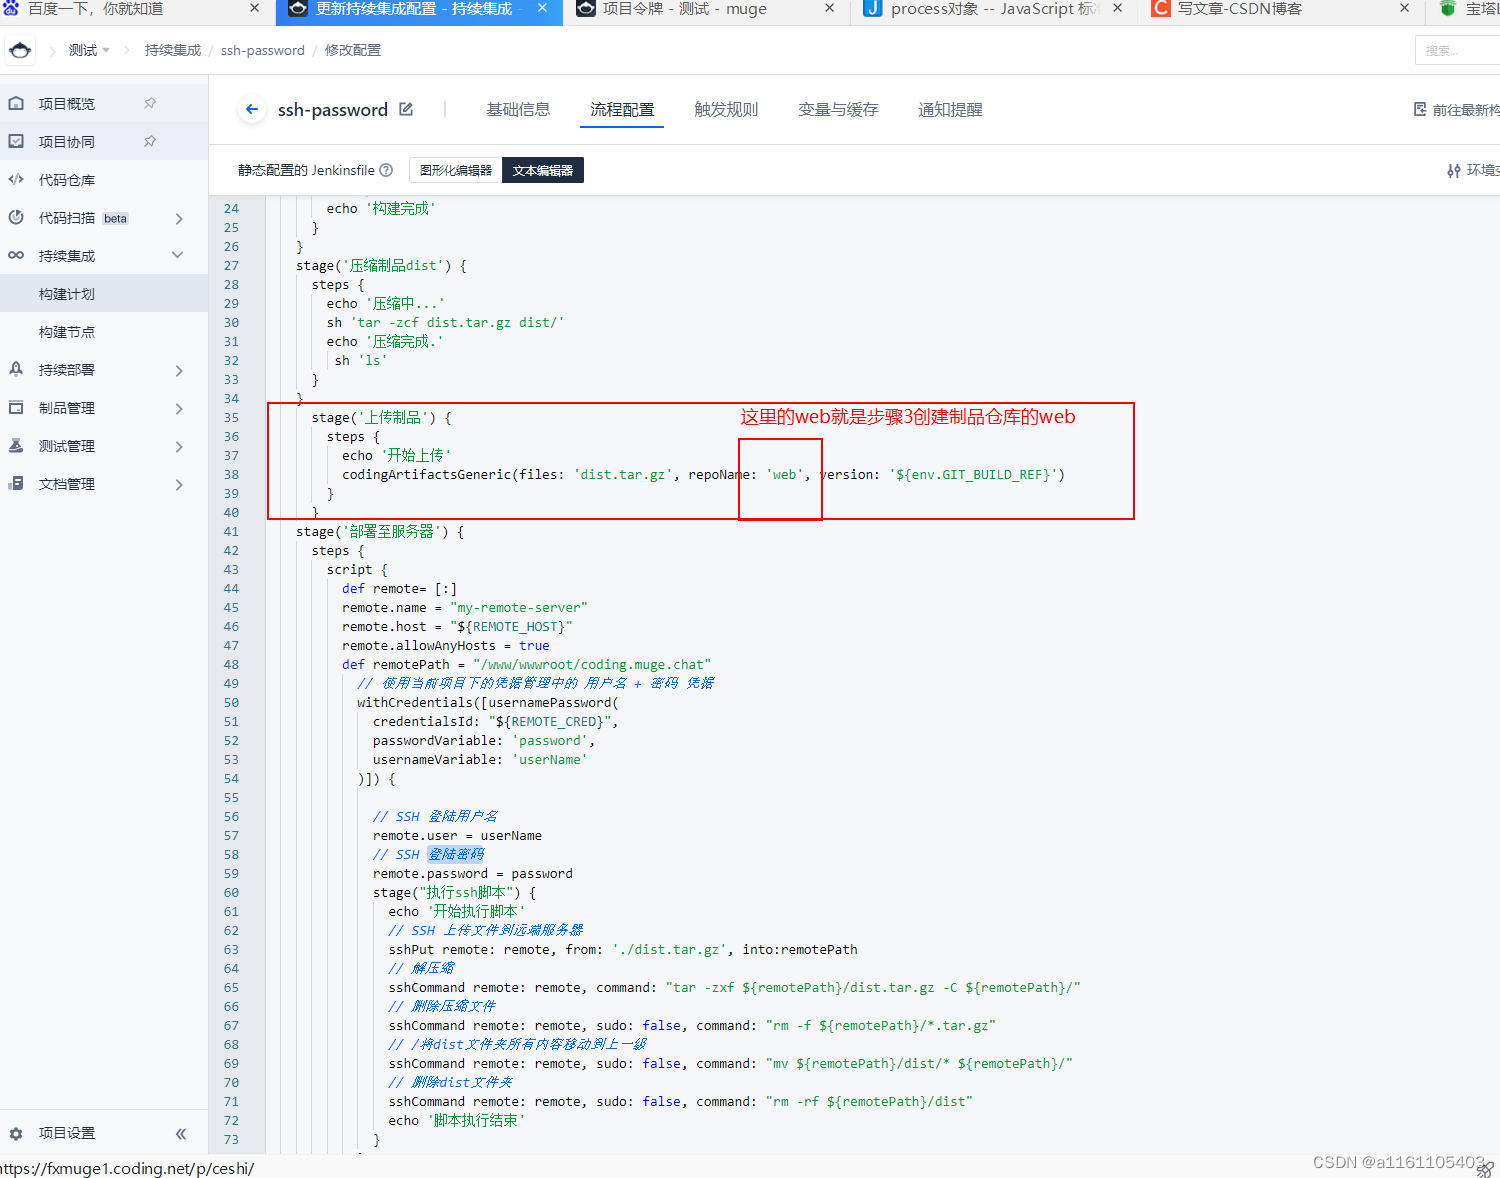
6.配置 Jenkinsfile
复制我这段即可,然后做一些修改即可
pipeline {
  agent any
  stages {
    stage('检出') {
      steps {
        checkout([$class: 'GitSCM',
        branches: [[name: GIT_BUILD_REF]],
        userRemoteConfigs: [[
          url: GIT_REPO_URL,
          credentialsId: CREDENTIALS_ID
        ]]])
      }
    }
    stage('安装依赖') {
      steps {
        sh 'npm install -g cnpm --registry=https://registry.npm.taobao.org'
        sh 'cnpm install'
      }
    }
    stage('执行构建') {
      steps {
        echo '开始构建'
        sh 'npm run build'
        echo '构建完成'
      }
    }
    stage('压缩制品dist') {
      steps {
        echo '压缩中...'
        sh 'tar -zcf dist.tar.gz dist/'
        echo '压缩完成.'
         sh 'ls'
      }
    }
      stage('上传制品') {
        steps {
          echo '开始上传'
          codingArtifactsGeneric(files: 'dist.tar.gz', repoName: 'web', version: '${env.GIT_BUILD_REF}')
        }
      }
    stage('部署至服务器') {
      steps {
        script {
          def remote= [:]
          remote.name = "my-remote-server"
          remote.host = "${REMOTE_HOST}"
          remote.allowAnyHosts = true
          // 服务器远程地址
          def remotePath = "/www/wwwroot/coding.muge.chat"
            // 使用当前项目下的凭据管理中的 用户名 + 密码 凭据
            withCredentials([usernamePassword(
              credentialsId: "${REMOTE_CRED}",
              passwordVariable: 'password',
              usernameVariable: 'userName'
            )]) {

              // SSH 登陆用户名
              remote.user = userName
              // SSH 登陆密码
              remote.password = password
              stage("执行ssh脚本") {
                echo '开始执行脚本'
                // SSH 上传文件到远端服务器
                sshPut remote: remote, from: './dist.tar.gz', into:remotePath
                // 解压缩
                sshCommand remote: remote, command: "tar -zxf ${remotePath}/dist.tar.gz -C ${remotePath}/"
                // 删除压缩文件
                sshCommand remote: remote, sudo: false, command: "rm -f ${remotePath}/*.tar.gz"
                // /将dist文件夹所有内容移动到上一级
                sshCommand remote: remote, sudo: false, command: "mv ${remotePath}/dist/* ${remotePath}/"
                // 删除dist文件夹
                sshCommand remote: remote, sudo: false, command: "rm -rf ${remotePath}/dist"
                echo '脚本执行结束'
              }
            }
        }

      }
    }
  }
}
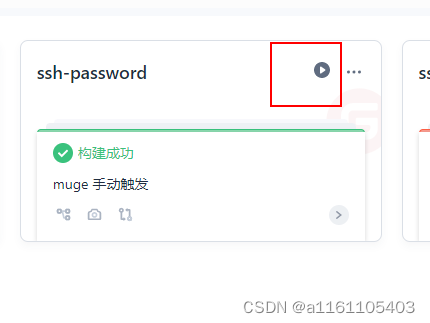
7.开始构建
以上配置完,构建即可


8.扩展
既然通过配置参数,可以实现动态打包。那,我的项目怎么用的到这些参数呢。
比如我要在coding上配置打包参数 ip 、 port 、 name
拿vue2举例,首先在项目根路径中创建 vue.config.js ,使用以下命令便可以获取传入参数
// npm需要这么拿
const {npm_config_ip:ip,npm_config_port:port,npm_config_name:name} = process.env
// 自定义参数ip port name
// 获取定义参数
console.log(ip,'ip');
console.log(port,'port');
console.log(name,'name');

通过这些参数就可以实现动态打包
参数形式一定要通过 **–**params ,一定要在前面加上 – 两杠
打包的时候把命令改为npm run build --ip=127.0.1
拿步骤6举例
首先配置了如下参数

原本代码
    stage('执行构建') {
      steps {
        echo '开始构建'
        sh 'npm run build'
        echo '构建完成'
      }
    }
更改后的代码
    stage('执行构建') {
      steps {
        echo '开始构建'
        sh 'npm run build --ip=npm run build --ip=${IP} --port=${PORT} --name=${NAME} '构建完成'
      }
    }
引号中变量需要 使用 "${你的变量}"表示
9.结束语
到此jenkins和coding之前端自动化部署项目已学习完成了,是不是觉得挺有意思的
