从零搭建一个发布到npm的vue ui组件库
市面上有很多的UI组件库,比如iview、element、cobe ui等,但是每个公司的业务逻辑都不一样,很多通用的业务逻辑组件,所以这个时候就需要开发自己团队所需要的组件库。
以下内容轰炸,请留出足够时长观看。。。
技术栈
- vue cli3搭建项目
- npm组件将存放在npm
- webpack修改打包文件时需要一些webpack知识

创建项目的时候选择eslint+prettier,添加.eslintrc.js文件规定格式化规则,添加.eslintignore忽略eslint检测文件,vscode需安装插件Prettier - Code formatter。

-
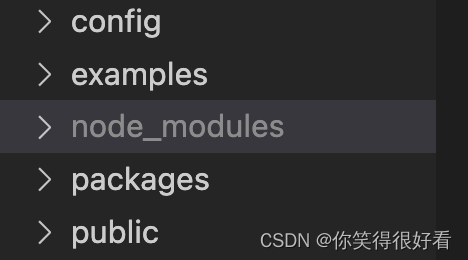
规划文件目录
...
|-- examples      // 原 src 目录,改成 examples 用作示例展示
|-- packages      // 新增 packages 用于编写存放组件
...

配置不同打包配置以适应打包为组件库和demo
这里选择处理方式是添加两个打包配置文件,以达到打出不同包的目的,根目录添加config目录存放打包文件。(因为修改了入口文件夹所以打包的时候需要把入口路径修改一下)
...
├─ config
│    ├─ config.demo.js              // 打包为demo配置文件
│    ├─ config.npm.js               // 打包为npm包配置文件
│    └─ utils.js                    // 打包配置工具方法
...
// config.demo.js
const path = require('path')
const defaultSettings = require('../examples/settings')
function resolve(dir) {
  return path.join(__dirname, dir)
}
const name = defaultSettings.title || '组件库' // page title
const port = process.env.port || process.env.npm_config_port || 9528 // dev port

const demoBuildConfig = {
  // 修改入口
  pages: {
    index: {
      entry: 'examples/main.js',
      template: 'public/index.html',
      filename: 'index.html'
    }
  },
  productionSourceMap: false,
  devServer: {
    port: port,
    open: true,
    overlay: {
      warnings: false,
      errors: true
    }
  },
  configureWebpack: () => {
    return {
      name: name,
      resolve: {
        extensions: ['js', '.vue', '.json'],
        alias: {
          '@examples': resolve('../examples'),
          '@packages': resolve('../packages')
        }
      }
    }
  },
  chainWebpack(config) {
    config.plugins.delete('prefetch')
    config.module
      .rule('scss')
      .oneOf('vue')
      .end()
  }
}

module.exports = demoBuildConfig
// config.npm.js
const { resolve, getComponentEntries } = require('./utils')
const TerserPlugin = require('terser-webpack-plugin')

const npmBuildConfig = {
  // 输出文件目录
  outputDir: resolve('lib'),
  // webpack配置
  configureWebpack: {
    //  入口文件
    entry: getComponentEntries('packages'),
    //  输出配置 按需引入的关键。。。。
    output: {
      //  文件名称
      filename: '[name]/index.js',
      //  构建依赖类型
      libraryTarget: 'umd',
      umdNamedDefine: false,
      //  依赖输出
      libraryExport: 'default',
      //  依赖名称
      library: 'ws-grocery-store'
    },
    externals: {
      vue: {
        root: 'Vue',
        commonjs: 'vue',
        commonjs2: 'vue',
        amd: 'vue'
      }
    },
    optimization: {
      minimizer: [ // 定制压缩选项
        new TerserPlugin({
          terserOptions: {
            output: {
              comments: false // 去掉注释
            }
          }
        })
      ]
    }
  },
  //  样式输出
  css: {
    sourceMap: true,
    extract: {
      filename: '[name]/style.css'
    }
  },
  chainWebpack: config => {
    config.optimization.delete('splitChunks')
    config.plugins.delete('copy')
    config.plugins.delete('preload')
    config.plugins.delete('prefetch')
    config.plugins.delete('html')
    config.plugins.delete('hmr')
    config.entryPoints.delete('app')
  }
}

module.exports = npmBuildConfig
// utils.js
const fs = require('fs')
const path = require('path')
const join = path.join

const resolve = (dir) => path.join(__dirname, '../', dir)

/**
 * @desc 大写转横杠
 * @param {*} str
 */
function upperCasetoLine(str) {
  let temp = str.replace(/[A-Z]/g, function(match) {
    return '-' + match.toLowerCase()
  })
  if (temp.slice(0, 1) === '-') {
    temp = temp.slice(1)
  }
  return temp
}

module.exports = {
  resolve,
  upperCasetoLine,
  /**
   * @desc 获取组件入口
   * @param {*} path
   */
  getComponentEntries(path) {
    const files = fs.readdirSync(resolve(path))

    const componentEntries = files.reduce((fileObj, item) => {
      //  文件路径
      const itemPath = join(path, item)
      //  在文件夹中
      const isDir = fs.statSync(itemPath).isDirectory()
      const [name, suffix] = item.split('.')

      //  文件中的入口文件
      if (isDir) {
        fileObj[`ws-${upperCasetoLine(item)}`] = resolve(join(itemPath, 'index.js'))
      } else if (suffix === 'js') {
        //  文件夹外的入口文件
        fileObj[name] = resolve(`${itemPath}`)
      }
      return fileObj
    }, {})

    return componentEntries
  }
}
// vue.config.js
// 根据不同打包命令使用不同打包文件
const demoBuildConfig = require('./config/config.demo')
const npmBuildConfig = require('./config/config.npm')

module.exports = process.env.ENV === 'npm' ? npmBuildConfig : demoBuildConfig
编写组件
以上已做完相关配置,小喘一口气,可以开始愉快的编写组件了,接下来编写组件和常规项目抽组件并没什么区别。。。
1、创建一个新组件
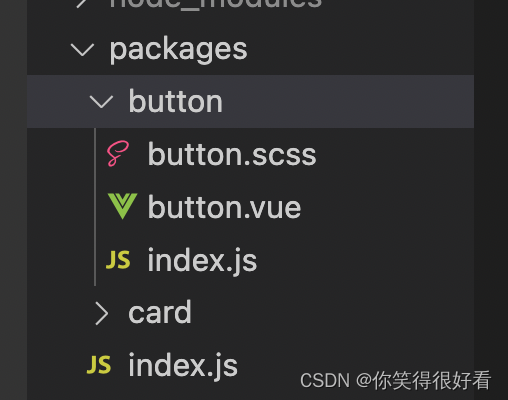
- 在 packages 目录下,所有的单个组件都以文件夹的形式存储,所以这里创建一个目录button
- 在button文件夹创建button.scss、button.vue、创建 index.js 文件对外提供对组件的引用
- 在 packages 目录下创建index.js文件对外提供对组件的引用

// /packages/button/index.js
// 导入组件,组件必须声明 name
import button from './button.vue'

// 为组件提供 install 安装方法,供按需引入
button.install = function(Vue) {
  Vue.component(button.name, button)
}

// 默认导出组件
export default button
2、整合所有的组件,对外导出,即一个完整的组件库
修改 /packages/index.js 文件,对整个组件库进行导出。
import button from './button'
import card from './card'

// 存储组件列表
const components = [
  button,
  card
]

// 定义install 方法,接受Vue作为参数。如果使用use注册插件,则所有的组件都将被注册
const install = Vue => {
  // 判断是否安装
  if (install.installed) return
  components.forEach(Component => {
    Vue.component(Component.name, Component)
  })
}

//  如果浏览器环境且拥有全局Vue,则自动安装组件
if (typeof window !== 'undefined' && window.Vue) {
  install(window.Vue)
}

export default {
  install,
  ...components
}
编写示例
走到这了,就和常规流程一样了,这个示例就是为了在编写的时候方便观察组件样式交互效果,examples这个文件夹作为示例或者组件ui文档项目使用。。
1、在示例中导入组件
- 全局导入
import Vue from 'vue'
import App from './App.vue'

// 导入组件库
import WsButton from '@packages/index'
// 注册组件库
Vue.use(WsButton)

Vue.config.productionTip = false

new Vue({
  render: h => h(App)
}).$mount('#app')
- 局部导入
// Home.vue
import WsButton from '@packages/button/button.vue'
import WsCard from '@packages/card/card.vue'

export default {
  name: 'HomeView',
  components: {
    WsButton,
    WsCard
  }
}
2、在示例中使用组件库中的组件
全局注册直接使用即可,局部导入需要引用在components中注册
<template>
  <div class="home">
    <ws-button />
    <br>
    <br>
    <br>
    <ws-card />
  </div>
</template>
发布到npm和发布组件说明(demo)
到这一步组件库已经开发完成了,剩下的就是把组件库发布到npm上供后续使用和发布组件示例和文档说明。
- package.json 中新增编译为库的命令
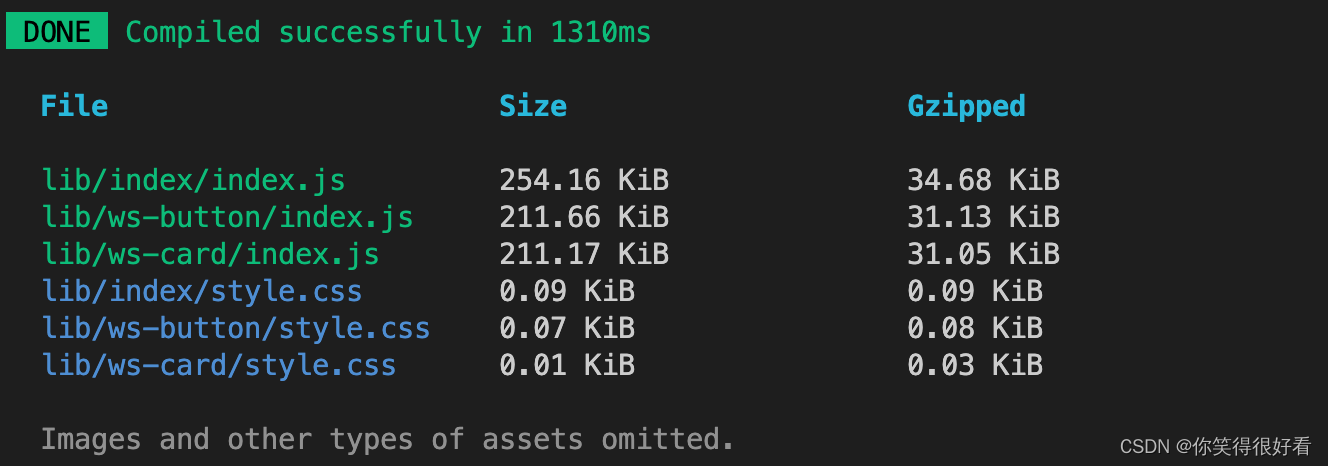
在库模式中,Vue是外置的,这意味着即使在代码中引入了 Vue,打包后的文件也是不包含Vue的。在scripts中新增命令npm run lib、 npm run lib:build,不需要按需引用时直接只用lib打包。
- –target: 构建目标,默认为应用模式。这里修改为 lib 启用库模式。
- –dest : 输出目录,默认 dist。这里我们改成 lib。
- [entry]: 最后一个参数为入口文件,默认为 src/App.vue。这里我们指定编译 packages/ 组件库目录。
"scripts": {
    "lib": "vue-cli-service build --target lib --name ws-grocery-store --dest lib packages/index.js",
    "lib:build": "vue-cli-service build  --mode npm"
  },
- 执行编译库命令(选择一种即可)
npm run lib

npm run lib:build

- 执行正常编译项目命令
npm run build

- 配置 package.json 文件中发布到 npm 的字段
- name: 包名,该名字是唯一的。可在 npm 官网搜索名字,如果存在则需换个名字。
- version: 版本号,每次发布至 npm 需要修改版本号,不能和历史版本号相同。
- description: 描述。
- main: 入口文件,该字段需指向我们最终编译后的包文件。
- keyword:关键字,以空格分离希望用户最终搜索的词。
- author:作者
- private:是否私有,需要修改为 false 才能发布到 npm
- license: 开源协议
参考设置
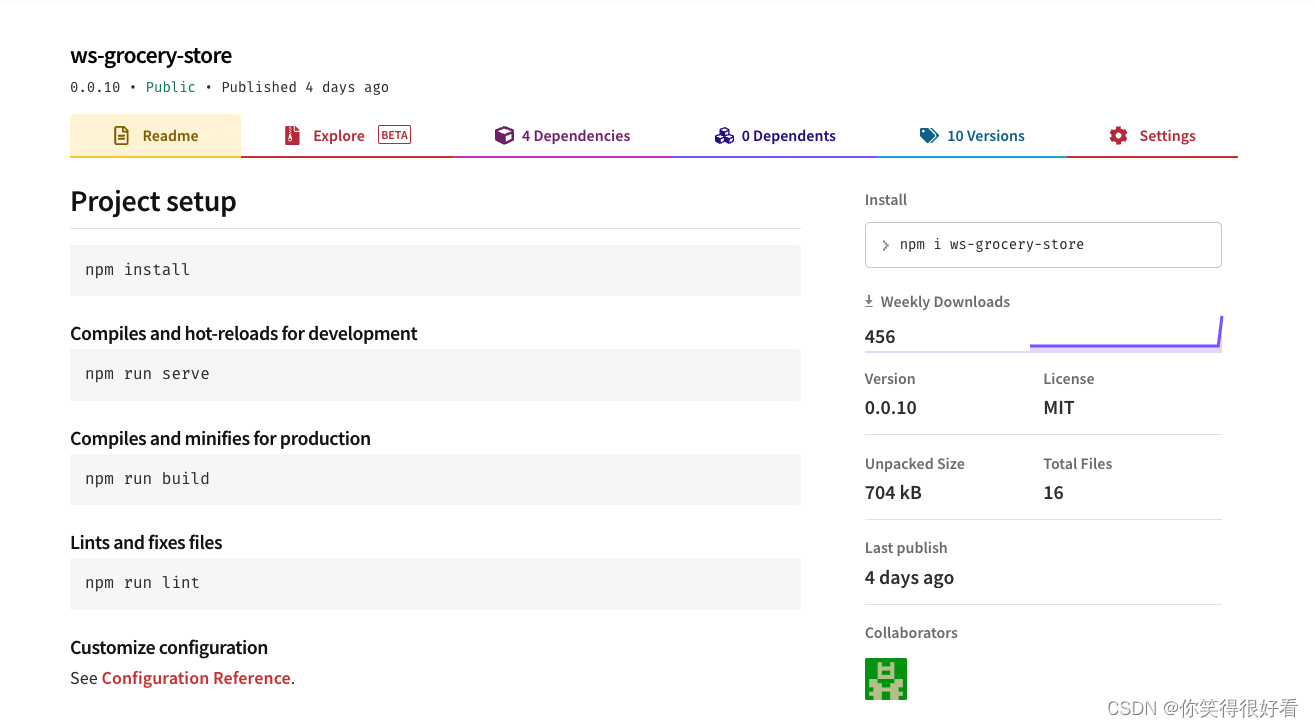
"name": "ws-grocery-store",
  "version": "0.0.10",
  "description": "charles的杂货铺 各种轮子合集",
  "author": "charles_ws",
  "main": "lib/index/index.js",
  "keyword": "ws-grocery-store vue",
  "private": false,
- 添加.npmignore 文件,设置忽略发布文件
我们发布到 npm 中,只有编译后的 lib 目录、package.json、README.md才是需要被发布的。所以我们需要设置忽略目录和文件。
和 .gitignore 的语法一样,具体需要提交什么文件,看各自的实际情况。
# 忽略目录
examples/
packages/
public/

# 忽略指定文件
vue.config.js
babel.config.js
*.map
- 登录到npm
首先需要到npm注册一个账号,注册成功后在终端执行登录命令,输入用户名、密码、邮箱即可登录
npm官网网址
npm login
登录成功之后 执行发布命令
npm publish
- 发布成功
发布成功后,在npm官网就可以搜索到,有的博主说需要等待几分钟,目前还未遇到,发布就可以搜到,保险起见,可以稍等几分钟后搜索。

使用新发布的组件库
安装
npm install ws-grocery-store -S
使用
- 全局引用
// 全局注册
//在 main.js 引入并注册
import WsButton from 'ws-grocery-store'
Vue.use(WsButton)

# 在组件中使用
<template>
  <ws-button />
</template>
- 按需引用
// babel.config.js配置
module.exports = {
  //...
  plugins: [
    [
      "import",
      {
        "libraryName": "ws-grocery-store",
        "style": (name) => {
            return `${name}/style.css`;
        }
      }
    ]
  ]
}

// 在组件中使用
<template>
  <ws-button />
</template>
<script>
import { WsButton } from '@/api/index'
export default {
  name: 'xxx',
  components: {
  	WsButton
  }
}
</script>
到此就全部结束了,这个框架也是边查边搭,有问题或者好的想法欢迎留言评论~
项目结构

项目地址
Gitee地址:https://gitee.com/Charles_ws/ws-grocery-store
npm地址:https://www.npmjs.com/package/ws-grocery-store
参考文章
掘金:https://juejin.cn/post/6844903687668629518
掘金:https://juejin.cn/post/6844904147049775118