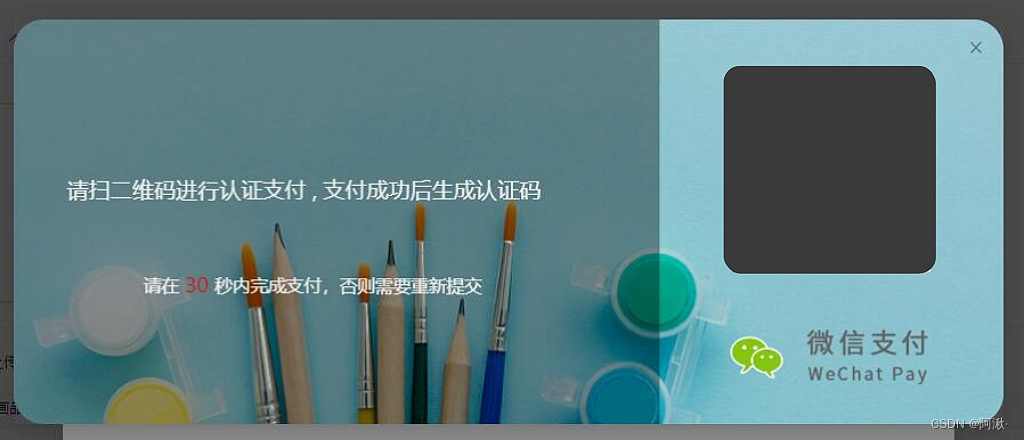
一、效果展示:

二、具体实现:
?1. 在官方api中写到,可以为Modal添加类名,那这样就可以通过类选择器给对话框设置样式了

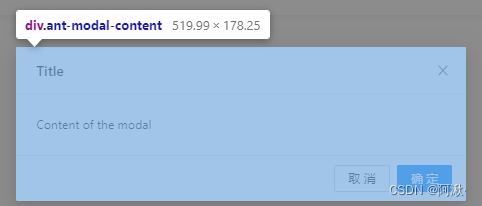
?2. 再来看一下Modal的结构、整个页面的class是ant-modal-content
?
?在DevTools中选中对话框,可以看到整个Modal由header、body、footer,还有右上角的叉叉构成
?以及他们 对应的类名

?3. 去掉header(即title)和footer
?这里不需要通过类名去设置样式,可以直接在< Modal >标签里设置 title={null} footer={null}
?效果是这样的
? 
?4. 修改body样式
?在这里我们为Modal定义一个类名 wrapClassName={‘weipay’}
?注意:这里子元素body和父元素content大小一致
?根据需求,需要给body设置边框圆角以及背景图片
?就可通过wrapClassName以及ant-modal-content、ant-modal-body来修改样式
?过程是这样的
?先为body添加上背景图
?
?然后设置圆角,这里可以看到背景即父元素content是白色的
?
?将背景设为透明
?
三、详细代码
Ps:上面展示部分是直接在antd官网修改的,下面的代码是文章开头的那张图片的实现
js部分
<Modal
width='1000px'
title={null}
footer={null}
visible={visible}
onOk={this.hideModal}
onCancel={this.hideModal}
maskClosable={false} //点击蒙版不允许关闭,防止误触
wrapClassName={'weipay'} //为对话框设置类名,用来修改modal样式
>
<div maxWidth={1000}>
<div style={{ height: 360, padding: '30px' }} >
<Row>
<Col xl={16}>
<div className='leftintro'>
<p style={{ fontSize: '22px', marginTop: '17%', color: '#eee' }}>请扫描二维码进行会员认证,支付成功后完成注册</p>
<div style={{ margin: '0 auto' }}>
<p style={{ fontSize: '18px', marginTop: '10%', marginLeft: '13%', color: '#eee' }}>请在<span style={{ fontSize: '20px', color: 'red' }}> 30 </span>秒内完成支付,否则需要重新提交</p>
</div>
</div>
</Col>
<Col xl={8} >
<QRCode
value={qrcode}
size={200} //二维码的宽高尺寸
fgColor="#000" //二维码的颜色
/>
<div style={{ width: 240, height: 100, marginTop: '14%', marginLeft: '24%' }}>
<div style={{ width: 60, height: 60, float: 'left', marginTop: '4%' }} className='wxlogo'></div>
<div style={{ width: 160, height: 160, float: 'left', marginTop: '-17%' }} className='wcp'></div>
</div>
</Col>
</Row>
</div>
</div>
</Modal>
css部分
.weipay .ant-modal-content {
    background-color: rgb(0, 0, 0, 0); /* 将背景设置为透明 */
}
.weipay .ant-modal-body {
    background-image: url("../../../../../../public//pic//weipay.png");
    background-repeat: no-repeat;
    background-position: center;
    border-radius: 30px;
}