1,首先在vue2项目中安装ant design vue组件
npm install ant-design-vue@1.7.2
2,a-cascader组件在页面中的使用
<template>
  <a-space>
    <a-cascader
      v-model:value="value1"
      style="margin-top: 1rem"
      :options="options"
      placeholder="Please select"
    >
    </a-cascader>
    <a-cascader
      v-model:value="value2"
      suffix-icon="ab"
      style="margin-top: 1rem"
      :options="options"
      placeholder="Please select"
    />
  </a-space>
</template>
3,注册登录阿里iconfont
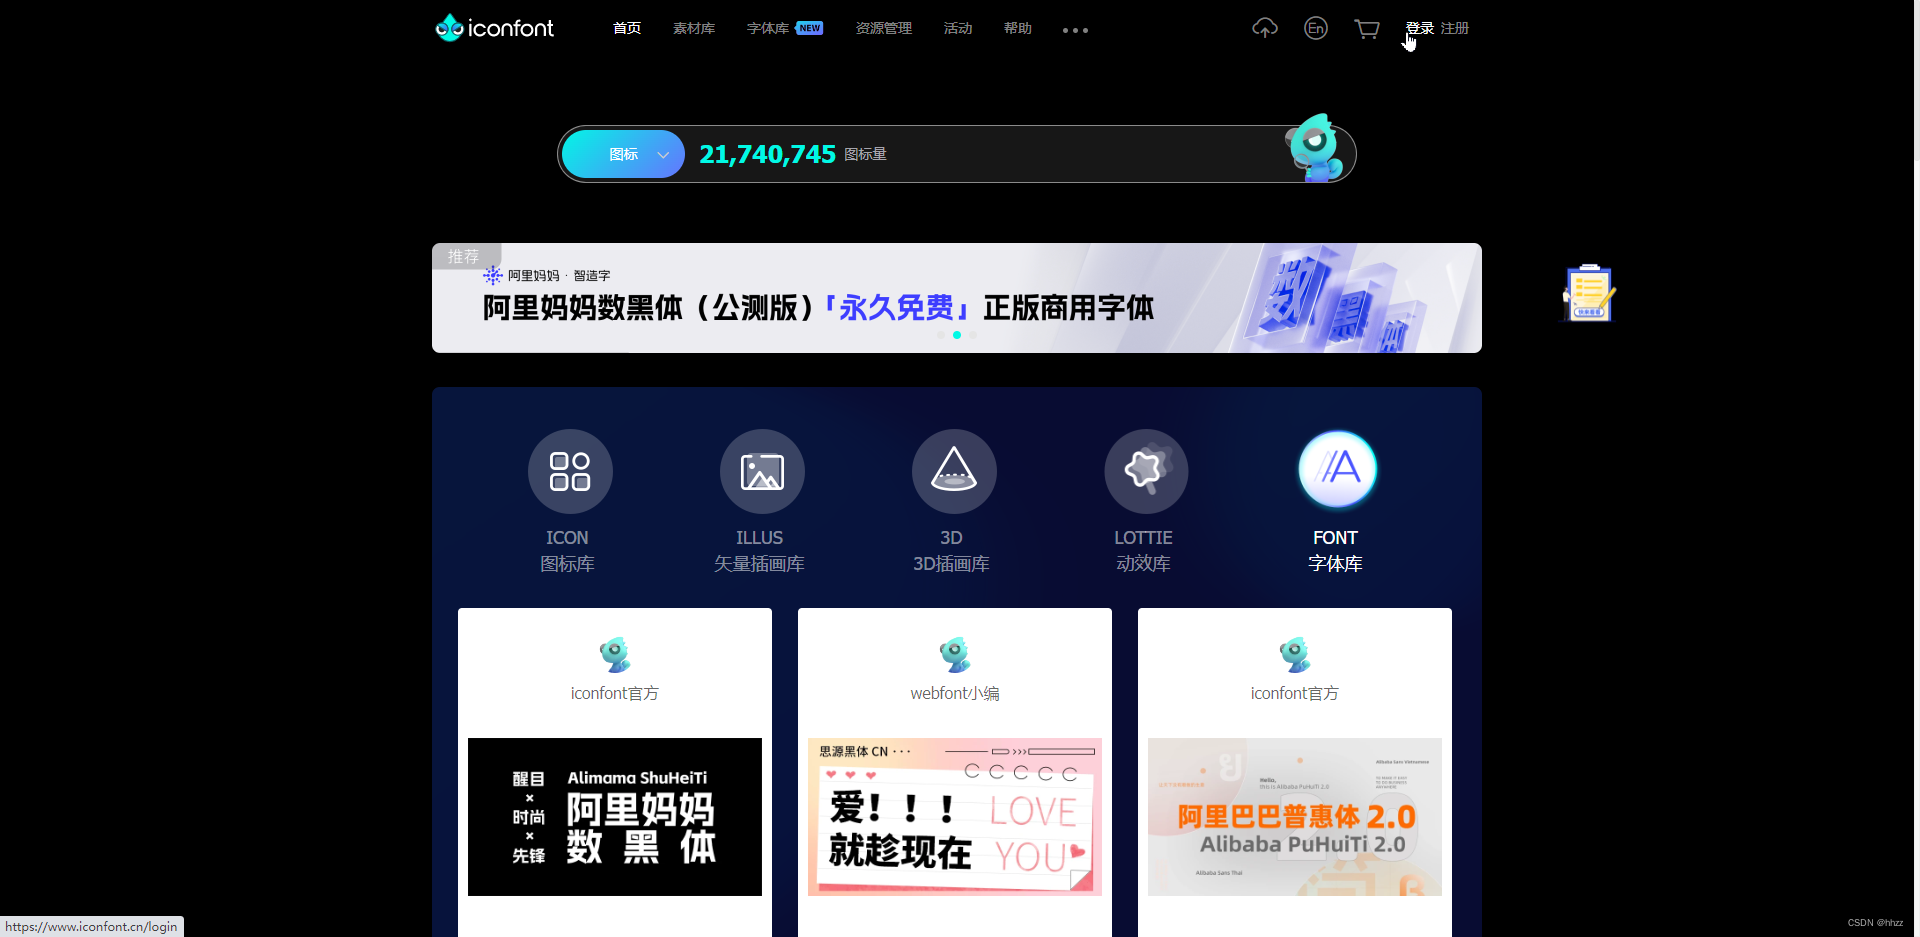
第一步,注册登录iconfont
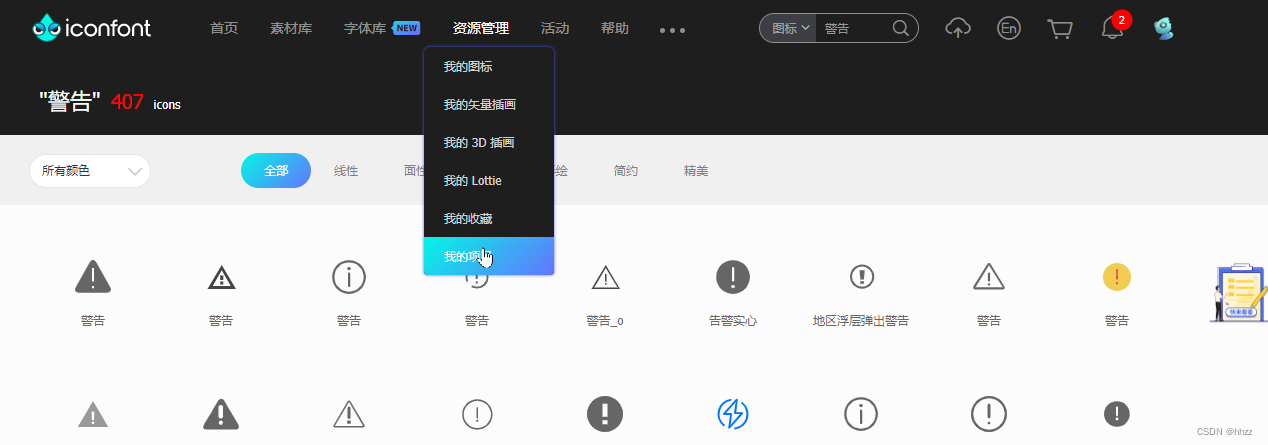
第二步,点击进入 资源管理—我的项目
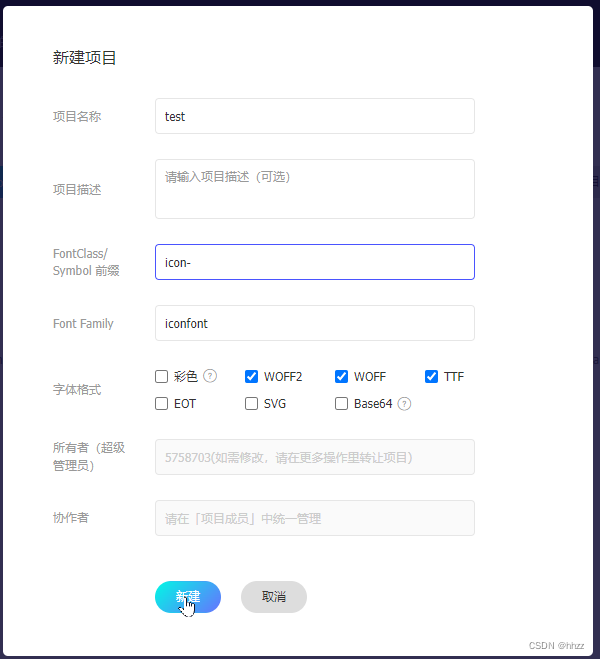
第三步,新建项目

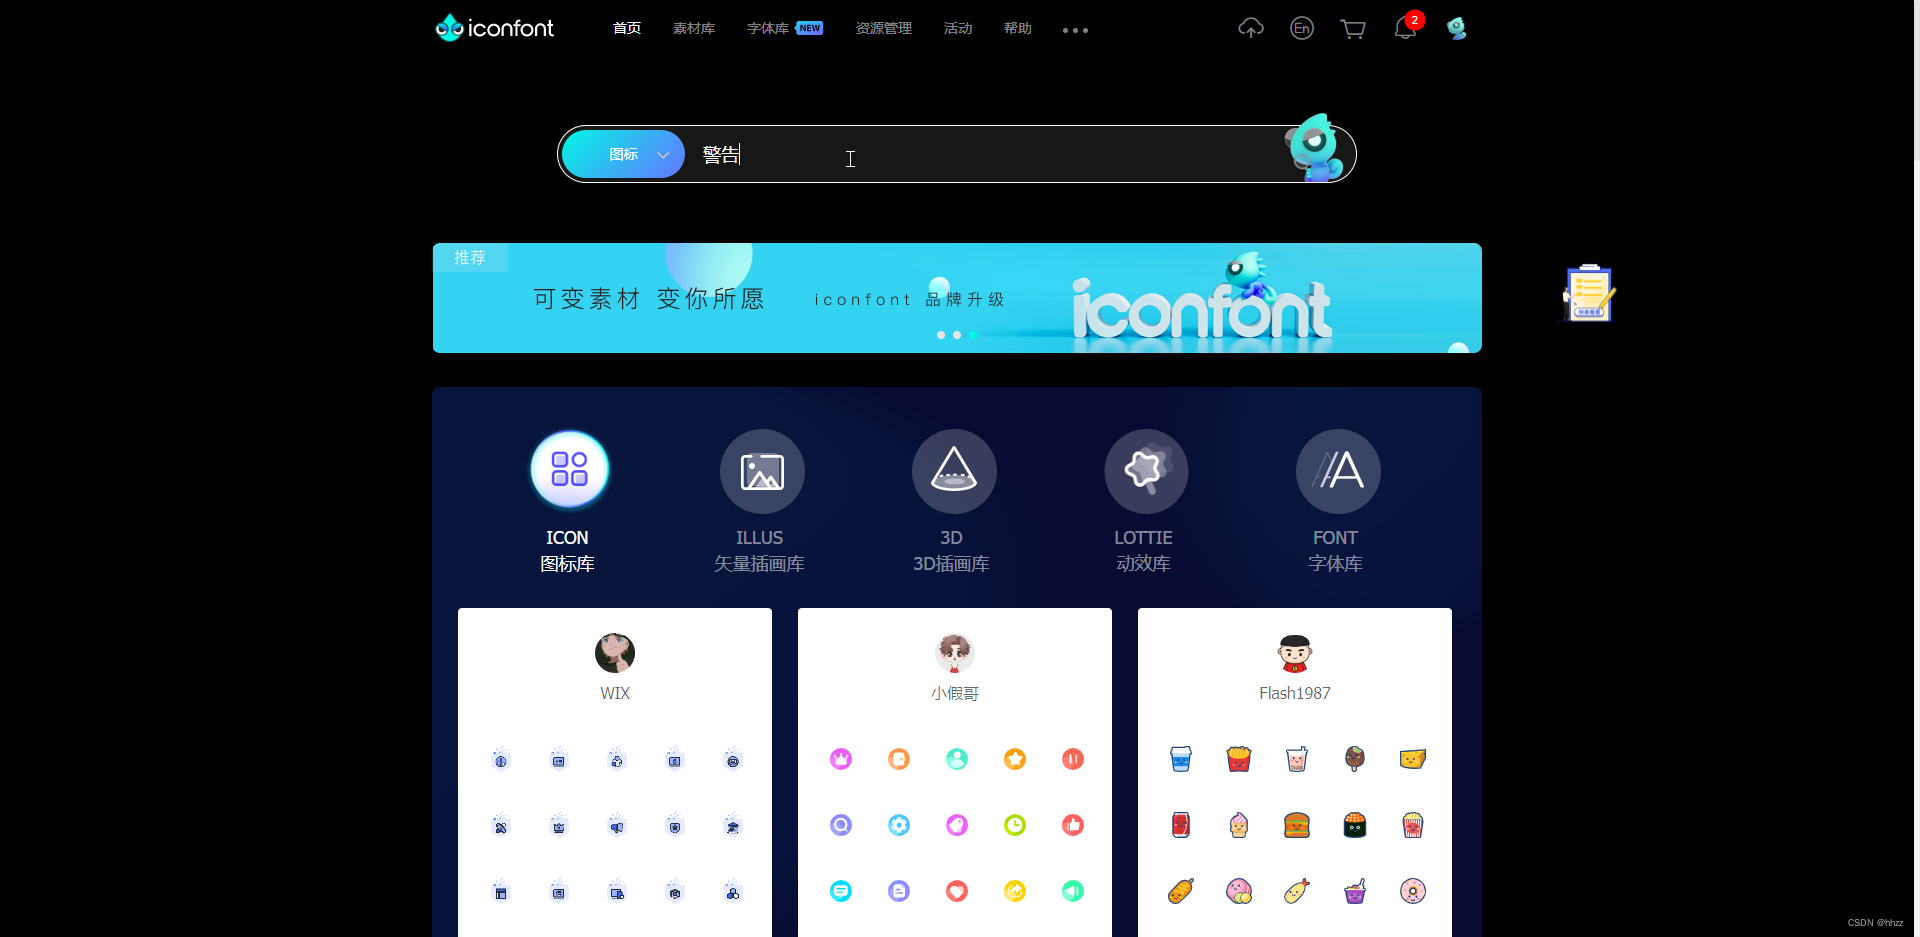
第四步,搜索图标
第五步,添加图标入库
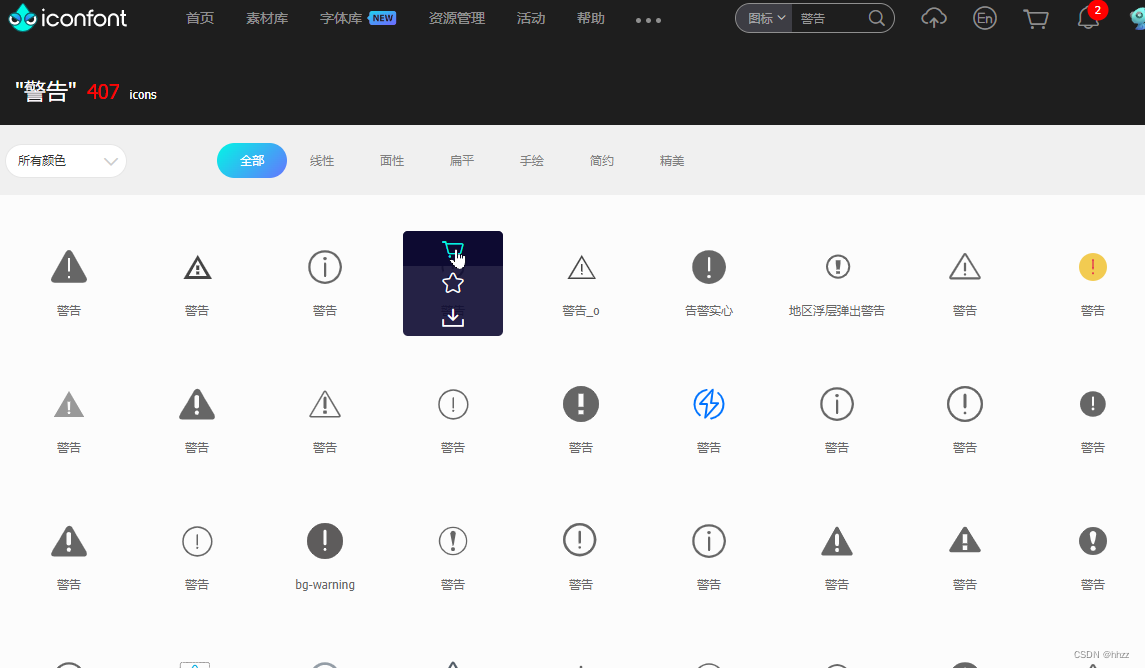
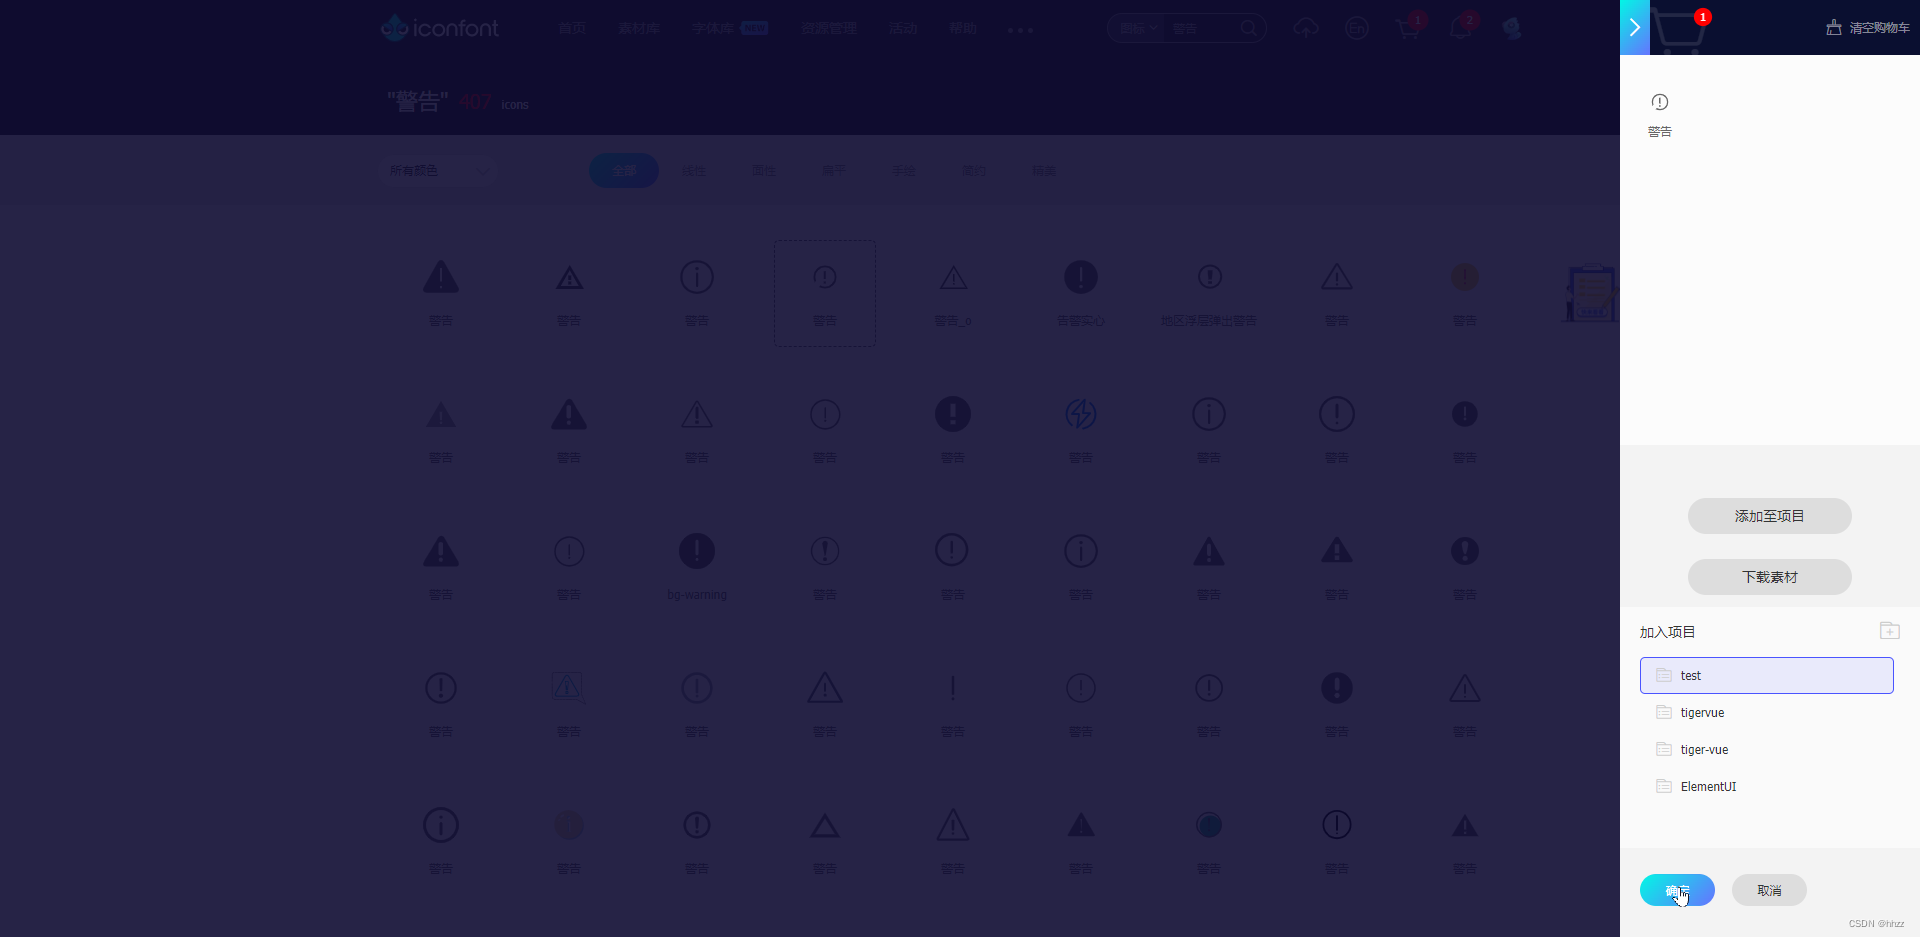
第六步,将购物车中收藏的图标添加到新项目中
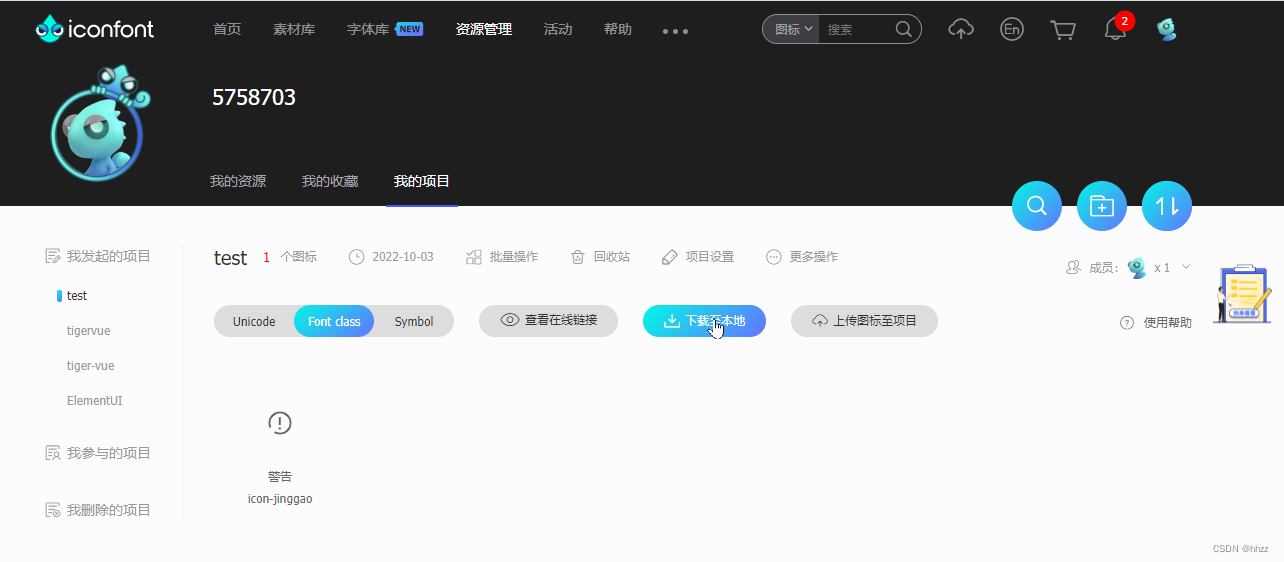
第七步,下载项目到本地
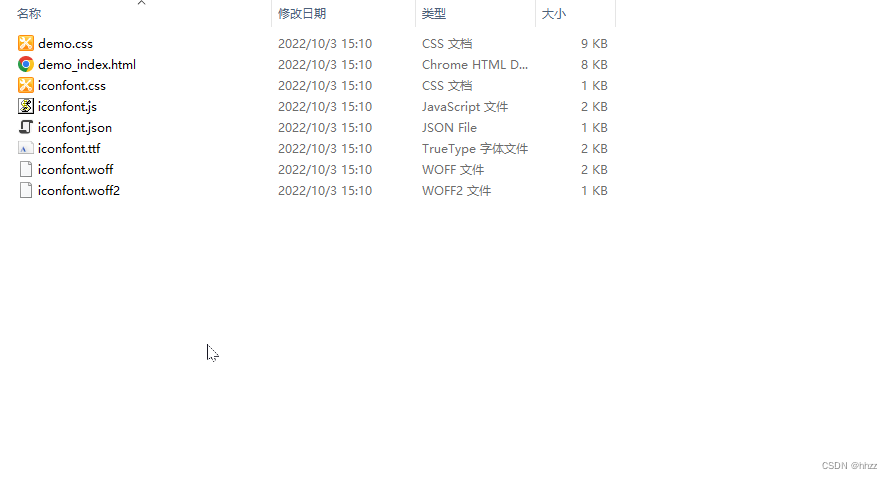
第八步,将下载的文件解压后拷贝到vue项目的src下assets目录中,如下图;
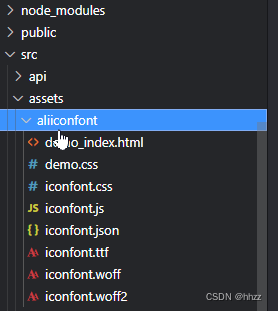
第九步,在页面中引入css,并使用ali图标
import '@/assets/aliiconfont/iconfont.css';
<a-cascader
  :options="addressOptionList"
  placeholder="请选择外出地区"
  v-model="privateForm.goRegion"
  :disabled="privateForm.id ? true : false"
  @change="goRegionInputChange"
  >
  <!--a-cascader级联选择后缀图标 -->
  <template #suffixIcon><span class="iconfont icon-jinggao" v-show="isMajorRegion==1"/></template>
</a-cascader>
其中上面的图标使用class的方式使用,class的名字为iconfont.css文件中的:before前面的名字。
iconfont.css文件:
@font-face {
  font-family: "iconfont"; /* Project id 3685088 */
  src: url('iconfont.woff2?t=1664781002236') format('woff2'),
       url('iconfont.woff?t=1664781002236') format('woff'),
       url('iconfont.ttf?t=1664781002236') format('truetype');
}

.iconfont {
  font-family: "iconfont" !important;
  font-size: 16px;
  font-style: normal;
  -webkit-font-smoothing: antialiased;
  -moz-osx-font-smoothing: grayscale;
}

.icon-jinggao:before {
  content: "\e600";
}