这里写自定义目录标题
按照顺序来
前期准备
1)下载开发版UEditor
官网地址:https://ueditor.baidu.com/website/download.html
2)下载UEditor 源码
官网地址:https://ueditor.baidu.com/website/download.html
??
1、Vue
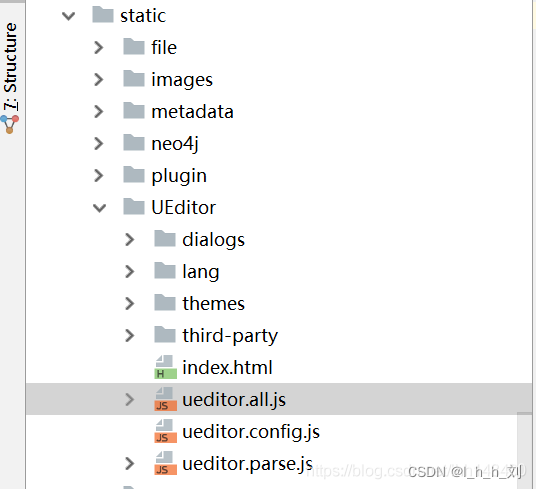
1.jsp开发版放入static 里
2.写为公共组件
<!-- 百度编辑器 正在使用-->
<template>
    <div>
        <script :id=id type="text/plain"></script>
    </div>
</template>
<script>
    import '../../../static/UEditor/ueditor.config.js'
    import '../../../static/UEditor/ueditor.all.js'
    import '../../../static/UEditor/lang/zh-cn/zh-cn.js'
    export default {
        name: 'UE1',
        data () {
            return {
                editor: null
            }
        },
        props: {
            defaultMsg: {
                type: String
            },
            config: {
                type: Object
            },
            id: {
                type: String
            },
        },
        mounted() {
            const _this = this;
            this.editor = UE.getEditor(this.id, this.config); // 初始化UE
            this.editor.addListener("ready", function () {
                _this.editor.setContent(_this.defaultMsg); // 确保UE加载完成后,放入内容。
            });
        },
        methods: {
            getUEContent() { // 获取html内容方法
                return this.editor.getContent()
            },
            setUEContent(msg){//设置html内容
                this.editor.setContent(msg);
            },
            //获取纯文本
            getContentTxt(){
                return  this.editor.getContentTxt();
            },
            //获得带格式的纯文本
            getPlainTxt(){
                return this.editor.getPlainTxt();
            },
            // 获取html内容方法(去除后缀换行)
            getRTrimUEContent() {
                return this.editor.getContent().replace(/(<p><br\/><\/p>)*$/g, '')
            }
        },
        destroyed() {
            this.editor.destroy();
        }
    }
</script>
3.使用公共组件
<template>
    <div>
        <UE :defaultMsg=defaultMsg :config=myConfig ref="ue" :id=ueditorId v-model="values" ></UE>
    </div>
</template>
<script>
    //公共UEditor组件文件
    import UE from '@/components/UEditor/index';
    export default {
        name: "ue",
        components: {
            UE
        },
        data() {
            return {
                values:"",

                /*  富文本start */
                defaultMsg: '',
                ueditorId:"ueditorAddNodes",// 不同编辑器必须不同的id
                myConfig: {
                    // 编辑器不自动被内容撑高
                    autoHeightEnabled: false,
                    // 初始容器高度
                    initialFrameHeight: 300,
                    // 初始容器宽度
                    initialFrameWidth: '100%',
                    // 上传文件接口(这个地址是我为了方便各位体验文件上传功能搭建的临时接口,请勿在生产环境使用!!!)
                    serverUrl: "http://localhost:8080/ueditor/exec",
                    // UEditor 资源文件的存放路径,如果你使用的是 vue-cli 生成的项目,通常不需要设置该选项,vue-ueditor-wrap 会自动处理常见的情况,如果需要特殊配置,参考下方的常见问题2
                    UEDITOR_HOME_URL: globalConst().ueditorHomeUrl
                },
                /*富文本end */

            }
        },
        methods:{
            //获取富文本值
            getUEMsg() {
                this.ruleForm.values = this.$refs.ue.getUEContent();
            },
        }
    }

</script>
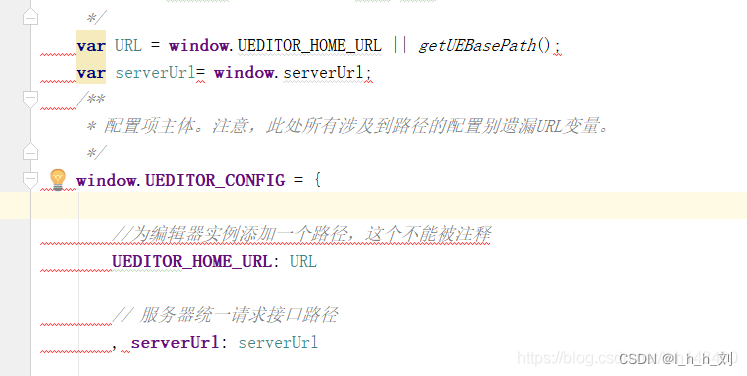
4.配置 ueditor.config.js
2、后端springboot 2.0
1.配置pom 依赖
<dependency>
    <groupId>commons-codec</groupId>
    <artifactId>commons-codec</artifactId>
    <version>1.11</version>
</dependency>

<dependency>
    <groupId>commons-fileupload</groupId>
    <artifactId>commons-fileupload</artifactId>
    <version>1.3.3</version>
</dependency>

<dependency>
    <groupId>commons-io</groupId>
    <artifactId>commons-io</artifactId>
    <version>2.6</version>
</dependency>

<dependency>
    <groupId>org.json</groupId>
    <artifactId>json</artifactId>
    <version>20180813</version>
</dependency>
2.移入文件到后端

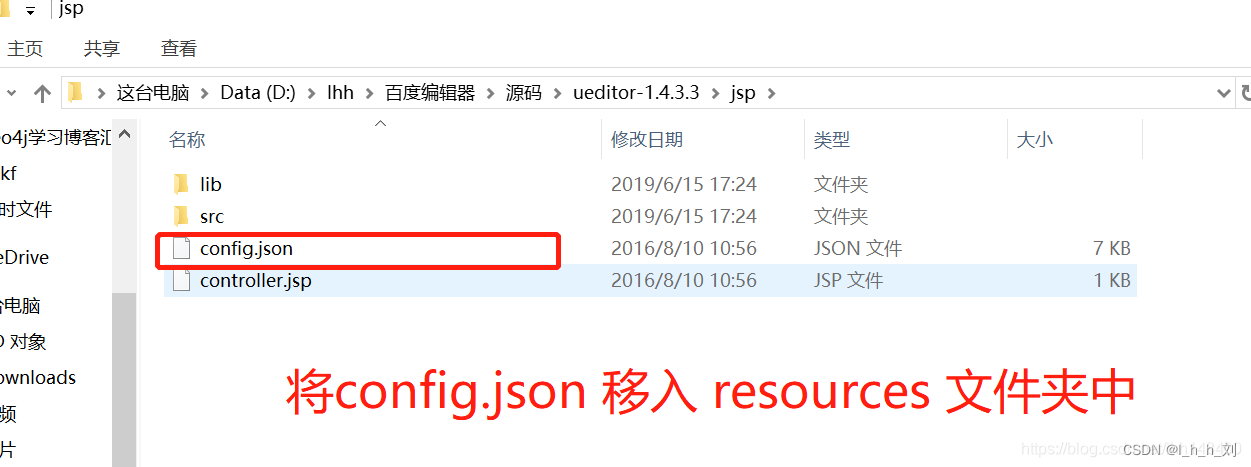
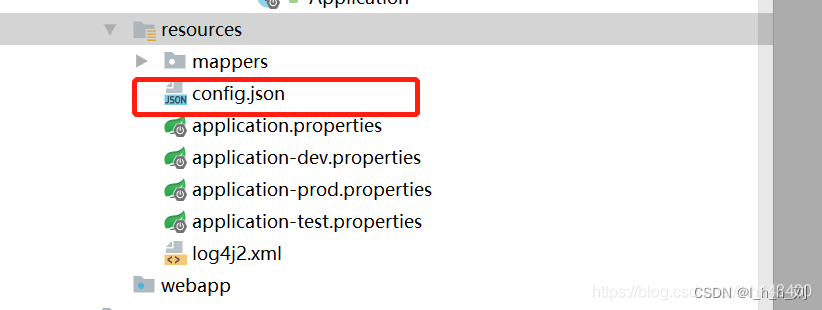
3.改config.json
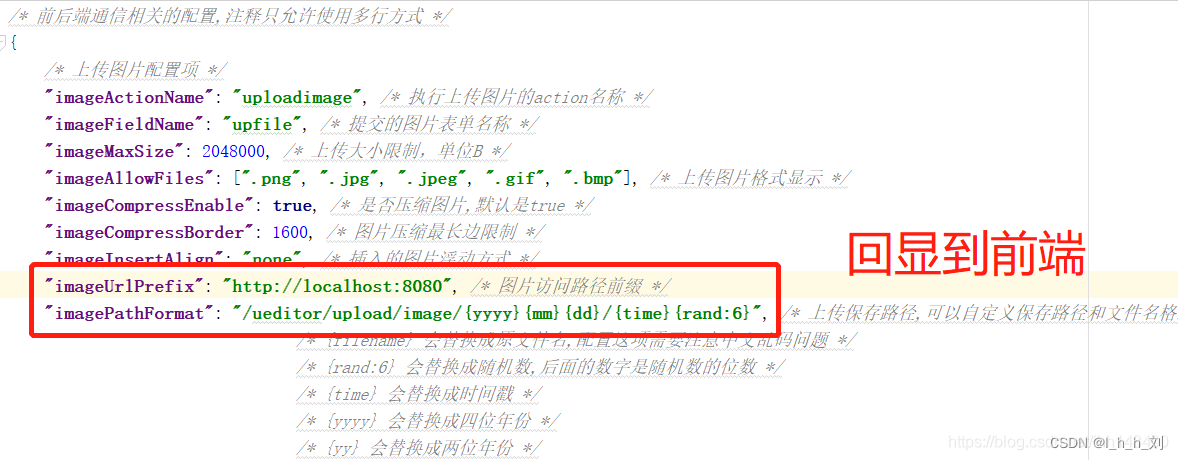
4.添加 ueditor 的请求控制层
import com.ylz.springboot.modules.ueditor.ActionEnter;
import org.json.JSONException;
import org.springframework.web.bind.annotation.CrossOrigin;
import org.springframework.web.bind.annotation.RequestMapping;
import org.springframework.web.bind.annotation.RestController;

import javax.servlet.http.HttpServletRequest;
import java.io.UnsupportedEncodingException;


/**
 * 用于处理关于ueditor插件相关的请求
 * @author lhh
 * @date 2019-06-19
 *
 */
@RestController
@CrossOrigin
@RequestMapping("/ueditor")
public class UeditorController {

   @RequestMapping(value = "/exec")
   public String exec( HttpServletRequest request) throws UnsupportedEncodingException, JSONException {
      request.setCharacterEncoding("utf-8");
      String rootPath = request.getSession().getServletContext().getRealPath("/");
      return new ActionEnter( request, rootPath ).exec();
   }

}
5.配置后台文件加载
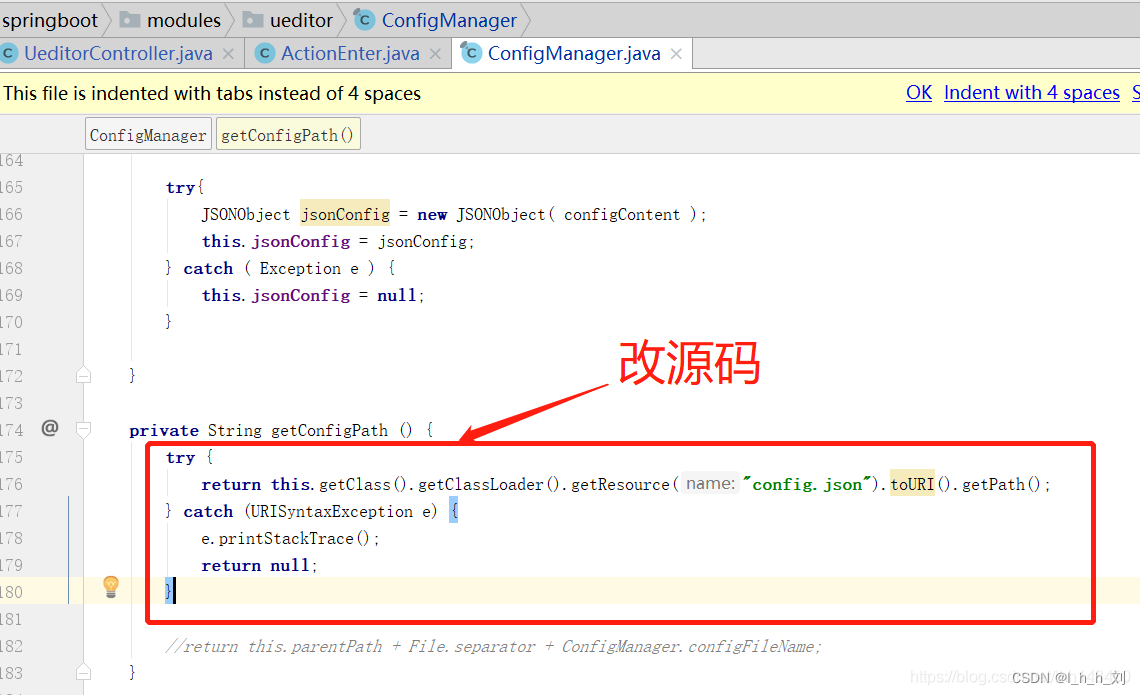
6.替换BinaryUploader.java 文件
import com.ylz.springboot.modules.ueditor.PathFormat;
import com.ylz.springboot.modules.ueditor.define.AppInfo;
import com.ylz.springboot.modules.ueditor.define.BaseState;
import com.ylz.springboot.modules.ueditor.define.FileType;
import com.ylz.springboot.modules.ueditor.define.State;
import org.apache.commons.fileupload.servlet.ServletFileUpload;
import org.springframework.web.multipart.MultipartFile;
import org.springframework.web.multipart.MultipartHttpServletRequest;

import javax.servlet.http.HttpServletRequest;
import java.io.IOException;
import java.io.InputStream;
import java.util.Arrays;
import java.util.List;
import java.util.Map;

public class BinaryUploader {


    public static final State save(HttpServletRequest request,
                                   Map<String, Object> conf) {
        if (!ServletFileUpload.isMultipartContent(request)) {
            return new BaseState(false, AppInfo.NOT_MULTIPART_CONTENT);
        }

        try {
            MultipartHttpServletRequest multipartRequest = (MultipartHttpServletRequest) request;
            MultipartFile multipartFile = multipartRequest.getFile(conf.get("fieldName").toString());
            if (multipartFile == null) {
                return new BaseState(false, AppInfo.NOTFOUND_UPLOAD_DATA);
            }

            String savePath = (String) conf.get("savePath");
            String originFileName = multipartFile.getOriginalFilename();
            String suffix = FileType.getSuffixByFilename(originFileName);

            originFileName = originFileName.substring(0,
                    originFileName.length() - suffix.length());
            savePath = savePath + suffix;

            long maxSize = ((Long) conf.get("maxSize")).longValue();

            if (!validType(suffix, (String[]) conf.get("allowFiles"))) {
                return new BaseState(false, AppInfo.NOT_ALLOW_FILE_TYPE);
            }

            savePath = PathFormat.parse(savePath, originFileName);

            String physicalPath = (String) conf.get("rootPath") + savePath;

            InputStream is = multipartFile.getInputStream();
            State storageState = StorageManager.saveFileByInputStream(is,
                    physicalPath, maxSize);
            is.close();

            if (storageState.isSuccess()) {
                storageState.putInfo("url", PathFormat.format(savePath));
                storageState.putInfo("type", suffix);
                storageState.putInfo("original", originFileName + suffix);
            }

            return storageState;
        } catch (IOException e) {
        }
        return new BaseState(false, AppInfo.IO_ERROR);
    }

    private static boolean validType(String type, String[] allowTypes) {
        List<String> list = Arrays.asList(allowTypes);

        return list.contains(type);
    }
}
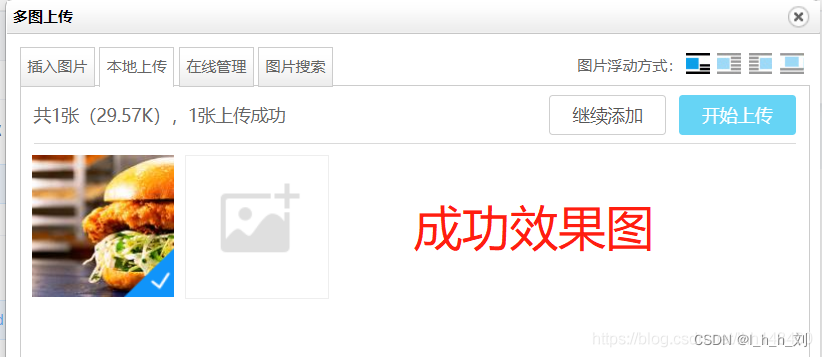
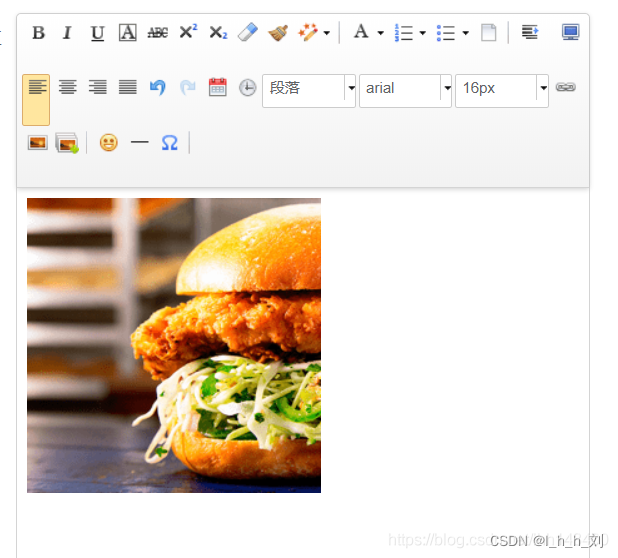
3. 成功效果图
遇到问题
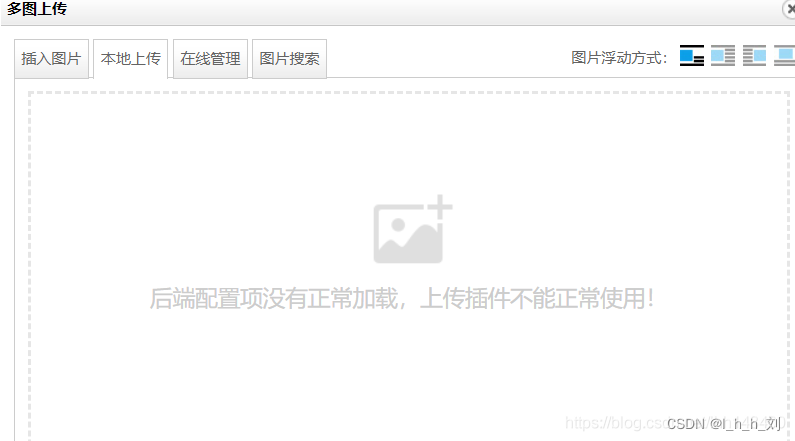
1. 配置文件失败
1)问题描述

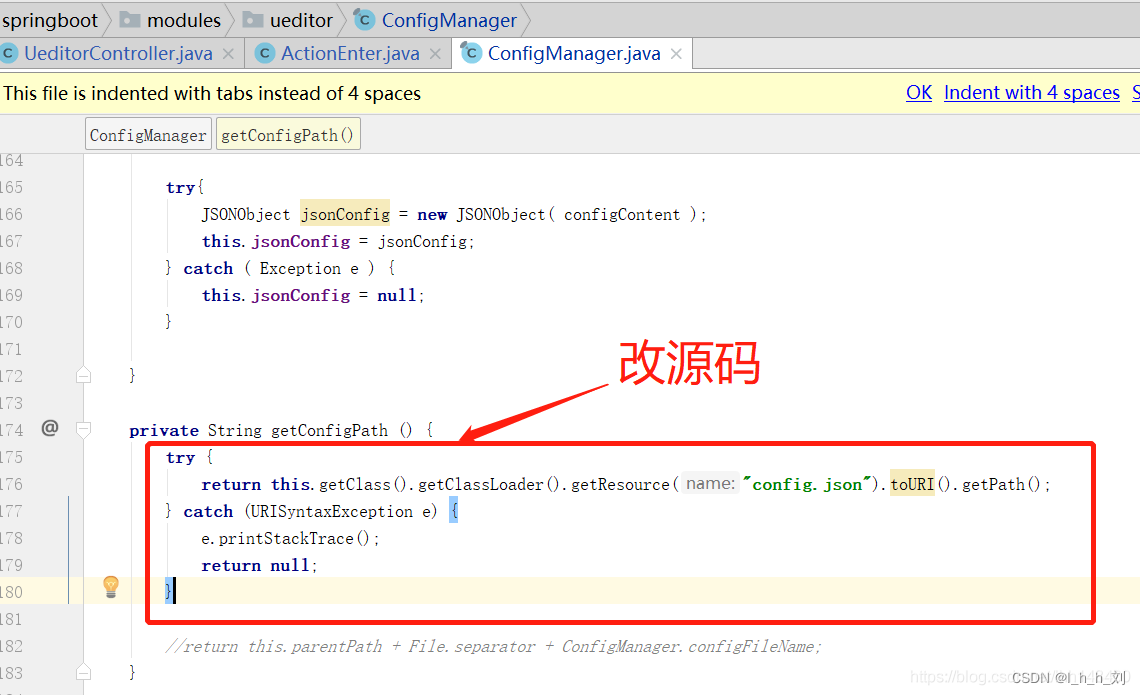
2)解决方案
改ConfigManager.java
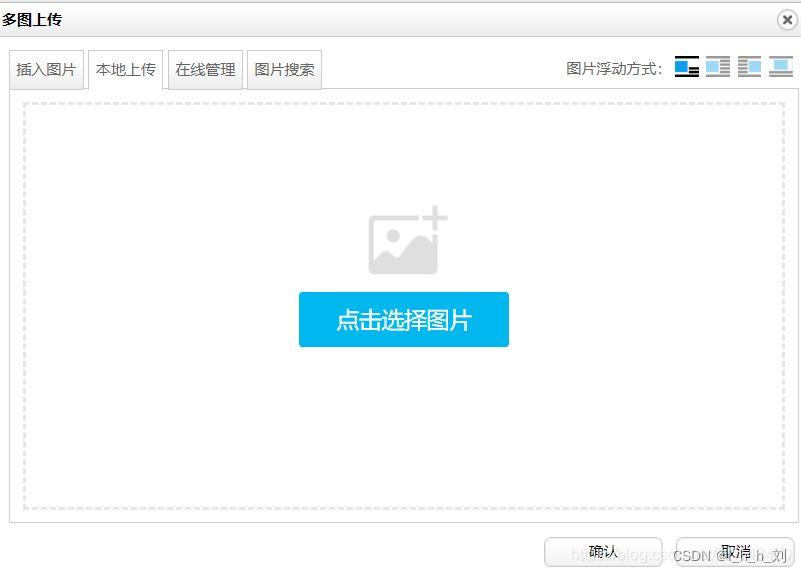
成功效果:

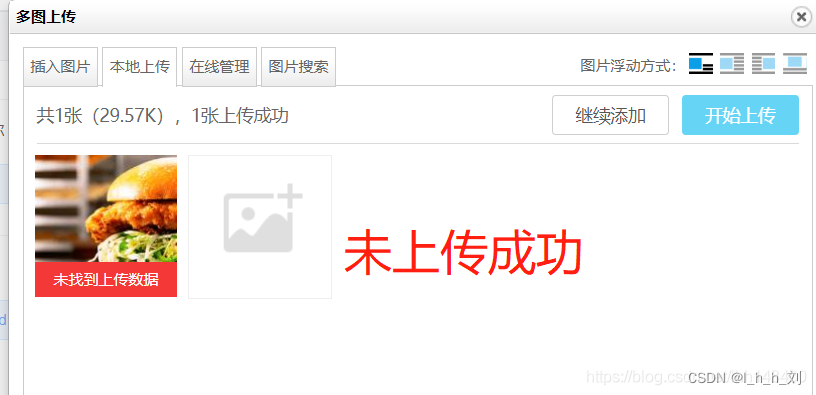
2. 未找到上传数据
1)问题描述
BinaryUploader类竟然无法获取到字节流 ,是因为SpringMVC框架对含字节流的request进行了处理,此处传的是处理过的request,故获取不到字节流。此时采用SpringMVC框架的解析器multipartResolver。修改源码如下:
2)解决方案
替换BinaryUploader.java 文件 , 使用步骤6
3. 百度编辑器callback参数名不合法
1)问题描述
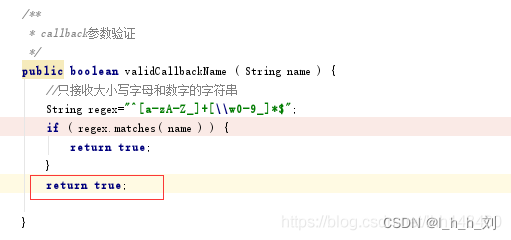
{“state”: “Callback\u53c2\u6570\u540d\u4e0d\u5408\u6cd5”}
Uncaught SyntaxError: Unexpected token : exec?val=REPO&action=config&callback=bd__editor__oojmi6
2)解决方案
我直接不让校验的
4. 编辑器纯文本粘贴(不屏蔽图片)
修改 ueditor.config.js 文件
// //粘贴只保留标签,去除标签所有属性
,retainOnlyLabelPasted: true

,pasteplain:true  //是否默认为纯文本粘贴。false为不使用纯文本粘贴,true为使用纯文本粘贴
//纯文本粘贴模式下的过滤规则
,'filterTxtRules' : function(){
   function transP(node){
       node.tagName = 'p';
       node.setStyle();
   }
   return {
       //直接删除及其字节点内容
       '-' : 'script style object iframe embed input select',
       'p': {$:{}},
       'br':{$:{}},
       'div':{'$':{}},
       'li':{'$':{}},
       'img':'img', //不屏蔽图片
       'caption':transP,
       'th':transP,
       'tr':transP,
       'h1':transP,'h2':transP,'h3':transP,'h4':transP,'h5':transP,'h6':transP,
       'td':function(node){
           //没有内容的td直接删掉
           var txt = !!node.innerText();
           if(txt){
               node.parentNode.insertAfter(UE.uNode.createText('    '),node);
           }
           node.parentNode.removeChild(node,node.innerText())
       }
   }
}()
5. 百度编辑器视频处理
/* ueditor.config.js 开启视频功能 */
toolbars:['insertvideo']
6. 视频没有正常的预览
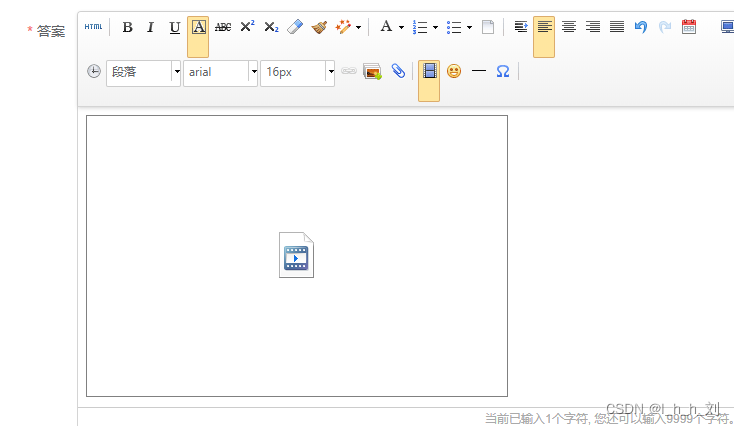
- 问题描述
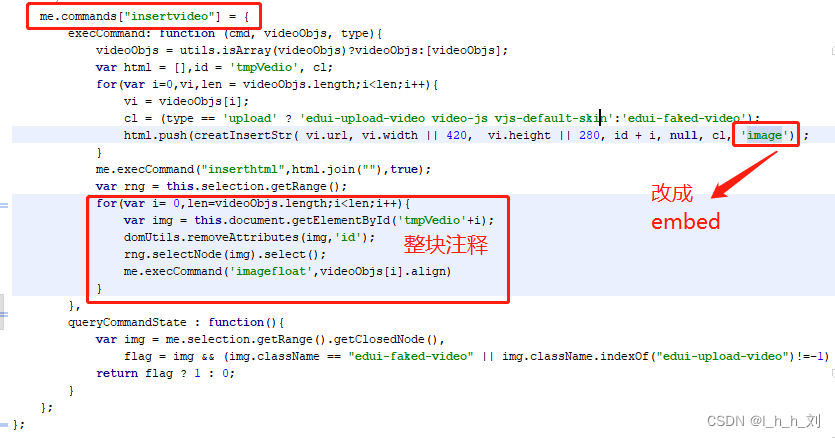
但插入后会显示下图,视频没有正常的预览,这是因为设置插入编辑器里的不是视频的代码,而是image图片的代码

2)解决方案
// xss过滤白名单 名单来源
/* ueditor.config.js   whitList:{里面追加下面数据}*/
source: ['src', 'type'],
embed: ['type', 'class', 'pluginspage', 'src', 'width', 'height', 'align', 'style', 'wmode', 'play','autoplay','loop', 'menu', 'allowscriptaccess', 'allowfullscreen', 'controls', 'preload'],
iframe: ['src', 'class', 'height', 'width', 'max-width', 'max-height', 'align', 'frameborder', 'allowfullscreen']
 /* ueditor.all.js 将下面数据复制对应位置 */
case 'embed':
str='<embed  src="'+  utils.html(url) +'" width="' + width  + '" height="' + height  + '"'  + (align ? ' style="float:' + align + '"': '') ;
 str+= ' wmode="transparent" play="true" loop="false" menu="false" allowscriptaccess="never" allowfullscreen="true" >';
 break;
ueditor.all.js 修改此图片的内容
