����Ŀ¼
Ŀ¼
Github Copilot�����뼰��Pycharm�����ú�ʹ��
ĿǰGithub Copilot������ȫ������,��Ҫ�Լ�����copilot�ٷ���վ��������,�����������ǻ����������ҵ�ʱ�䡣
1.���
����OpenAI��ͬ�Ƴ���һ��AI��̹���GitHub Copilot��
GitHub Copilot���� GitHub ��������վ��Դ����,�ɸ���������ʾΪ����Ա�Զ���д���Ĵ��롣
��ʹ����������ʵ�õĹ��ܲ�����˵���������������,�������ܹ������ʵ��ҵ�����������Ľ���Ԥ������һ���Ĵ���,�������Ĵ����ʽ����淶���б�д��
�Ӹ��˵ĽǶ�����,���������ǵ��Ǹ��ӱ������,��Ȼ,������ȫ��������һ��͵���Ĺ���,��һЩ��������Ƚϸ��ӵ�һЩ�����ϻ���Ҫ�����Լ���֤,����֮��������,���Լ����Ҳ�������������⡣
2.copilot��ҳ
https://copilot.github.com/
���sign up ʹ���Լ���github�˻�

3.copilot������


4.GitHub Copilot �ٷ�ʹ���ĵ�
https://github.com/github/copilot-docs
5.PyChram���ص�ַ
Ϊʲô������һ��?
�ٷ��ĵ�������˵��:
- We have tested with the following JetBrains IDEs: IntelliJ and PyCharm versions 2021.2 and above.
��˼�� �������ǵIJ���, JetBrainsϵ�е� IntelliJ �� PyCharm �������������Ҫʹ��2021.2�����ϵİ汾
https://www.jetbrains.com/pycharm/download/other.html

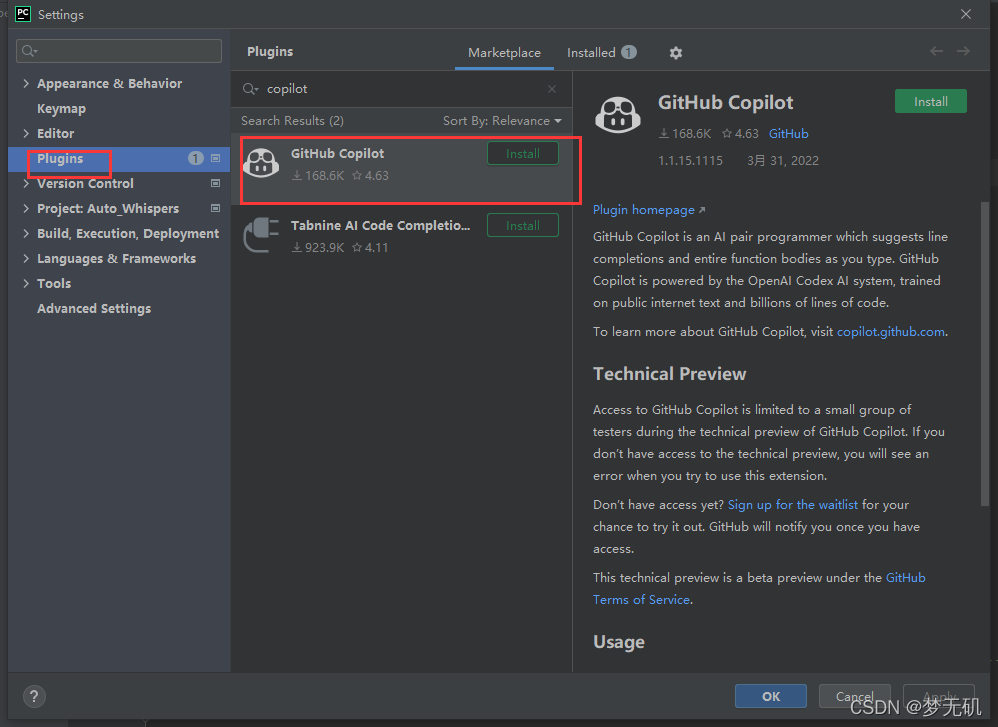
6.Pychram���� GitHub Copilot
��pycharm�е�Plugins������GitHub Copilot���Install��������(������������˵��ApplyŶ)
7.jetbrainsϵ�йٷ��̳�
https://github.com/github/copilot-docs/blob/main/docs/jetbrains/gettingstarted.md#getting-started-with-github-copilot-in-jetbrains
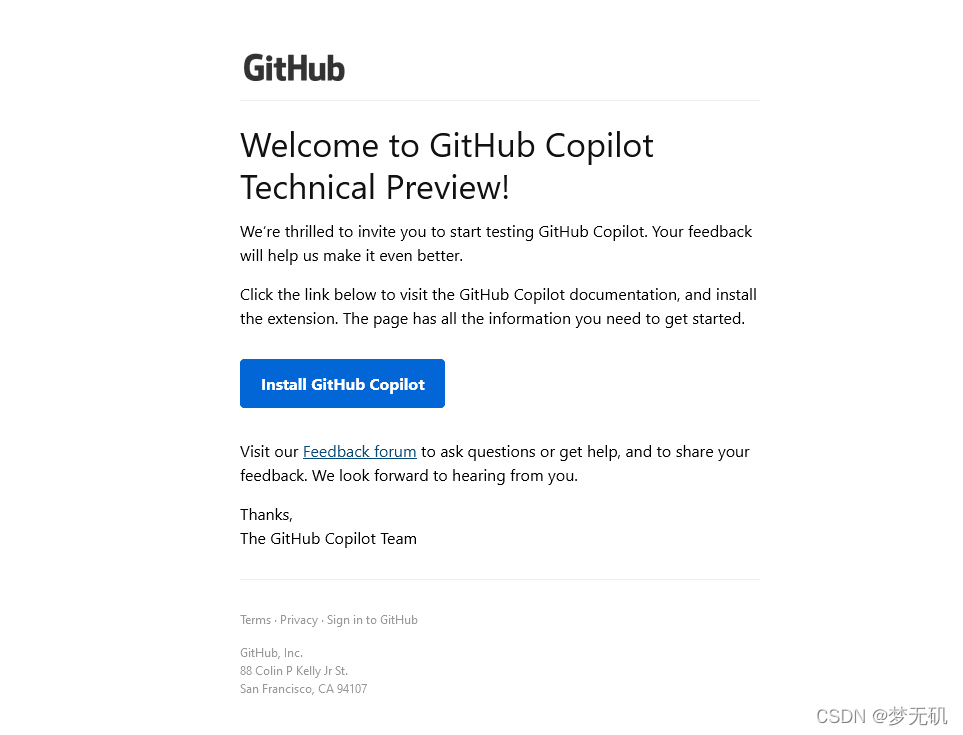
8.����ͨ��֮��IJ���
��������,���ʼ�֪ͨ��ͨ����
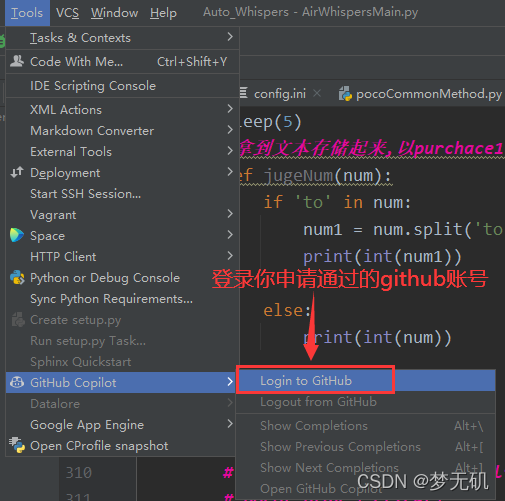
��Ȼͨ����,���ǿ�����Tools �C > GitHub Copilot�н��е�¼�Լ���Github�˺Ž�����֤

���Join the Waitlist


9.ʹ�ù���
����Ϊ�ҵ�ʹ�ù���
дע��,Ȼ��س��ͻᷢ������������ܽ������,����ֻ��Ҫ����Tab��,�ͻ�ѡ���������,Ȼ������µĽ���������,�����������ͼ�����Tab��,�������ǰ����Ĵ�Tab����õ����½��
 �������ϵ���Щ����,�㻹�������Լ���ҵ��������波��дһ���µķ���,��������ܵĸ�����ؽ���(��Ҫ�Լ�ȷ��һ���Ƿ�����)
Github Copilot�Զ����ɵĴ���
# дһ������,�ж��Ƿ�Ϊ������
# ��������ָ����͵������һ������,����12321,909
# дһ������,�ж��Ƿ�Ϊ������
# ��������ָ����͵������һ������,����12321,909
def is_huiwen(num):
str_num = str(num)
if str_num == str_num[::-1]:
return True
else:
return False
# ����
def maopao(list_num):
for i in range(len(list_num)):
for j in range(len(list_num)-i-1):
if list_num[j] > list_num[j+1]:
list_num[j],list_num[j+1] = list_num[j+1],list_num[j]
return list_num
# ��������
def quick_sort(list_num):
if len(list_num) <= 1:
return list_num
else:
base = list_num[0]
left = [x for x in list_num[1:] if x < base]
right = [x for x in list_num[1:] if x >= base]
return quick_sort(left) + [base] + quick_sort(right)
10.��ع��ܼ�:
Tabѡ���ṩ�Ľ���Esc�ܾ��ṩ�Ľ���Alt+]�鿴��һ������;Alt+[�鿴��һ�����顣(macos��Alt������option������)Alt + \���ṩ�Ľ���ע�͵���(macos��Alt������option������)Alt+Enter��ʾ��ǰ���еĽ��顣(macos��Alt������option������)
11.�˳�Github Copilot
Tools �C > GitHub Copilot �C > Logout