-
The problem here, when we resized the image from 2400, 1500 to 500, 500 it lost its aspect ratio.
-
image to rescale
https://www.holisticseo.digital/python-seo/resize-image/
- 报错
File "/usr/local/lib/python3.8/dist-packages/numpy/lib/npyio.py", line 445, in load
    raise ValueError("Cannot load file containing pickled data "
ValueError: Cannot load file containing pickled data when allow_pickle=False
解决方案1:
img = np.load(os.path.join(folder, filename),allow_pickle=True)

np.load 处添加 allow_pickle=True
5.JPG2NPY
# -*- coding:utf-8 -*-

import numpy as np
from PIL import Image
from matplotlib import pyplot as plt
import cv2
import os
from tqdm import tqdm


if __name__ == '__main__':
    folder = '/data/DISCNet-main/datasets/raw/jpg/jpg/'

    def load_images_from_folder(folder):
      img = []
      for filename in tqdm(os.listdir(folder)):
          img = cv2.imread(os.path.join(folder, filename))
          img=np.array(img)
          np.save('/data/DISCNet-main/datasets/raw/jpg/npy1/'+ filename[:-3] +'npy',img)

      return img

    load_images_from_folder(folder)
自己理解
格式转换:无非是读取—>输出
https://stackoverflow.com/questions/47858996/properly-convert-png-to-npy-numpy-array-image-to-array
- OpenCV- resize
https://docs.opencv.org/3.4/da/d6e/tutorial_py_geometric_transformations.html
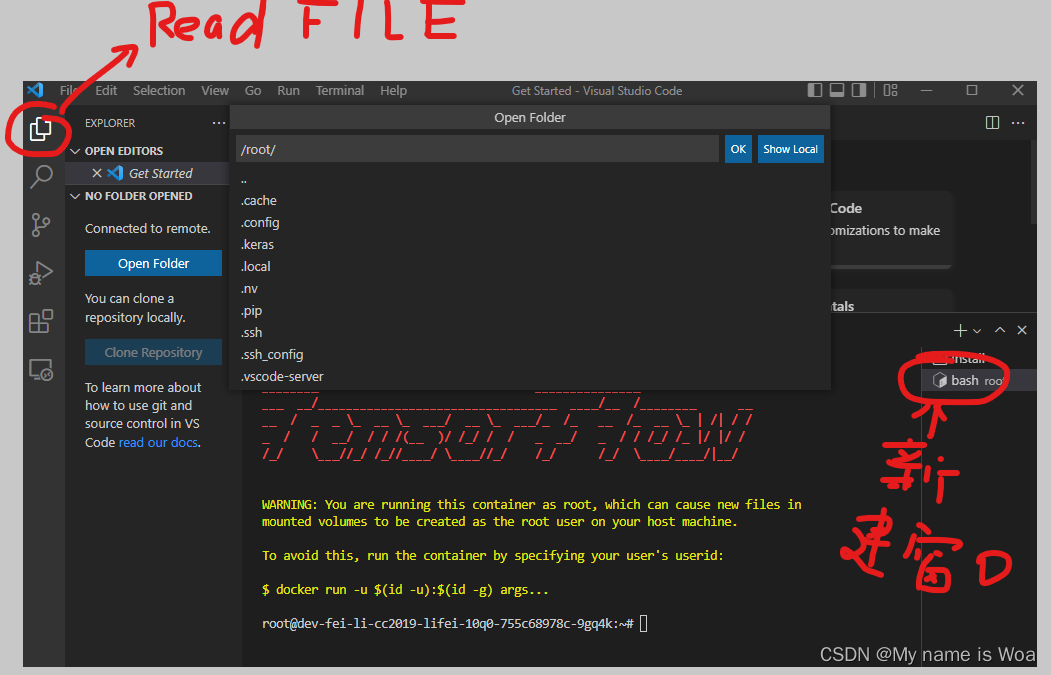
- VScode进行远程连接
First: Copy.
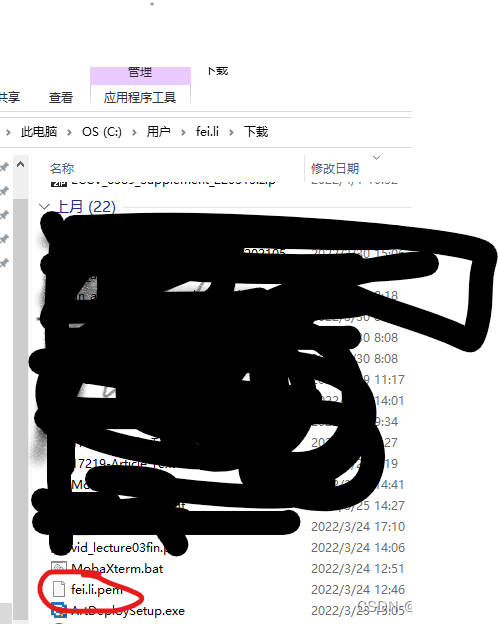
ssh -L localhost:123:localhost:123 root@123.105.123.255 -p 341 -i '%USERPROFILE%\Downloads\fei.li.pem'"

WARNING!

更改路径
IdentityFile C:\Users\fei.li\Downloads\fei.li.pem
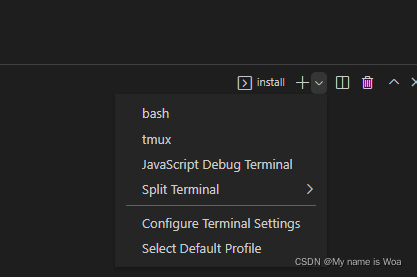
如何用vscode连接服务器
1.rm -rf ~/.vscode-server删除~/.vscode-server文件夹
2.在vscode上输入ssh -L localhost:123:localhost:123 root@123.123.133.25 -p 461 -i 'C:\Users\fei.li\Downloads\fei.li.pem'
3.改C:\Users\fff\.ssh\config里Host的名字,不然会混乱

4.复制/root/.vscode-server/bin/899d46d82c4********8eba52050e30ba3/文件夹名字
899d46d*********2050e30ba3
把https://update.code.visualstudio.com/commit:$COMMIT_ID/server-linux-x64/stable里的
$COMMIT_ID
换成
899d46d82c4c95423fb7*******a3
即https://update.code.visualstudio.com/commit:89**********423fb7e1***************e30ba3/server-linux-x64/stable
去浏览器下载vscode-server-linux-x64.tar.gz

5.把vscode-server-linux-x64.tar.gz上传到/root/.vscode-server/bin/899*******c9542*********050e30ba3/
并且删除其他文件
6.tar -xvf vscode-server-linux-x64.tar.gz --strip-components 1解压这个文件
7.然后使用chmod +x node server.sh为node和server.sh添加可执行权限。
chmod +x的意思就是给执行权限


记得关闭VSCode的更新

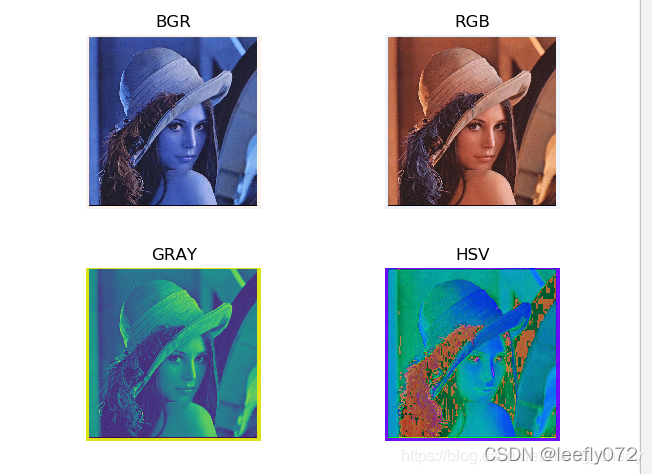
- 关于处理的信道
# -*- coding:utf-8 -*-

import numpy as np
from PIL import Image
from matplotlib import pyplot as plt
import cv2
import os
from tqdm import tqdm


if __name__ == '__main__':
    folder = '/data/DISCNet-main/datasets/raw/jpg/jpg/'

    def load_images_from_folder(folder):
      img = []
      for filename in tqdm(os.listdir(folder)):
          img = cv2.imread(os.path.join(folder, filename))
          img = cv2.cvtColor(img, cv2.COLOR_BGR2RGB)
          img=np.array(img)

          img = img/img.max()
          print(img.dtype)
          np.save('/data/DISCNet-main/datasets/raw/jpg/npy1/'+ filename[:-3] +'npy',img)

      return img

    load_images_from_folder(folder)
问题处理过程:
1.image = image/image.max()*255
注意处理图像pixel的大小
2.print(img.dtype) can show the
3.
img = cv2.cvtColor(img, cv2.COLOR_BGR2RGB)

- pdb 用于在文本中打断点~
官方主页:
https://github.com/spiside/pdb-tutorial
import pdb; pdb.set_trace()
直接写入即可
几个有用的操作指示:
l(ist) - Displays 11 lines around the current line or continue the previous listing.
s(tep) - Execute the current line, stop at the first possible occasion.
n(ext) - Continue execution until the next line in the current function is reached or it returns.
b(reak) - Set a breakpoint (depending on the argument provided).
r(eturn) - Continue execution until the current function returns.
- 英语学习的网站
https://zhuanlan.zhihu.com/p/62004968

