相关链接
一、简介
1.1 系统环境
 ??mac系统自带 python2或python3的环境,具体哪个版本取决于芯片类型(Intel / M1)和系统版本(12.3.1),可以在终端(Terminal)中通过命令查看。
# 没有python2环境
groupiesm@GroupiesMdeMacBook-Pro ~ % python
zsh: command not found: python
# 有python3环境,版本为3.8.9
groupiesm@GroupiesMdeMacBook-Pro ~ % python3
Python 3.8.9 (default, Feb 18 2022, 07:45:33)
[Clang 13.1.6 (clang-1316.0.21.2)] on darwin
Type "help", "copyright", "credits" or "license" for more information.
>>> print("hello")
hello
>>>
>>> quit()			# 退出,或者 control+d 退出
groupiesm@GroupiesMdeMacBook-Pro ~ %
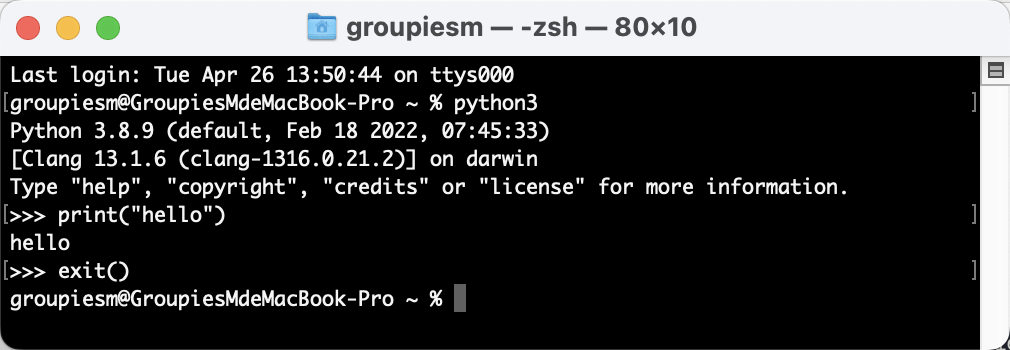
??which python3查看安装路径。

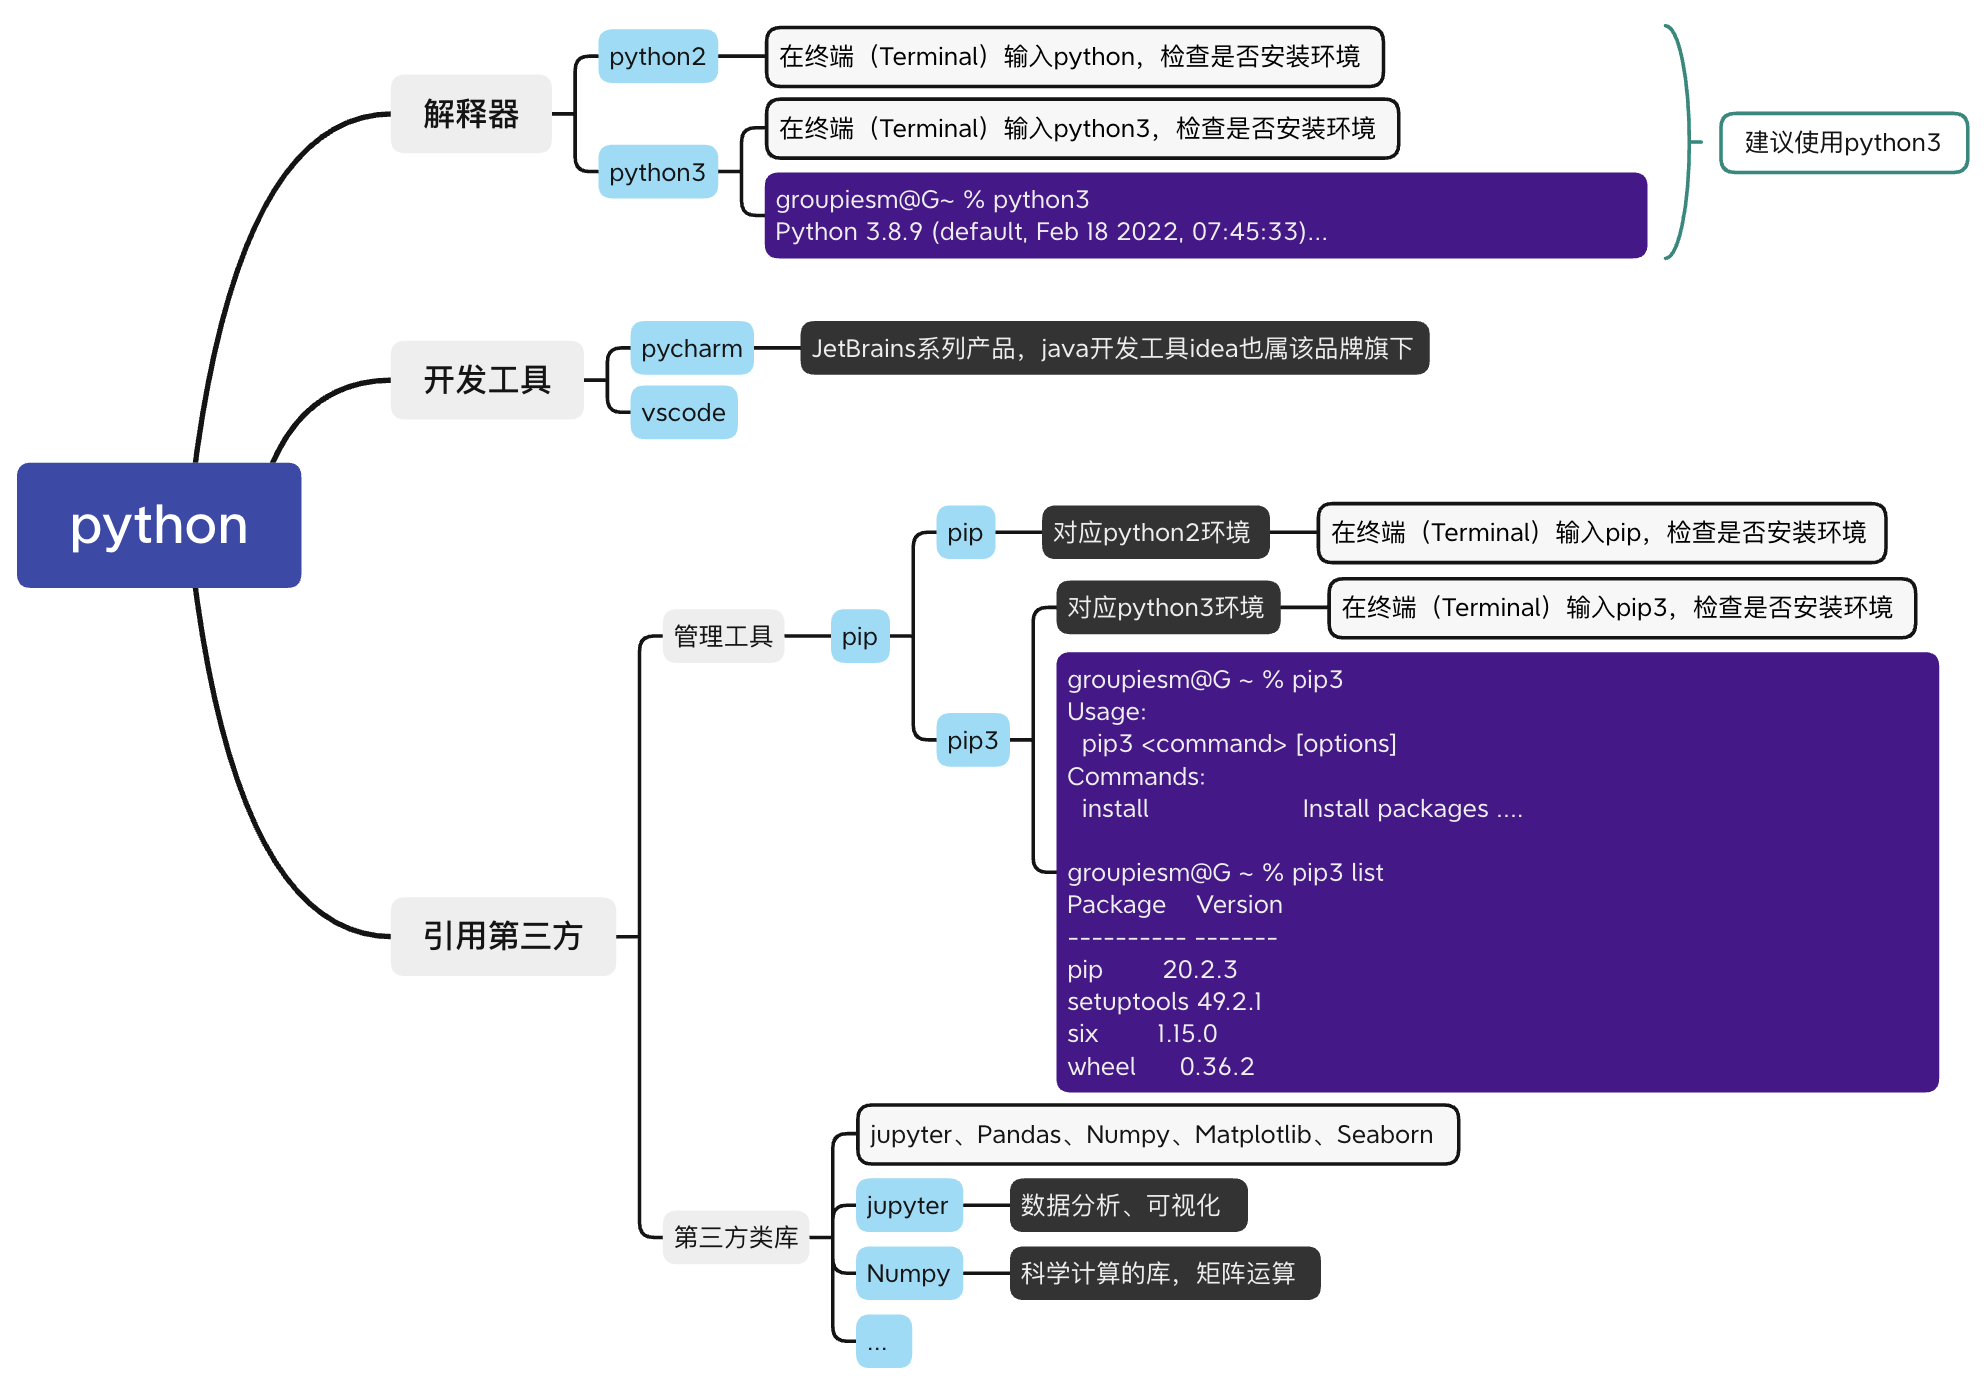
1.2 python整体结构
二、环境搭建
2.1 python解释器:编译环境
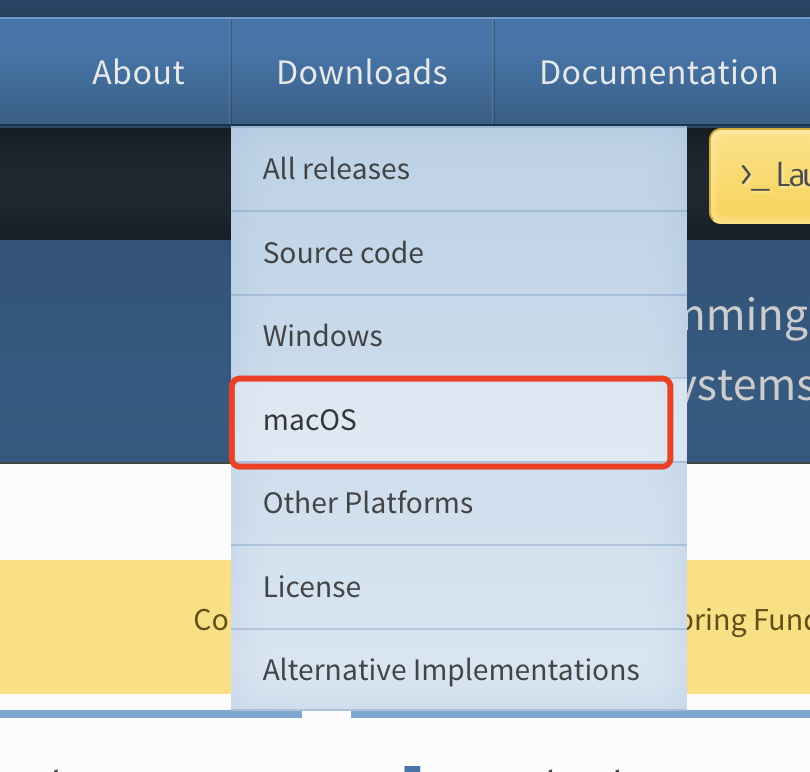
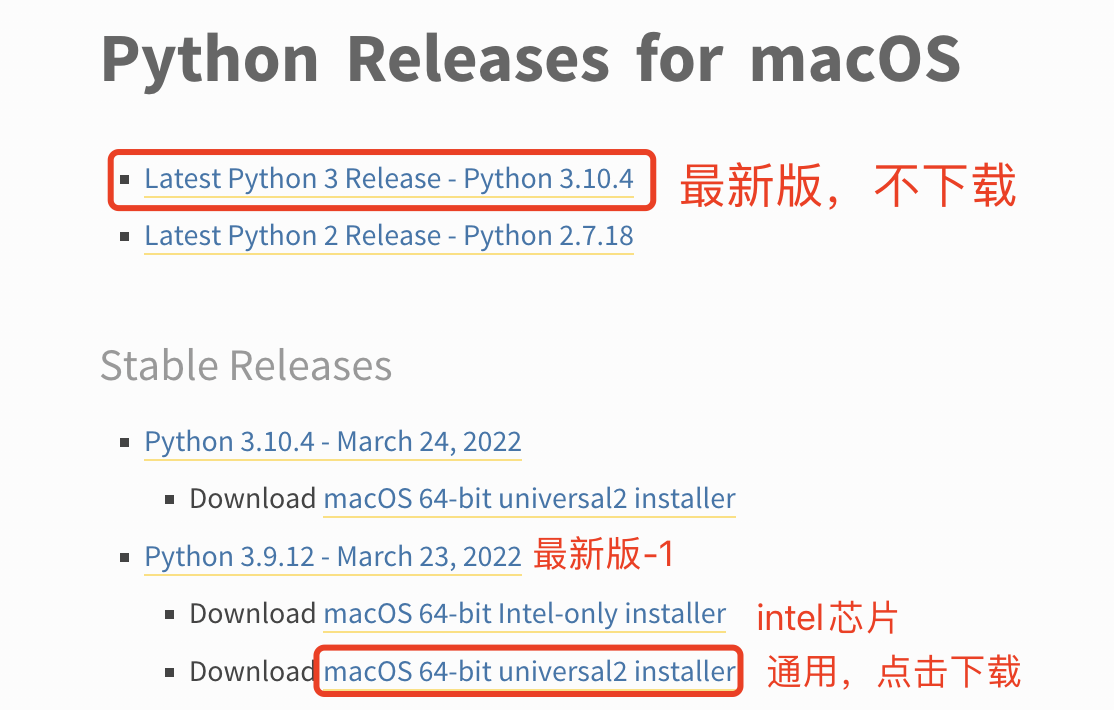
??mac自带python环境,可以跳过此步骤。但如果本地为python2环境,想升级python3,可自行到官网下载。建议至少比最新版本小 0.1(目前最新 3.10.4,可以下载 3.9.x版本),避免出现一些兼容性和稳定性的问题。
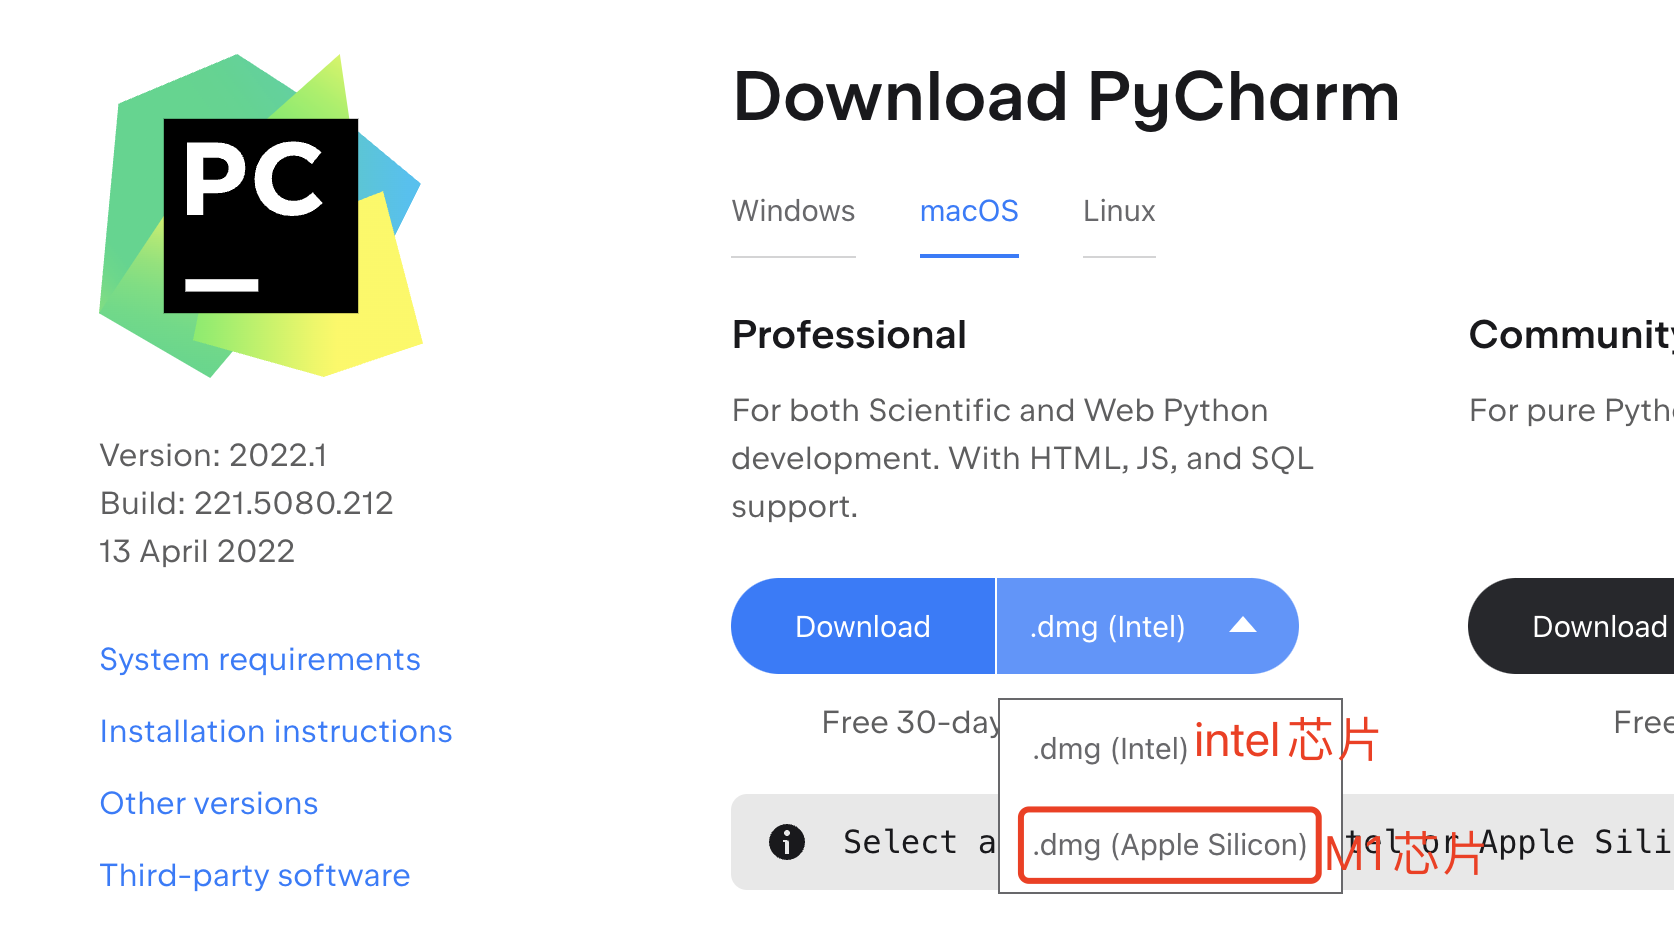
2.2 python开发工具:Pycharm
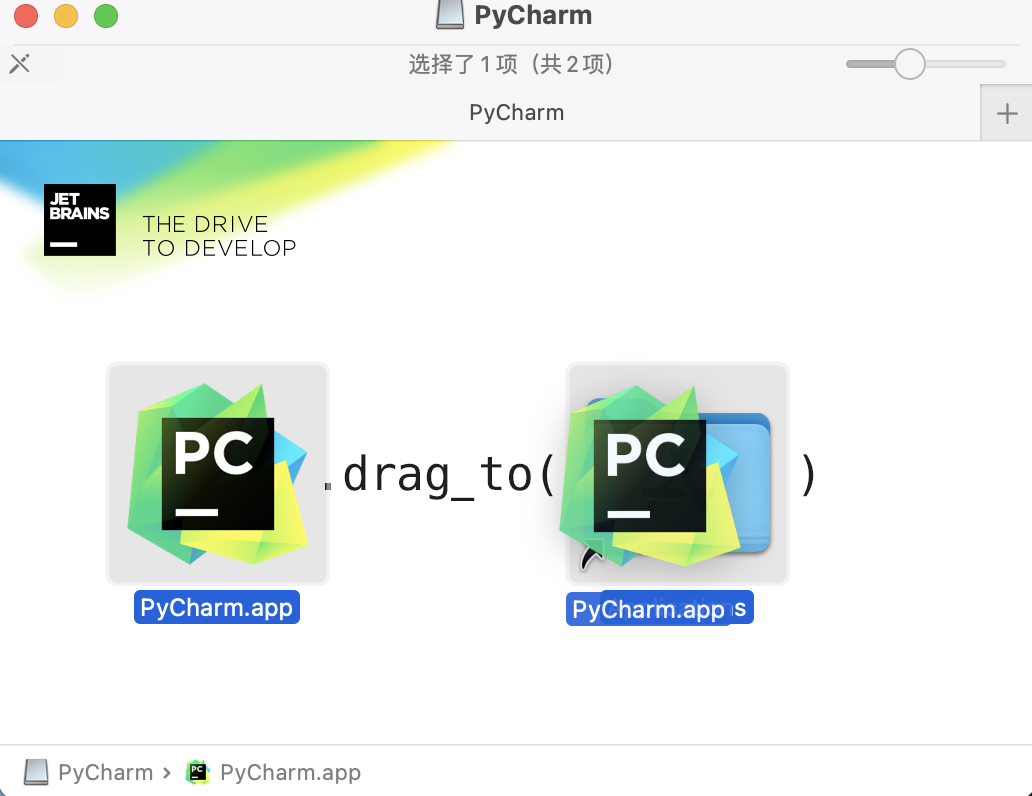
双击,并拖入,直接完成安装
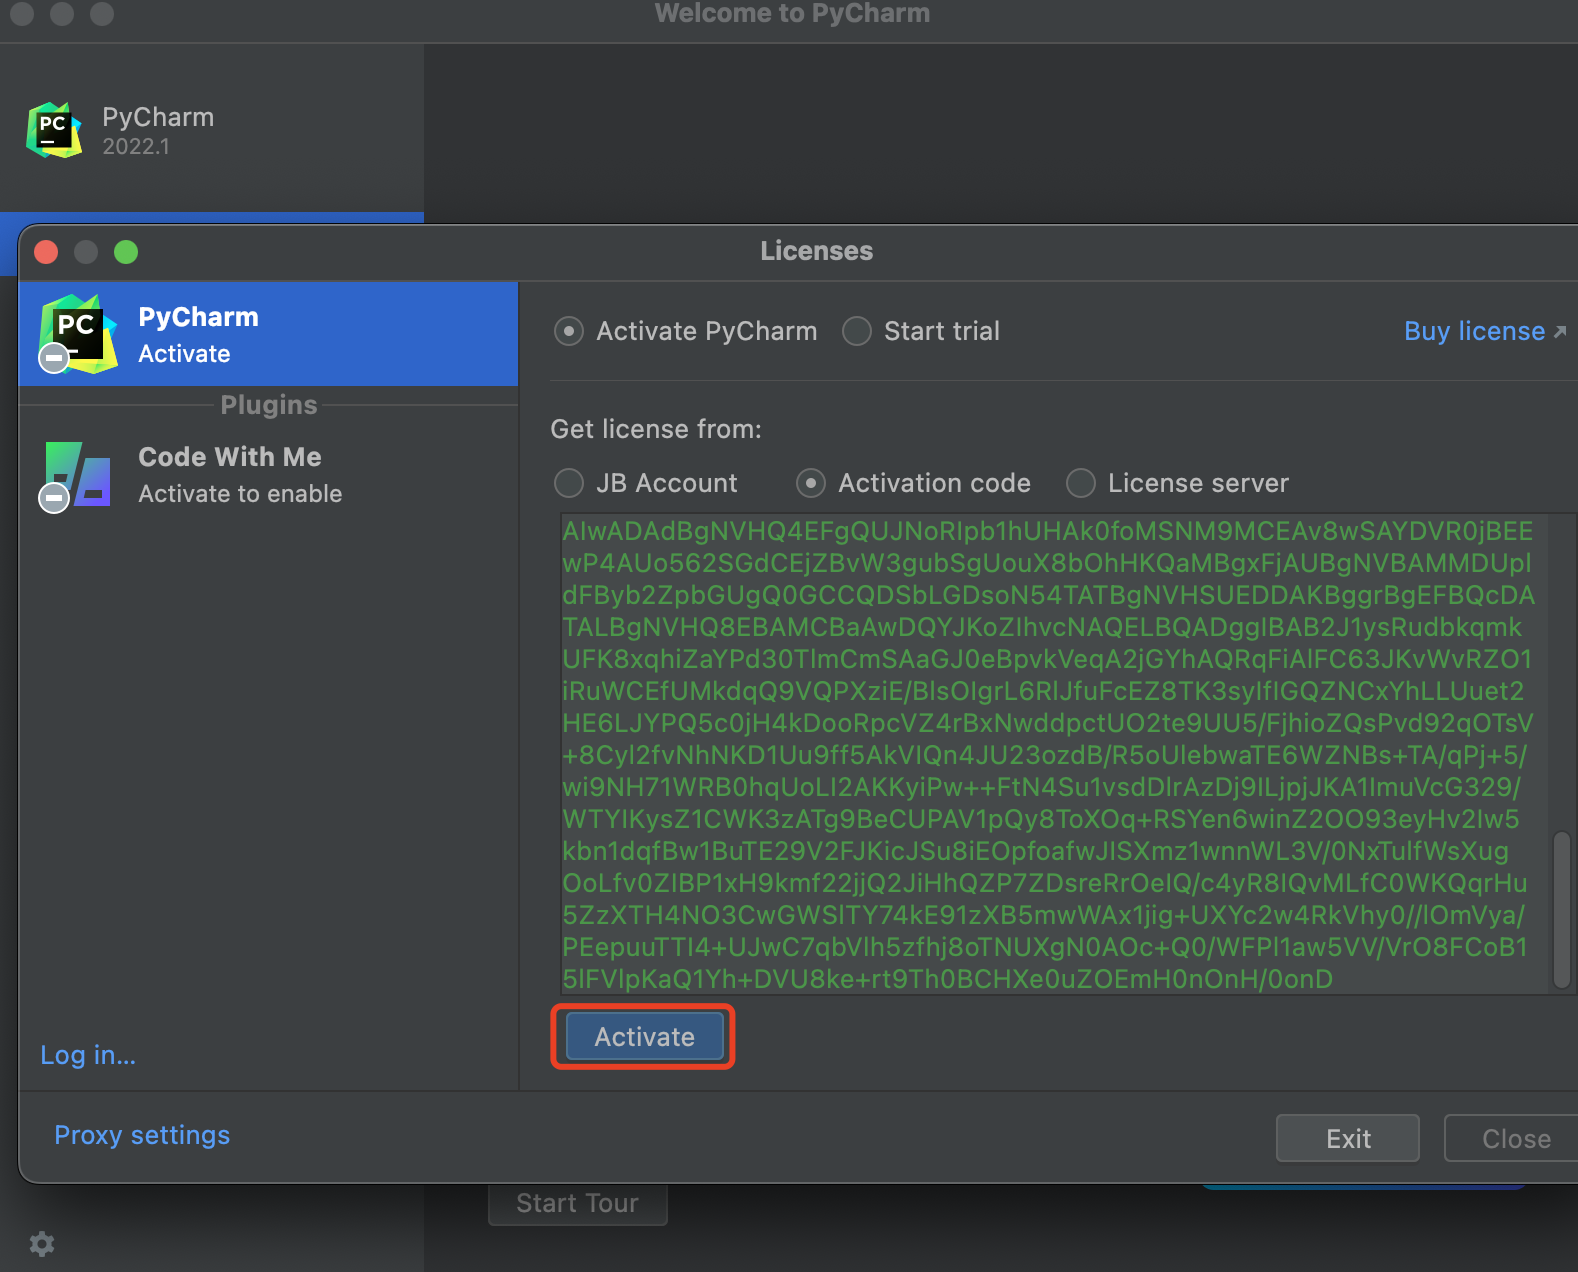
点击Active激活
三、使用pycharm创建项目
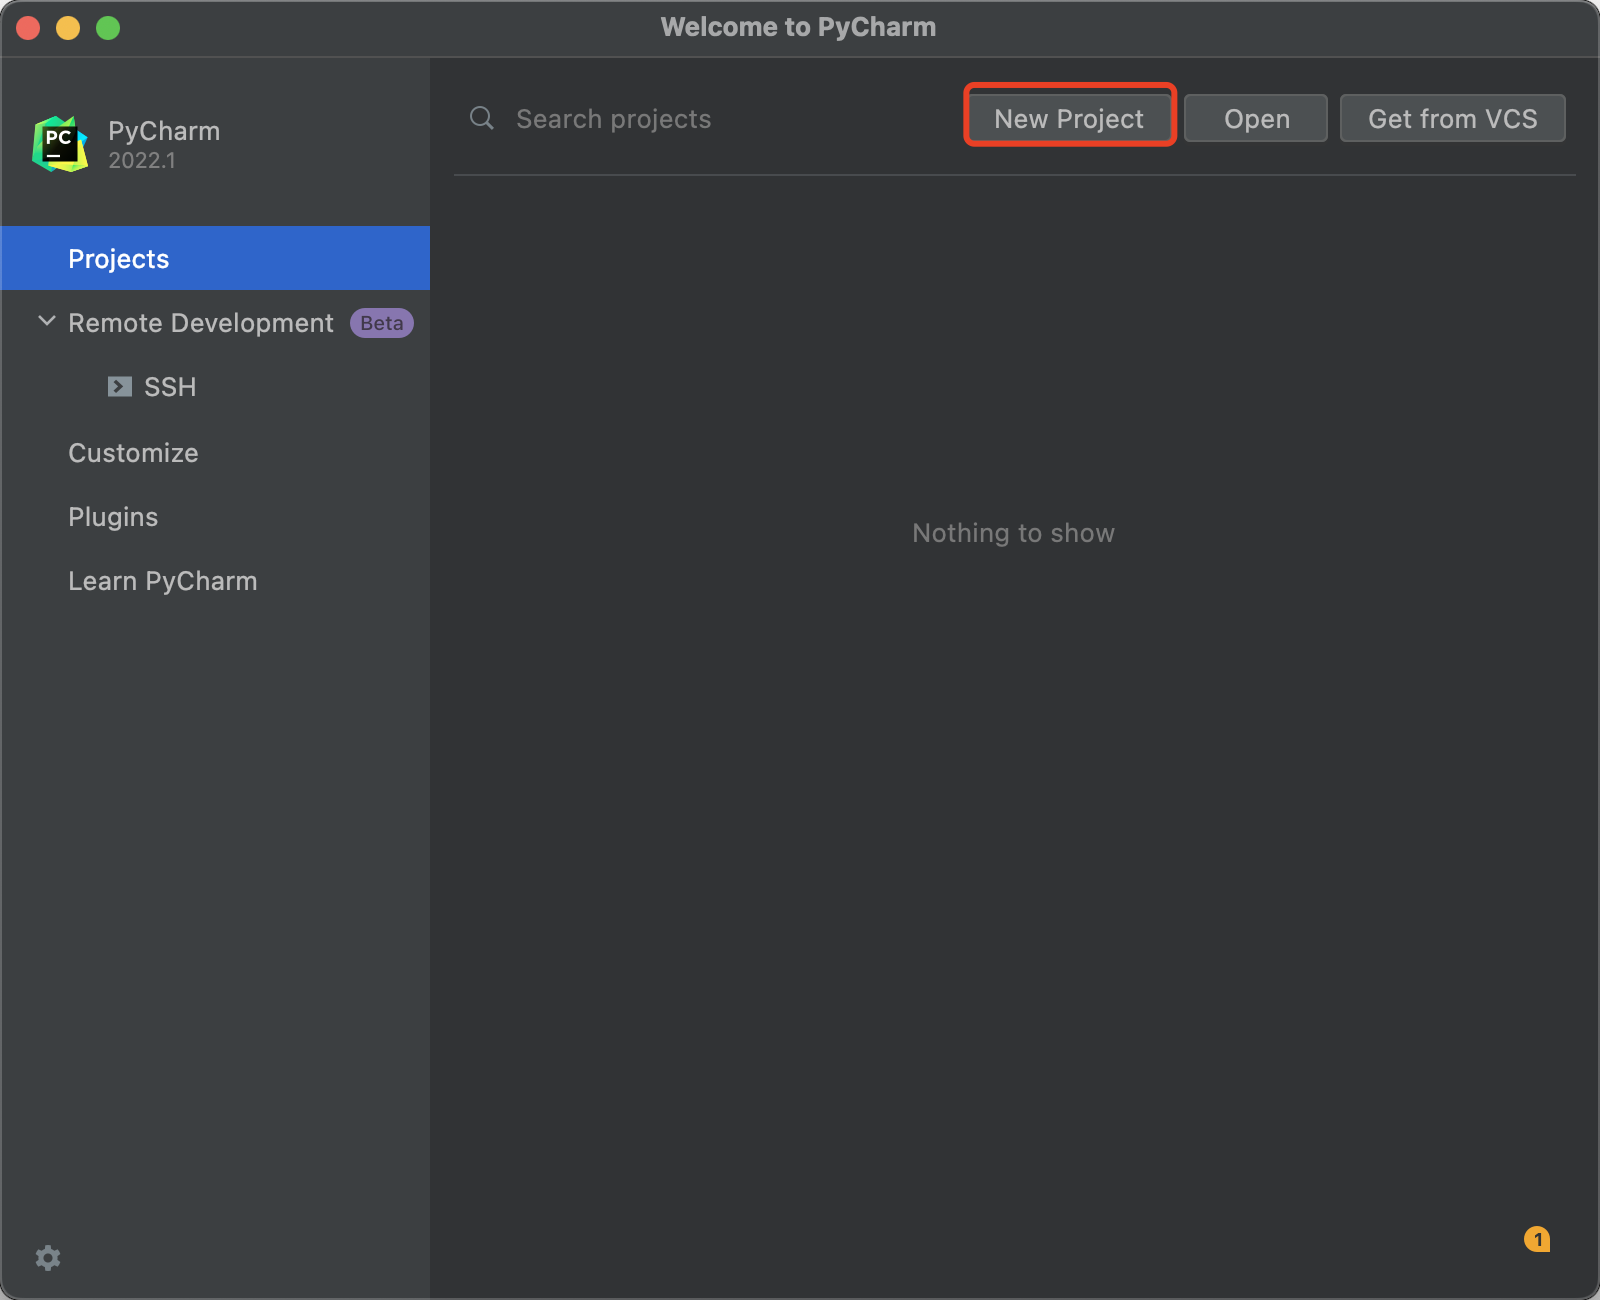
??Step1.创建一个新的项目,选择new project
??Step2.选择目录,创建项目
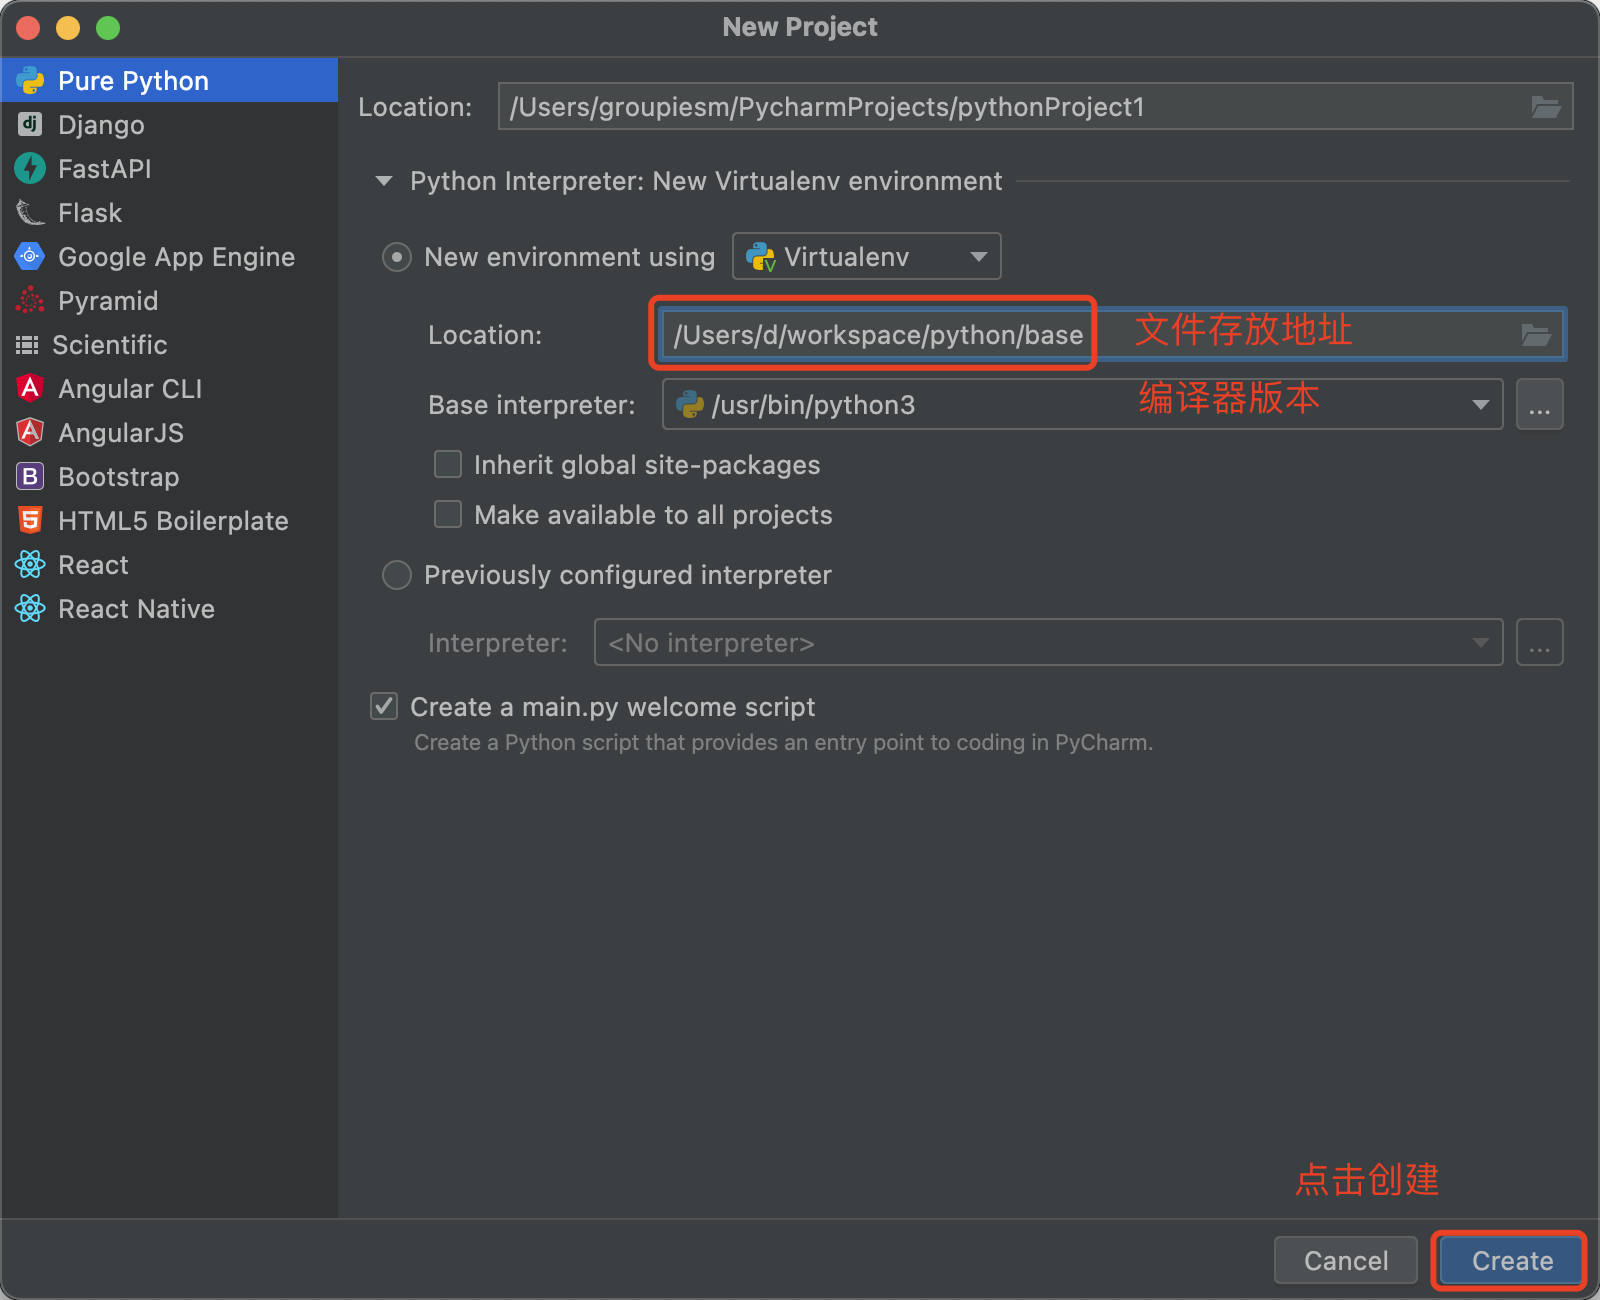
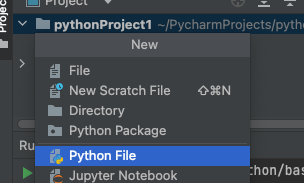
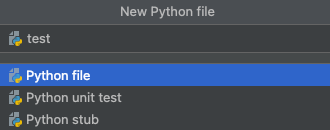
??Step3.选中目录,创建 (command + n 快捷键),选择 Python File,创建一个新的类
??指定类命名为 test
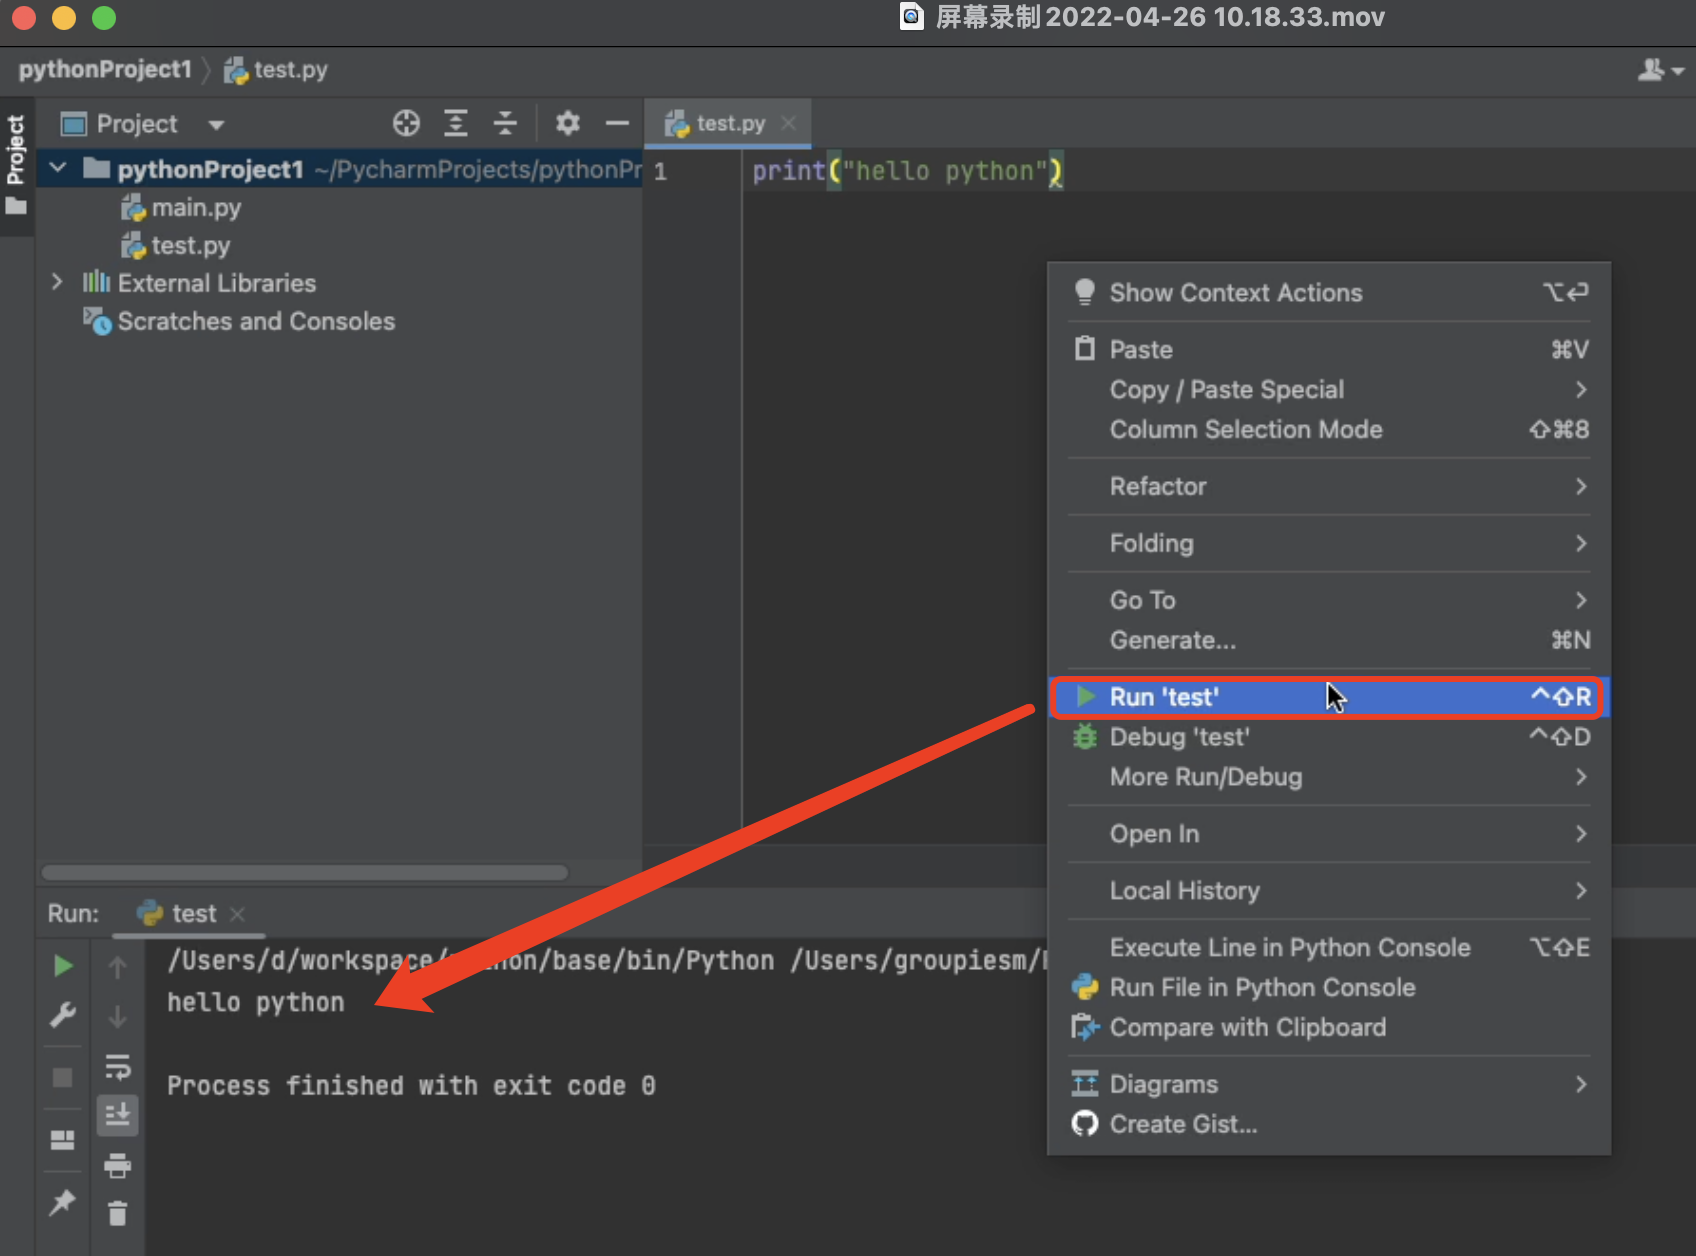
??Step4.右击空白处,点击Run Test,运行代码,可以看到控制台输出了hello python
四、pip管理工具包的使用
??pip是Python官方推荐的包管理工具,属于python的一部分。pip命令需要在终端(Terminal)中执行。
4.1 pip3基础命令
1.查看版本
pip3 -V

2.列出已经安装的包
# list:展示所有包,包括系统自带(例如setuptools)
# 可能有warning提示:建议使用命令更新pip的版本,也可以忽略警告(Warining)不更新
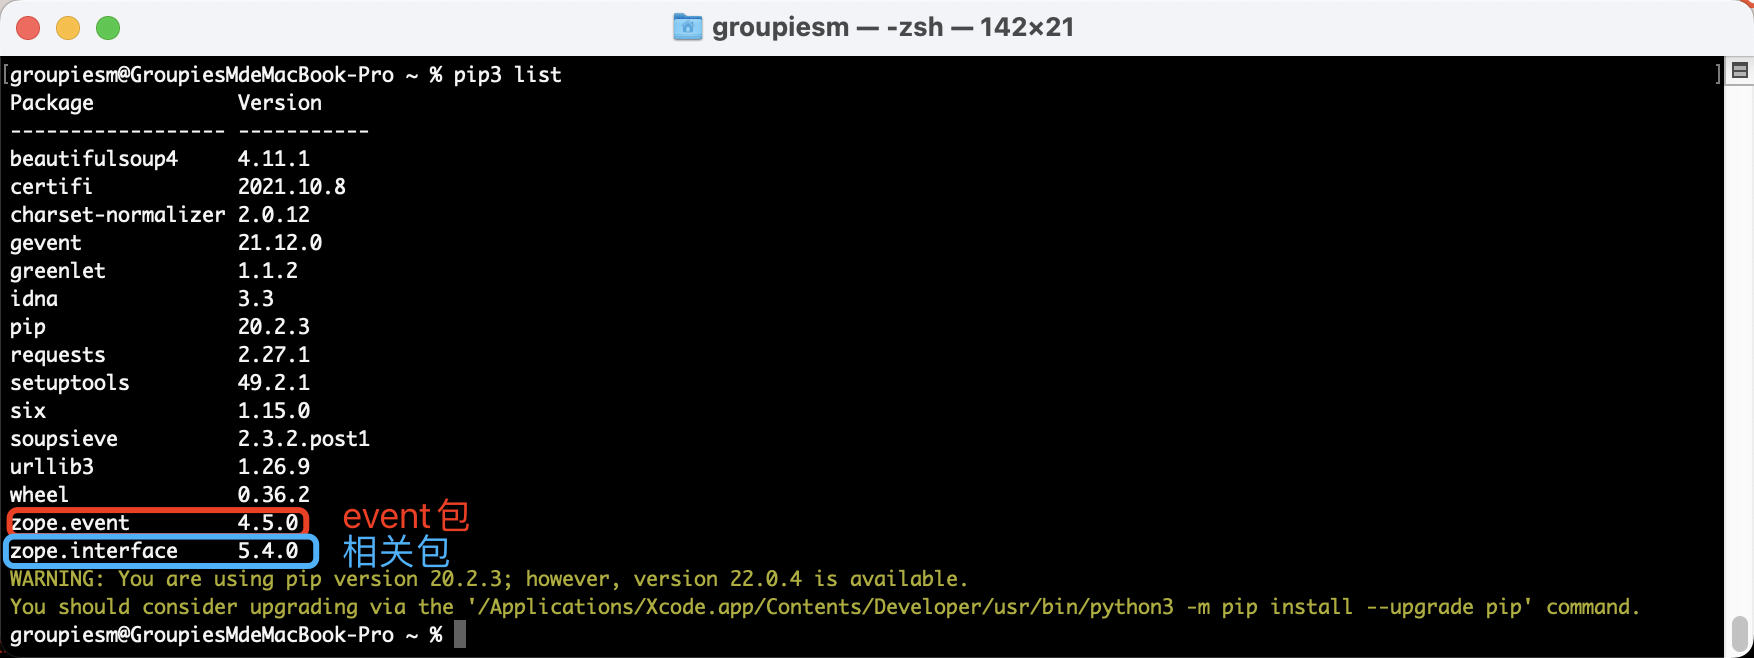
pip3 list

# freeze:展示部分包,仅通过pip命令安装的包
pip3 freeze
list命令
freeze命令
3.安装第三方包
pip3 install
pip3 install <包名>==1.0.0
pip3 install -r requirements.txt
pip3 install -i <源地址> <包名>
pip3 install -e <local project path> (这个命令相当于pip3 install develop)

pip3 install requests 		# post、get请求等
pip3 install Beautifulsoup4 # 解析html、xml
pip3 install gevent 		# 并发框架
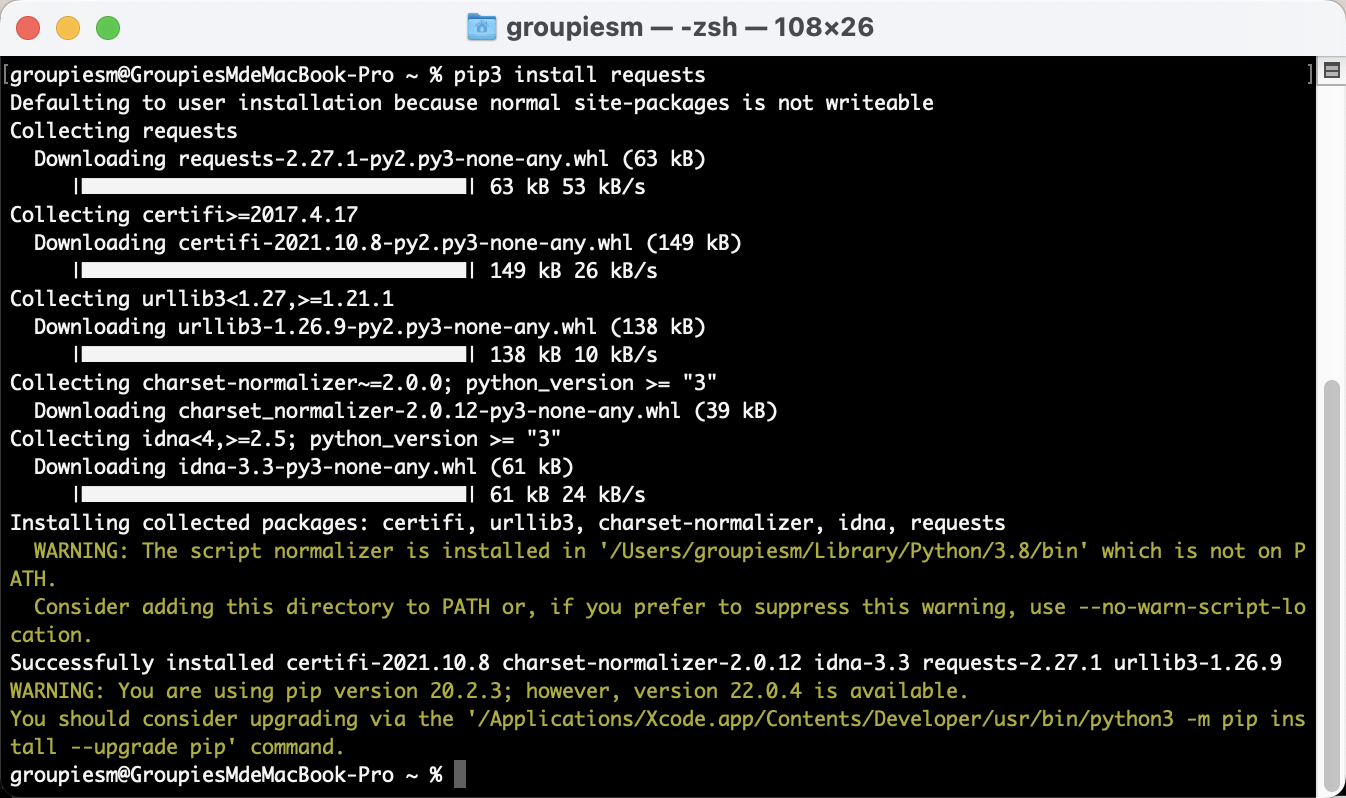
1.a 安装requests包
pip3 install requests
1.b 列出已经安装的包pip3 list
2.a 安装Beautifulsoup4包pip3 install Beautifulsoup4
2.b 列出已经安装的包pip3 list
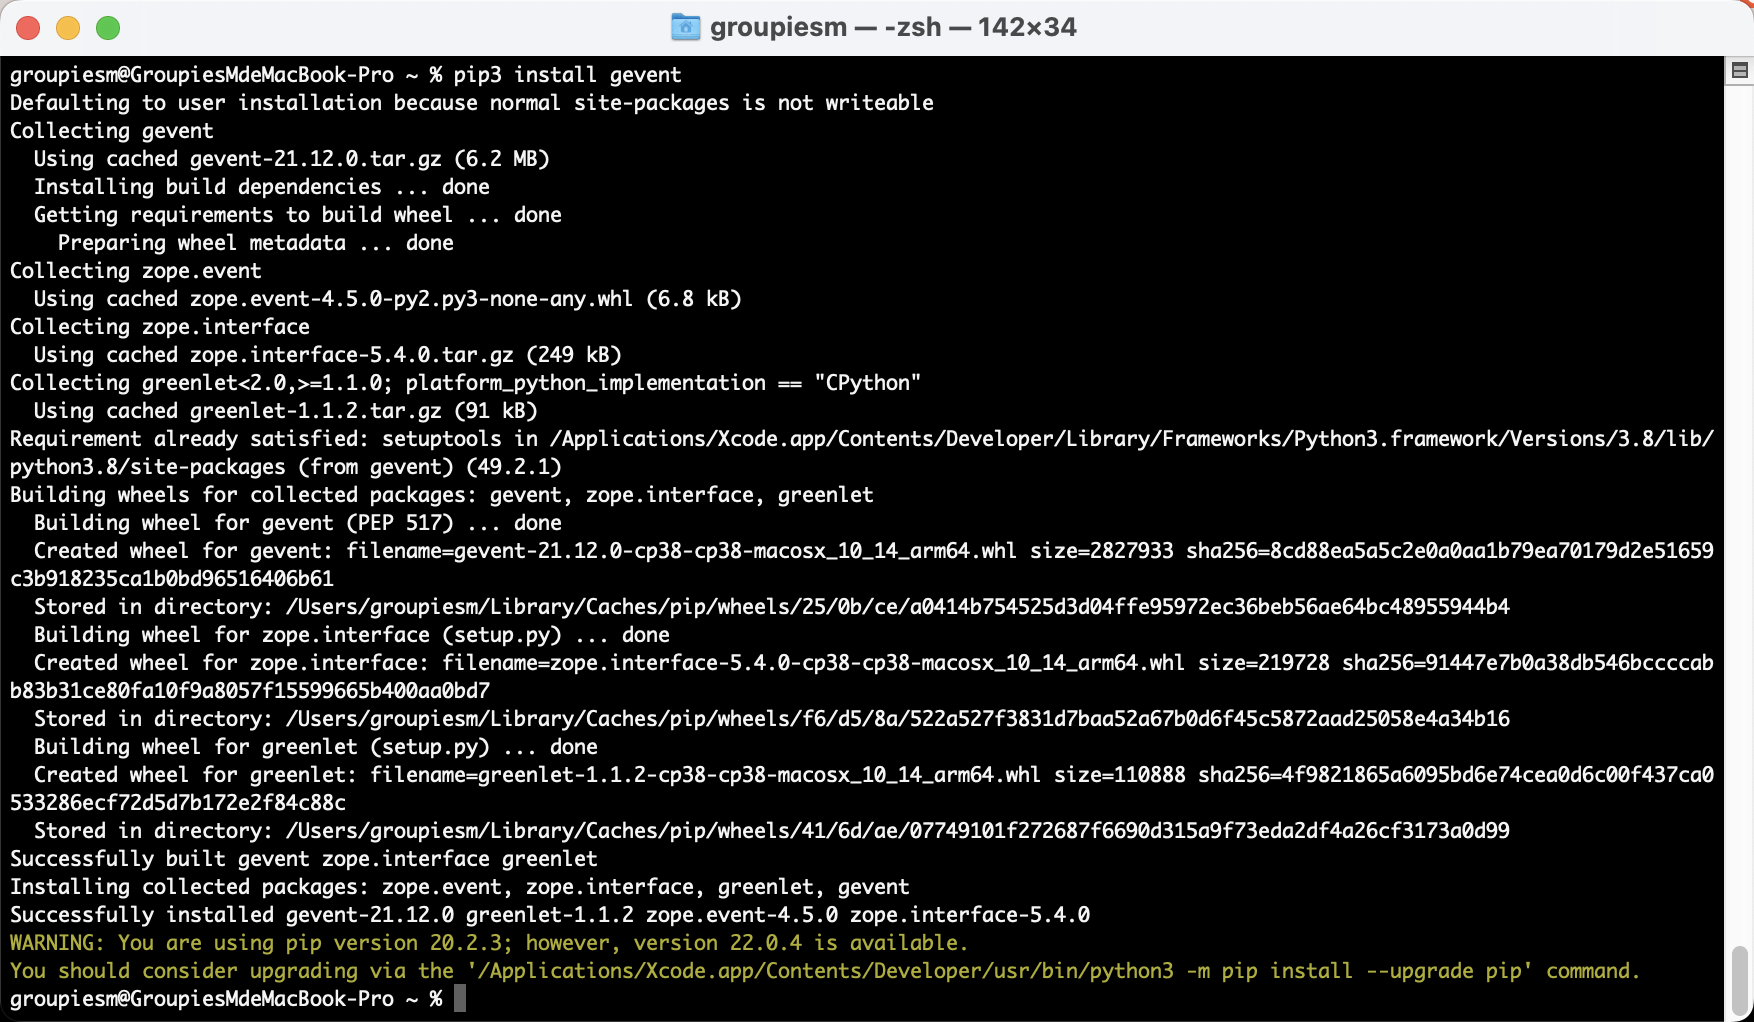
3.a 安装gevent包pip3 install gevent
3.b 列出已经安装的包pip3 list
4.删除已安装的包
# 删除指定包
pip3 uninstall ${包名}
5.导出第三方包清单
# 导出所有包目录(到/Users/${用户名} 目录下),到一个指定文件中,比如这里是requirements.txt
pip3 freeze > requirements.txt
6.批量安装、删除包
# 批量删除所有第三方包(有些会删除失败),-y表示确认
pip3 uninstall -r requirements.txt -y

# 批量安装所有第三方包
pip3 install -r requirements.txt
22/04/26
M
